
1. Introduction
This manual provides instructions for the setup, operation, and maintenance of your Peanuts Snoopy Sunrise Alarm Clock. This device features a sunrise simulation, multicolor lights, an LED display, and a USB charging port. Please read these instructions carefully before use and retain them for future reference.
2. Product Overview
The Peanuts Snoopy Sunrise Alarm Clock is designed to provide a gentle wake-up experience. It features a digital display for time, date, and temperature, along with adjustable lighting options.
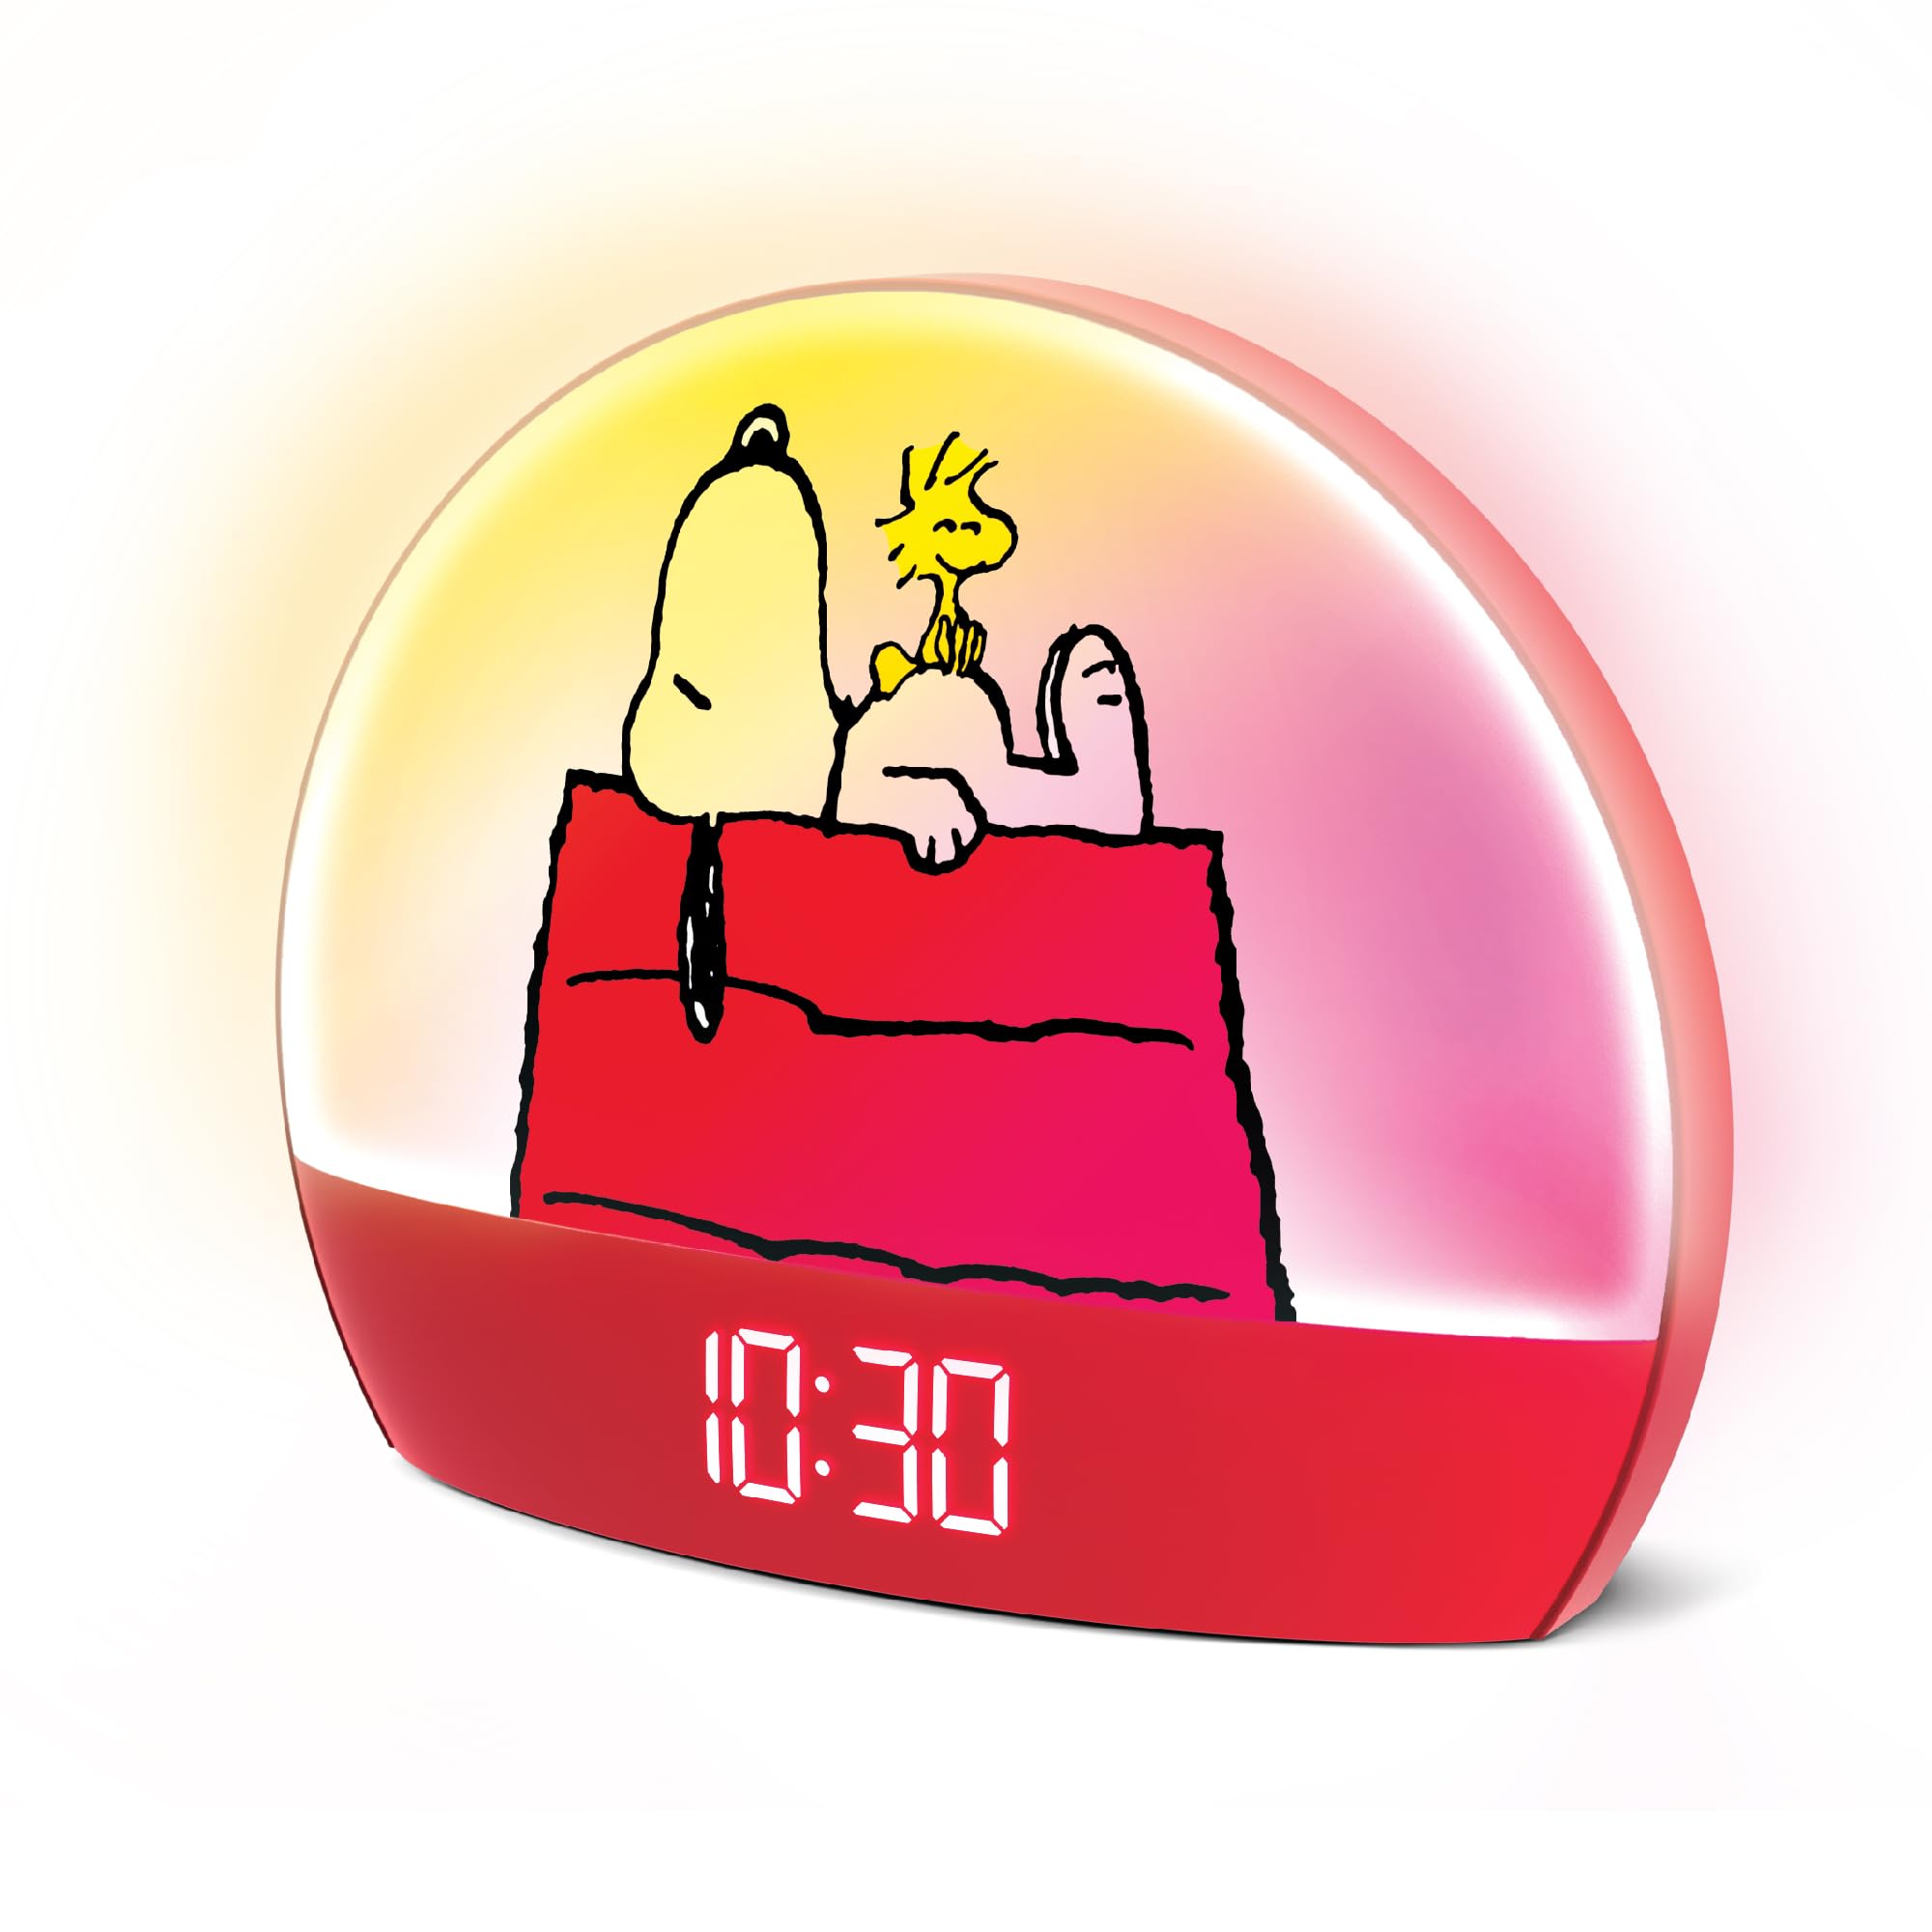
Figure 2.1: Front view of the Peanuts Snoopy Sunrise Alarm Clock. The clock displays the time 10:30 and features Snoopy resting on his red doghouse.
Components:
- LED Display: Shows time, date, and temperature.
- Light Panel: Emits sunrise simulation and multicolor lights.
- Control Buttons: For setting time, alarm, and light modes.
- USB Charging Port: For powering the clock and charging external devices.
3. Setup
3.1 Power Connection
- Connect the provided USB cable to the USB power input port on the back of the alarm clock.
- Plug the other end of the USB cable into a compatible USB power adapter (not included) or a powered USB port.
- The clock will power on, and the LED display will illuminate.
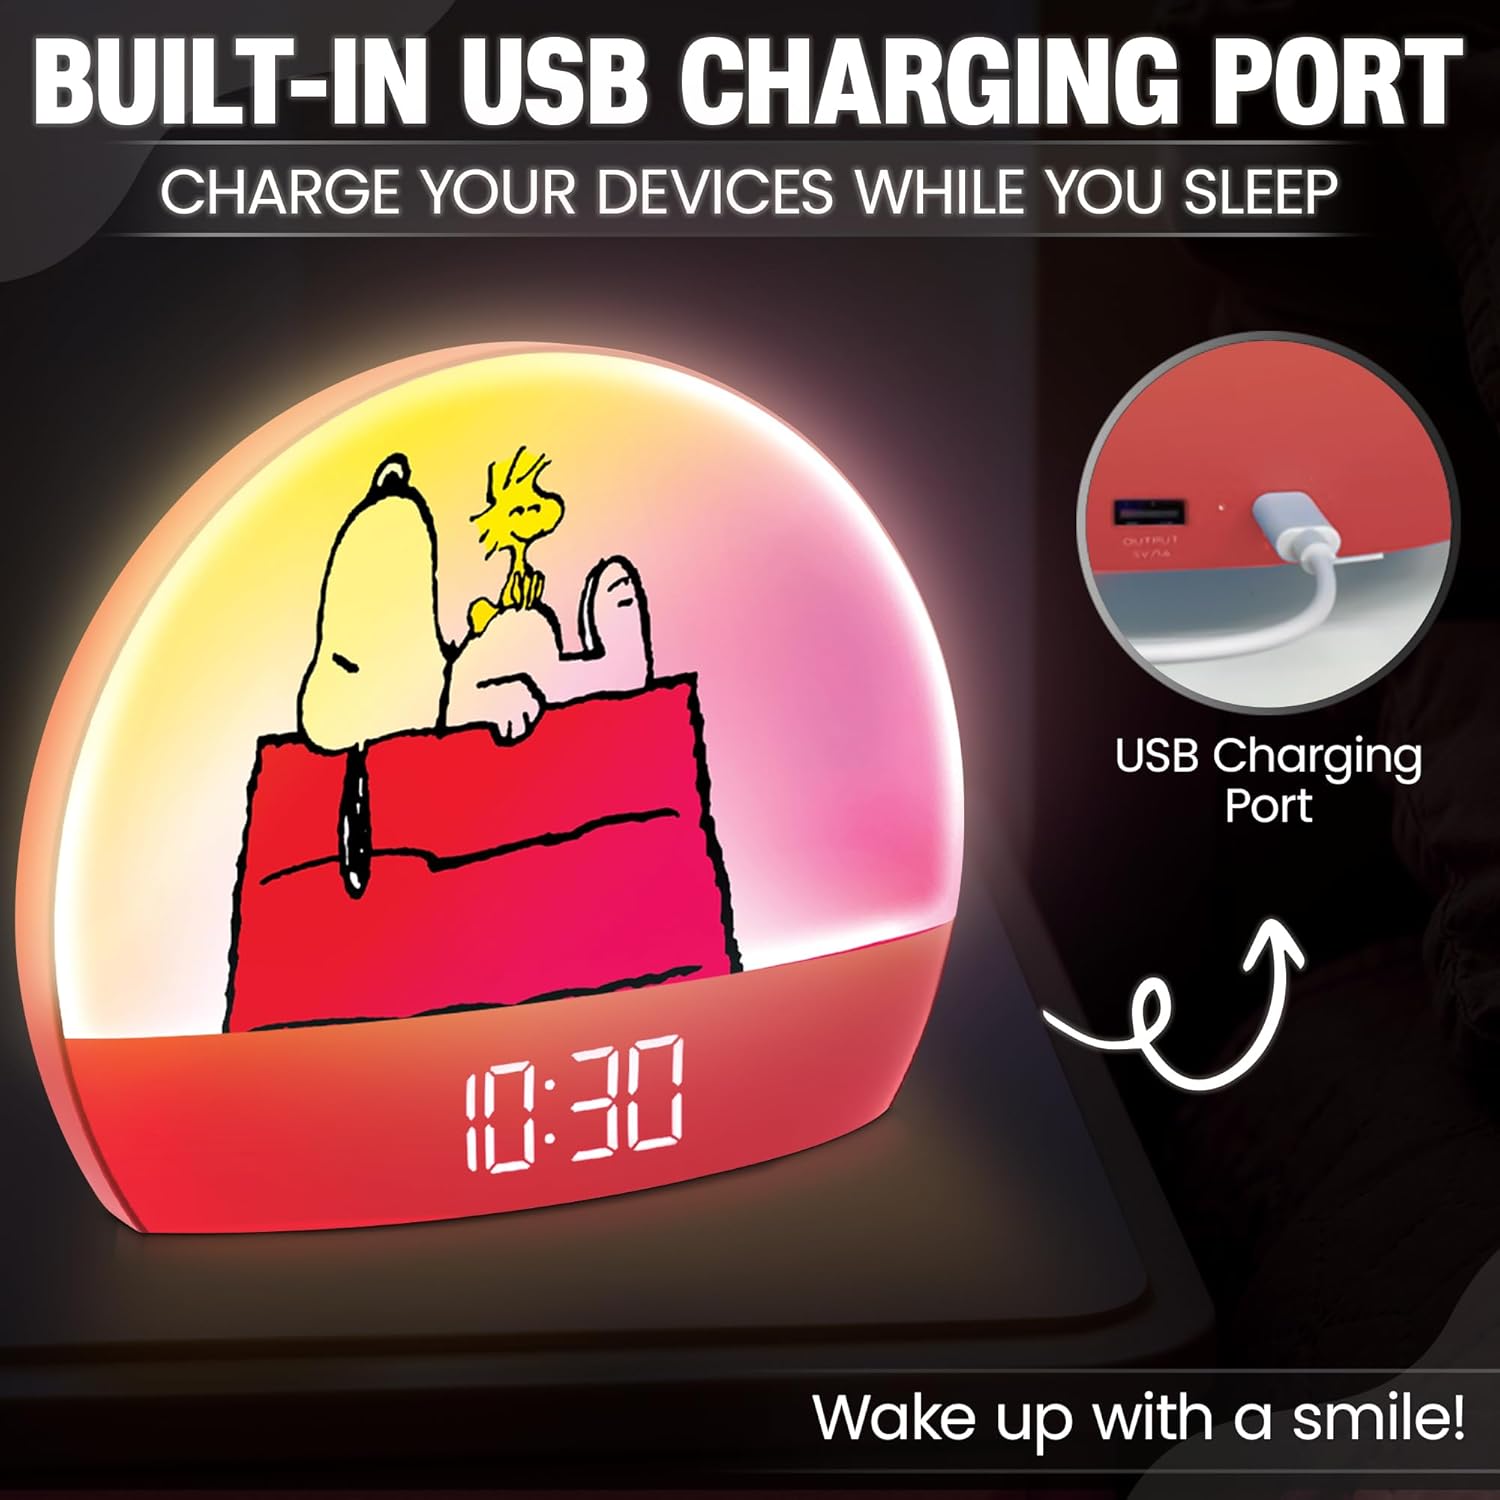
Figure 3.1: Rear view of the alarm clock, highlighting the USB charging port and power input for connection.
Note: This alarm clock does not include a battery backup. In case of a power outage, time and alarm settings may need to be reset.
4. Operating Instructions
4.1 Setting Time and Date
- Press and hold the 'SET' button (location may vary, refer to product diagram if available) until the time display flashes.
- Use the '+' and '-' buttons to adjust the hour. Press 'SET' to confirm.
- Repeat for minutes, year, month, and day.
- Press 'SET' again to exit time/date setting mode.
4.2 Setting the Alarm and Sunrise Simulation
- Press the 'ALARM' button to enter alarm setting mode. The alarm time will flash.
- Use the '+' and '-' buttons to set the desired alarm hour and minute. Press 'ALARM' to confirm each step.
- Select the alarm sound (if applicable) and volume level.
- The sunrise simulation will begin gradually brightening 20 minutes before the set alarm time.
- Press 'ALARM' again to activate the alarm. An alarm icon should appear on the display.
4.3 Snooze Function
When the alarm sounds, press the 'SNOOZE' button (typically a large button on top or front) to temporarily silence the alarm. The alarm will sound again after approximately 9 minutes.
4.4 Adjusting Multicolor Lights
The clock offers various color modes. Press the 'LIGHT' button to cycle through different colors or activate a color-changing mode. Hold the 'LIGHT' button to turn the light off.

Figure 4.1: The alarm clock showcasing its multicolor light options, allowing users to customize the ambiance.
4.5 LED Display Brightness
The LED display brightness can be adjusted for day and night viewing. Use the 'BRIGHTNESS' button or a combination of '+' and '-' buttons while in normal display mode to cycle through brightness levels.

Figure 4.2: Illustration of the adjustable brightness feature, showing the display in both day and night settings for optimal visibility.
4.6 USB Charging Port
The built-in USB port can be used to charge compatible smart devices. Connect your device's charging cable to the USB output port on the back of the alarm clock.
5. Maintenance
5.1 Cleaning
To clean the alarm clock, gently wipe the surface with a soft, dry cloth. Do not use abrasive cleaners, solvents, or immerse the unit in water.
5.2 Storage
When not in use for extended periods, store the alarm clock in a cool, dry place away from direct sunlight and extreme temperatures.
6. Troubleshooting
- Clock not powering on: Ensure the USB cable is securely connected to both the clock and a working power source. Try a different USB adapter or port.
- Display not visible or dim: Adjust the display brightness settings. Check power connection.
- Cannot set time/alarm: Ensure you are pressing and holding the correct buttons as per instructions. If buttons are unresponsive, disconnect and reconnect power to reset the unit.
- Alarm not sounding: Verify that the alarm is activated (alarm icon visible) and the volume is not set to zero.
- USB charging not working: Ensure the clock is powered on. Check the charging cable of the external device.
7. Specifications
| Brand | Peanuts |
| Model Number | PNSUNRCLK01-MFN |
| Dimensions | 7"W x 6"H |
| Power Source | Corded Electric (USB) |
| Display Type | Digital LED |
| Material | Plastic |
| Special Features | Adjustable Brightness, Alarm, Charging Port, LED Display, Temperature Display, Sunrise Simulation, Multicolor Lights |
8. Warranty and Support
For product support or warranty inquiries, please contact the manufacturer, Southern Telecom, or refer to the product packaging for specific contact information. Please retain your proof of purchase for any warranty claims.