
1. Introduction
This user manual provides detailed instructions for the safe and efficient operation, maintenance, and troubleshooting of your HOGARLABS 100 Pints Dehumidifier, Model PD10G35. This appliance is designed to remove excess moisture from the air, helping to create a more comfortable and healthy indoor environment. Please read this manual thoroughly before operating the unit and retain it for future reference.
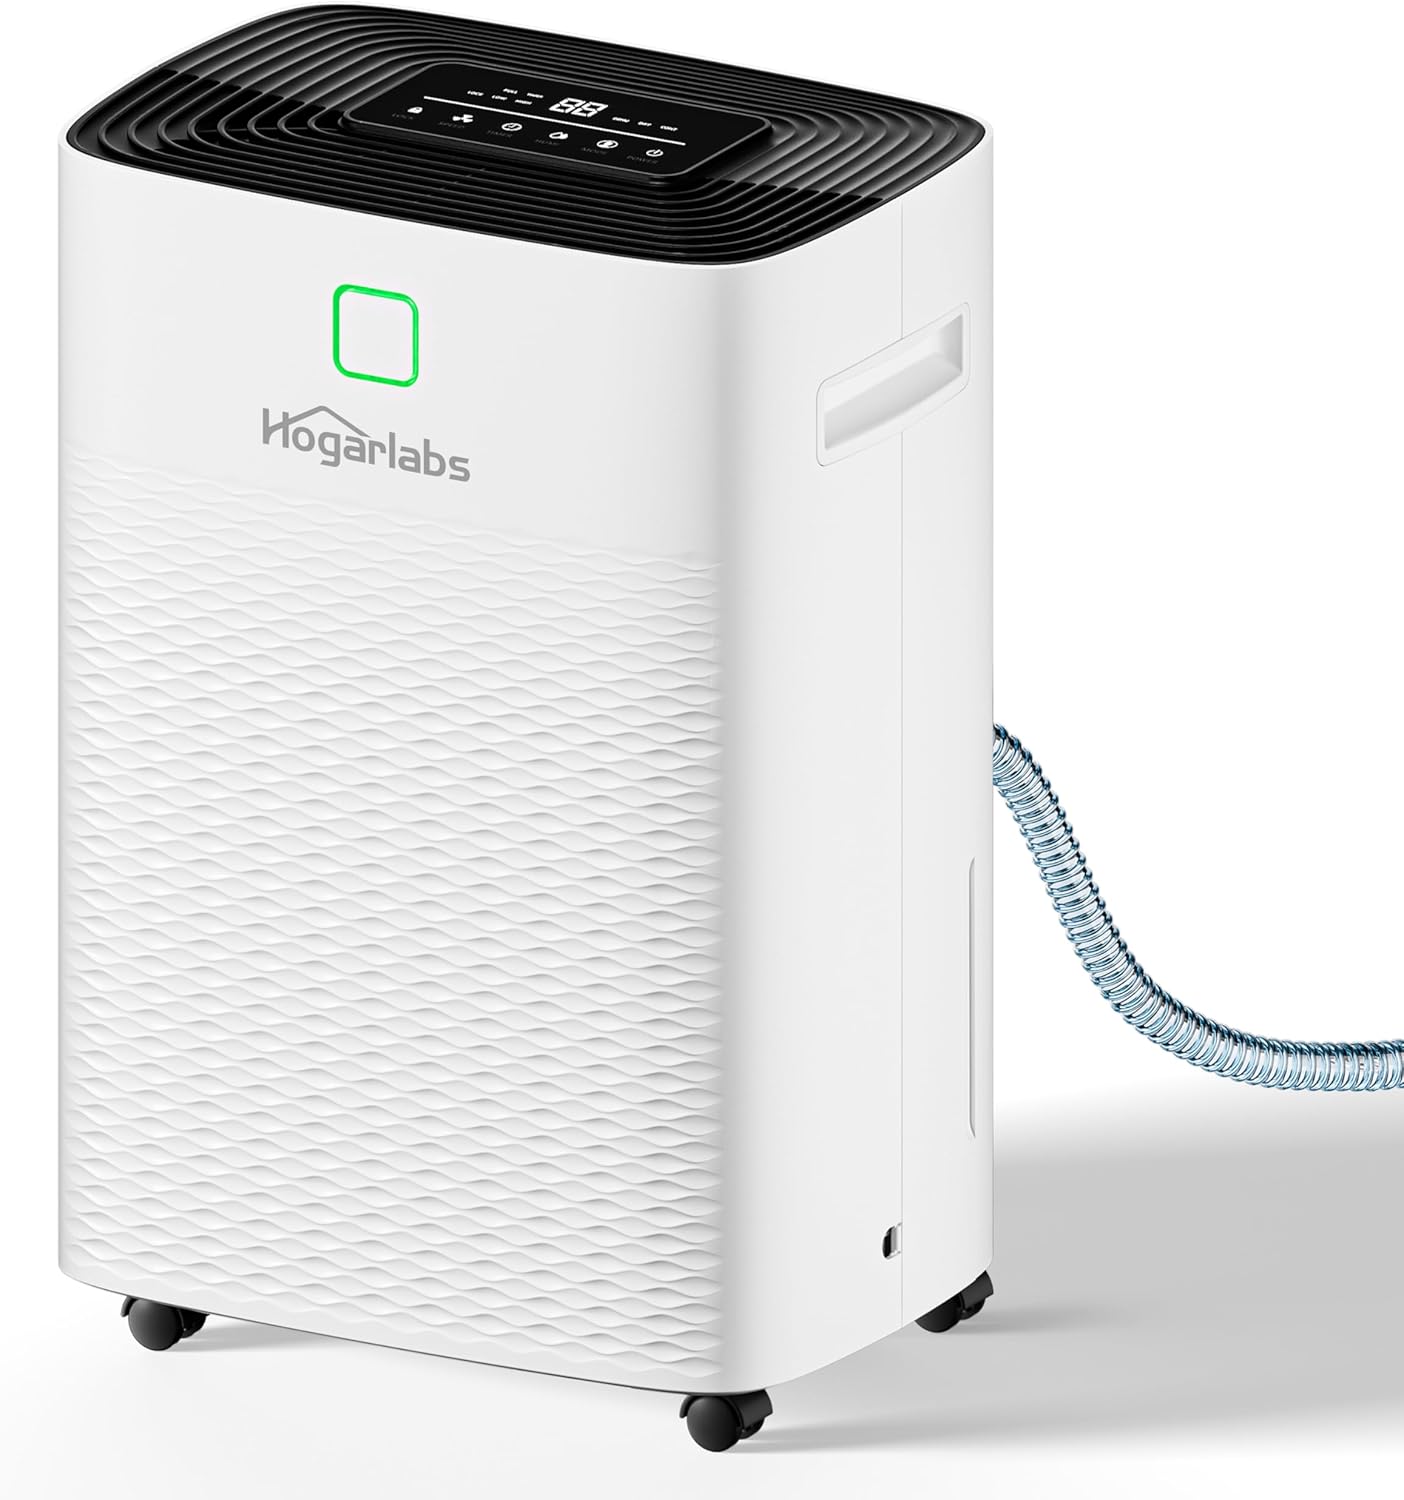
Image 1.1: Front view of the HOGARLABS 100 Pints Dehumidifier, Model PD10G35, showing its compact design and integrated drain hose connection.
2. Safety Information
To prevent injury to the user or others and property damage, the following instructions must be followed. Incorrect operation due to ignoring instructions may cause harm or damage.
- Always ensure the dehumidifier is placed on a level, stable surface to prevent tipping.
- Do not operate the unit with a damaged power cord or plug. If the cord is damaged, it must be replaced by the manufacturer or a qualified service agent.
- Do not block the air inlet or outlet. Maintain at least 8 inches (20 cm) of clearance around the unit for proper airflow.
- Unplug the dehumidifier before cleaning, moving, or performing any maintenance.
- This appliance is not intended for use by persons (including children) with reduced physical, sensory or mental capabilities, or lack of experience and knowledge, unless they have been given supervision or instruction concerning use of the appliance by a person responsible for their safety.
- Do not use the dehumidifier in areas where flammable gases or combustible materials are present.
- Ensure the water tank is correctly seated to prevent water leakage.
- The unit features overflow protection and auto shut-off when the water tank is full.
- The unit is constructed with fireproof materials for enhanced safety.
- A child lock feature is included to prevent accidental changes to settings.

Image 2.1: Illustration highlighting the safety features of the dehumidifier, including overflow protection, child lock, fireproof material, auto restart, auto shut-off, and icing prevention.
3. Product Features
The HOGARLABS 100 Pints Dehumidifier is equipped with several features designed for efficient and convenient operation:
- High Capacity Moisture Removal: Removes up to 100 pints of moisture per day (under 95°F, 90%RH conditions), suitable for areas up to 6,000 sq.ft.
- Adjustable Humidity Control: Allows setting desired humidity levels between 30% and 80%.
- Dual Drainage Options:
- 1.32 Gallon (5L) Water Tank: For manual drainage, with auto alert and shut-off when full.
- Continuous Drain Hose: Includes a 3.28-foot hose for continuous drainage, eliminating the need to empty the tank.
- 3 Smart Operating Modes:
- DEHU Mode: Smart dehumidification that auto starts and shuts down based on the set humidity level.
- DRY Mode: Uses optimal fan speed and dehumidification intensity for drying clothes.
- CONT Mode: Runs continuously to reduce indoor humidity to the lowest possible level.
- Quiet Operation: Operates at a noise level of no more than 40 dB, with two fan speeds (high/low).
- 24-Hour Timer: Allows scheduling operation for convenience.
- Intelligent Control Panel: Digital display with touch controls for easy operation.
- Washable Filter: Reusable filter for easy maintenance.
- Portability: Equipped with 4 universal wheels and a hidden handle for easy movement.
- Auto Defrost: Prevents ice build-up on coils in low temperatures.

Image 3.1: Visual representation of the dehumidifier's efficiency, showing a reduction in humidity from 80% to 45% in a room environment.

Image 3.2: Depiction of the two drainage methods: the 1.32-gallon water tank for manual emptying and the continuous drain hose for automatic water removal.

Image 3.3: Diagram illustrating the three smart modes (DEHU, DRY, CONT) and their application in different areas of a home.

Image 3.4: A user sleeping peacefully, indicating the quiet operation of the dehumidifier and the benefit of its 24-hour timer for undisturbed rest.

Image 3.5: Close-up view of the intelligent touch control panel, showing buttons for Lock, Speed, Timer, Humidity, Mode, and Power.

Image 3.6: Diagram showing the dimensions of the dehumidifier (9.65"D x 13.78"W x 19.69"H) and highlighting features like the hidden handle, 360° rotatable wheels, and washable filter.
4. Setup
Follow these steps to set up your dehumidifier for first use:
- Unpacking: Carefully remove the dehumidifier from its packaging. Retain the packaging materials for future storage or transport.
- Placement: Place the unit upright on a firm, level surface in the desired location. Ensure there is at least 8 inches (20 cm) of clear space around all sides of the unit for proper air circulation. Avoid placing it near heat sources or in direct sunlight.
- Initial Standby: After transport, allow the unit to stand upright for at least 24 hours before plugging it in. This allows the refrigerant to settle.
- Power Connection: Plug the power cord into a grounded electrical outlet.
- Drainage Option Selection:
- Manual Drainage (Water Tank): Ensure the continuous drain hose is disconnected and the drain plug is securely in place. The 1.32-gallon water tank will collect moisture.
- Continuous Drainage (Drain Hose): Connect the provided 3.28-foot drain hose to the continuous drain port on the back of the unit. Ensure the hose is sloped downwards to allow gravity drainage into a suitable drain or large container. Make sure the drain plug is removed when using the hose.

Image 4.1: Detailed view of the dehumidifier's rear, illustrating the two drainage options: the removable water tank for manual emptying and the continuous drain port for hose connection.
5. Operating Instructions
Familiarize yourself with the control panel and operating modes:
Control Panel Overview
The digital control panel is located on the top of the unit and features touch-sensitive buttons:
- POWER Button: Turns the unit ON or OFF.
- MODE Button: Cycles through the operating modes: DEHU (Dehumidify), DRY (Clothes Dry), CONT (Continuous).
- HUMI Button: Adjusts the desired humidity level (30% - 80% RH) in DEHU mode.
- TIMER Button: Sets the 24-hour ON/OFF timer.
- SPEED Button: Selects fan speed (High or Low).
- LOCK Button: Activates/deactivates the child lock function.
- Display Screen: Shows current humidity, set humidity, timer settings, and error codes.
Operating Modes
- DEHU Mode (Dehumidify):
In this mode, the dehumidifier will automatically start and stop to maintain the humidity level you set. Use the HUMI button to adjust the target humidity. The unit will operate until the ambient humidity reaches the set point, then cycle off, restarting if humidity rises.
- DRY Mode (Clothes Dry):
This mode is optimized for drying clothes. The unit will operate at a suitable fan speed and dehumidification intensity to efficiently remove moisture from the air, assisting in faster clothes drying.
- CONT Mode (Continuous):
In Continuous mode, the dehumidifier runs constantly, aiming to reduce indoor humidity to the lowest possible level. This mode is ideal for extremely damp environments or for rapid moisture removal.
Setting the Timer
The 24-hour timer allows you to program the unit to turn ON or OFF automatically after a set period:
- Press the TIMER button. The display will show "00".
- Use the HUMI button (often doubles as up/down arrows) to set the desired number of hours (1-24).
- The timer will activate after a few seconds of inactivity, and the unit will turn ON/OFF after the set time.
Child Lock Function
To prevent accidental changes to settings, press and hold the LOCK button for 3 seconds to activate or deactivate the child lock.
Humidity Indicator Light
The front prompt light changes color to indicate the current humidity level:
- Green: Humidity 0% - 39%
- Blue: Humidity 40% - 60%
- Orange: Humidity 61% - 80%
- Red: Humidity 81% - 99%

Image 5.1: Visual guide to the front indicator light, showing different colors corresponding to various humidity ranges for quick status checks.
6. Maintenance
Regular maintenance ensures optimal performance and longevity of your dehumidifier.
Cleaning the Air Filter
The washable filter should be cleaned every two weeks or more frequently depending on usage and air quality.
- Turn off the dehumidifier and unplug it from the power outlet.
- Locate and remove the air filter from the back or side of the unit (refer to diagram in Section 3, Image 3.6).
- Wash the filter with warm, soapy water. Rinse thoroughly.
- Allow the filter to air dry completely before reinstalling it. Do not expose to direct sunlight or excessive heat.
- Reinsert the dry filter into the unit.
Emptying the Water Tank
If using manual drainage, the water tank will need to be emptied when full. The unit will automatically shut off and alert you.
- Gently pull out the water tank from the front of the unit.
- Carefully carry the tank to a sink or drain and empty the collected water.
- Rinse the tank periodically to prevent mold or mildew growth.
- Reinsert the empty tank firmly into the unit. The dehumidifier will resume operation.
Cleaning the Unit Exterior
Wipe the exterior of the dehumidifier with a soft, damp cloth. Do not use harsh chemicals, abrasives, or solvents.
7. Troubleshooting
Before contacting customer support, please refer to the following common issues and solutions:
| Problem | Possible Cause | Solution |
|---|---|---|
| Dehumidifier does not turn on. | No power; power cord loose; water tank full or not properly seated. | Check power outlet and cord connection. Empty and re-seat the water tank correctly. |
| Unit is running but not collecting water. | Ambient humidity is too low; temperature is too low (below 41°F/5°C); air filter clogged; unit in CONT mode with drain hose connected but not draining. | Ensure ambient humidity is above set point. Check room temperature. Clean the air filter. Verify drain hose is properly connected and sloped for gravity drainage. |
| Unit is noisy. | Unit not on a level surface; air filter clogged; internal components vibrating. | Place unit on a flat, stable surface. Clean the air filter. If noise persists, contact customer support. |
| Water leakage. | Water tank not properly seated; drain hose connection loose or clogged; drain plug not tightened (if using tank). | Re-seat water tank. Check drain hose for proper connection and clear any blockages. Ensure drain plug is tight if using the tank. |
| Display shows an error code. | Specific internal issue. | Refer to the full user manual for specific error code meanings. If not resolved, contact customer support. |
8. Specifications
| Specification | Detail |
|---|---|
| Brand | HOGARLABS |
| Model Name | 100 Pints Dehumidifier |
| Model Number | PD10G35 |
| Dehumidification Capacity | 100 Pints per Day (under 95°F, 90%RH) |
| Coverage Area | Up to 6,000 Square Feet |
| Water Tank Volume | 1.32 Gallons (5 Liters) |
| Product Dimensions (D x W x H) | 9.66" x 13.78" x 19.69" |
| Item Weight | 34.8 pounds (15.83 Kilograms) |
| Wattage | 720 watts |
| Adjustable Humidity Range | 30% - 80% RH |
| Noise Level | ≤ 40 dB |
| Included Components | Dehumidifier Unit, 1.32 Gallon Water Tank, Drain Hose, User Manual |
| Material | Plastic |
| Color | White |
| UPC | 850062409439 |
9. Warranty and Customer Support
HOGARLABS is committed to providing quality products and support.
- Return Policy: This product comes with a 30-day return policy.
- Maintenance Period: A 2-year extended maintenance period is provided.
- Technical Support: Lifetime technical support is available for this product.
- For any questions or assistance, please contact HOGARLABS customer service. Contact information can typically be found on the product packaging or the official HOGARLABS website.