
1. Introduction
Thank you for purchasing the COWSAR Countertop Ice Maker. This manual provides essential information for the safe and efficient operation, maintenance, and troubleshooting of your ice maker. Please read it thoroughly before first use and retain it for future reference.
The COWSAR Countertop Ice Maker (Model Z5812KH-HT) is designed to produce bullet-shaped ice cubes quickly and conveniently. It features an LED display, timer function, and a self-cleaning mode for ease of use and maintenance.

Image 1.1: General view of the COWSAR Countertop Ice Maker.
2. Safety Information
To ensure safe operation, always follow these basic safety precautions:
- Read all instructions before operating the appliance.
- Do not operate any appliance with a damaged cord or plug, or after the appliance malfunctions or has been damaged in any manner.
- Do not immerse the power cord, plug, or any part of the appliance in water or other liquids.
- Ensure the appliance is placed on a stable, level surface, away from direct sunlight or heat sources.
- Use only potable water in the ice maker.
- Keep children away from the appliance during operation.
- Unplug the appliance before cleaning or when not in use for extended periods.
3. Product Overview
3.1 Components
- Ice Maker Unit
- Ice Basket
- Ice Scoop
3.2 Control Panel
The control panel features an LED display and touch-sensitive buttons for various functions:
- TIMER Button: Activates and adjusts the 24-hour timer.
- CLEAN Indicator: Illuminates during the self-cleaning cycle.
- ON/OFF Button: Powers the unit on or off.
- L (Large) Indicator: Indicates large ice cube size selection.
- S (Small) Indicator: Indicates small ice cube size selection.
- ICE FULL Indicator: Illuminates when the ice basket is full.
- ADD WATER Indicator: Illuminates when the water reservoir needs refilling.

Image 3.1: Detailed view of the control panel and its indicators.
4. Setup
4.1 Unpacking
Carefully remove the ice maker from its packaging. Remove all packing materials, including any tape or protective film. Ensure all components listed in Section 3.1 are present.
4.2 Placement
Place the ice maker on a firm, level surface. Ensure there is adequate ventilation around the unit (at least 6 inches of space on all sides). Avoid placing it near heat sources or in direct sunlight. The compact design allows it to fit seamlessly on most countertops.
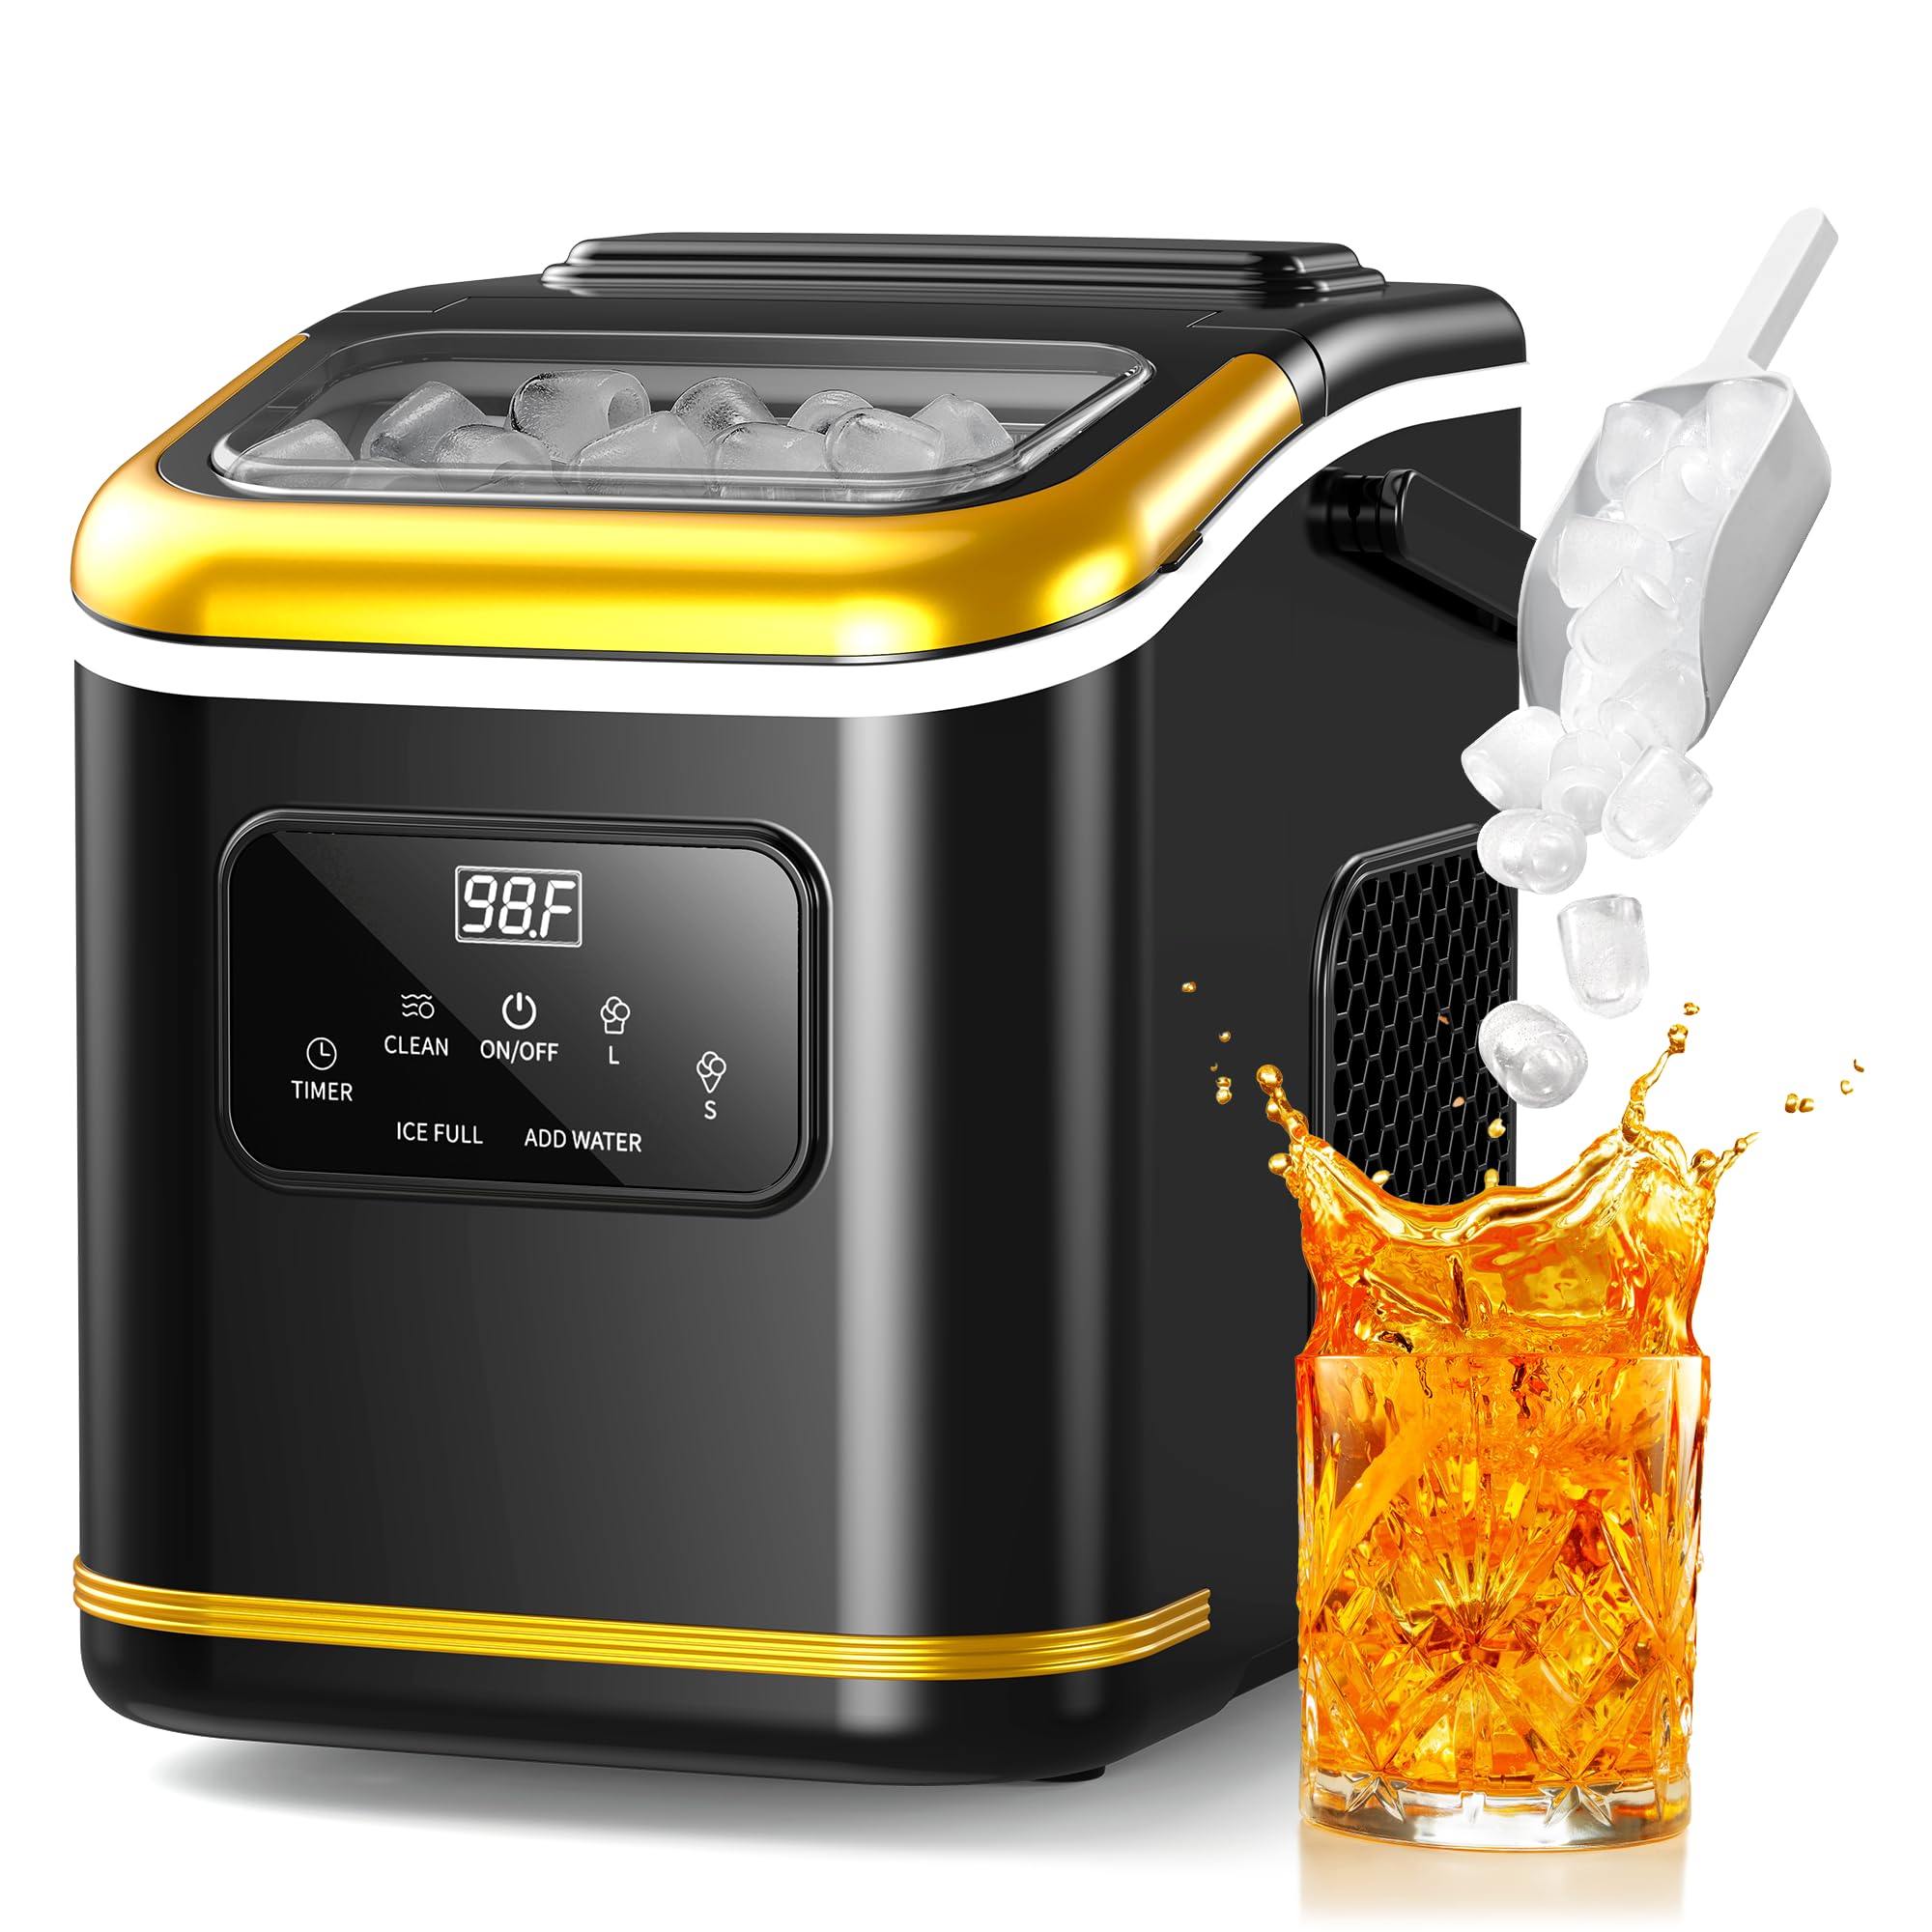
Image 4.1: The COWSAR Ice Maker's compact dimensions for easy placement.
4.3 Initial Cleaning
Before first use, it is recommended to clean the ice maker. Refer to the 'Self-Cleaning Function' in Section 6.2 for instructions, or manually clean the water reservoir and ice basket with a mild detergent and warm water. Rinse thoroughly.
5. Operating Instructions
5.1 Adding Water
Open the lid and fill the water reservoir with potable water up to the MAX fill line. Do not overfill.
5.2 Powering On and Ice Size Selection
- Plug the ice maker into a grounded electrical outlet.
- Press the ON/OFF button to turn on the unit.
- The unit will default to a specific ice cube size. To change the size, press the ON/OFF button again to toggle between 'S' (Small) and 'L' (Large) indicators.

Image 5.1: Choose between small or large bullet ice cubes.
5.3 Starting Ice Production
Once powered on and ice size is selected, the ice maker will automatically begin the ice-making cycle. The first batch of ice is typically ready in approximately 7 minutes. The unit can produce up to 26 lbs of ice per 24 hours.

Image 5.2: The ice maker produces 9 cubes in approximately 6-7 minutes.
5.4 Timer Function
The 24-hour timer allows for delayed start or automatic shut-off. Press the TIMER button to activate the timer. Use the 'L' and 'S' buttons to adjust the desired time in hours. The display will show the set time.

Image 5.3: Advanced LED touch control panel with 24-hour timer functionality.
5.5 Indicators
- ICE FULL: When this indicator illuminates, the ice basket is full. The ice maker will pause production until ice is removed.
- ADD WATER: When this indicator illuminates, the water reservoir is low. Refill the reservoir to resume ice production.
6. Maintenance
6.1 Daily Cleaning
After each use, or at least daily, remove the ice basket and empty any remaining water from the reservoir. Wipe the interior with a soft, damp cloth. Dry thoroughly before storing or next use.

Image 6.1: The detachable ice basket for easy removal and cleaning.
6.2 Self-Cleaning Function
The ice maker features an automatic self-cleaning mode:
- Ensure the water reservoir is filled with clean water.
- Press and hold the CLEAN button (often combined with another button, refer to control panel diagram) for a few seconds to activate the self-cleaning cycle. The 'CLEAN' indicator will illuminate.
- The cycle will run for a set period, circulating water to clean the internal components.
- Once the cycle is complete, drain the water from the reservoir and wipe the interior dry.
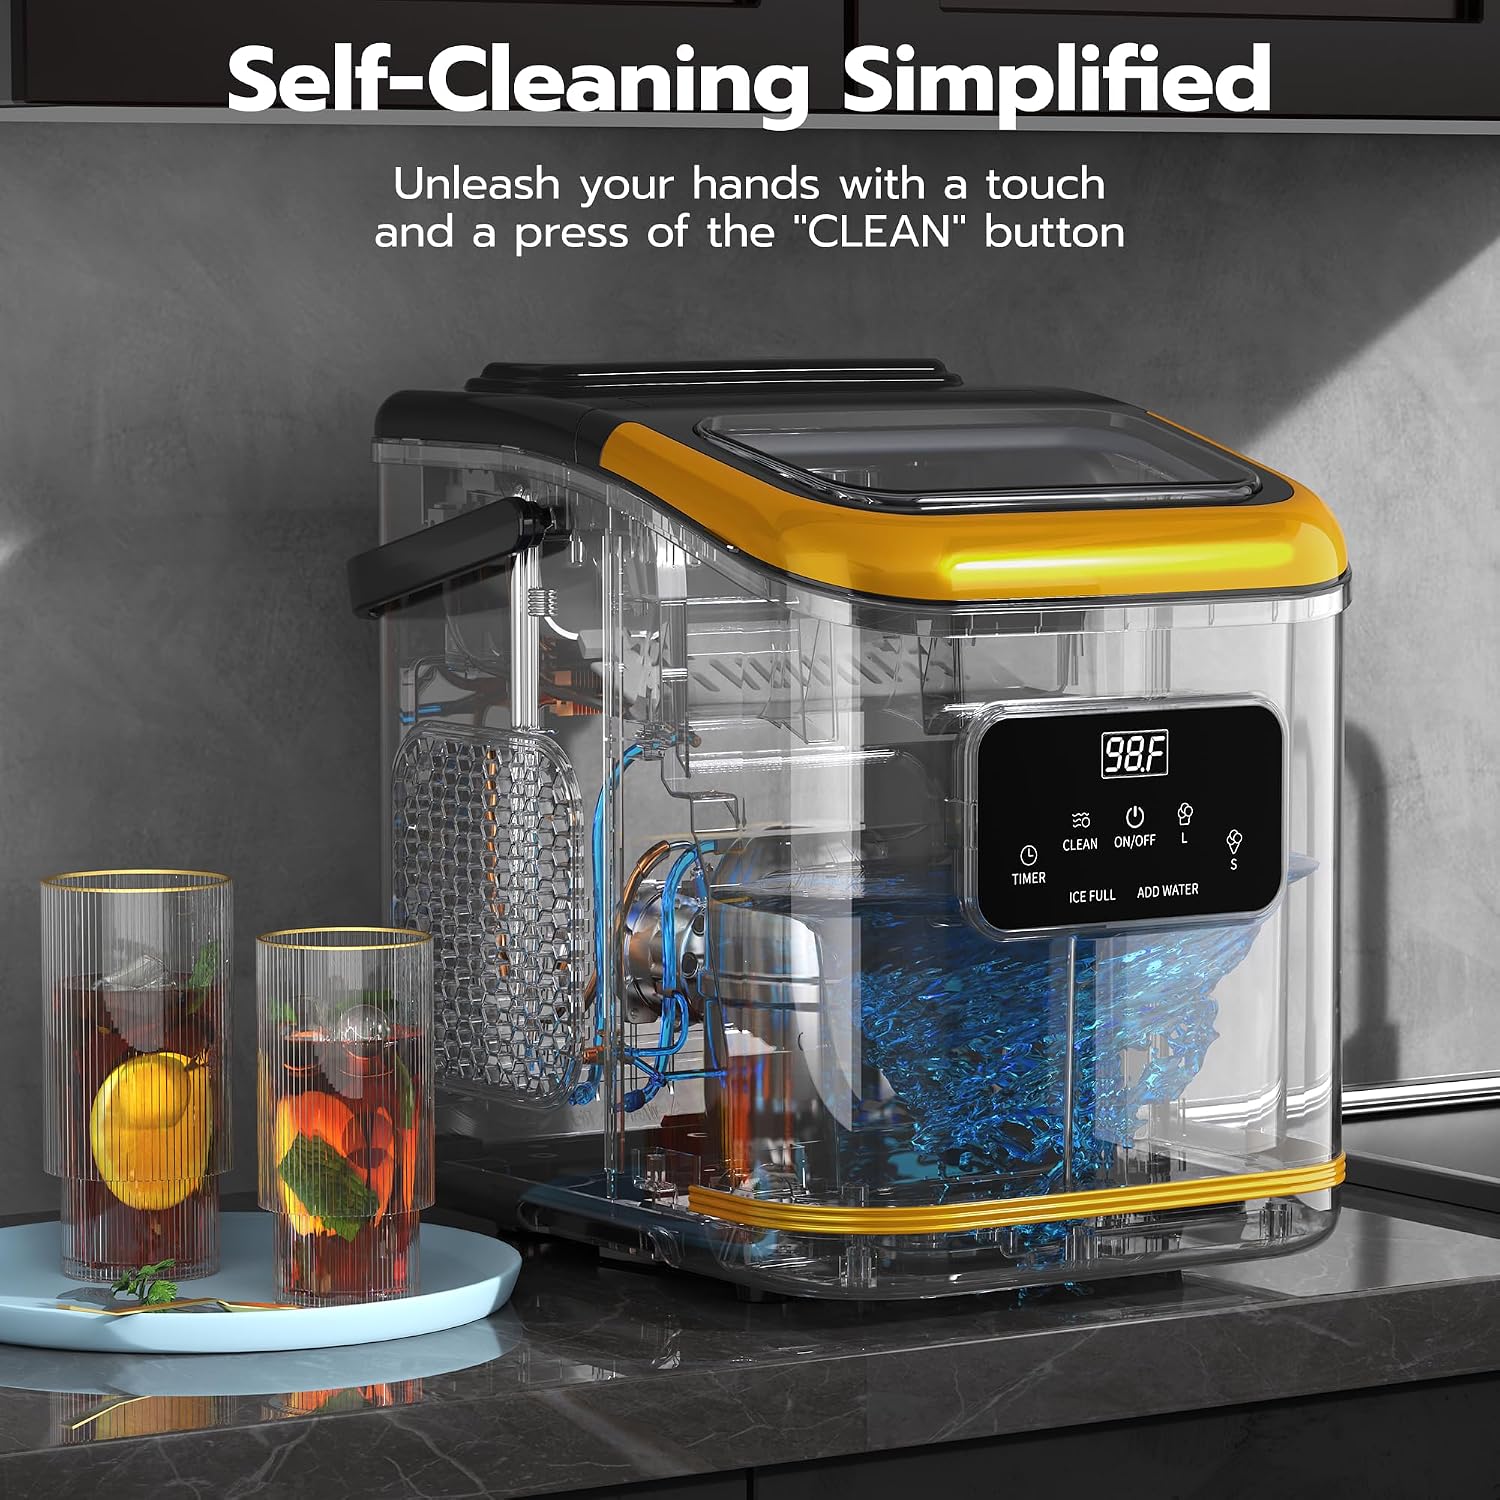
Image 6.2: The self-cleaning function simplifies maintenance with a single touch.
6.3 Descaling
Mineral buildup from hard water can affect ice production and quality. Regular descaling is essential. The frequency depends on your water hardness:
- Moderately Hard Water: Descale once a month.
- Hard to Very Hard Water: Descale every 2-3 weeks.
To descale, use a mixture of water and white vinegar or a commercial descaling solution designed for ice makers. Follow the product's instructions for the descaling solution, or run the self-cleaning cycle with the vinegar solution, then rinse thoroughly with clean water multiple times.

Image 6.3: Hard water can impact your ice maker; regular descaling is crucial.
7. Troubleshooting
If you encounter issues with your ice maker, refer to the following common problems and solutions:
| Problem | Possible Cause | Solution |
|---|---|---|
| Ice maker not producing ice. | No water in reservoir; unit not powered on; ambient temperature too high. | Fill water reservoir; ensure unit is plugged in and turned on; move unit to a cooler location. |
| 'ADD WATER' indicator stays on after refilling. | Water level sensor malfunction; air bubble. | Unplug and replug the unit; gently shake the unit to dislodge air bubbles. |
| 'ICE FULL' indicator is on, but basket is not full. | Ice sensor obstructed or dirty. | Clean the ice sensor (located near the ice basket). |
| Ice cubes are small or cloudy. | Water quality; high ambient temperature. | Use filtered water; ensure proper ventilation; select 'L' for larger cubes. |
| Unusual noise during operation. | Normal compressor noise; unit not level. | Ensure unit is on a level surface. If noise persists and is excessive, contact support. |
8. Specifications
| Feature | Specification |
|---|---|
| Brand | COWSAR |
| Model Name | Z5812KH-HT |
| Product Dimensions | 8.74"D x 11.42"W x 11.57"H |
| Ice Production per Day | 26 Pounds |
| Wattage | 150 watts |
| Voltage | 115 Volts |
| Refrigerant | R600a |
| Material | Plastic |
| Certifications | ETL Certified |
9. Warranty and Support
9.1 Warranty Information
The COWSAR Countertop Ice Maker comes with a 1-year warranty from the date of purchase. This warranty covers manufacturing defects and malfunctions under normal use. It does not cover damage caused by misuse, accident, unauthorized modification, or improper maintenance.
9.2 Customer Support
For technical assistance, warranty claims, or any questions regarding your COWSAR Ice Maker, please contact our customer support team. Refer to the contact information provided with your purchase or visit the official COWSAR website for support details.


