
Introduction
The GoSports Range Cage is a versatile 10 ft x 8 ft golf net system designed for both indoor and outdoor practice. It features an enclosed net cage with side and top netting to safely contain golf shots, including those from high-lofted clubs. The integrated high-density polyester impact screen serves as a durable hitting surface and can also function as a projector backdrop for home golf simulator setups. This system is built with reinforced netting, a stable steel frame, and fiberglass poles to withstand repeated high-speed impacts, providing a reliable training environment.
Package Contents
Verify that all components are present before beginning assembly:
- (1) Range Cage Net with Frame
- (1) Carry Case
- All necessary poles and connectors for assembly
If any parts are missing or damaged, please contact GoSports customer support.
Setup Instructions
The GoSports Range Cage is designed for quick assembly without tools. Follow these steps carefully to ensure proper setup and stability.
Step 1: Unpack and Identify Components
Remove all contents from the carry case. Lay out the frame poles and net components on a flat, clear surface. Identify the different pole sections, noting any labels or color-coding if present.
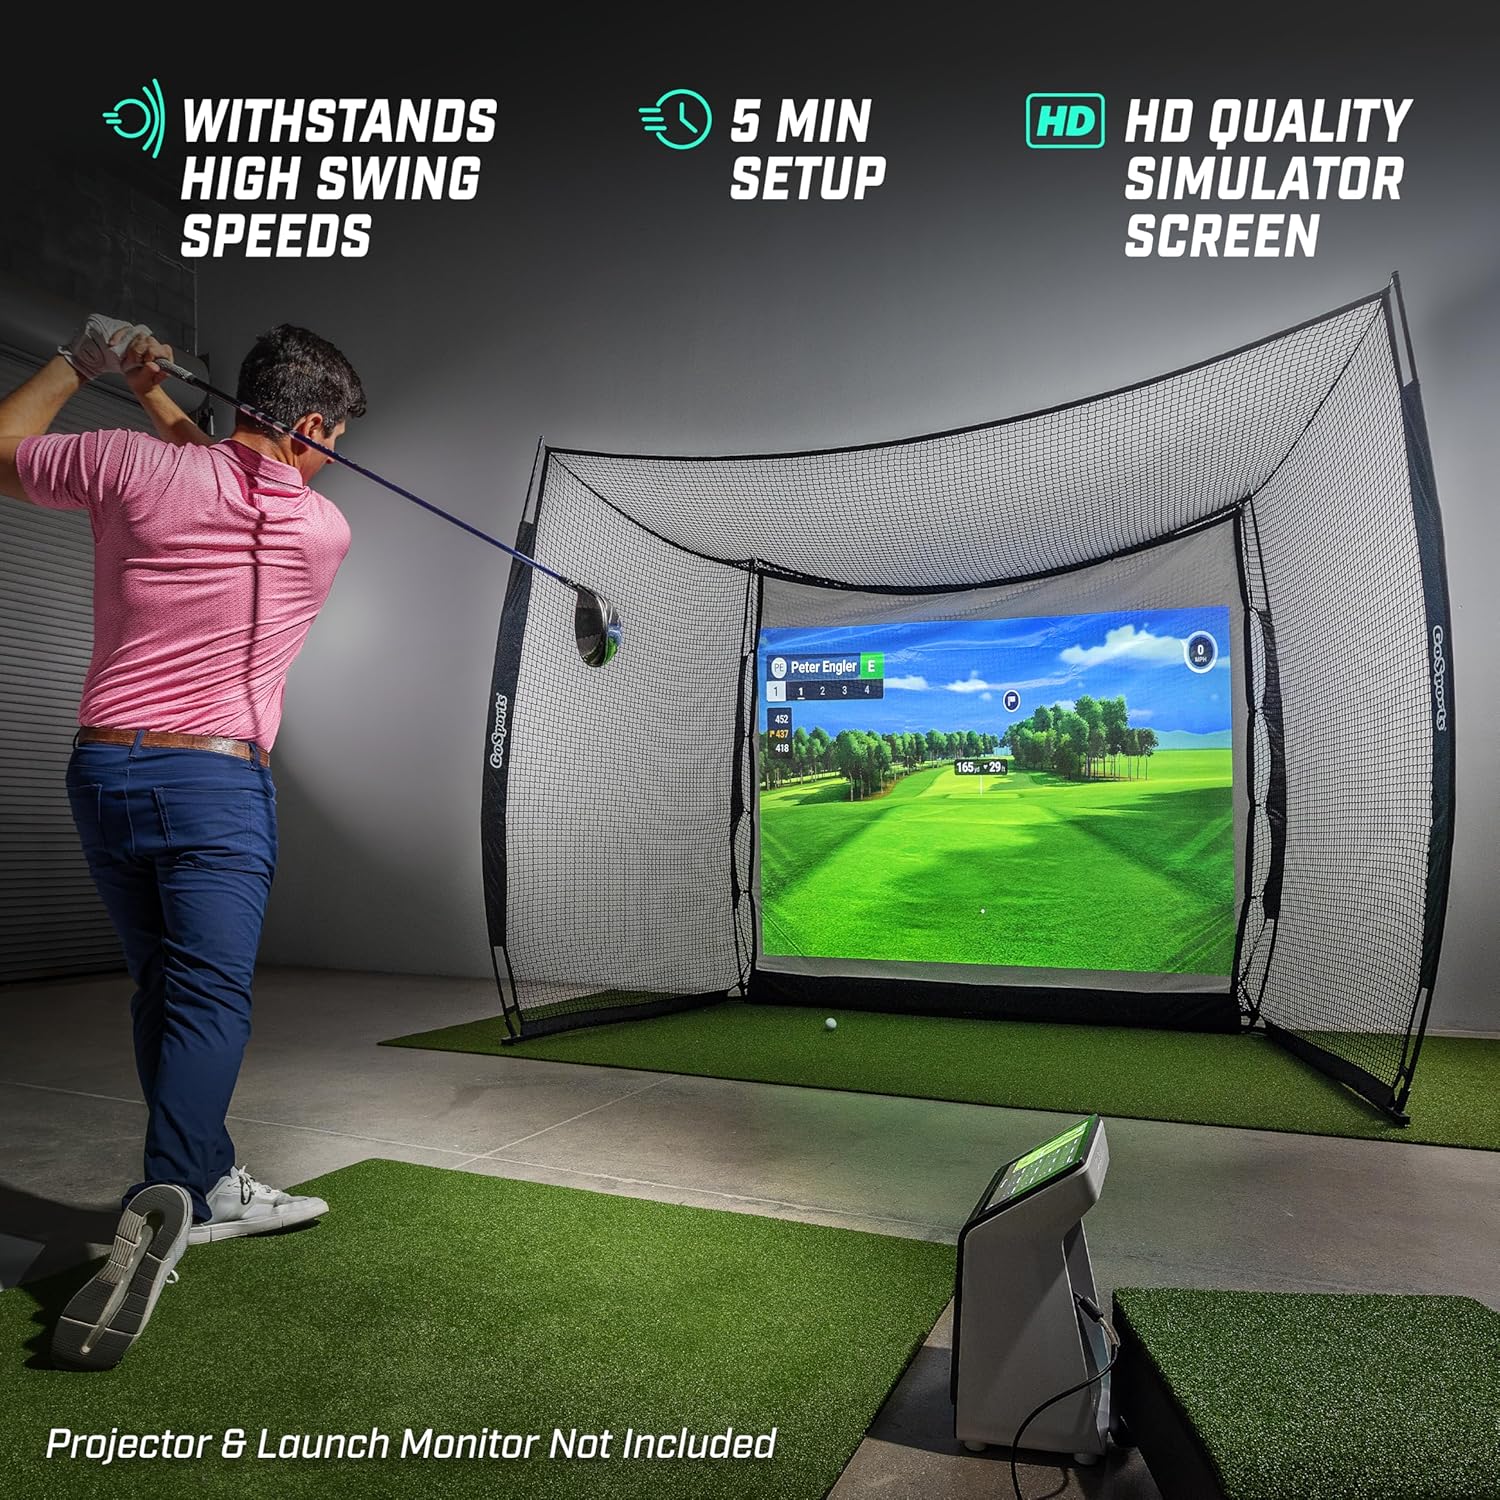
Image: All components of the GoSports Range Cage laid out on a surface, ready for assembly.
Step 2: Assemble the Base Frame
Connect the base frame poles. Ensure that the two front base bars are oriented correctly. The vertical rod receivers on these bars must point up and outward. Incorrect orientation will lead to a significant sag in the top net. Refer to the diagram or video for correct placement.

Image: Illustration showing the assembly of the base frame, highlighting the connection points.
Step 3: Attach Vertical and Top Poles
Insert the vertical poles into the receivers on the base frame. Then, connect the top poles to form the upper structure of the cage. Ensure all connections are secure.

Image: A partially assembled GoSports Range Cage frame with vertical and top poles connected.
Step 4: Install the Netting
Drape the main net over the assembled frame. Secure the net to the frame using the provided loops or ties. Ensure the net is properly aligned and taut to prevent sagging and maximize ball containment.

Image: The netting being installed onto the GoSports Range Cage frame, showing the full enclosure.
Step 5: Attach the Impact Screen
Hang the impact screen at the front of the cage. Use the bungee cords or attachment points to secure it firmly. The screen should be taut to provide a smooth surface for projection and effective impact absorption. Ensure the bottom cushion of the screen is properly aligned to prevent ricochets.

Image: The impact screen fully installed on the GoSports Range Cage, ready for use.
Setup Video Guide
Video: A detailed guide on how to set up the GoSports Range Cage for golf practice.
Video: Demonstrating the setup of the golf driving cage in a garage environment.
Operating Instructions
The GoSports Range Cage provides a safe and effective environment for golf practice and simulator use.
Golf Practice
- Positioning: Place the Range Cage on a flat, stable surface. Ensure adequate space around the cage for your swing, especially for full swings with drivers and high-lofted clubs.
- Ball Placement: Use a golf mat for consistent ball striking. Position the ball at a safe distance from the impact screen, typically 6-8 feet, to allow the screen to absorb impact effectively.
- Safety: Always ensure no one is standing near or behind the net during use. The enclosed design helps contain shots, but proper safety precautions are essential.

Image: A golfer demonstrating a full swing into the GoSports Range Cage, showcasing the net's ability to contain shots.
Home Golf Simulator Use
The integrated impact screen is suitable for use with most golf simulators (launch monitor and projector not included).
- Projector Setup: Position your projector to cast the simulator image onto the impact screen. Adjust the projector settings for optimal clarity and fit.
- Launch Monitor Placement: Follow your launch monitor's specific instructions for placement relative to the hitting area and impact screen.
- Lighting: For best projection quality, use the simulator in a dimly lit or dark environment.

Image: The GoSports Range Cage configured as a home golf simulator, displaying a golf course image on the impact screen.
Maintenance
- Cleaning: The netting and impact screen can be cleaned with a damp cloth and mild soap if necessary. Avoid harsh chemicals or abrasive cleaners.
- Inspection: Regularly inspect the netting, frame poles, and impact screen for any signs of wear, tears, or damage. Address any issues promptly to maintain safety and product longevity.
- Storage: When not in use, especially for extended periods or during adverse weather conditions, disassemble the Range Cage and store it in its included carry case in a dry, protected area. This will help prevent material deterioration, particularly if used outdoors.
- Outdoor Use: While designed for outdoor use, prolonged exposure to extreme weather (heavy rain, strong winds, intense UV radiation) can affect the lifespan of the materials. Consider bringing the unit indoors or covering it during such conditions.
Troubleshooting
- Net Sagging or Instability:
Ensure all frame poles are fully connected and seated. Verify that the front base bars are installed with their vertical rod receivers pointing up and outward. Incorrect orientation of these bars is a common cause of top net sag. Adjust net loops and ties to ensure even tension.
- Impact Screen Not Taut or Wrinkled:
Check all bungee cords or attachment points securing the impact screen to the frame. Ensure they are evenly distributed and pulled tight. For persistent wrinkles, ensure the frame is fully extended and the screen is properly aligned.
- Balls Ricocheting Off Bottom Bar:
If the bottom of the impact screen does not fully cover the base bar, or if balls are bouncing back, consider adding foam padding (e.g., a pool noodle) to the exposed base bar for additional protection and impact absorption.
- Damage to Netting or Screen:
Inspect the product upon receipt for any manufacturing defects or shipping damage, such as unraveling seams or tears. For issues with the impact screen's durability or any fragile connection points, contact GoSports customer service for assistance.
Specifications
| Model Number: | GOLF-NET-CAGE-10x8-SIM |
| Dimensions (Assembled): | 10 ft (Width) x 8 ft (Height) x 5.5 ft (Depth) |
| Material: | Fiberglass (poles), Polyester (netting, impact screen) |
| Weight: | Approximately 40 lbs |
| Included Components: | Range Cage Net with Frame, Carry Case |
| Recommended Ceiling Height: | 9+ feet for optimal use |
Image: A visual representation of the GoSports Range Cage with its dimensions and recommended room size.
Warranty Information
P&P IMPORTS, LLC (GoSports) warrants its Products to be free from defects in material and workmanship for a period of six (6) months from the date of delivery to the consumer. Please retain your original delivery receipt, as it is required for any warranty claim.
This warranty is non-transferable and does not apply to merchandise purchased "as is" (e.g., floor samples or clearance items) or goods purchased from non-authorized P&P IMPORTS, LLC dealers or resellers. Failure to follow all instructions regarding your Product will void this warranty.
All claims must be directed to the P&P IMPORTS, LLC retail dealer from whom the merchandise was originally purchased, along with the original delivery receipt.
Customer Support
For any questions, missing parts, or warranty claims, please contact GoSports customer service through the retailer where the product was purchased. You may also visit the official GoSports website for additional support resources.
GoSports Store Link: Visit the GoSports Store on Amazon