
1. Introduction
The ARGIGU BL-DQY02 Galaxy Projector Pro is designed to transform your space with stunning celestial projections, soothing white noise, and integrated Bluetooth audio. This manual provides essential information for safe and effective use, including setup, operation, and maintenance.
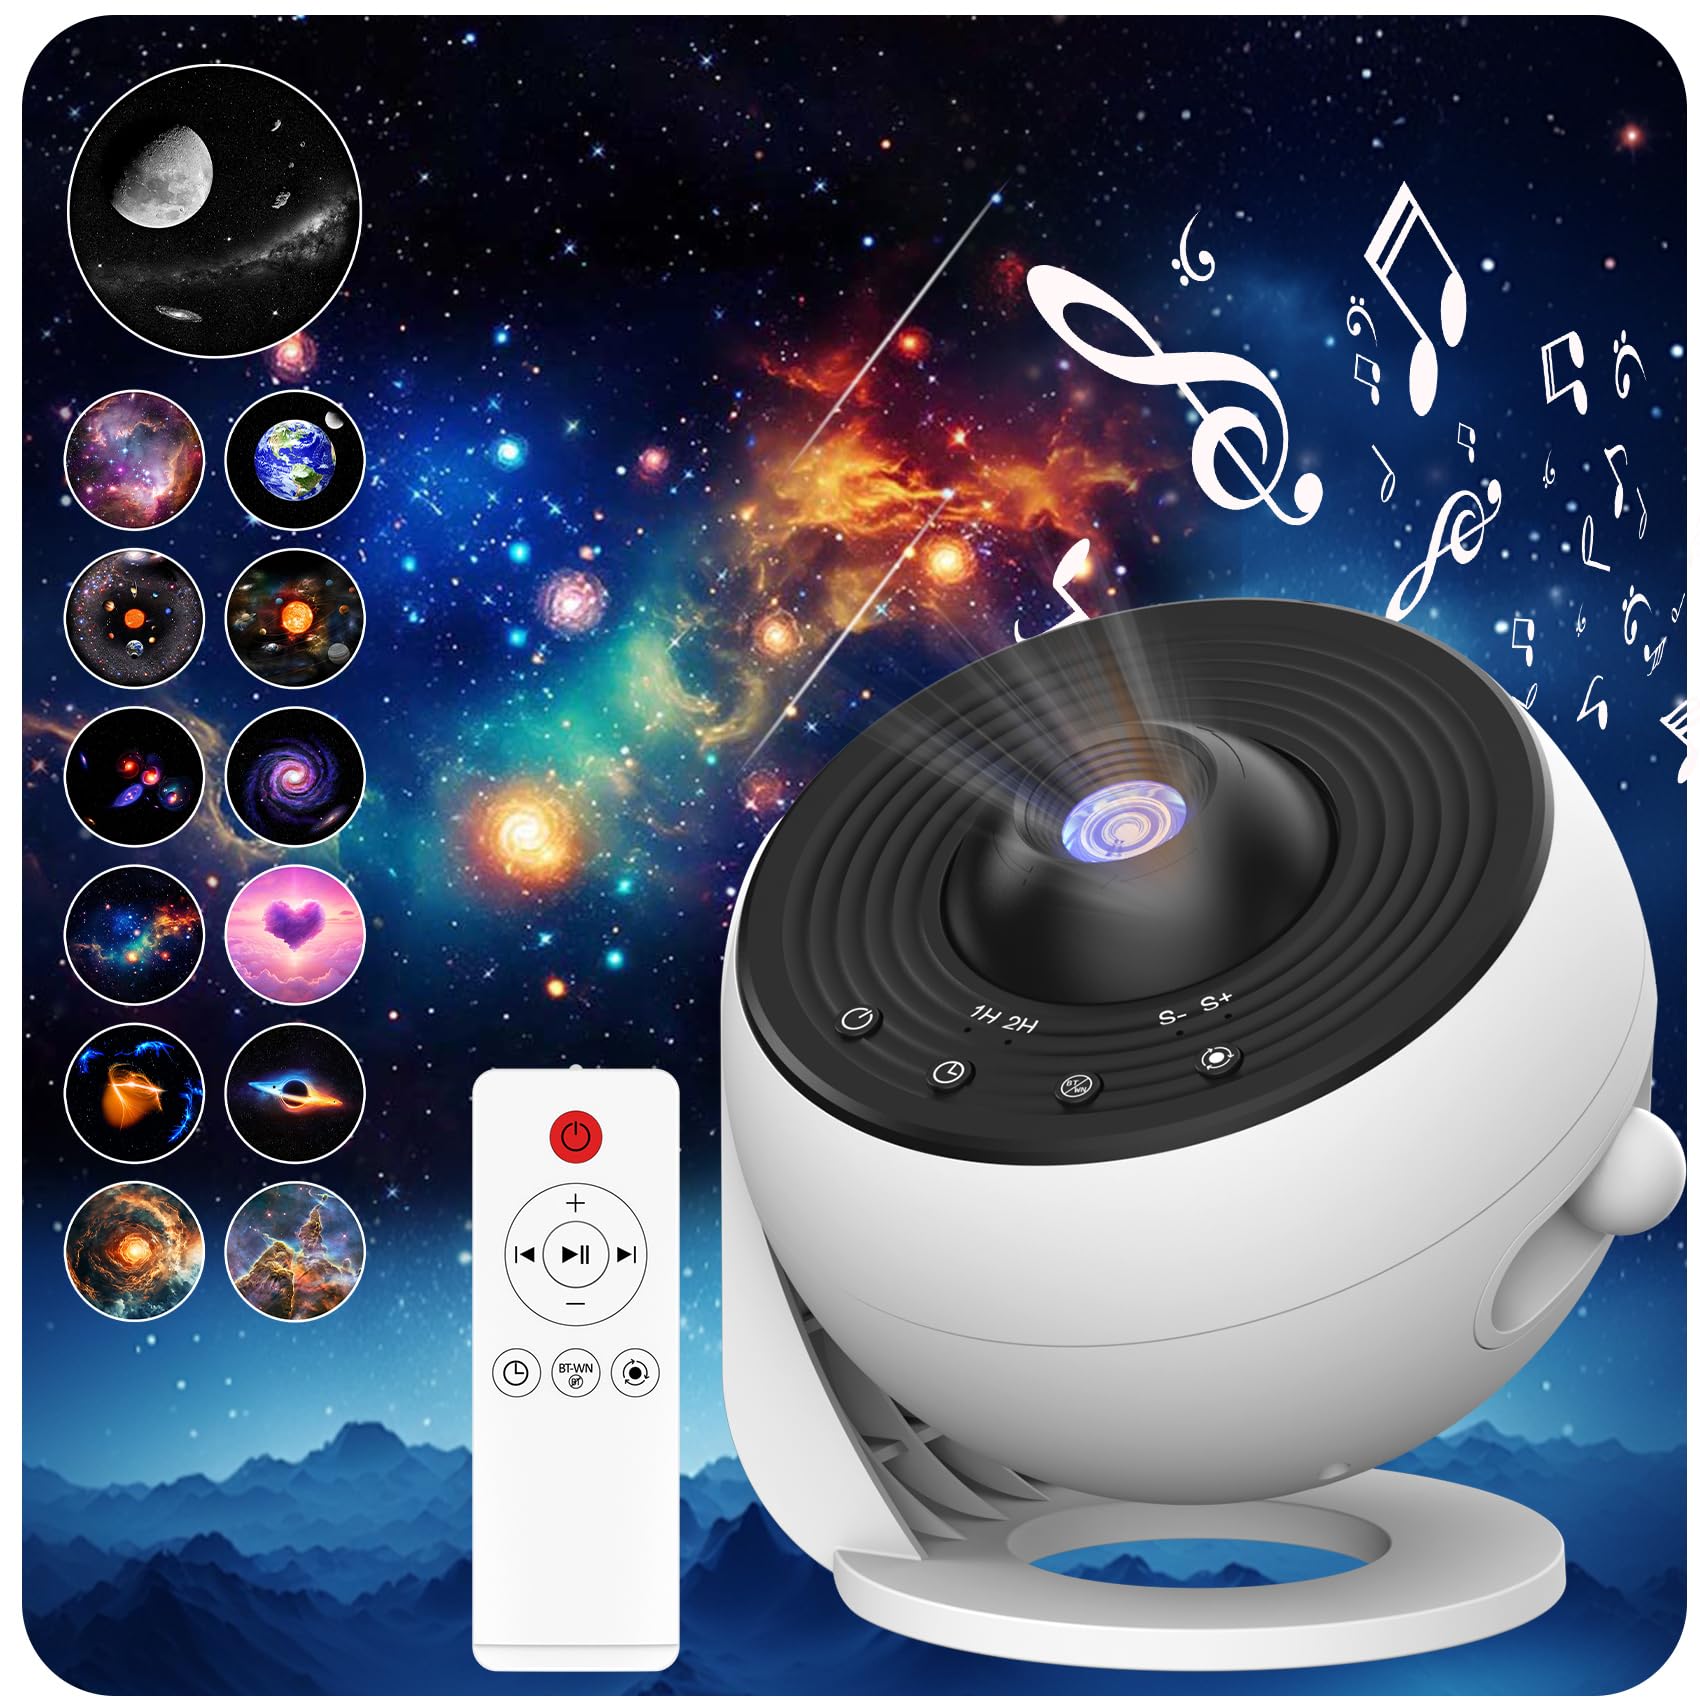
Image 1.1: The ARGIGU BL-DQY02 Galaxy Projector Pro, a compact device designed for immersive celestial projections.
2. What's in the Box
Please verify that all components are present upon unboxing:
- Galaxy Projector Pro (x1)
- Film Discs (x2 Boxes, 6pcs/box, total 12 discs plus 1 pre-installed)
- Wireless Remote Control (x1)
- USB Type-C Cable (x1)
- User Manual (x1)
3. Setup Instructions
3.1 Placement
Place the projector on a stable, flat surface. For optimal projection, ensure a distance of 1.64 to 9.84 feet from the projection surface (wall or ceiling). The 360° rotation feature allows for flexible positioning.
3.2 Power Connection
- Connect the provided USB Type-C cable to the projector's power input port.
- Plug the other end of the USB cable into a compatible USB power adapter (not included) or a USB port.
- The projector will power on automatically or can be turned on using the power button on the device or remote control.
3.3 Inserting Film Discs
- Locate the film disc tray on the side of the projector.
- Gently pull out the disc tray.
- Place the desired film disc into the tray, ensuring it is seated correctly. The disc should click into place.
- Slide the disc tray back into the projector until it is flush with the device body.

Image 3.1: The 13 included film discs, each offering a unique celestial or cosmic projection. These include Solar System, Earth, Moon, The Milky Way, Galaxy, Andromeda Galaxy, NGC4302-NGC4298, Hubble Deep Field, M60-UCD1, North America Nebula, Mystic Mountain, Small Magellanic Cloud, and an in-built Galaxy disc.
3.4 Focus Adjustment
To achieve a clear projection, rotate the focus knob located on the top of the projector until the image appears sharp on your chosen surface.

Image 3.2: Close-up view of the projector's top, highlighting the focus knob for adjusting image clarity.
4. Operating Instructions
4.1 Power On/Off
Press the power button on the projector or the remote control to turn the device on or off.
4.2 Projection Control
- Rotation: Use the rotation button on the remote or device to start or stop the 360° image rotation.
- Brightness: Adjust the projection brightness using the dedicated buttons on the remote control.
- Film Discs: Change film discs as described in Section 3.3 to switch between different celestial scenes.
4.3 Bluetooth Speaker Function
- Ensure the projector is powered on.
- Activate Bluetooth on your mobile device or computer.
- Search for "Galaxy Projector" in your device's Bluetooth settings and pair.
- Once connected, you can play audio through the projector's built-in speaker.
- Adjust volume using your connected device or the remote control.
4.4 White Noise Sounds
The projector includes 15 built-in soothing white noise options. Use the dedicated white noise button on the remote control to cycle through sounds such as White Noise, Abbling Brook, Drizzling Rain, Birds, Rolling Waves, River, Wind Chimes, and Lullaby.
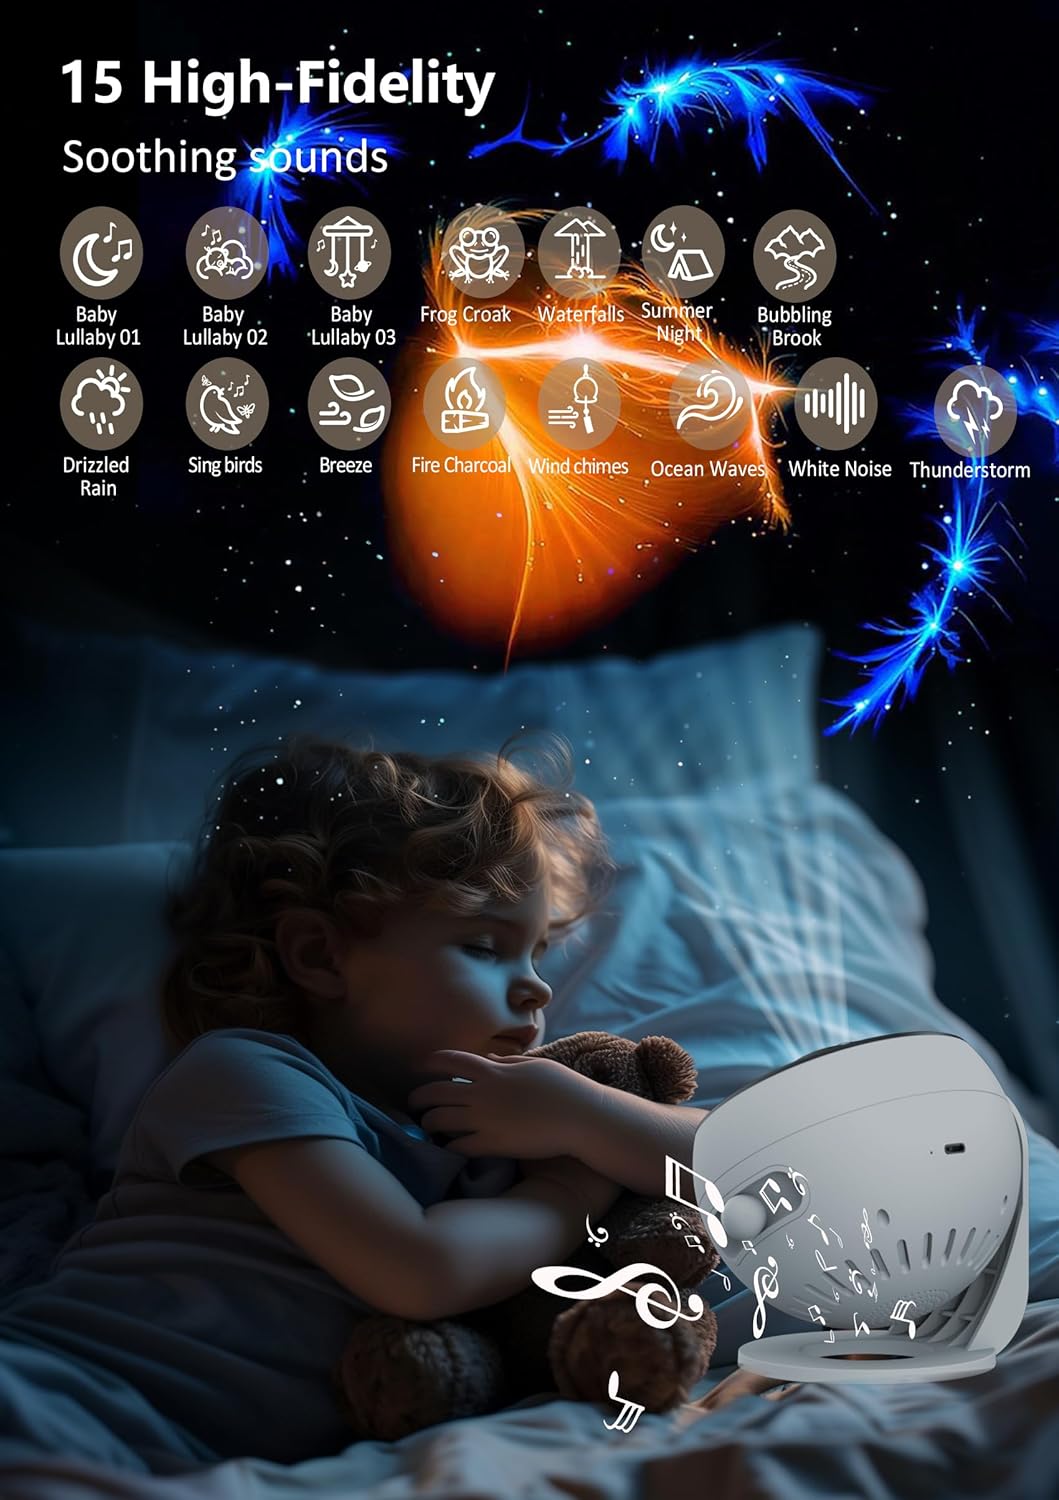
Image 4.1: Visual representation of the 15 high-fidelity soothing sounds available on the projector, including various nature sounds and lullabies.
4.5 Timer Function
Set the projector to automatically turn off after a specified duration:
- Press the timer button on the remote control to select 1 hour or 2 hours.
- If no timer is set, the projector will automatically turn off after 4 hours.
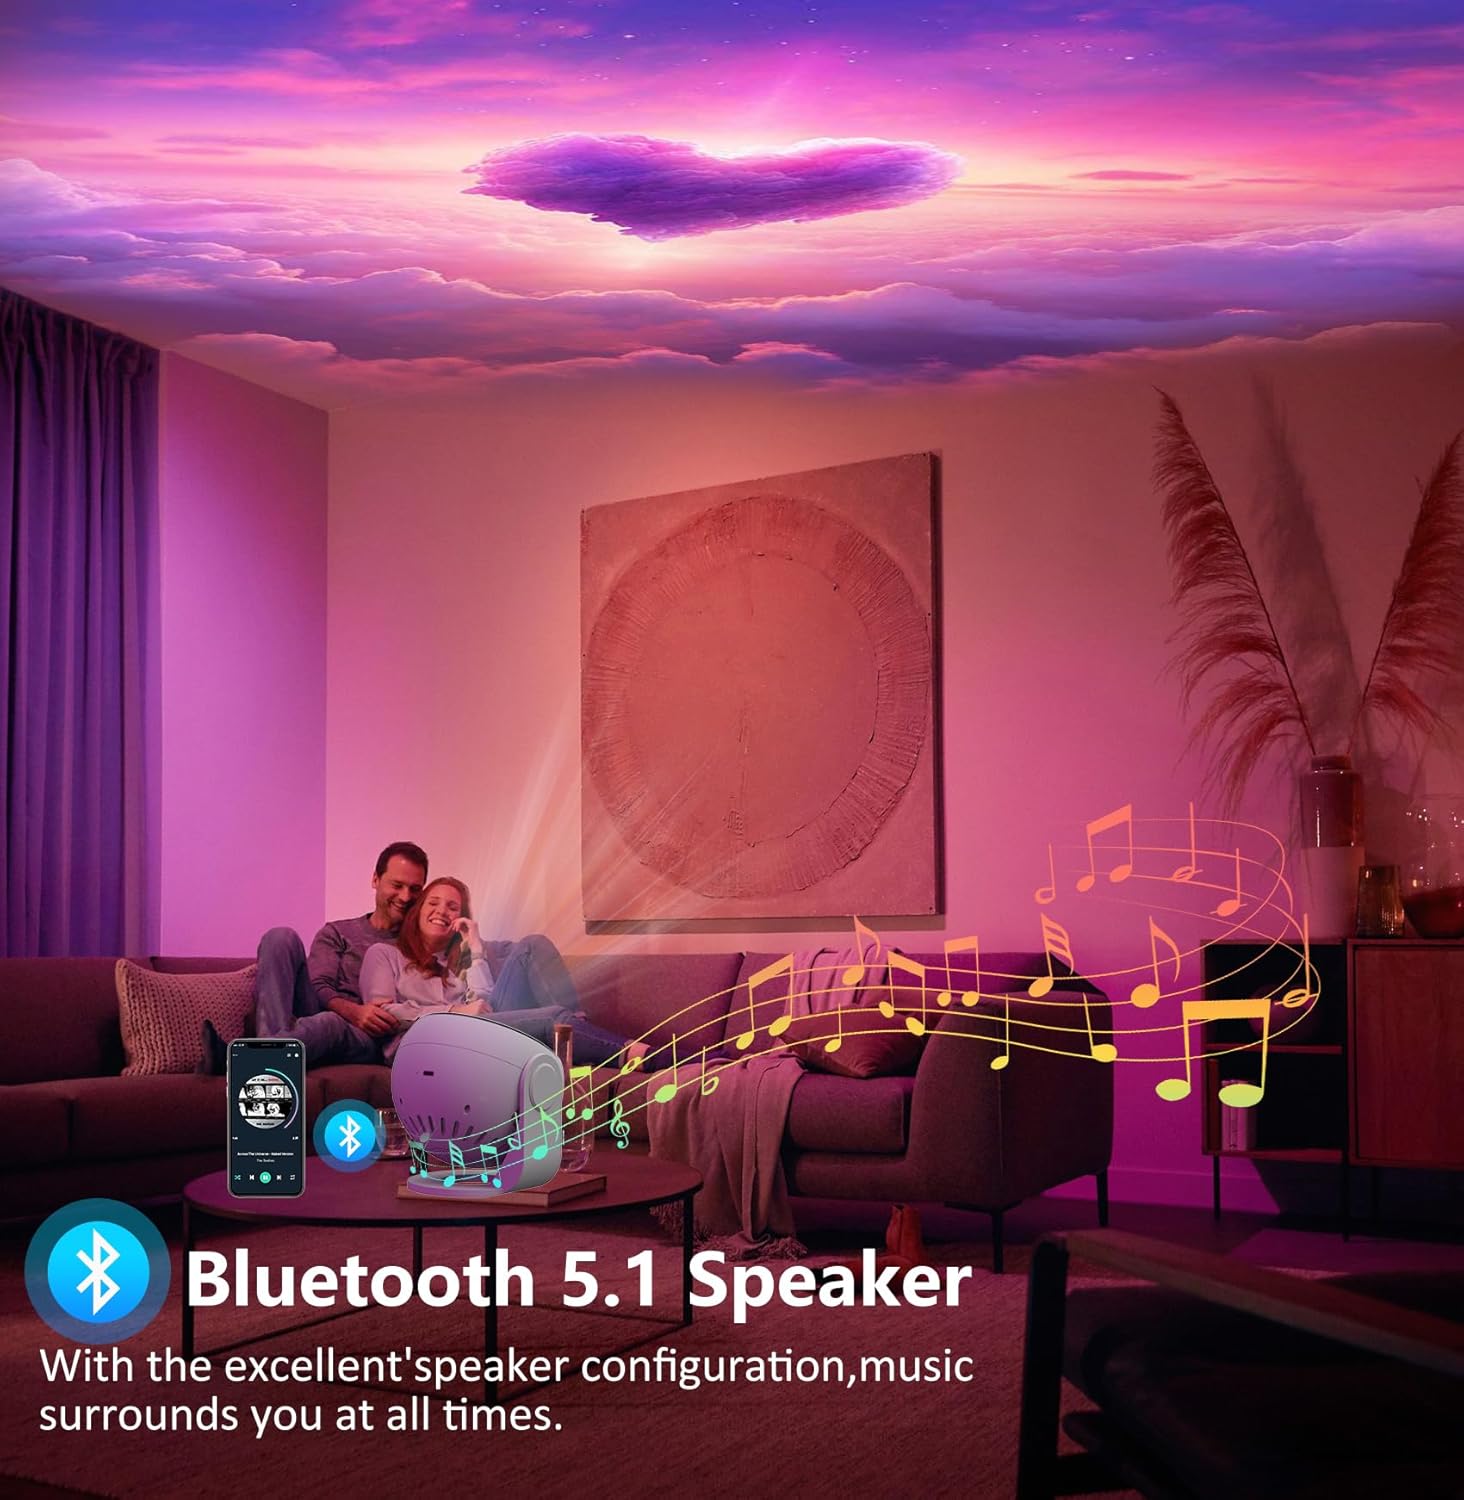
Image 4.2: A child sleeping peacefully under a projected galaxy, illustrating the timer function for automatic shut-off after 1, 2, or 4 hours.
4.6 Remote Control Overview
The included RF remote control allows for convenient operation from a distance, even through walls. Key functions include:
- Power On/Off
- Volume Up/Down
- Play/Pause/Next/Previous (for Bluetooth audio)
- Projection Rotation On/Off
- White Noise Selection
- Timer Settings (1H/2H)
5. Maintenance
To ensure the longevity and optimal performance of your projector:
- Cleaning: Use a soft, dry cloth to wipe the exterior of the projector. Do not use abrasive cleaners or solvents.
- Lens Care: For the projection lens, use a lens cleaning cloth. Avoid touching the lens directly with your fingers.
- Storage: When not in use for extended periods, store the projector in a cool, dry place, away from direct sunlight and extreme temperatures.
6. Troubleshooting
If you encounter issues with your projector, refer to the following common solutions:
| Problem | Possible Cause | Solution |
|---|---|---|
| No power | Power cable not connected; Power adapter faulty | Ensure USB-C cable is securely connected. Try a different USB power adapter. |
| Projection is blurry | Focus not adjusted; Projector too far/close | Rotate the focus knob until the image is clear. Adjust projector distance to the surface. |
| No sound from Bluetooth speaker | Not paired; Volume too low; Device not playing audio | Ensure Bluetooth is paired. Increase volume on both projector and connected device. Verify audio is playing on your device. |
| Remote control not working | Battery depleted; Obstruction | Replace remote control battery. Ensure no major obstructions between remote and projector. |
| Film disc not rotating | Rotation function off; Disc jammed | Press the rotation button on the remote or device. Remove and re-insert the film disc carefully. |
7. Specifications
| Feature | Detail |
|---|---|
| Brand | ARGIGU |
| Model Name | BL-DQY02 |
| Connectivity Technology | Bluetooth 4.0 |
| Display Resolution | 1920 x 1080 (Native and Maximum) |
| Display Type | LCoS |
| Special Features | 360° Rotation, Built-In Bluetooth Speaker, RF Remote Control, Soothing White Noise Sounds |
| Maximum Throw Distance | 9.84 Feet |
| Maximum Image Size | 9.84 Feet |
| Color | White+Black |
| Item Weight | 0.69 Kilograms |
| Manufacturer | Shenzhen Bolong Technology Co., Ltd. |
8. Product Videos
Video 8.1: An official product video demonstrating the ARGIGU Galaxy Projector Pro in various settings, showcasing its projection capabilities, remote control, and overall user experience.
9. Warranty and Support
Warranty information is typically provided with your product packaging or can be obtained from the retailer at the time of purchase. For technical support or further inquiries, please refer to the contact information provided by your seller or on the official ARGIGU website.


