1. Introduction
This manual provides essential information for the safe and effective use of your DHUFKN replacement plastic grass trimmer blades. These blades are designed for compatibility with specific Aldi Ferrex and Garden Feelings lawn trimmer models. Please read this manual thoroughly before installation and use to ensure proper function and longevity of the blades.

Figure 1.1: DHUFKN Replacement Grass Trimmer Blades (100-pack)
2. Safety Information
Always prioritize safety when working with power tools. Adhere to the safety guidelines provided in your lawn trimmer's original instruction manual in addition to the following:
- Disconnect Power: Always ensure the lawn trimmer's battery is removed or the power cord is unplugged before installing, removing, or inspecting blades.
- Wear Protective Gear: Use appropriate personal protective equipment (PPE), including safety glasses, gloves, and sturdy footwear, when handling blades and operating the trimmer.
- Inspect Blades: Before each use, inspect blades for damage, cracks, or excessive wear. Replace any damaged blades immediately.
- Correct Installation: Ensure blades are installed correctly and securely according to the trimmer's manufacturer instructions. Improper installation can lead to blade detachment during operation.
- Keep Clear: Maintain a safe distance from the cutting head during operation. Ensure bystanders and pets are also at a safe distance.
3. Package Contents
Verify that all items are present and undamaged upon opening the package.
- 100 x DHUFKN Replacement Plastic Grass Trimmer Blades (Red)

Figure 3.1: Contents of the 100-pack of replacement blades.
4. Installation (Setup)
These replacement blades are designed for easy installation on compatible lawn trimmer models. Refer to your specific trimmer's manual for detailed instructions on blade replacement, as procedures may vary slightly.
- Ensure Safety: Before beginning, ensure the lawn trimmer is turned off and the battery pack is removed (for cordless models) or the power cord is unplugged (for corded models).
- Remove Old Blade: Locate the blade attachment point on your trimmer's cutting head. Depending on your model, this may involve pressing a release button, twisting a collar, or unscrewing a fastener. Carefully remove the worn or damaged blade.
- Clean Attachment Area: Briefly clean any debris or grass clippings from the blade attachment area to ensure a secure fit for the new blade.
- Install New Blade: Take a new DHUFKN replacement blade. Align the mounting hole(s) on the blade with the corresponding pins or slots on the trimmer's cutting head. Push or slide the blade into place until it clicks or locks securely. Ensure the blade is fully seated and cannot be easily pulled off.
- Verify Security: Gently tug on the installed blade to confirm it is firmly attached and will not dislodge during operation.
- Reattach Power: Once all blades are securely installed, reattach the battery pack or plug in the power cord.
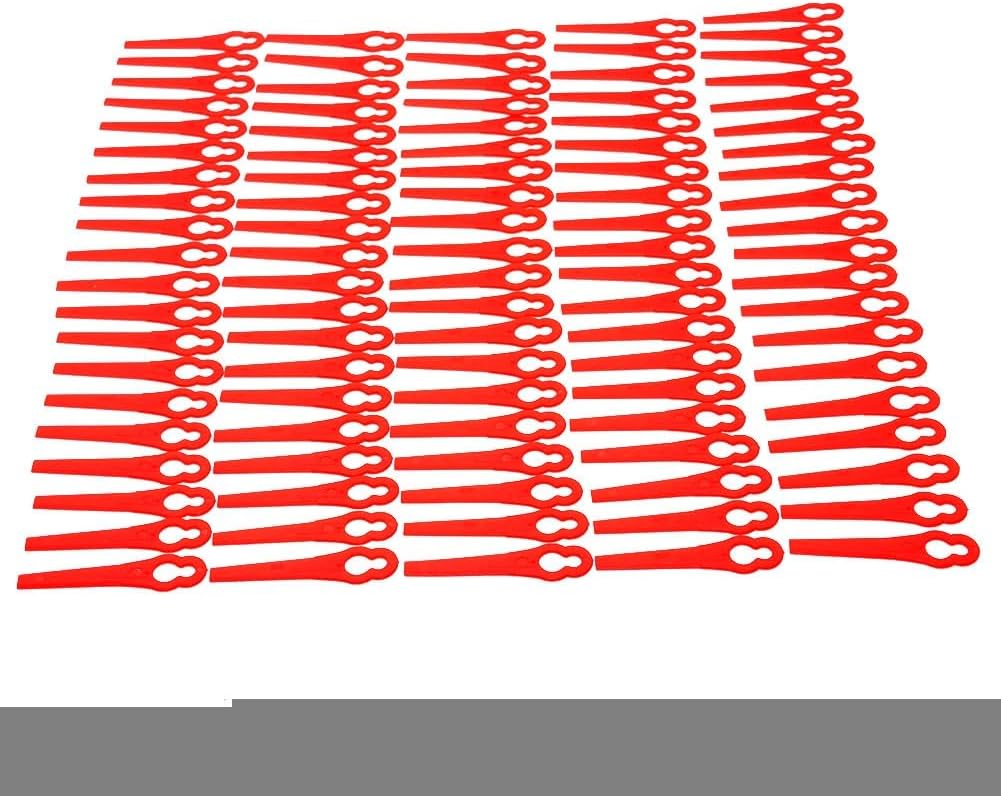
Figure 4.1: Detail of the blade's attachment point.
5. Operation
Once the DHUFKN replacement blades are correctly installed, operate your lawn trimmer as per its original manufacturer's instructions. These blades are designed for cutting grass and light weeds. Avoid using them for heavy brush, thick branches, or other materials that could damage the blades or the trimmer.
- Optimal Cutting: For best results, operate the trimmer at a consistent speed and angle, allowing the blades to cleanly cut the grass.
- Blade Wear: Plastic blades will wear down over time, especially when encountering hard surfaces or dense vegetation. Regularly check blade condition during operation.
- Replacement: Replace blades as soon as they show signs of significant wear or damage to maintain cutting efficiency and prevent strain on the trimmer motor.
6. Maintenance
Proper maintenance of your replacement blades ensures optimal performance and safety.
- Regular Inspection: Before and after each use, inspect all installed blades for signs of wear, cracks, chips, or deformation.
- Cleaning: After use, with the power disconnected, carefully remove any grass clippings or debris from the blades and the trimmer head. A stiff brush or cloth can be used.
- Storage: Store unused blades in a cool, dry place away from direct sunlight and extreme temperatures to prevent material degradation. Keep them in their original packaging or a suitable container to prevent loss or damage.
- Replacement Schedule: Replace blades proactively when they become dull or show significant wear, even if not broken. Dull blades reduce cutting efficiency and can put extra strain on your trimmer.

Figure 6.1: Keep a supply of replacement blades for ongoing maintenance.
7. Troubleshooting
This section addresses common issues related to the replacement blades.
| Problem | Possible Cause | Solution |
|---|---|---|
| Blades break too quickly. |
|
|
| Poor cutting performance. |
|
|
| Blade detaches during use. |
|
|
8. Specifications
Key specifications for the DHUFKN replacement grass trimmer blades.
| Attribute | Detail |
|---|---|
| Product Name | Replacement Grass Trimmer Blades |
| Brand | DHUFKN |
| Model Compatibility | Aldi Ferrex 20V/40V FAR 20-1, 20-N Li-Ion Cordless Garden Trimmers; Garden Feelings Gfart 18 Lawn Trimmer |
| Material | Plastic |
| Color | Red |
| Quantity per Pack | 100 pieces |
| Item Weight (per pack) | 1.76 ounces (approx. 50 grams) |
| Package Dimensions | 1.18 x 0.79 x 0.39 inches (approx. 3 x 2 x 1 cm) |
| Country of Origin | China |
9. Warranty and Support
For information regarding warranty, returns, or customer support for your DHUFKN replacement grass trimmer blades, please refer to the retailer or platform from which you purchased the product. Specific warranty terms and support channels are typically provided at the point of sale.