1. Introduction
Thank you for purchasing the Tornado TCM-9008A-GS Automatic Espresso Machine. This appliance is designed to provide high-quality espresso, cappuccino, and hot water with convenience and ease. Featuring an integrated grinder, it processes fresh coffee beans for optimal flavor. Please read this manual thoroughly before operating the machine to ensure safe and efficient use.
2. Safety Instructions
Please observe the following safety precautions to prevent injury or damage to the appliance:
- This appliance is for indoor household use only.
- Do not immerse the machine, power cord, or plug in water or other liquids.
- Keep the appliance away from direct heat sources, open flames, and hot surfaces.
- Ensure the power supply voltage matches the rating label on the machine.
- Unplug the machine from the power outlet before cleaning, maintenance, or if it will not be used for an extended period.
- Do not operate the machine with a damaged cord or plug, or if the appliance malfunctions or has been damaged in any way.
- Keep children and unauthorized persons away from the appliance during operation.
- Use only original accessories and spare parts.
3. Product Components
Familiarize yourself with the main parts of your espresso machine.
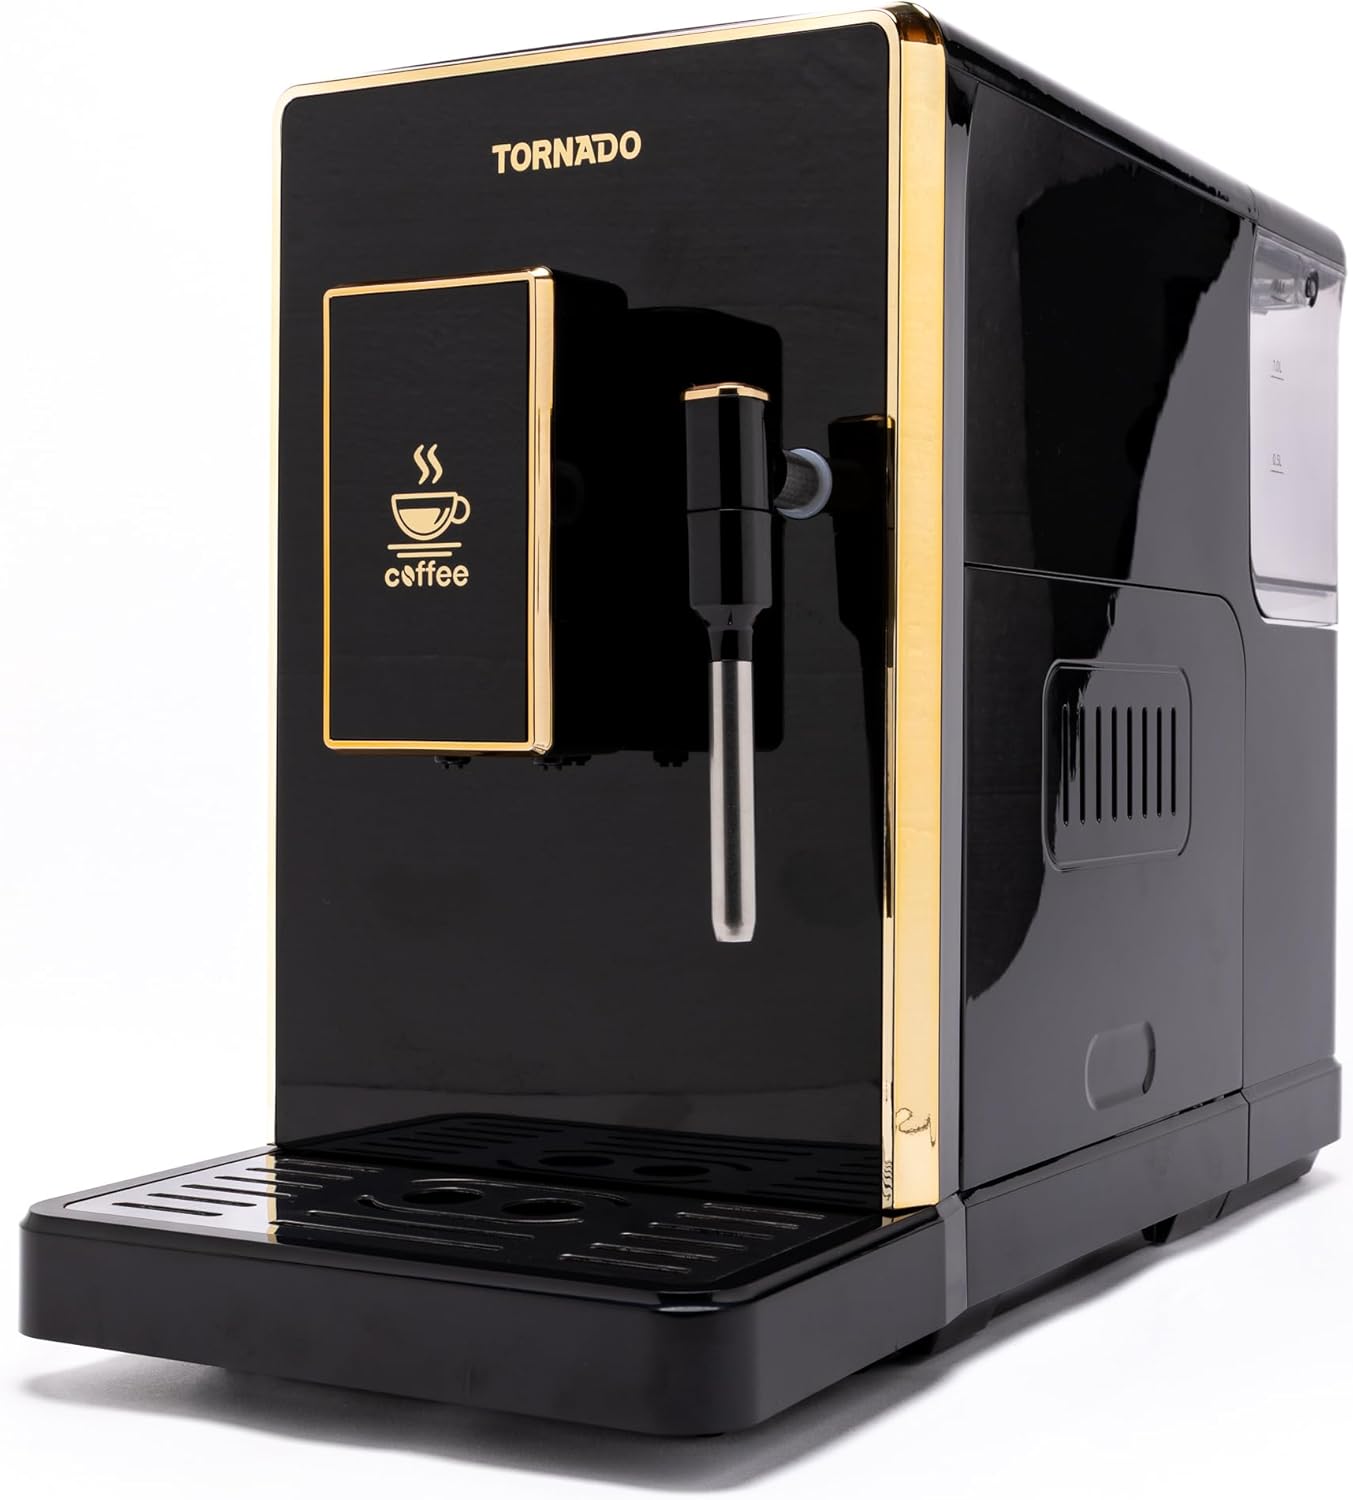
Figure 3.1: Front view of the Tornado TCM-9008A-GS Automatic Espresso Machine, showcasing its sleek black design with gold accents, control panel, and coffee dispenser.

Figure 3.2: Side view of the espresso machine, highlighting the removable water tank on the right and an access panel for internal components.

Figure 3.3: Top view of the machine, displaying the coffee bean hopper with its lid and the integrated grinder adjustment dial.

Figure 3.4: Rear view of the espresso machine, showing the main power switch (on/off) and the power cord inlet.

Figure 3.5: Included accessories: the detachable power cord and a cleaning brush for maintenance.
4. Setup
- Unpacking: Carefully remove the machine and all accessories from the packaging. Retain packaging for future transport or storage.
- Placement: Place the machine on a stable, level, and heat-resistant surface, away from water sources and direct sunlight. Ensure adequate ventilation around the appliance.
- Water Tank: Remove the water tank (refer to Figure 3.2), rinse it with fresh water, and fill it with clean, cold drinking water up to the MAX level. Reinsert the tank securely.
- Bean Hopper: Open the lid of the coffee bean hopper (refer to Figure 3.3) and fill it with fresh, whole coffee beans. Do not overfill.
- Power Connection: Connect the power cord to the machine's inlet (refer to Figure 3.4) and then plug it into a grounded electrical outlet.
- Initial Rinse Cycle: Before first use, perform an initial rinse cycle as described in the 'Operating Instructions' section to clean internal components.
5. Operating Instructions
5.1 Powering On and Initializing
- Press the main power switch on the back of the machine (Figure 3.4) to the 'ON' position.
- The machine will perform a self-test and heating cycle. The integrated display will show progress.
- Once ready, the display will indicate that the machine is prepared for use.
5.2 Adjusting Grinder Settings
The integrated grinder allows you to adjust the fineness of the coffee grounds. Turn the adjustment dial inside the bean hopper (Figure 3.3) to your desired setting. Finer settings are suitable for espresso, while coarser settings are better for larger coffee volumes. Adjust only when the grinder is operating or empty.
5.3 Making Espresso
- Place a cup under the coffee dispenser.
- Select your desired espresso strength and volume using the controls on the integrated display.
- Press the 'Espresso' button. The machine will grind the beans, brew, and dispense the coffee.
5.4 Preparing Cappuccino (Milk Frothing)
- Fill a milk pitcher with cold milk.
- Position the steam wand into the milk.
- Select the 'Cappuccino' or 'Steam' function on the display. The machine will heat up to steam temperature.
- Once ready, activate the steam function to froth the milk.
- After frothing, clean the steam wand immediately.
5.5 Hot Water Dispensing
- Place a cup under the hot water dispenser.
- Select the 'Hot Water' function on the display.
- Press the button to dispense hot water.
6. Maintenance and Cleaning
Regular cleaning and maintenance ensure optimal performance and longevity of your espresso machine.
6.1 Daily Cleaning
- Drip Tray: Empty and rinse the drip tray daily.
- Coffee Grounds Container: Empty the coffee grounds container when prompted by the machine or daily. Rinse and dry.
- Water Tank: Rinse the water tank with fresh water daily.
- Steam Wand: After each use, wipe the steam wand with a damp cloth to remove milk residue. Perform a short steam burst to clear any internal blockages.
- Exterior: Wipe the exterior of the machine with a soft, damp cloth. Do not use abrasive cleaners.
6.2 Weekly Cleaning (Brew Unit)
The brew unit should be removed and rinsed weekly:
- Turn off and unplug the machine.
- Open the side access panel (Figure 3.2).
- Follow the instructions in the machine to remove the brew unit.
- Rinse the brew unit thoroughly under lukewarm running water until all coffee residue is removed. Do not use detergents.
- Allow the brew unit to air dry completely before reinserting.
6.3 Descaling
The machine will prompt you when descaling is required. Use a suitable descaling solution specifically designed for espresso machines and follow the instructions provided with the descaler and on the machine's display.
7. Troubleshooting
If you encounter issues with your machine, refer to the table below for common problems and solutions.
| Problem | Possible Cause | Solution |
|---|---|---|
| Machine does not turn on | No power supply; Main switch off | Check power cord connection; Ensure main switch (Figure 3.4) is ON. |
| No coffee dispenses | Water tank empty; Brew unit clogged; No coffee beans | Fill water tank; Clean brew unit; Fill bean hopper. |
| Coffee is too weak/strong | Grinder setting incorrect; Coffee strength setting incorrect | Adjust grinder fineness (Figure 3.3); Adjust coffee strength on display. |
| Milk not frothing properly | Steam wand clogged; Insufficient steam pressure; Milk type/temperature | Clean steam wand thoroughly; Ensure machine is at steam temperature; Use cold, fresh milk. |
| Machine displays error message | Specific internal issue | Refer to the machine's display for specific error codes and consult the full manual or contact customer support. |
If the problem persists after attempting these solutions, please contact Tornado customer support.
8. Specifications
| Model Number | TCM-9008A-GS |
| Dimensions (L x W x H) | 46 x 19 x 31 cm |
| Weight | 7.74 kg |
| Material | Acrylic |
| Coffee Bean Capacity | 200 Grams |
| Special Functions | Integrated coffee grinder, Integrated display, Cappuccino preparation, Hot water system, Fully automatic operation |
| Coffee Type Compatibility | Coffee beans, Espresso coffee, Cappuccino |
| Color | Black |
9. Product Videos
The following videos provide additional visual guidance on using and maintaining your Tornado TCM-9008A-GS espresso machine.
Video 9.1: Product overview or demonstration (Duration: 0:23).
Video 9.2: Detailed feature explanation or usage guide (Duration: 1:51).
Video 9.3: Operational steps or maintenance tips (Duration: 1:17).
Video 9.4: Quick guide or specific function demonstration (Duration: 0:45).
Video 9.5: Usage scenario or advanced tips (Duration: 1:25).
Video 9.6: Feature highlight or troubleshooting demonstration (Duration: 0:59).
Video 9.7: In-depth guide or comparison (Duration: 1:31).
Video 9.8: User experience or tips and tricks (Duration: 1:05).
Video 9.9: Comprehensive product demonstration (Duration: 2:01).
Video 9.10: Short instructional clip (Duration: 0:36).
10. Warranty and Support
For warranty information and customer support, please refer to the documentation included with your purchase or visit the official Tornado website. Keep your proof of purchase for warranty claims.