
Introduction
This manual provides comprehensive instructions for the Fafeicy 1X C Mount Lens Adapter. This adapter is designed to facilitate the connection of a camera to a trinocular stereo microscope, ensuring a clear and stable image for observation and capture. It is constructed from durable alloy material and offers 1X magnification, maintaining the original magnification of your microscope setup. The adapter is compatible with most standard camera interfaces.
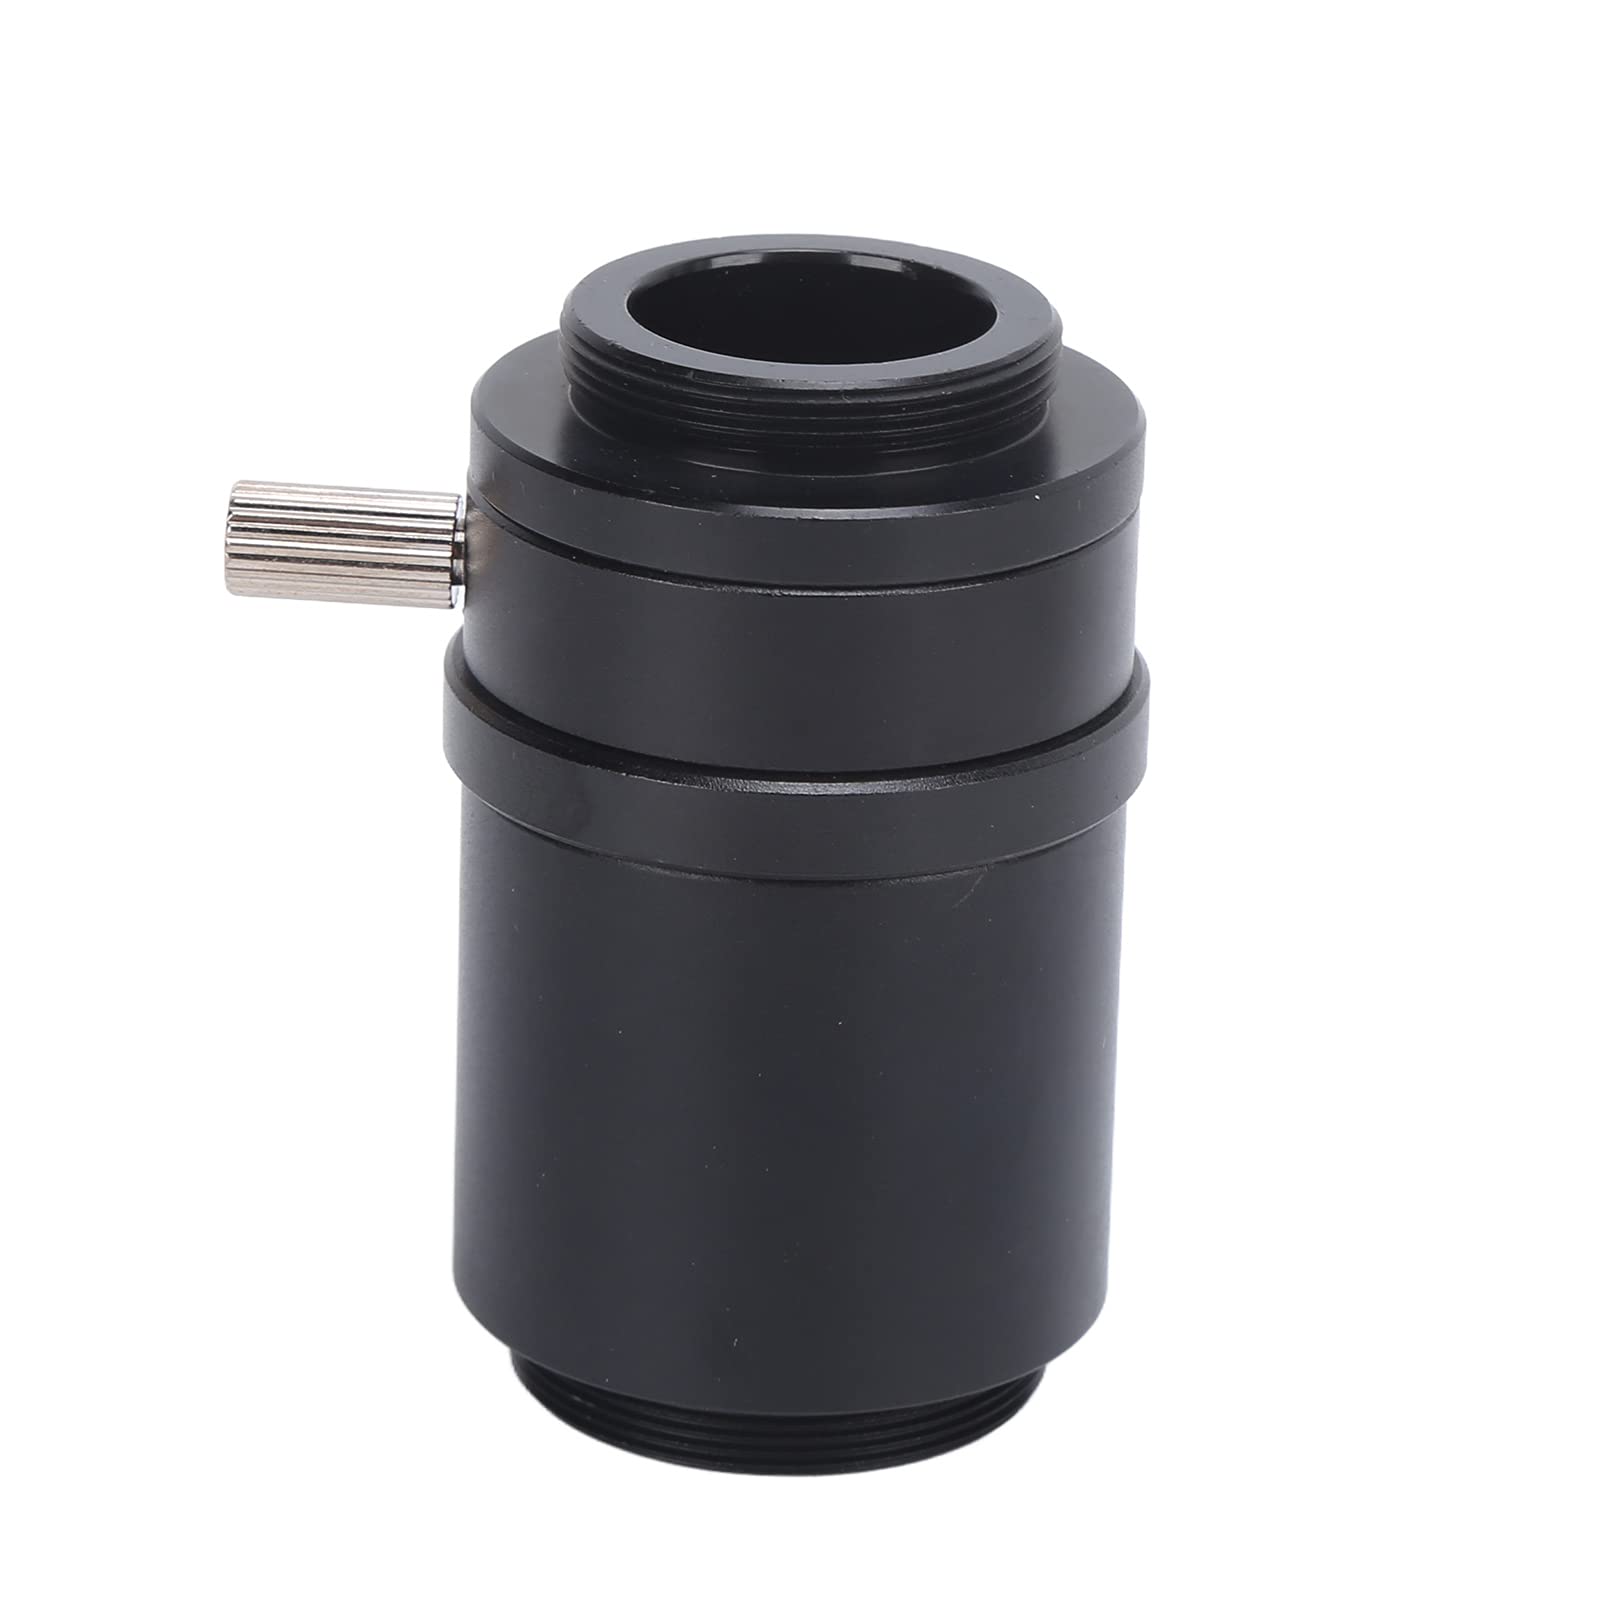
Image: The Fafeicy 1X C Mount Lens Adapter, a black cylindrical component with threaded ends and a small silver adjustment screw on the side.
Setup Instructions
Follow these steps to correctly install the C Mount Lens Adapter:
- Identify Components: Ensure you have the Fafeicy 1X C Mount Lens Adapter, your trinocular stereo microscope, and your camera.
- Locate Objective Lens: Identify the objective lens on your trinocular stereo microscope where the adapter will be mounted.
- Attach Adapter to Microscope: The adapter features an M28 (28mm / 1.10in) installation thread. Carefully align this threaded end with the corresponding thread on your microscope's objective lens. Gently screw the adapter onto the objective lens in a clockwise direction until it is securely fastened. Do not overtighten.
- Connect Camera to Adapter: The adapter provides a 25mm / 0.98in CCD interface for camera connection. Align your camera's C-mount or compatible interface with this end of the adapter. Screw the camera onto the adapter until it is firm.
- Verify Connections: Ensure all connections are stable and secure to prevent any movement or misalignment during operation.

Image: An angled view of the C Mount Lens Adapter, clearly showing the threaded openings on both ends, which are crucial for connecting to the microscope and camera.

Image: A side view of the C Mount Lens Adapter, highlighting the small silver adjustment screw. This screw helps secure the adapter or adjust its position on some microscope models.
Operating Instructions
Once the Fafeicy 1X C Mount Lens Adapter is securely installed and your camera is connected, you can begin using your microscope with enhanced imaging capabilities:
- Power On: Turn on your microscope's light source and your camera.
- Adjust Microscope: Use the microscope's focus knobs to bring your specimen into clear view through the eyepiece.
- Camera View: Switch your camera to live view mode or connect it to a monitor to observe the image transmitted through the adapter.
- Fine-Tune Focus: Make minor adjustments to the microscope's fine focus knob or your camera's focus settings to achieve the sharpest possible image on your camera display.
- Capture Images/Video: Utilize your camera's functions to capture still images or record video of your observations. The 1X magnification of the adapter ensures that the image seen by the camera retains the same magnification as viewed through the microscope's objective lens.
Maintenance
Proper maintenance will ensure the longevity and optimal performance of your C Mount Lens Adapter:
- Cleaning: Use a soft, lint-free cloth to gently wipe the exterior surfaces of the adapter. Avoid using abrasive materials or harsh chemical cleaners, as these can damage the alloy finish.
- Dust Protection: When not in use, store the adapter in a clean, dry, and dust-free environment. Consider using protective caps for the threaded ends if available.
- Inspection: Periodically inspect the threaded connections for any signs of wear, debris, or damage. Ensure the small silver adjustment screw (if present on your model) is not loose.
- Handling: Always handle the adapter with care to avoid dropping or impacting it, which could cause misalignment or damage to the threads.
Troubleshooting
If you encounter issues while using the adapter, refer to the following common problems and solutions:
- Problem: Image is blurry or out of focus on the camera display.
Solution: Ensure the adapter is securely attached to both the microscope objective and the camera. Verify that the microscope's focus is correctly adjusted for the specimen. Also, check your camera's focus settings and make any necessary adjustments. - Problem: Camera does not detect any image or shows a black screen.
Solution: Confirm that the camera is properly connected to the adapter's 25mm CCD interface. Check your camera's input source settings to ensure it is set to the correct input. Verify that the microscope's light source is active and providing sufficient illumination. - Problem: The adapter feels loose or wobbly after installation.
Solution: Gently tighten the adapter onto the objective lens and the camera connection. Ensure that the threads are not cross-threaded. Do not apply excessive force, as this can damage the threads. - Problem: Physical damage to the adapter threads.
Solution: If the threads are visibly damaged, the adapter may not provide a secure connection. Contact customer support for possible replacement options. Avoid forcing damaged threads.
Specifications
| Feature | Detail |
|---|---|
| Item Type | C Mount Lens Adapter |
| Material | Alloy |
| Magnification | 1X |
| CCD Interface | 25mm / 0.98in |
| Installation Thread Size | M28 (28mm / 1.10in) |
| Package Dimensions | 5.12 x 3.15 x 2.36 inches |
| Item Weight | 3.56 ounces |
| Model Number | Fafeicy70xsoqfc9y |
| Brand | Fafeicy |
Warranty Information
Specific warranty terms and conditions for the Fafeicy 1X C Mount Lens Adapter may vary depending on your region and point of purchase. For detailed warranty information, please refer to the documentation provided with your product, the retailer's website, or the official Fafeicy website. It is recommended to retain your proof of purchase for any warranty claims.
Support
For technical assistance, product inquiries, or further support regarding your Fafeicy 1X C Mount Lens Adapter, please contact Fafeicy customer service. You can typically find contact information on the official Fafeicy website or through the retailer from whom you purchased the product. When contacting support, please have your product model number (Fafeicy70xsoqfc9y) and purchase details ready.