1. Introduction
The Bodywel T16PRO electric bike is designed for urban commuting, offering a blend of portability, comfort, and safety. This manual provides essential information for assembling, operating, and maintaining your e-bike to ensure a safe and enjoyable riding experience.
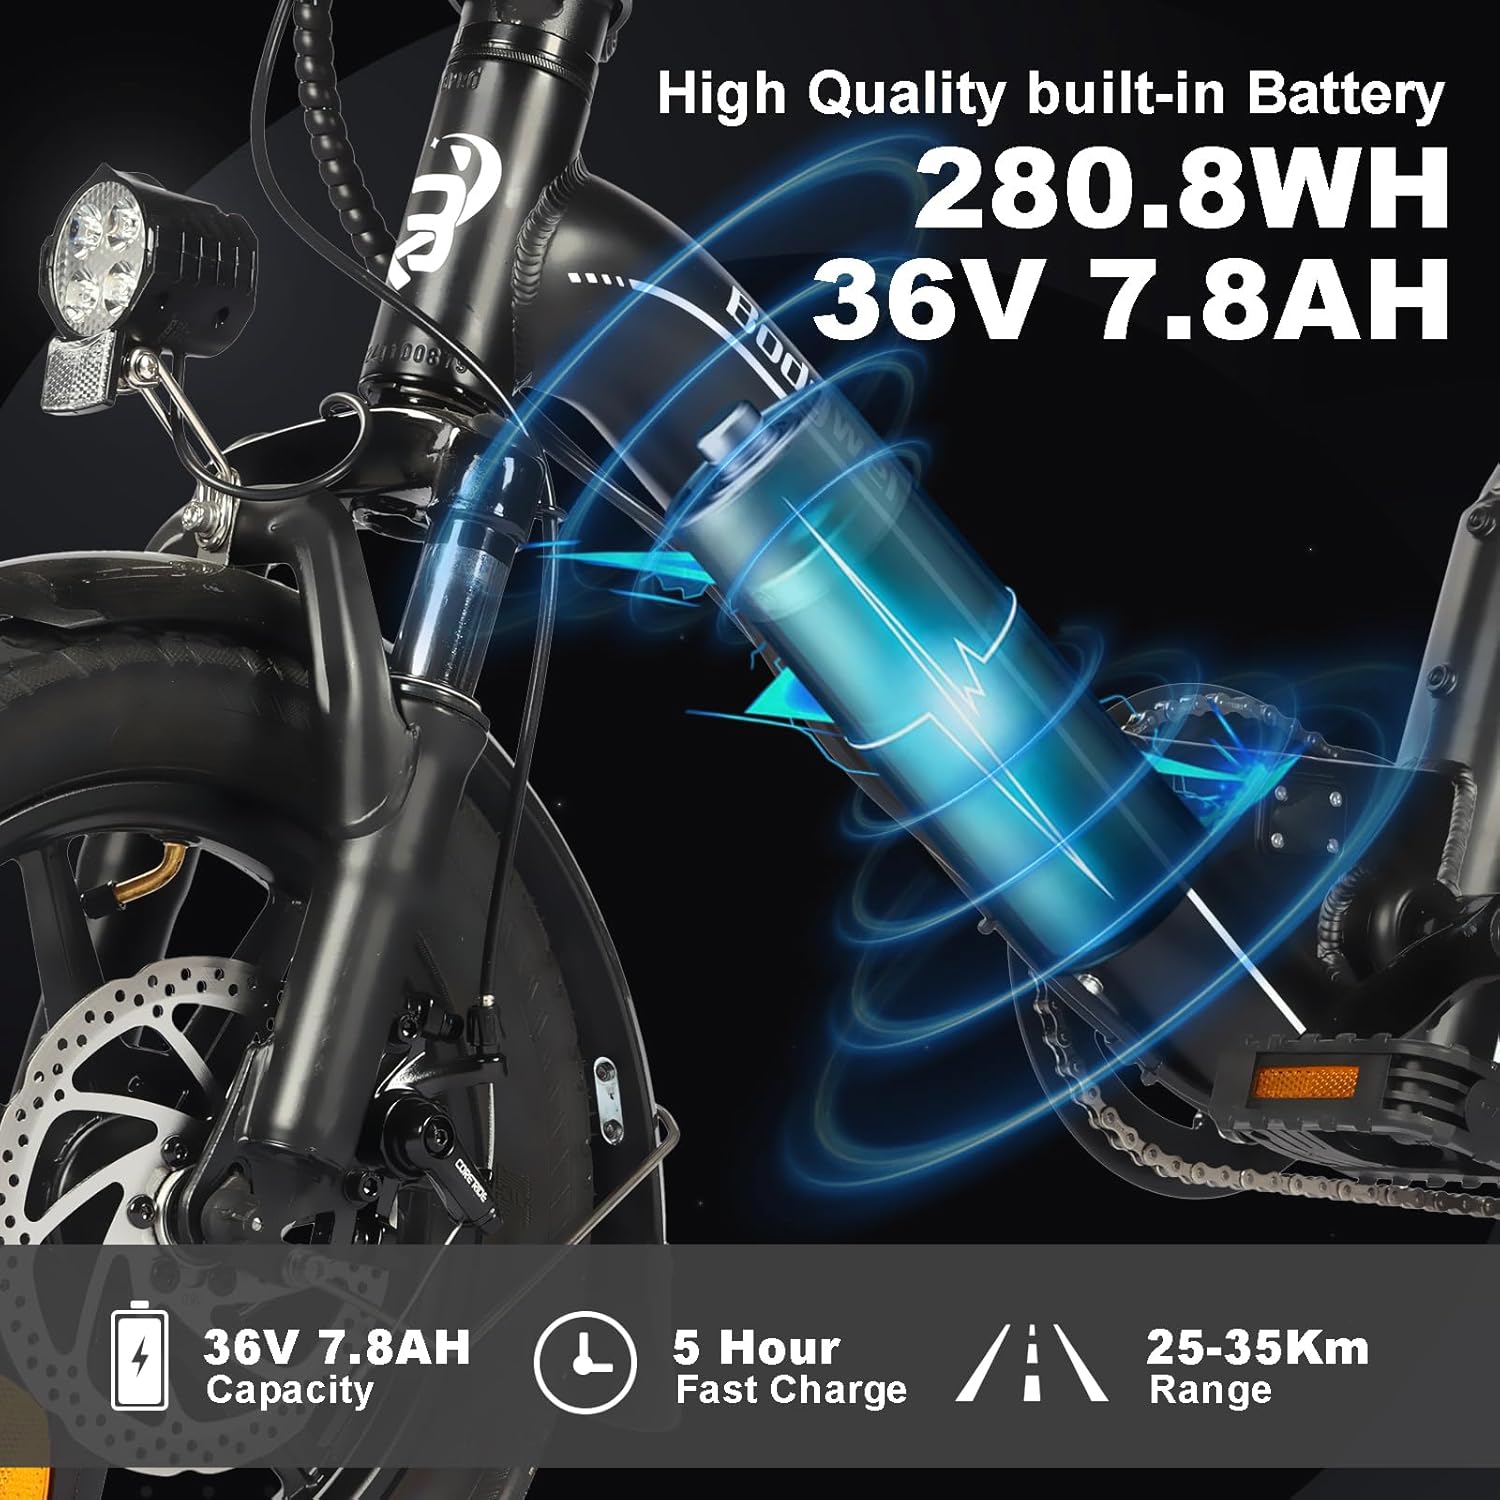
Key features include 14-inch anti-shock tires, a powerful 350W motor, a 36V 7.8Ah lithium battery for a range of 25-35KM, and a top speed of 25 km/h. Its foldable design allows for easy storage and transport. Enhanced safety features include dual disc brakes, a bright front lamp, tail light, and a cycle bell. The smart LED display provides real-time information on speed, battery level, and riding mode.
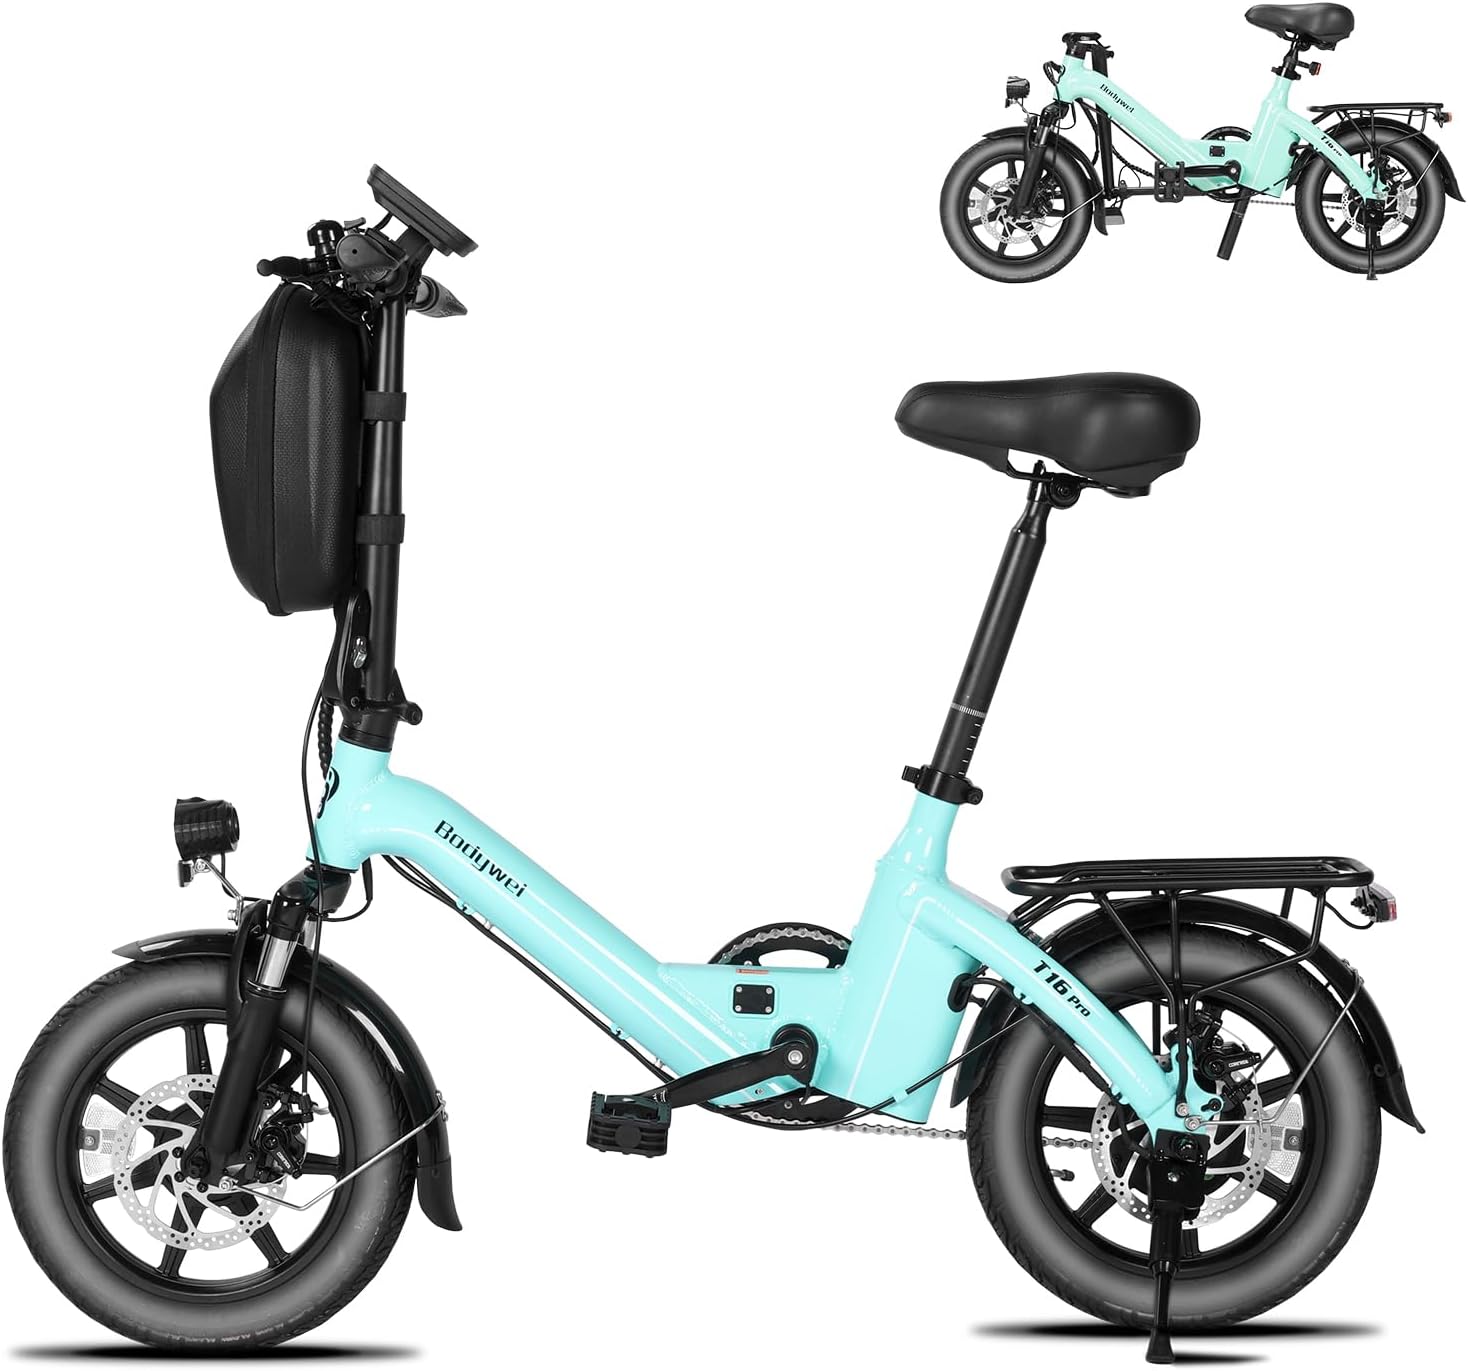
Figure 1.1: Bodywel T16PRO Folding Electric Bike.
2. Setup and Assembly
Your T16PRO electric bike arrives 90% pre-assembled. Follow these steps to complete the assembly and prepare your bike for its first ride.
2.1 Unboxing and Initial Inspection
Carefully open the packaging and remove all protective materials. Ensure all components are present and undamaged. Refer to the included user manual for a complete parts list.

Figure 2.1: Key components of the T16PRO, including pre-installed features.
2.2 Assembly Video Guide
For a visual guide on assembly, please watch the official installation video below:
Video 2.1: Official Bodywel T16PRO Electric Bike Installation Guide. This video demonstrates the unboxing, component identification, and step-by-step assembly process for the handlepost, front wheel, pedals, and accessories.
2.3 Handlepost Installation
- Remove the handlepost protective foam and align the handlepost with the frame.
- Remove handlebar protective foam.
- Loosen the handlepost clamp plate using the M5 Allen key.
- Secure the handlebar on the clamp plate and tighten with the M5 Allen key.
2.4 Front Wheel Installation
- Use a 15mm wrench to loosen the front fork protector rod.
- Remove the front fork protective foam and fit the front wheel onto the fork blades.
- Insert the quick release through the front wheel axle, tighten, and spin the wheel to check rotation.
2.5 Front Light and Fender Installation
- Use an M5 Allen key to loosen the front light screw.
- Use an M5 Allen key to loosen the fender support screws on both fork blades.
- Install the fender onto the fork blades and tighten the support screws using the M5 Allen key.
- Secure the front light by connecting its bracket to the fender mounting eye, then tighten the screw with the M5 Allen key.
2.6 Pedal Installation
- Install the R pedal (marked "R") clockwise using a 15mm wrench.
- Install the L pedal (marked "L") counter-clockwise using a 15mm wrench.
2.7 Front Basket Installation
Secure the basket straps to the handlebars and handlepost. Rotate the handlebars to check for clearance and ensure proper fit.