1. Introduction
This manual provides essential information for the proper installation, operation, and maintenance of your CUIPPWRJ Pull Recoil Starter. This component is designed to replace the original recoil starter on compatible LONCIN 168F, 170F, and 212cc gasoline engines, specifically the 212cc Straight Claw variant. Please read these instructions carefully before attempting any installation or use to ensure safe and efficient operation.
2. Safety Information
- Always wear appropriate personal protective equipment (PPE), such as gloves and eye protection, when working with engine parts.
- Ensure the engine is turned off and cooled down before attempting any installation or maintenance.
- Disconnect the spark plug wire to prevent accidental starting of the engine.
- Keep hands and clothing clear of moving parts during engine operation.
- If you are unsure about any step, consult a qualified technician.
3. Package Contents
The package contains one (1) CUIPPWRJ Pull Recoil Starter (212cc Straight Claw model).
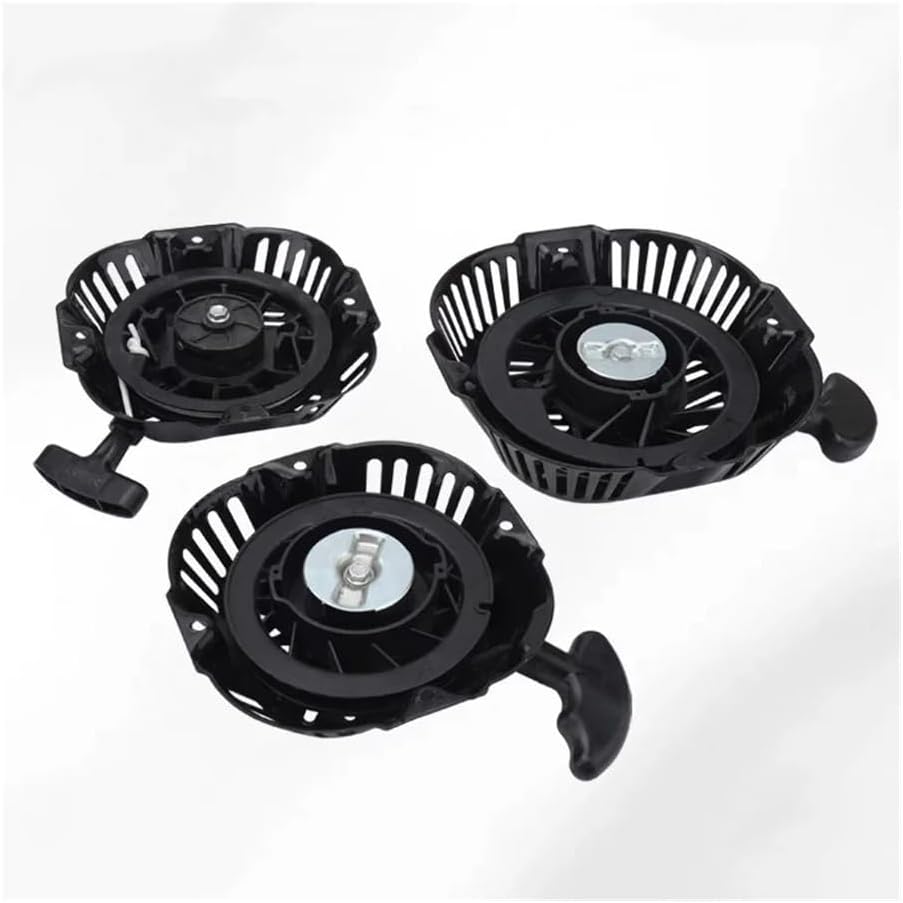
Image 3.1: Overview of multiple CUIPPWRJ Pull Recoil Starters. The product includes one unit.
4. Compatibility
This recoil starter is specifically designed for use with:
- LONCIN 168F Gasoline Engines
- LONCIN 170F Gasoline Engines
- LONCIN 212cc Gasoline Engines (Straight Claw variant)
Please verify your engine model and the type of claw (straight or iron) before installation to ensure proper fitment. This product is the Straight Claw type.

Image 4.1: Detailed view of the Straight Claw recoil starter, showing key dimensions for verification (e.g., 55mm core diameter, 160mm hole spacing).
5. Installation
Follow these steps to install the new recoil starter:
- Prepare the Engine: Ensure the engine is off, cool, and the spark plug wire is disconnected.
- Remove Old Starter: Locate the existing recoil starter on your engine. It is typically secured by several bolts or screws. Carefully remove these fasteners.
- Detach Starter: Gently pull the old recoil starter away from the engine. Be mindful of any remaining tension in the starter rope.
- Inspect Mounting Area: Clean any debris or dirt from the engine's mounting surface where the starter attaches.
- Position New Starter: Align the new CUIPPWRJ Pull Recoil Starter with the mounting holes on the engine. Ensure the starter claws are correctly oriented to engage with the engine's flywheel cup.
- Secure New Starter: Insert the bolts or screws through the new starter's mounting holes and tighten them securely. Do not overtighten.
- Test Engagement: Gently pull the starter rope a few times to ensure the claws engage and retract smoothly without binding.
- Reconnect Spark Plug: Once installation is complete and verified, reconnect the spark plug wire.

Image 5.1: Visual guide indicating key areas for installation, including mounting points and the claw mechanism.
6. Operation
To start your engine using the new recoil starter:
- Engine Preparation: Ensure the engine is properly fueled and oiled according to your engine's manufacturer guidelines. Set the choke and throttle as required for starting.
- Pull Starter Rope: Grip the starter handle firmly. Pull the rope slowly until you feel resistance, indicating the starter claws have engaged the flywheel.
- Start Engine: With a quick, strong pull, rapidly pull the starter rope all the way out. Do not let the rope snap back; guide it gently as it rewinds.
- Repeat if Necessary: If the engine does not start, repeat the process. Adjust choke or throttle settings if needed.
7. Maintenance
Regular maintenance helps extend the life of your recoil starter:
- Keep Clean: Periodically clean the exterior of the recoil starter to prevent dirt and debris from accumulating, which can hinder its operation.
- Inspect Rope: Check the starter rope for fraying or wear. Replace the rope if it shows signs of damage to prevent breakage during use.
- Check Spring Tension: If the rope does not retract fully, the internal spring may be weak or damaged. This typically requires replacement of the entire starter assembly.
- Lubrication: Avoid applying lubricants directly to the internal spring mechanism unless specifically recommended by the engine manufacturer, as this can attract dirt.
8. Troubleshooting
| Problem | Possible Cause | Solution |
|---|---|---|
| Starter rope does not pull out | Claws are jammed or internal mechanism is seized. | Inspect for obstructions. If seized, the starter may need replacement. |
| Starter rope pulls out but does not engage engine | Claws are not extending or are worn. | Verify correct installation. If claws are worn, replace the starter. |
| Starter rope does not retract fully | Internal spring is weak or broken. | The starter assembly typically needs to be replaced. |
| Rope is frayed or broken | Normal wear and tear or excessive force. | Replace the starter rope or the entire starter assembly if the rope cannot be replaced independently. |
9. Specifications
- Model: CUIPPWRJ123
- Type: Pull Recoil Starter
- Claw Type: Straight Claw
- Compatibility: LONCIN 168F, 170F, 212cc Gasoline Engines
- Package Dimensions: 1.18 x 0.79 x 0.39 inches
- Item Weight: 1.76 ounces
- Number of Pieces: 1
- Assembly Required: No (for the starter itself, installation onto engine required)
10. Warranty and Support
Specific warranty information for this product is not provided in the available documentation. For details regarding warranty coverage, returns, or technical support, please contact the seller or manufacturer directly. Keep your purchase receipt as proof of purchase.