
1. Product Overview
The Subsonic Wireless Controller is designed for use with PlayStation 5 and PC, offering an immersive gaming experience through its vibration function, touch function, and 6-axis motion sensors. It features programmable paddles, a Turbo function, and customizable RGB LEDs. This manual provides essential information for setup, operation, and maintenance of your controller.
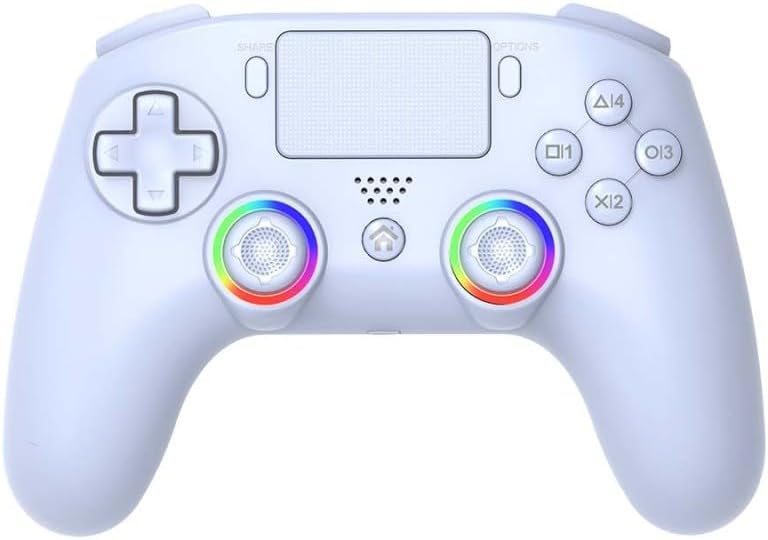
Image: Front view of the Subsonic Wireless Controller, showcasing its white design, joysticks with RGB lighting, D-pad, action buttons, and touchpad.
2. Package Contents
- Subsonic Wireless Controller (Model: SA5716-2)
- USB-C Charging Cable
- User Manual (this document)
3. Parts of the Controller
Familiarize yourself with the various buttons and components of your Subsonic Wireless Controller.

Image: Detailed diagram of the controller, labeling key components such as the D-Pad, Left Stick, SHARE button, Touch Panel, OPTIONS button, Action Buttons (Triangle, Circle, Cross, Square), Right Stick, Home button, RGB LED, LED Indicator, L1/R1, L2/R2, M1/M2 paddles, RESET button, and TURBO button.
- D-Pad: Directional Pad for precise movement.
- Left Stick: Analog stick for movement and camera control.
- SHARE Button: For sharing gameplay content.
- Touch Panel: Interactive surface for specific game functions.
- OPTIONS Button: Access in-game menus and options.
- Action Buttons (Triangle, Circle, Cross, Square): Primary game input buttons.
- Right Stick: Analog stick for camera control and aiming.
- Home Button: Powers on/off the console, accesses system menu.
- RGB LED: Customizable lighting around joysticks.
- LED Indicator: Shows connection status and battery level.
- L1/R1 Buttons: Shoulder buttons.
- L2/R2 Triggers: Analog triggers.
- M1/M2 Paddles: Programmable rear paddles.
- RESET Button: Small button for controller reset (requires a pin).
- TURBO Button: Activates rapid fire for assigned buttons.
4. Getting Started: Setup and Connection
4.1 Initial Connection to PlayStation 5
- Connect the controller to your PlayStation 5 console using the supplied USB-C cable.
- Press the "Home" button on the controller.
- Once connected, you can press the "Home" button on the controller to switch on the console.
- After initial wired connection, the controller can be used wirelessly.
4.2 Connecting to PC
The controller can be connected to a PC via the supplied USB-C cable or wirelessly via Bluetooth (if your PC has Bluetooth capability). Follow your PC's instructions for pairing a new Bluetooth device.
4.3 Wake-Up Function for PlayStation 5
The controller supports a wake-up function for the PlayStation 5. After initial pairing, simply press the "Home" button on the controller to power on your PS5 console from rest mode.

Image: Illustration showing the controller's Home button and a power icon, indicating its ability to wake up a PlayStation 5 console.
5. Operating the Controller
5.1 Programmable Paddles (M1 & M2)
The controller features two programmable paddles (M1 and M2) on the rear. These can be assigned to replicate other buttons, providing a competitive advantage, especially in FPS games. Refer to the controller's specific programming instructions (usually a combination of a program button and the desired button to map) for detailed setup.

Image: Rear view of the controller highlighting the M1 and M2 programmable paddles, with arrows pointing to various button icons indicating mapping possibilities.
5.2 Programmable RGB LEDs
The controller is equipped with programmable RGB LEDs offering 8 colors and 2 lighting modes (Fixed Colors and Breathing Colors). These LEDs are located around the joysticks and enhance the controller's aesthetic. Consult the controller's specific instructions for changing LED colors and modes.
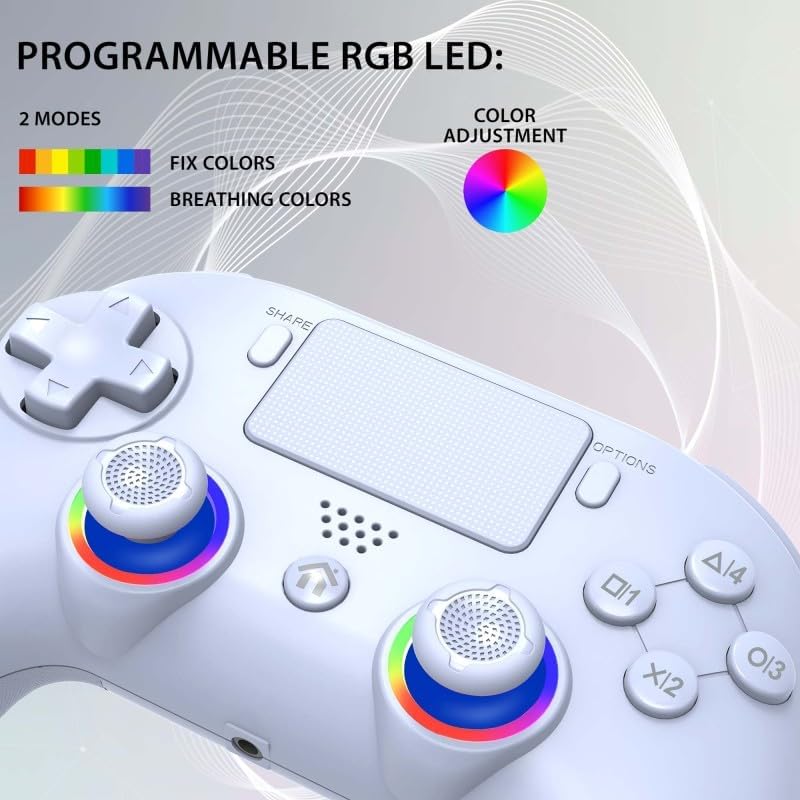
Image: Close-up of the controller's joysticks with colorful RGB lighting, illustrating the "Fixed Colors" and "Breathing Colors" modes and a color adjustment wheel.
5.3 Vibration Function
The controller features dual vibration motors with 3 adjustable intensity levels. This provides haptic feedback during gameplay, enhancing immersion. The intensity can typically be adjusted through a dedicated button combination or software.

Image: Transparent view of the controller highlighting the location of the dual vibration motors within the grips, with a vibration wave icon.
5.4 Motion Sensors (6-Axis) and Touchpad
Equipped with a 6-axis gyroscope and accelerometer, the controller supports motion-controlled gameplay. The integrated touchpad also provides additional input options for compatible games.
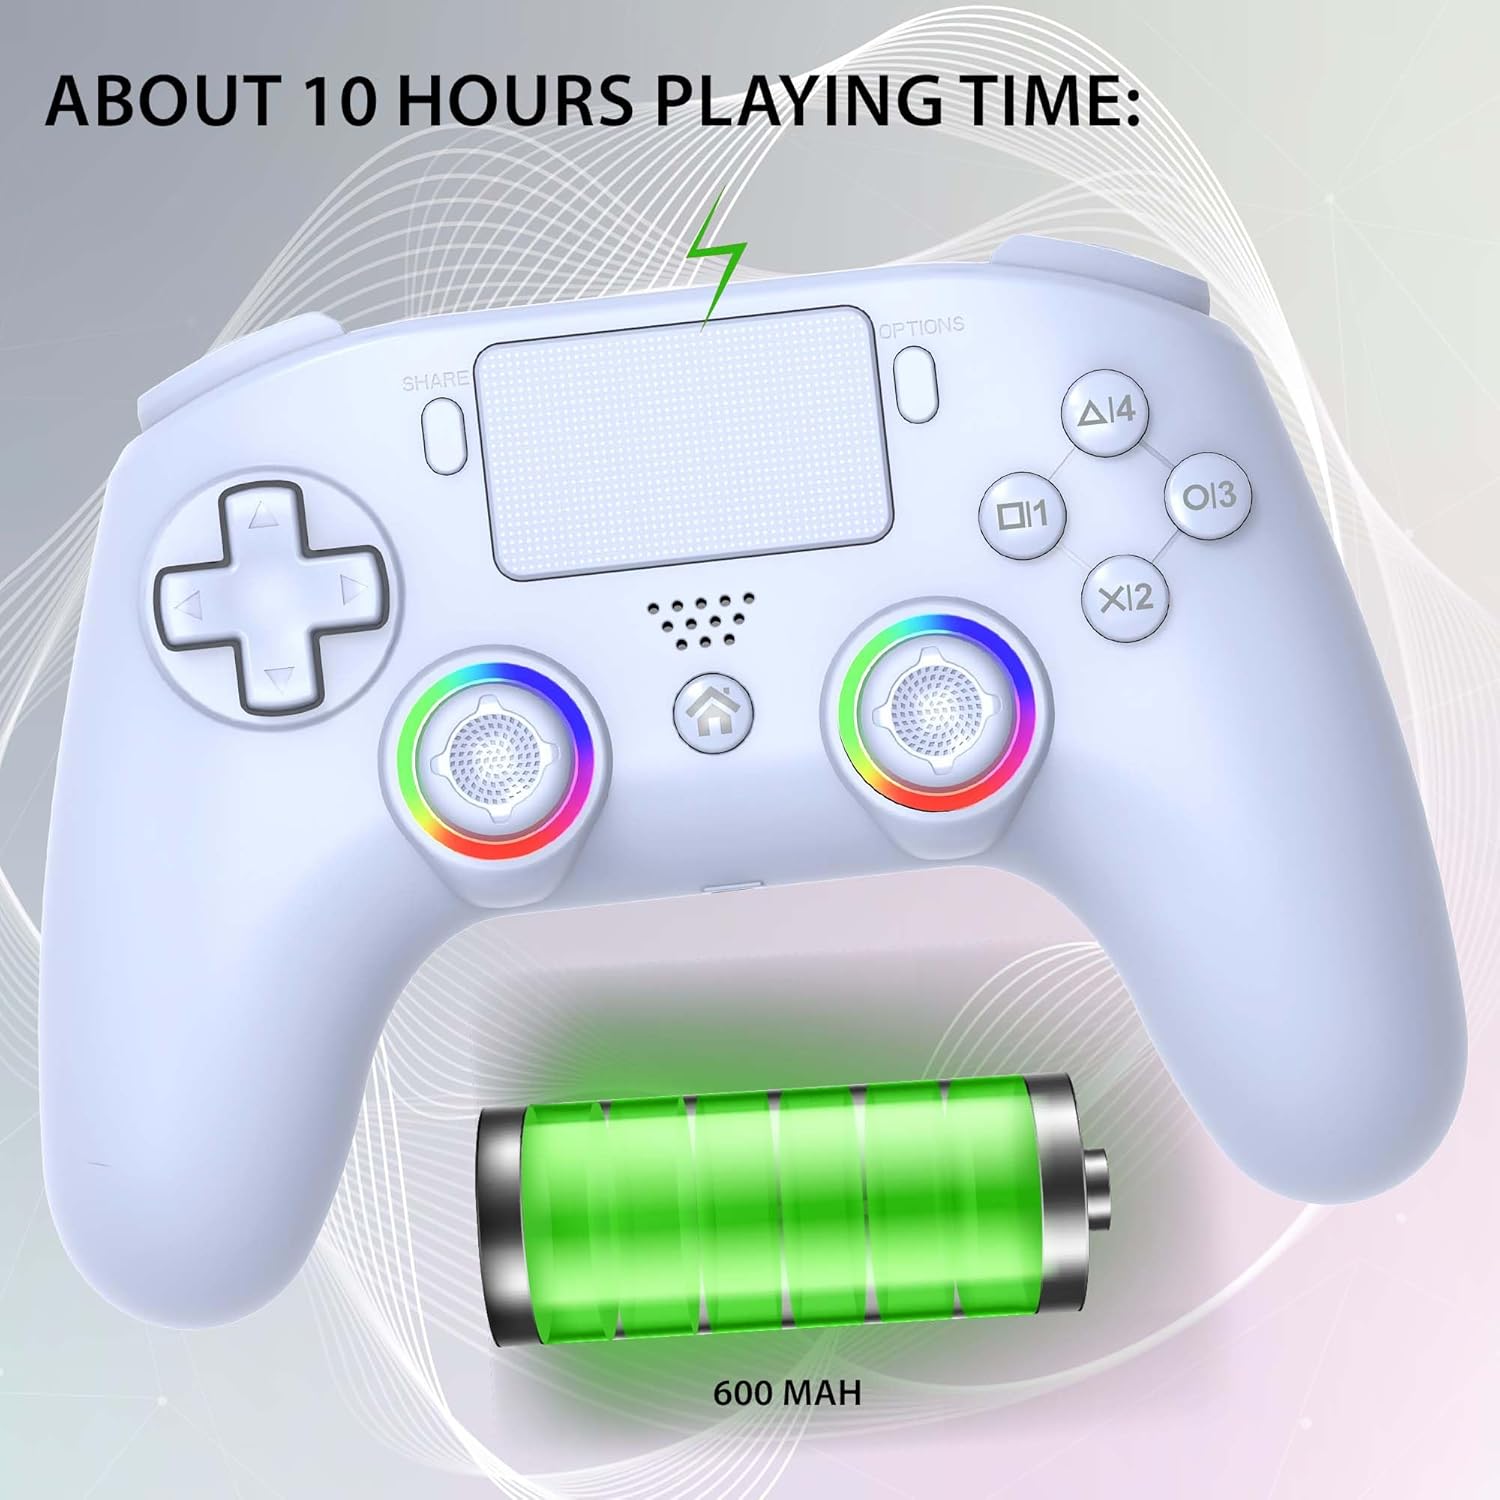
Image: Illustration of the controller with swirling lines around it, representing its 360-degree motion sensing capabilities.
5.5 Turbo Function
The Turbo function allows for rapid, automatic pressing of a selected button, which can be beneficial in certain game genres. Consult the controller's specific instructions for activating and deactivating the Turbo function for desired buttons.

Image: Side view of the controller highlighting a button or switch related to the Turbo function, with illustrations of rapid button presses.
5.6 Audio Connection
To connect a gaming headset to the controller, you must use the controller in wired mode. The audio jack functionality is only available when the controller is connected via USB-C.
6. Maintenance and Charging
6.1 Charging the Controller
The controller is equipped with a built-in battery providing approximately 9-10 hours of game autonomy. To charge the controller, connect it to your PS5 console or a USB power source using the supplied USB-C charging cable. The LED indicator on the controller will show charging status.

Image: Controller with a battery icon and "ABOUT 10 HOURS PLAYING TIME" text, indicating the controller's battery life and 600 mAh capacity.
6.2 Cleaning
Wipe the controller with a soft, dry cloth. Do not use harsh chemicals or abrasive materials.
7. Troubleshooting
| Problem | Possible Cause / Solution |
|---|---|
| Controller does not connect to PS5. | Ensure the USB-C cable is securely connected. For first-time connection, a wired connection is required. Press the "Home" button. Ensure the controller is charged. |
| No audio from headset. | The gaming headset jack only functions when the controller is in wired mode. Ensure the controller is connected via USB-C. |
| Vibration not working or too weak/strong. | Check in-game settings or controller specific settings for vibration intensity. Ensure the feature is enabled. |
| Controller not responding. | Ensure the controller is charged. Try resetting the controller (a small reset button may be located on the back, often requiring a pin). Re-pair the controller. |
| Missing DualSense features (haptics, adaptive triggers, mic, speaker). | This Subsonic controller does not reproduce all functions of the DualSense controller. It is not equipped with haptics, adaptive triggers, a microphone, or speakers. This is normal operation. |
8. Specifications
- Model: SA5716-2
- Compatibility: PlayStation 5, Windows PC
- Connectivity: Wireless, USB-C (wired mode)
- Battery: Rechargeable Internal Battery (approx. 600 mAh)
- Battery Life: Approximately 9-10 hours (wireless)
- Dimensions: 10 x 15 x 5 cm
- Weight: 270 g
- Features: Programmable paddles (M1, M2), Turbo function, Programmable RGB LEDs (8 colors, 2 modes), Dual vibration motors (3 levels), 6-axis motion sensors (gyroscope, accelerometer), Touchpad.
- Audio: 3.5mm jack (wired mode only)
- Note: Does not include haptic feedback, adaptive triggers, built-in microphone, or speaker.
Note on Battery Information: The product description indicates a rechargeable internal battery with USB-C charging, while the specifications listed "1 AA batteries required (included)". Based on the product's features and charging method, it is highly probable that the controller uses a rechargeable internal battery. The 600 mAh capacity is mentioned in one of the images.
9. Warranty and Support
For warranty information and technical support, please refer to the documentation included with your product or visit the official Subsonic website.
Subsonic Store Link: Visit the Subsonic Store on Amazon


