1. Product Overview
This manual provides instructions for the installation, operation, and maintenance of your Ejoyous 80mm ARGB PWM Case Fan. Please read this manual thoroughly before installation and use to ensure proper function and longevity of the product.

Image 1: Front view of the Ejoyous 80mm ARGB PWM Case Fan displaying its vibrant RGB lighting.
2. Package Contents
Verify that all items listed below are present in your package:
- 1 x Ejoyous 80mm ARGB PWM Case Fan
- 4 x Mounting Screws

Image 2: The Ejoyous 80mm ARGB PWM Case Fan shown with its included mounting screws.
3. Specifications
| Feature | Specification |
|---|---|
| Fan Size | 80x80x25mm (3.1x3.1x1.0in) |
| Hole Distance | 72mm (2.8in) |
| Bearing Type | MFDB Hydraulic Bearing |
| Rated Voltage | 12V |
| Rated Current | 0.16±0.02A |
| Rated Speed | 800-2500RPM±10% |
| Airflow | 26.5CFM |
| Noise Level | Max 25.5dBA |
| Functions | PWM and ARGB |

Image 3: Dimensional diagram of the fan, indicating its 80mm x 80mm x 25mm size.
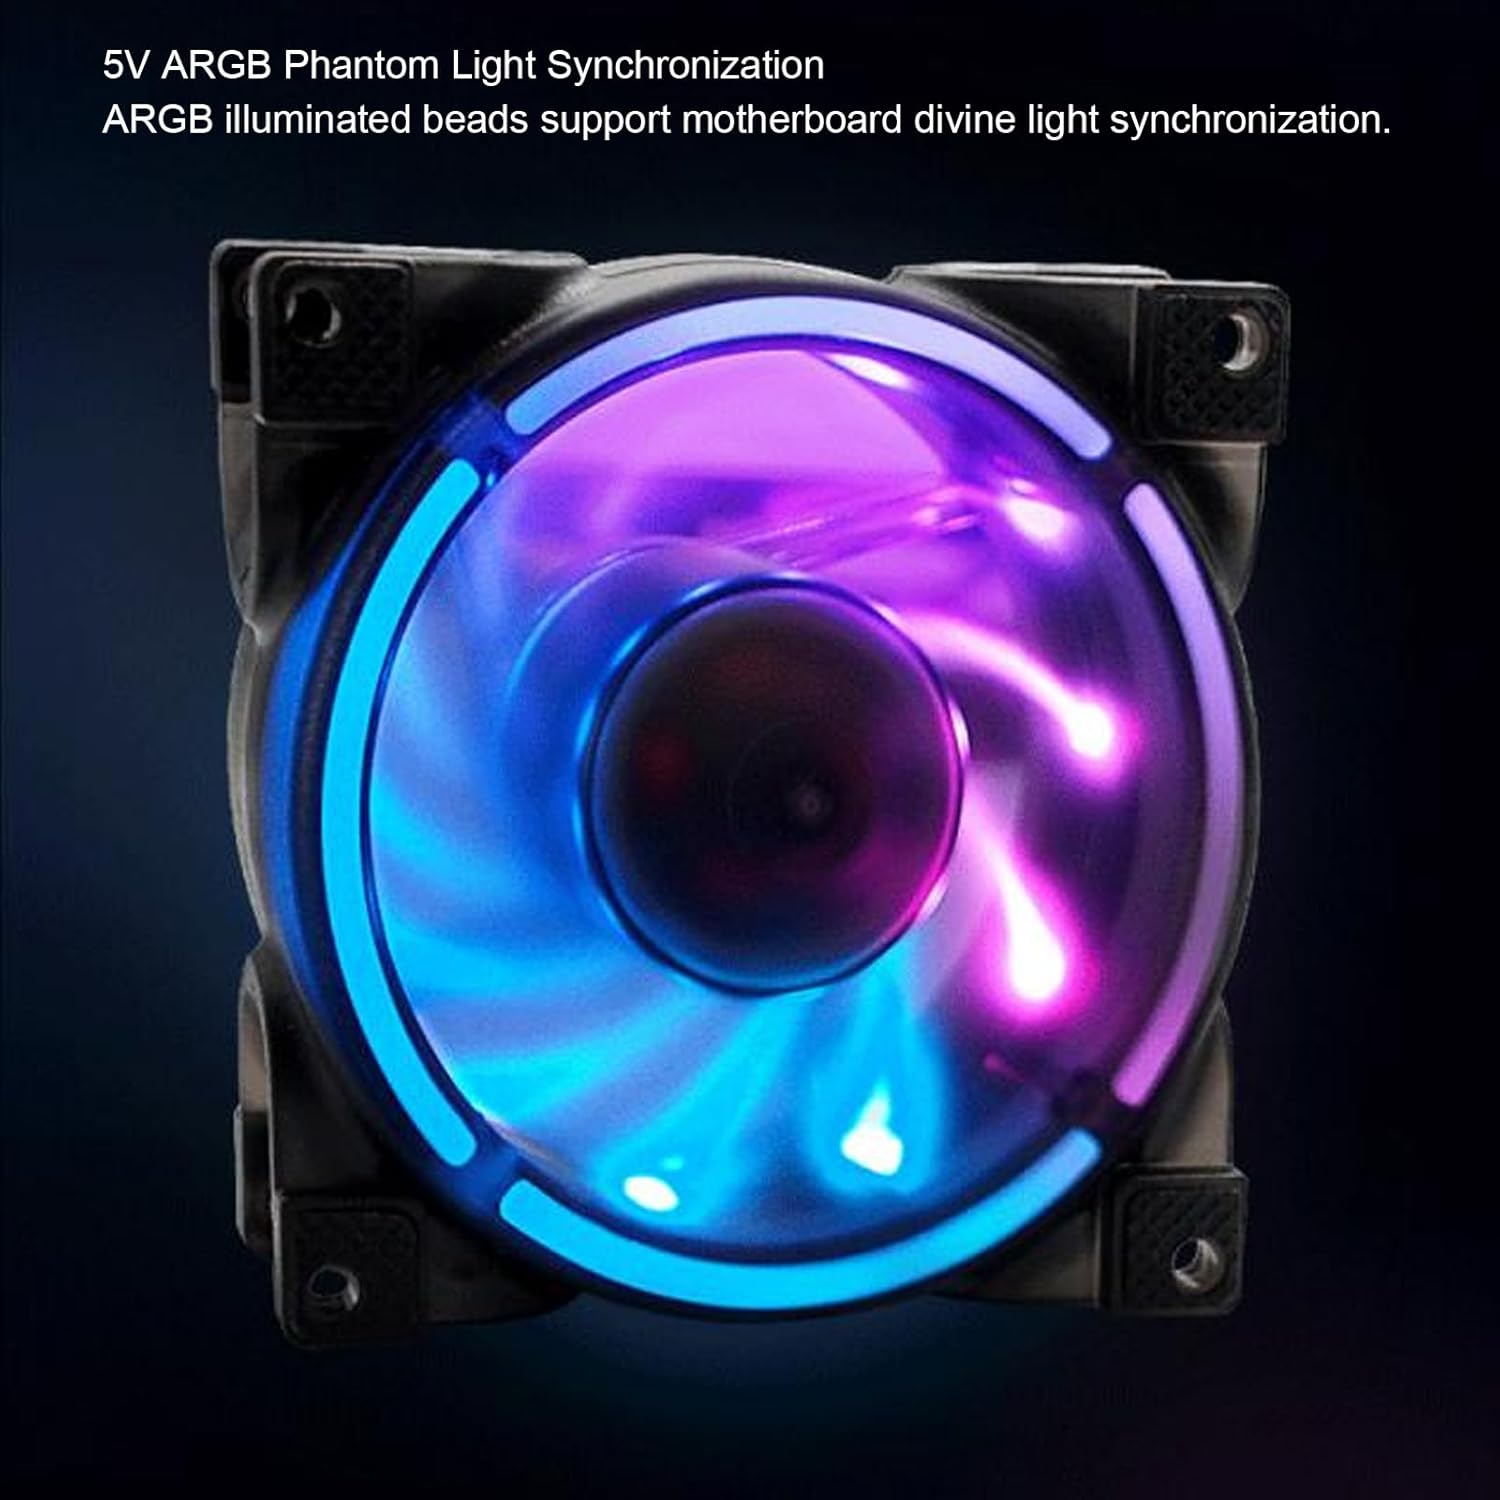
Image 4: Illustration of the 72mm hole distance for mounting the fan.
4. Setup and Installation
Follow these steps to properly install your Ejoyous ARGB PWM Case Fan:
- Prepare your computer case: Ensure your computer is powered off and unplugged. Open the side panel of your computer case to access the fan mounting locations.
- Identify mounting location: Locate an available 80mm fan mounting point in your computer case. Common locations include the rear, top, or front of the case.
- Mount the fan: Position the fan in the desired location, ensuring the airflow direction is correct (typically blowing air out of the case for exhaust, or into the case for intake). Use the four included screws to secure the fan to the case. The fan features eight soft silicone pads at the corners to absorb vibrations.
- Connect PWM cable: Connect the 4-pin PWM cable from the fan to an available SYS_FAN header on your motherboard. This allows for dynamic fan speed control.
- Connect ARGB cable: Connect the 3-pin 5V D G ARGB cable from the fan to a compatible 5V D G ARGB header on your motherboard. This enables synchronization of the fan's lighting effects with your motherboard's ARGB software. Adjacent fans or other light effect devices can be connected in series using the male and female header design.
- Close case and power on: Once all connections are secure, close your computer case, plug it back in, and power it on.
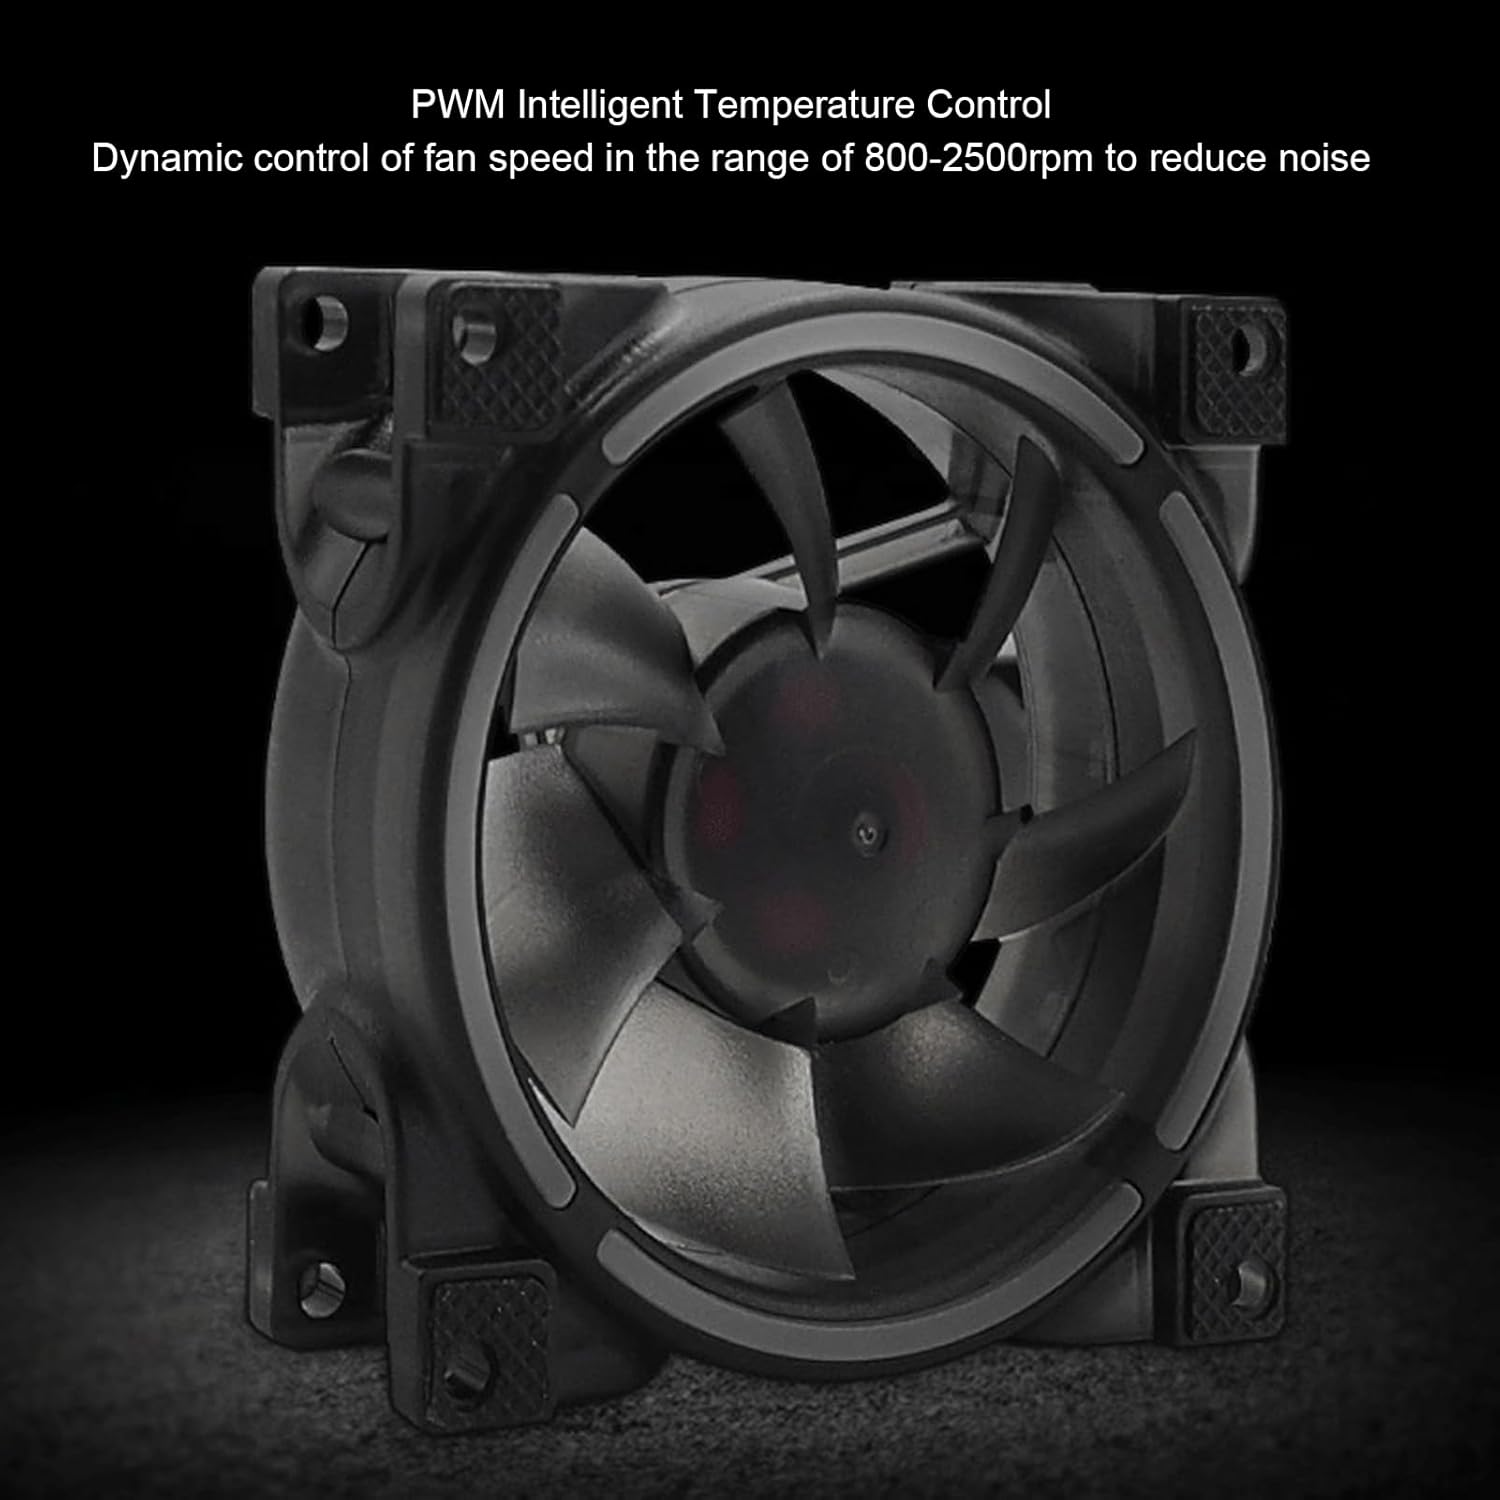
Image 5: Detail of the rubber shock-absorbing pads located at the fan's corners, designed to reduce vibration and noise.
5. Operating Instructions
5.1 PWM Intelligent Temperature Control
The fan supports PWM (Pulse Width Modulation) functionality, allowing your motherboard to dynamically control the fan speed based on system temperature. This ensures optimal cooling performance while minimizing noise.
- Automatic Control: When connected to a SYS_FAN header, the fan speed will automatically adjust within the 800-2500 RPM range according to your motherboard's fan control settings.
- Manual Adjustment: You can typically adjust fan curves and speeds through your motherboard's BIOS/UEFI settings or dedicated fan control software provided by your motherboard manufacturer.
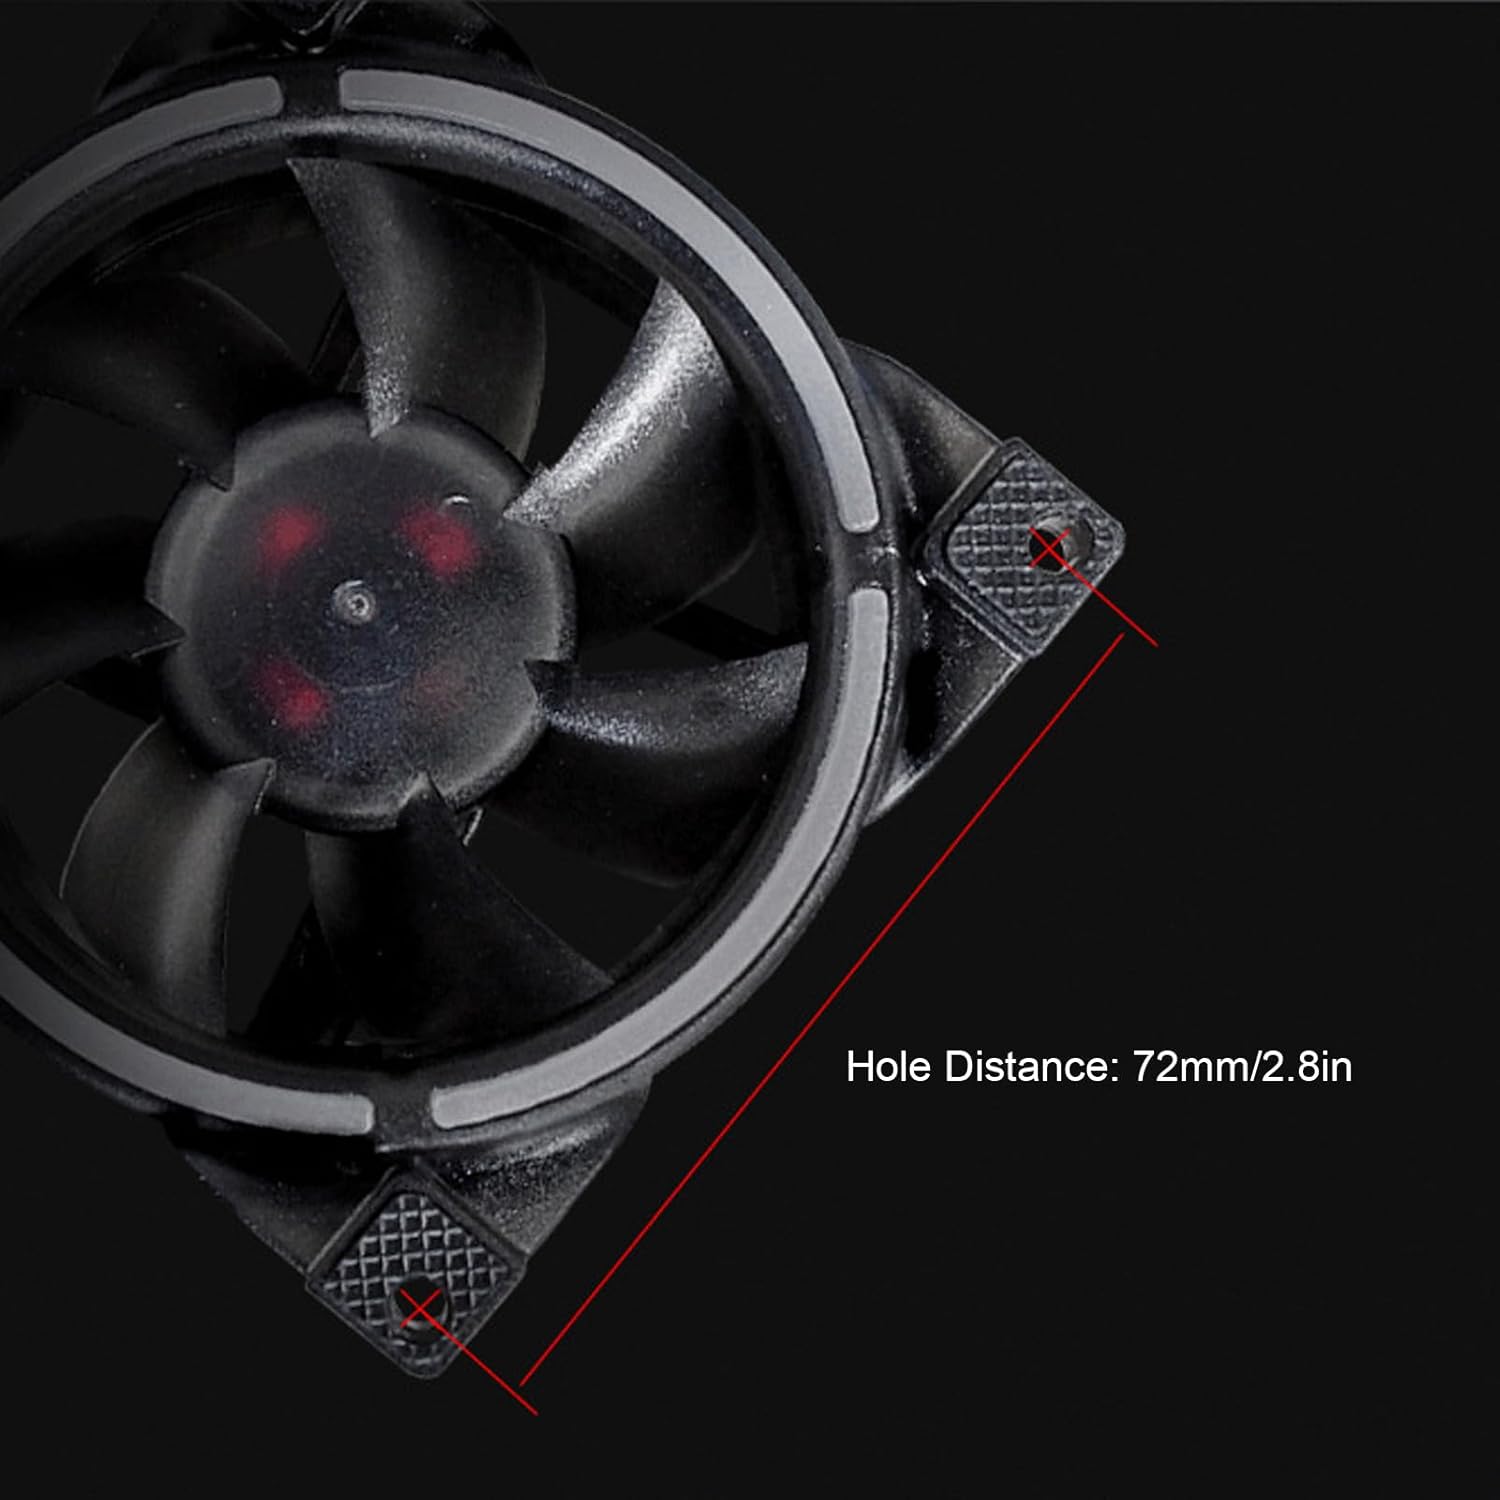
Image 6: The fan's PWM feature enables dynamic speed control between 800-2500 RPM for reduced noise.
5.2 ARGB Lighting Control
The fan features Addressable RGB (ARGB) lighting, which can be synchronized with your motherboard's lighting system.
- Motherboard Synchronization: After connecting the 5V D G ARGB cable to your motherboard, you can control the lighting effects using your motherboard's ARGB software (e.g., ASUS Aura Sync, MSI Mystic Light Sync, Gigabyte RGB Fusion, ASRock Polychrome Sync).
- Customization: This software typically allows you to choose from various lighting modes, colors, and effects.

Image 7: The fan's 5V ARGB lighting can be synchronized with compatible motherboards for customizable effects.
6. Maintenance
Regular maintenance helps ensure optimal performance and extends the lifespan of your fan.
- Cleaning: Periodically clean the fan blades and frame to remove dust buildup. Use compressed air or a soft brush. Ensure the computer is powered off and unplugged before cleaning.
- Inspection: Check the fan for any signs of damage or wear, such as loose blades or unusual noises.
- Bearing: The MFDB Hydraulic Bearing is designed for long life (over 10,000 hours) and typically does not require lubrication.

Image 8: Internal view of the MFDB Hydraulic Bearing, highlighting its low friction design for extended durability.
7. Troubleshooting
| Problem | Possible Cause | Solution |
|---|---|---|
| Fan not spinning | Incorrect power connection; Faulty fan header; Fan failure | Ensure PWM cable is securely connected to a working SYS_FAN header. Try a different fan header. If still not spinning, the fan may be faulty. |
| ARGB lights not working | Incorrect ARGB connection; Motherboard ARGB header not enabled; Software issue | Verify 5V D G ARGB cable is connected to a compatible 5V ARGB header. Check motherboard BIOS/UEFI for ARGB header settings. Ensure ARGB control software is installed and configured correctly. |
| Fan is too noisy | High RPM setting; Dust buildup; Vibration | Adjust fan speed settings in BIOS/UEFI or software to a lower RPM. Clean fan blades. Ensure fan is securely mounted and rubber pads are in place. |
| Fan not controlling speed (PWM) | Connected to 3-pin header; PWM not enabled in BIOS | Ensure fan is connected to a 4-pin PWM header. Check motherboard BIOS/UEFI settings to ensure PWM control is enabled for the connected fan header. |
8. Warranty and Support
For warranty information and technical support, please contact Ejoyous customer service through the retailer where the product was purchased or visit the official Ejoyous brand store on Amazon:
Visit the Ejoyous Store on Amazon
Please have your product model number (Ejoyous6p24q1nmwh) and purchase details ready when contacting support.