
Introduction
This manual provides detailed instructions for the setup, operation, and maintenance of your vretti K2 Bluetooth Thermal Label Maker. Please read this manual thoroughly before using the device to ensure proper functionality and to extend the product's lifespan.
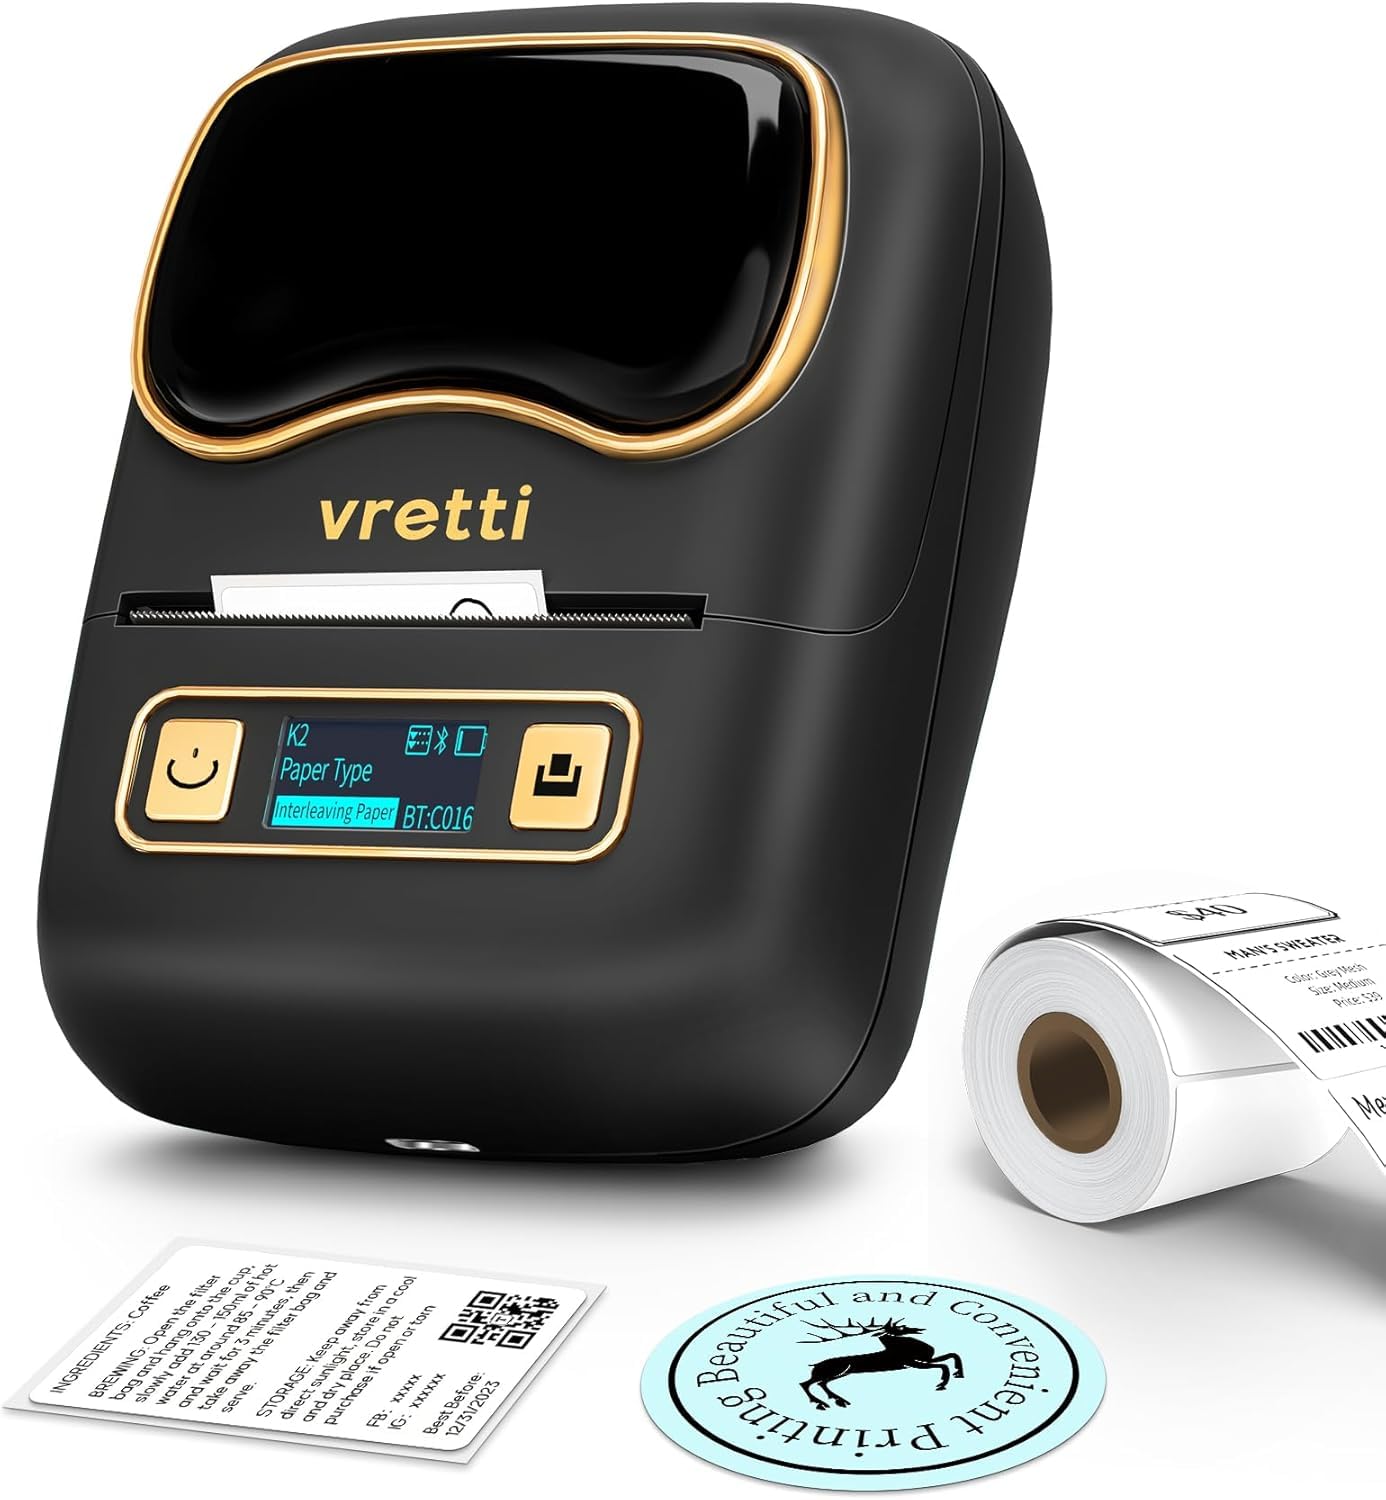
The vretti K2 Bluetooth Thermal Label Maker.
Product Overview Video
This video provides a brief overview of the vretti K2 label maker's features and common uses, such as creating labels for gifts and containers.
Safety Information
- Keep the device away from water and high humidity.
- Do not expose the device to extreme temperatures or direct sunlight.
- Use only the specified power adapter and USB-C cable.
- Avoid dropping or subjecting the device to strong impacts.
- Do not attempt to disassemble or repair the device yourself. Contact customer support for assistance.
- Keep out of reach of children.
Package Contents
Verify that all items are present in your package:
- vretti K2 Label Maker (x1)
- 50x30mm Paper Rolls (x1, pre-installed)
- Type-C Cable (x1)
- User Manual (x1)

Contents included in the vretti K2 label maker package.
Setup
1. Loading Label Paper
- Press the open cover button on the left side of the device to open the cover.
- Push the baffle latch back to unlock the paper roll holder.
- Remove the privacy protection sticker from the label paper roll.
- Place the label paper roll into the compartment with the print side facing down.
- Push the baffle latch forward to lock the paper roll in place.
- Extend the label paper approximately 3mm from the paper outlet, then close the cover.
- Press and hold the power button for 3 seconds to turn on the device. The display will illuminate.
- Press the feed button to advance the paper and calibrate the label position.
This video demonstrates the correct procedure for installing label paper into the K2 label maker.
2. App Download and Bluetooth Connection
- Download the "Xeasy Label" app from the App Store (iOS) or Google Play Store (Android).
- Enable Bluetooth and GPS (location services) on your mobile phone.
- Open the "Xeasy Label" app. Click the '+' button in the upper right corner to search for devices.
- Select "K2" from the list of connectable devices and click "Connect". The app will indicate "Connection successful".

The 'Xeasy Label' app supports Bluetooth connection for both Android and iOS devices.
This video guides you through connecting your K2 label maker to your mobile phone via Bluetooth for printing.
Operating Instructions
1. Creating and Editing Labels
- In the "Xeasy Label" app, select a label template that matches the dimensions of your physical label paper. For example, if your label paper is 50mm x 30mm, choose the corresponding template.
- Double-click on the template area to begin editing.
- Use the various tools in the app (Text, Frame, Sticker, Image, QR Code, Bar Code, Row Number, Shape, Table) to design your label.
- You can add text, images, icons, and adjust their size and position as needed.

The 'Xeasy Label' app offers multiple free templates, fonts, and icons for label design.
2. Printing Labels
- After designing your label, click the "Print Label" button in the app.
- Adjust the quantity of labels to print and the print density if necessary.
- Confirm your settings and initiate printing. The K2 label maker will print the labels.

Easy-to-follow steps for using the vretti K2 label maker.
3. Supported Label Types and Sizes
The vretti K2 label maker supports various thermal label paper sizes, with a print range of 20mm to 58mm (approximately 1-2 inches) in width. This includes square, round, cable, and file labels.

The vretti K2 supports various label styles and sizes, fitting 1-2 inch width thermal labels.
4. Application Examples
The K2 label maker is versatile for various applications:
- Office Use: File labels, asset tags, memo labels.
- Business Use: Price labels, product labels, barcode labels for retail, coffee shops, and small businesses.
- Home Use: Storage labels, food container labels, spice jar labels, medication labels.
- Gifts: Personalized gift tags and decorative labels.

Examples of multiple occasions where the vretti K2 label maker can be used.
Maintenance
1. Cleaning the Print Head
To ensure optimal print quality, clean the print head regularly:
- Turn off the label maker and disconnect it from power.
- Open the paper compartment cover.
- Gently wipe the print head with a cotton swab lightly dampened with isopropyl alcohol.
- Allow the print head to dry completely before closing the cover and turning on the device.
2. Battery Charging
The K2 label maker is equipped with a 1500mAh rechargeable battery. When the battery indicator on the display is low, connect the device to a power source using the provided USB-C cable. A full charge allows for approximately 3 hours of continuous printing or up to 5000 labels.
Troubleshooting
| Problem | Possible Cause | Solution |
|---|---|---|
| Device does not turn on. | Low battery or power issue. | Charge the device using the USB-C cable. Ensure the power button is pressed and held for 3 seconds. |
| Cannot connect via Bluetooth. | Bluetooth or GPS is off; device not discoverable; incorrect pairing. | Ensure Bluetooth and GPS are enabled on your phone. Restart the label maker and the app. Try pairing again. |
| Poor print quality (faint, blurry, or blank). | Print head is dirty; incorrect label paper orientation; low print density setting. | Clean the print head. Ensure the label paper is loaded with the print side down. Increase print density in the app. |
| Paper jam or labels not feeding correctly. | Improperly loaded paper; foreign object in paper path. | Open the cover, remove any jammed paper, and re-load the paper correctly. Ensure the baffle latch is secured. |
| App crashes or freezes. | Software glitch; outdated app version. | Restart the app. Check for app updates in your device's app store. |
Specifications
| Feature | Detail |
|---|---|
| Model Name | K2 |
| Brand | vretti |
| Connectivity Technology | Bluetooth |
| Printing Technology | Thermal |
| Printer Output | Monochrome |
| Maximum Print Width | 58mm (2 inches) |
| Print Resolution | 203 DPI |
| Print Speed | Up to 30mm/s |
| Battery | 1500mAh Rechargeable (1 C battery included) |
| Charging Interface | USB-C |
| Product Dimensions | 4.5"D x 2.5"W x 3.4"H |
| Item Weight | 7.8 ounces (0.49 Pounds) |
| Compatible Devices | Smartphones (iOS & Android) |
| Control Method | App |
Warranty and Support
Warranty Information
The vretti K2 Bluetooth Thermal Label Maker comes with a limited warranty. Please refer to the warranty card included in your package or contact vretti customer support for specific terms and conditions.
Customer Support
For technical assistance, troubleshooting, or warranty claims, please contact vretti customer support through the following channels:
- Website: Visit the official vretti website for FAQs and support resources.
- Email: Refer to your product packaging or the quick start guide for customer service email addresses.
- Amazon Store: You can also reach out to the seller "vretti-us" directly through your Amazon order history for support.