1. Introduction
Thank you for purchasing the AIRTHRYL 2200 CFM Portable Evaporative Air Cooler. This manual provides important information regarding the safe operation, installation, maintenance, and troubleshooting of your new appliance. Please read this manual thoroughly before use and retain it for future reference.
2. Safety Instructions
To reduce the risk of fire, electric shock, or injury, always follow these basic precautions:
- Read all instructions before using this appliance.
- Ensure the power supply matches the voltage specified on the rating label.
- Do not operate the unit with a damaged cord or plug. If the cord is damaged, it must be replaced by the manufacturer or a qualified service agent.
- Always unplug the unit before cleaning, servicing, or moving.
- Do not immerse the unit, cord, or plug in water or other liquids.
- Keep the unit on a stable, level surface to prevent tipping.
- Do not block air inlets or outlets. Maintain at least 8 inches of clearance from walls or other objects.
- Do not insert fingers or foreign objects into the air grille.
- This appliance is not intended for use by persons (including children) with reduced physical, sensory, or mental capabilities, or lack of experience and knowledge, unless they have been given supervision or instruction concerning use of the appliance by a person responsible for their safety.
- Do not use this appliance near water, such as in a wet basement or near a swimming pool.
- Use only clean water in the water tank.
- Do not use the unit in areas where flammable liquids or gases are stored.
3. Package Contents
Verify that all items are present in the package:
- AIRTHRYL Evaporative Air Cooler (1 unit)
- User Manual (1 copy)
- Remote Control (1 unit)
- Ice Box (4 units)
- Universal Wheel (4 units)
4. Product Overview
The AIRTHRYL L88Y is a versatile 3-in-1 evaporative air cooler designed to provide cooling, humidification, and fan functions. It features a large 8-gallon water tank, 3-speed fan, 100° oscillation, and a 24-hour smart timer for enhanced comfort and convenience.
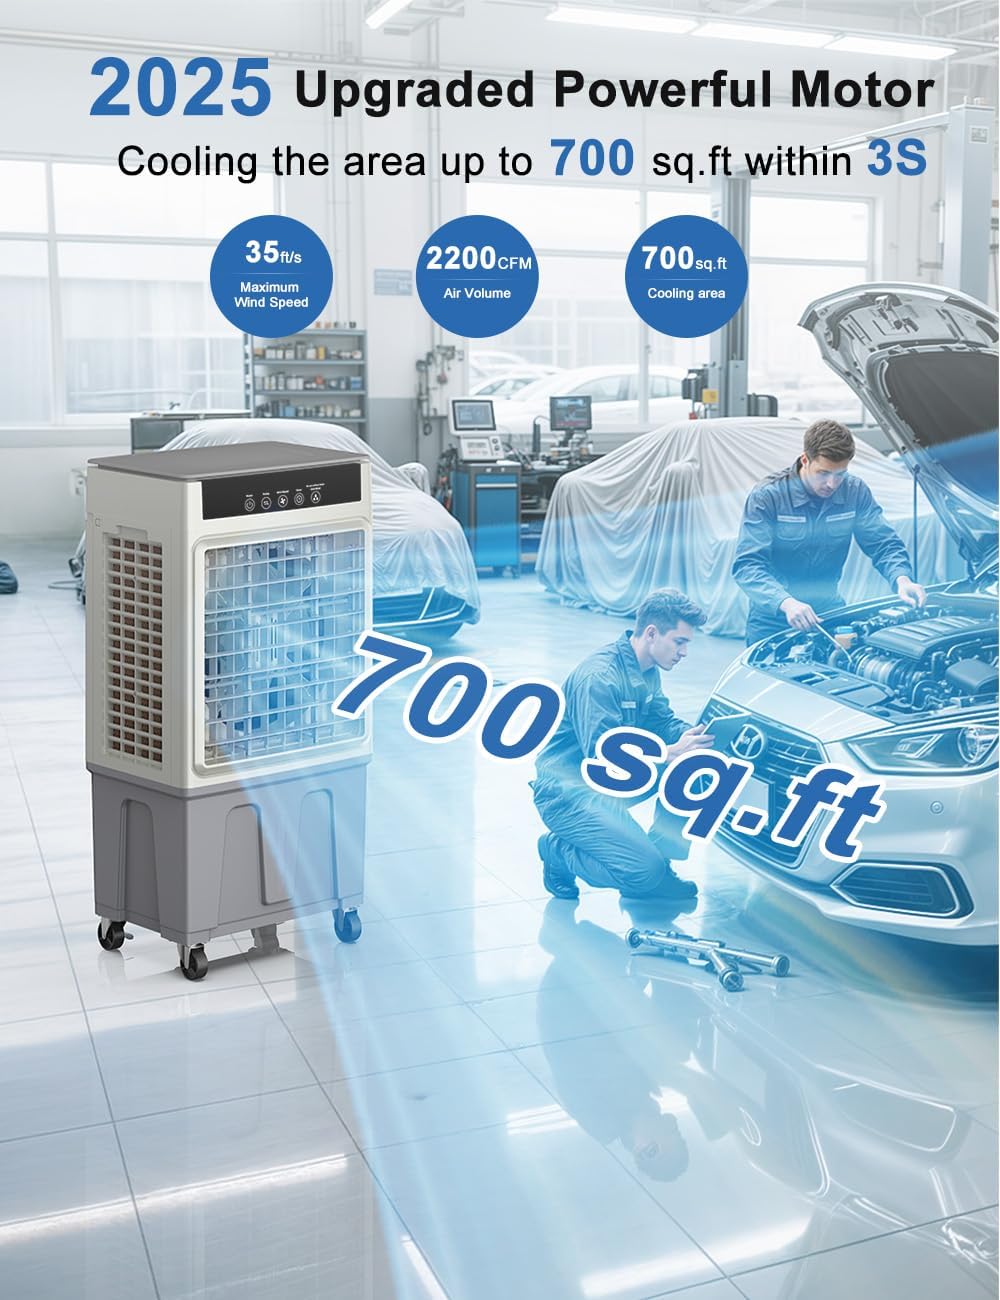
Figure 4.1: Front view of the AIRTHRYL Evaporative Air Cooler.

Figure 4.2: Illustration of the cooler's powerful performance, covering up to 700 sq.ft with 2200 CFM air volume.
5. Setup
5.1 Unpacking
- Carefully remove the air cooler from its packaging.
- Remove all packing materials, including any protective films or tapes.
- Check for any damage during transit. If damage is found, do not operate the unit and contact customer support.
5.2 Caster Wheel Installation
The unit comes with four universal wheels for easy mobility. Two of these wheels include brakes.
- Turn the unit upside down carefully, ensuring it is stable.
- Insert each caster wheel into the designated holes at the bottom of the unit. Push firmly until they click into place.
- Ensure the two wheels with brakes are installed on the same side for easier locking.
- Return the unit to an upright position.

Figure 5.1: Attaching the universal caster wheels to the base of the unit.
5.3 Water Tank Filling
The unit features an 8-gallon top-fill water tank.
- Open the top cover of the water tank.
- Pour clean, cool water into the tank. Do not exceed the 'MAX' water level indicator.
- Close the top cover securely.

Figure 5.2: Demonstrates the top-fill water tank and the inclusion of ice boxes.
5.4 Using Ice Boxes (Optional)
For enhanced cooling, you can use the provided ice boxes:
- Fill the ice boxes with water and place them in a freezer until completely frozen.
- Once frozen, place the ice boxes into the water tank along with the water.
- The ice boxes will help lower the water temperature, providing cooler air.
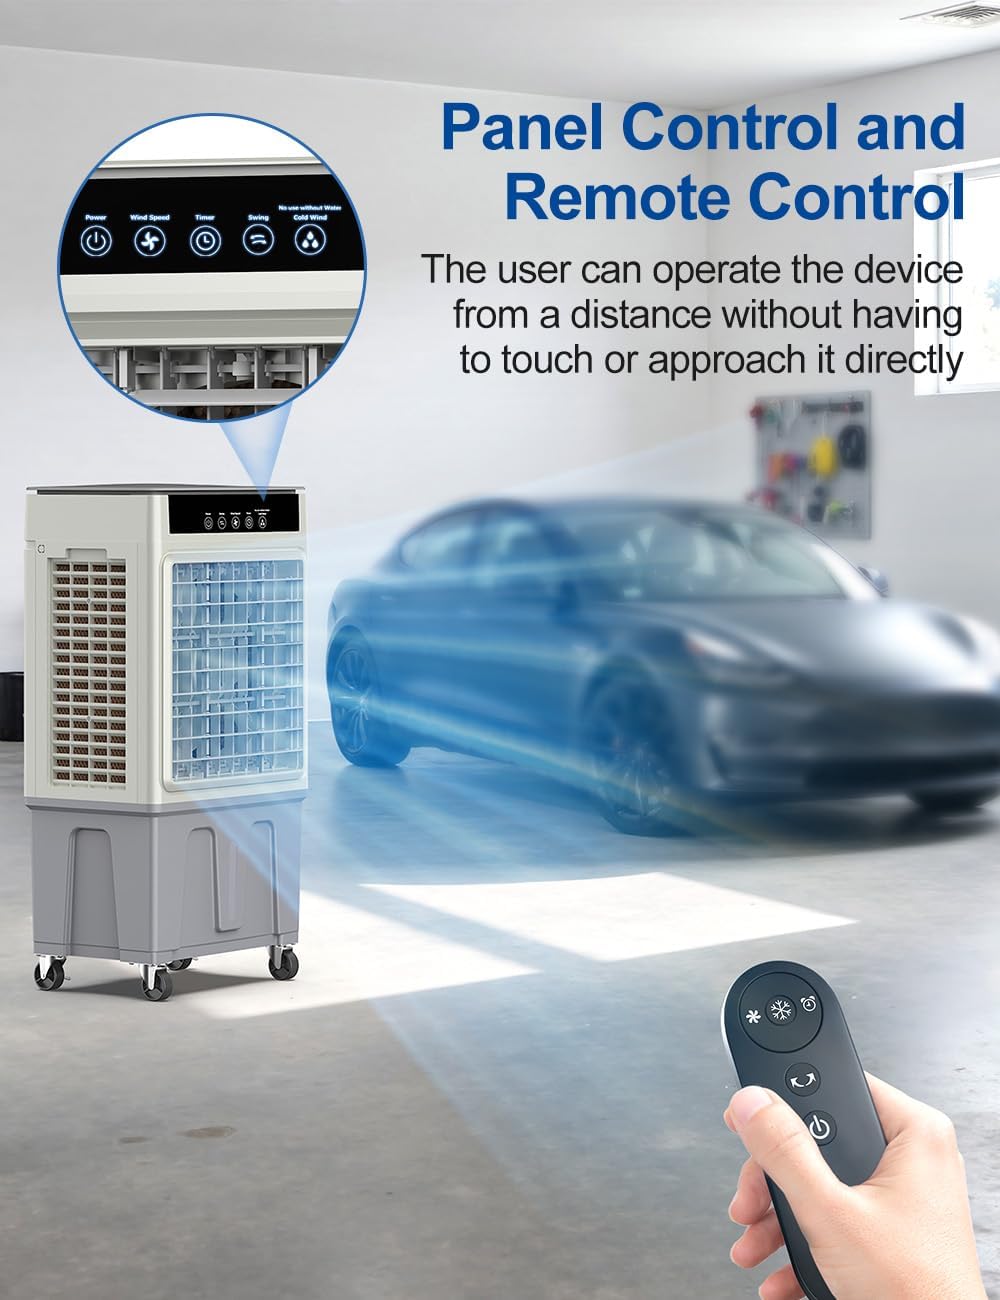
Figure 5.3: The four included ice boxes for additional cooling.
5.5 Placement
Place the air cooler on a firm, level surface. Ensure there is adequate space around the unit for proper airflow. For optimal evaporative cooling, place the unit in a well-ventilated area, ideally near an open window or door to allow for air exchange.
6. Operating Instructions
The AIRTHRYL L88Y can be controlled via the top control panel or the included remote control.
6.1 Control Panel

Figure 6.1: The intuitive touch control panel on top of the unit.
6.2 Remote Control
The remote control allows you to operate all functions from a distance of up to 20 feet.
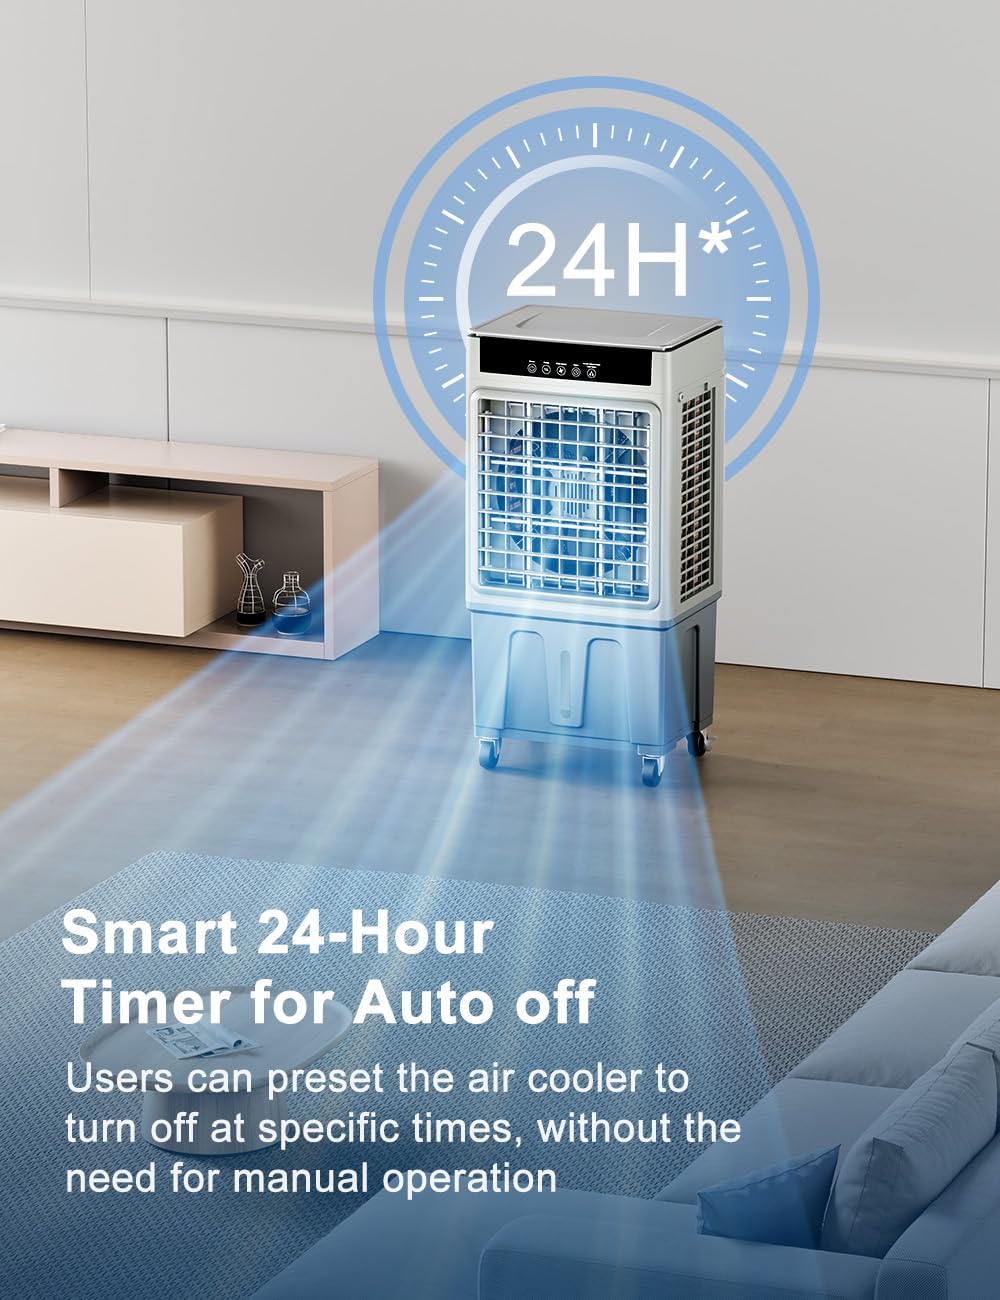
Figure 6.2: The remote control for convenient operation.
6.3 Power On/Off
- Press the Power button (
 ) on the control panel or remote control to turn the unit on or off.
6.4 Mode Selection (3-in-1 Function)
The unit offers three operational modes:
- Normal Wind Mode (Fan Only): Operates as a standard fan without water.
- Water Mist Mode (Humidifier): Adds moisture to the air using water from the tank.
- Cooling Mode (Evaporative Cooling): Uses water (and ice boxes) to cool the air.
Press the Mode button () to cycle through the available modes.

Figure 6.3: The three customizable cooling experiences offered by the unit.
6.5 Fan Speed Adjustment
The unit has three fan speed settings: Low, Medium, and High.
- Press the Speed button () to cycle through the speeds.

Figure 6.4: Visual representation of the three fan speed options.
6.6 Oscillation Control
The unit features 100° wide oscillation to distribute air evenly.
- Press the Oscillation button () to turn the oscillation function on or off.

Figure 6.5: The unit's 100° wide oscillation capability.
6.7 Timer Setting
Set the unit to automatically turn off after a specified period (1-24 hours).
- Press the Timer button () repeatedly to select the desired shut-off time. The selected time will be displayed on the LED panel.

Figure 6.6: The 24-hour smart timer feature for automatic shut-off.
6.8 Vertical Airflow Adjustment
- The vertical airflow can be manually adjusted up to 120° using the shutters on the front of the unit.
7. Maintenance
Regular maintenance ensures optimal performance and extends the lifespan of your air cooler. Always unplug the unit before performing any maintenance.
7.1 Water Tank Cleaning
Clean the water tank regularly to prevent mold and mildew growth.
- Unplug the unit from the power outlet.
- Drain any remaining water from the tank using the bottom drain plug.
- Wipe the inside of the tank with a soft cloth and a mild detergent solution.
- Rinse thoroughly with clean water.
- Allow the tank to air dry completely before refilling or storing.

Figure 7.1: The visible water tank level indicator helps monitor water levels for refilling and cleaning.
7.2 Cooling Pad Cleaning
The cooling pads are washable and should be cleaned periodically.
- Unplug the unit.
- Remove the back panel to access the cooling pads.
- Carefully slide out the cooling pads.
- Rinse the pads under running water to remove dust and mineral deposits. For stubborn deposits, soak in a mild descaling solution (e.g., vinegar and water) before rinsing.
- Allow the pads to air dry completely before reinserting them.
7.3 Exterior Cleaning
- Wipe the exterior surfaces of the unit with a soft, damp cloth.
- Do not use abrasive cleaners or solvents, as they may damage the finish.
7.4 Storage
If the unit will not be used for an extended period:
- Drain and clean the water tank and cooling pads thoroughly.
- Ensure all components are dry.
- Store the unit in a cool, dry place, preferably in its original packaging.
8. Troubleshooting
Before contacting customer support, please refer to the following table for common issues and solutions:
| Problem | Possible Cause | Solution |
|---|---|---|
| Unit does not turn on | No power supply Power cord not properly connected | Check if the unit is plugged into a working outlet. Ensure the power cord is securely connected. |
| No cool air / Weak cooling | Water tank is empty Cooling pads are dry Room humidity is too high Cooling pads are dirty | Fill the water tank. Ensure the pump is operating and water is flowing over the pads. Evaporative coolers are less effective in high humidity. Consider using fan-only mode. Clean the cooling pads as per maintenance instructions. |
| Unusual noise | Unit is not on a level surface Foreign object in fan Water pump issue | Place the unit on a stable, level surface. Unplug and check for obstructions in the air inlet/outlet. Remove carefully. Check water level. If noise persists, contact support. |
| Water leakage | Water tank overfilled Drain plug not secured | Do not fill water above the 'MAX' line. Ensure the bottom drain plug is tightly closed. |
9. Specifications
| Feature | Specification |
|---|---|
| Brand | AIRTHRYL |
| Model Name | L88Y |
| Mounting Type | Freestanding |
| Color | Grey |
| Controls Type | Touch; Remote |
| Included Components | Swamp Air cooler, User Manual, Remote Control, Ice Box (x4), Universal Wheel (x4) |
| Noise Level | 59 Decibels |
| Product Dimensions | 12.6"D x 16.7"W x 33.6"H |
| Voltage | 120 Volts |
| Item Weight | 14.4 Pounds |
| Material | Acrylonitrile Butadiene Styrene (ABS) |
| Water Tank Capacity | 8 Gallons |
| Fan Speeds | 3 (Low/Middle/High) |
| Oscillation | 100° Swing |
| Timer | 1-24 Hour Smart Timer |
10. Warranty and Support
10.1 Warranty Information
This AIRTHRYL product comes with a 1-Year Warranty from the date of purchase. This warranty covers manufacturing defects in materials and workmanship under normal use. It does not cover damage resulting from misuse, accident, alteration, neglect, or unauthorized repair.
10.2 Customer Support
If you have any questions, concerns, or require assistance with your AIRTHRYL Evaporative Air Cooler, please contact our customer support team. For more information, visit the official AIRTHRYL store: AIRTHRYL Store on Amazon.