
Avylet RM
Avylet Carplay Android Auto 9-inch Display User Manual
Model: RM
Introduction
Thank you for choosing the Avylet Carplay Android Auto 9-inch Display. This device is designed to enhance your driving experience with seamless smartphone integration, navigation, and entertainment features. It includes a 9-inch HD touchscreen, wireless Apple CarPlay and Android Auto support, voice control, real-time GPS navigation, and an IP67 waterproof backup camera. This manual provides detailed instructions for installation, operation, maintenance, and troubleshooting.
Safety Information
Please read all safety warnings and instructions carefully before using this product to ensure safe operation and prevent damage.
- Do not operate the device in a way that distracts you from driving. Always prioritize road safety.
- Ensure the device is securely mounted and does not obstruct your view or interfere with vehicle controls.
- Avoid exposing the device to extreme temperatures, direct sunlight for prolonged periods, or excessive moisture.
- Only use the provided power cable and accessories. Using unauthorized accessories may cause damage or fire.
- Do not attempt to disassemble or repair the device yourself. Refer all servicing to qualified personnel.
- The backup camera is for parking assistance only and should not be solely relied upon for safe maneuvering. Always check your surroundings visually.
Package Contents
Verify that all items are present in the package:
- Avylet 9-inch Carplay Android Auto Display
- IP67 Waterproof Backup Camera
- Magnetic Mount
- Suction Cup Mount
- Power Cable (Type-C)
- User Manual
- Rear Camera Cable (19.7FT)

Image: Main components of the Avylet Carplay Android Auto system, including the 9-inch display, a flexible magnetic mount, a suction cup mount, and the IP67 waterproof backup camera.
Product Overview
The Avylet Carplay Android Auto display features a responsive 9-inch touchscreen and multiple connectivity options for an enhanced in-car experience.
Key Features:
- 9-inch HD Touchscreen: 1024 x 600 resolution for clear visuals.
- Wireless Apple CarPlay & Android Auto: Seamless integration with your smartphone for calls, maps, music, and more.
- Voice Control: Hands-free operation via Siri or Google Assistant.
- Real-time GPS Navigation: Accurate route planning with traffic updates.
- IP67 Waterproof Backup Camera: Enhances parking safety.
- Flexible Mounting Options: Magnetic and suction cup mounts for stable installation.
- Multiple Audio Outputs: Bluetooth, AUX, FM, and built-in speaker.
- OTA Updates: Ensures continuous software improvements.
- Portrait and Landscape Mode Support: Flexible screen orientation.
Setup and Installation
Follow these steps for proper installation of your Avylet Carplay Android Auto display and backup camera.
1. Choosing a Mounting Location:
Select a flat, clean surface on your dashboard or windshield that does not obstruct your view or interfere with airbags or vehicle controls. The device supports both magnetic and suction cup mounts.

Image: Illustration of the magnetic mount mechanism on the back of the display, highlighting its flexible and adjustable design for various vehicle types.

Image: Visual representation of the dual mount design, showcasing both the suction cup bracket with 360-degree rotation and the magnetic mount with 360-degree rotation and 180-degree tilt, allowing for multiple installation positions.
2. Installing the Mount:
For the magnetic mount, clean the dashboard surface thoroughly. Install and press the steel joint firmly, then wait 24 hours for it to set. Remove the red film, align the mount, and press to adapt to the dashboard curve. Allow 12-24 hours before attaching the screen. For the suction cup mount, ensure the surface is clean, press the suction cup firmly, and engage the lever to secure it.
3. Attaching the Display:
Once the mount is securely installed, attach the Avylet 9-inch display to the mount. The magnetic mount allows for 360-degree rotation and 180-degree tilt for optimal viewing angles.
4. Connecting Power:
Connect the provided Type-C power cable from your car charger to the display's Type-C port.
5. Installing the Backup Camera:
Install the IP67 waterproof backup camera at the rear of your vehicle. Connect the red wire of the camera to your vehicle's reverse light power source. This will enable the display to automatically show the rear view when you shift into reverse gear.

Image: Diagram illustrating the IP67 waterproof rear camera's features, including 4 LED lights, 170-degree viewing angle, adjustable reversing lines, and its function in providing clear visibility for safer parking. The image also shows the camera view on the Avylet display when reversing.
Operating Instructions
1. Powering On/Off:
The device will power on automatically when connected to power. To power off, disconnect the power cable or use the designated power button if available (refer to device interface).
2. Connecting to Apple CarPlay or Android Auto:
The Avylet display supports wireless Apple CarPlay and Android Auto. Ensure your phone's Wi-Fi and Bluetooth are enabled. On the display, navigate to the CarPlay or Android Auto icon and follow the on-screen prompts to pair your device. Note: The Avylet camera and car screen require Wi-Fi to connect to your phone, so the same phone cannot connect to both devices simultaneously.

Image: Screenshots demonstrating the wireless Apple CarPlay and Android Auto interfaces on the Avylet display, showing access to phone calls, music, navigation, and messaging apps.
3. Voice Control:
Activate Siri or Google Assistant by saying "Hey Siri" or "Hey Google" (or pressing the voice command button on the screen/steering wheel if configured). Use voice commands for hands-free operation of calls, navigation, and music.

Image: Visual representation of voice control functionality, showing examples like "Hey Google, send Molly a message" and "Hey Siri, Call Molly," alongside a map displaying live GPS navigation on the Avylet screen.
4. Navigation:
Access navigation apps (e.g., Apple Maps, Google Maps, Waze) through CarPlay or Android Auto. The display provides real-time route planning and traffic updates.
5. Audio Output Options:
The device offers several audio output methods:
- Built-in Speaker: For direct audio output from the display.
- Bluetooth: Connect to your car's Bluetooth system for audio playback.
- AUX: Use an AUX cable to connect the display to your car's AUX input.
- FM Transmitter: Transmit audio to your car's FM radio. Before pairing, set your car's FM radio to an empty frequency, then match it with the frequency displayed on the Carplay unit.

Image: Diagram illustrating the four audio output options: built-in speaker, streaming audio to car speakers via FM Sync, streaming audio via Bluetooth to car speakers, and streaming audio to car speakers via AUX connection.
6. Portrait and Landscape Mode:
The Avylet display supports flexible switching between portrait and landscape modes. Adjust the screen orientation for optimal visibility, especially useful for navigation or media consumption.
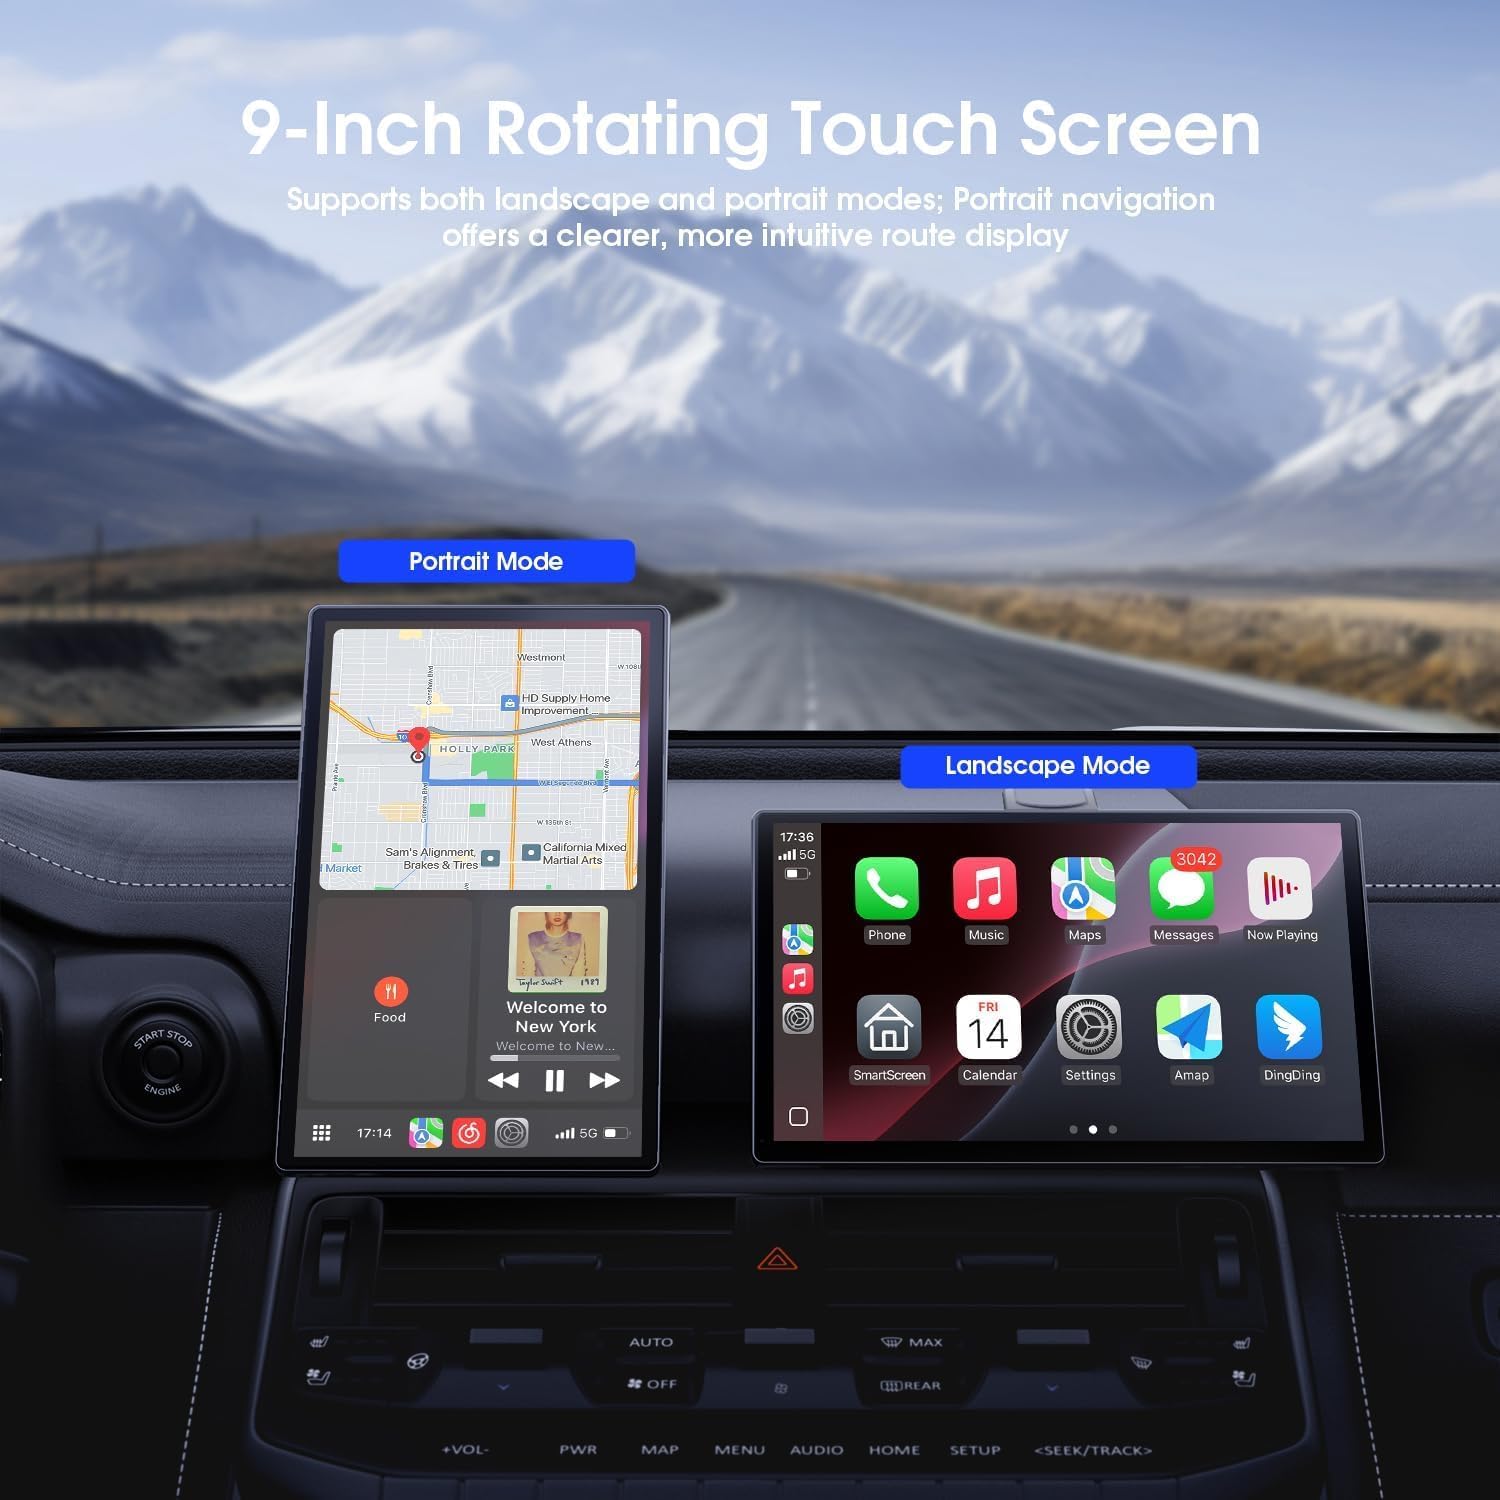
Image: The Avylet 9-inch rotating touchscreen displayed in both portrait and landscape modes within a car interior, demonstrating its adaptability for navigation and other applications.
7. Split Screen Functionality:
Utilize the split-screen feature to display two applications simultaneously, such as navigation and music, enhancing convenience and safety.
8. Steering Wheel Control:
If your vehicle has compatible steering wheel shortcut buttons, you can use them to control the Avylet display, minimizing distractions while driving.
9. OTA Updates:
The CarPlay unit supports Over-The-Air (OTA) updates. Ensure your device is connected to Wi-Fi to receive the latest software features and performance enhancements automatically.
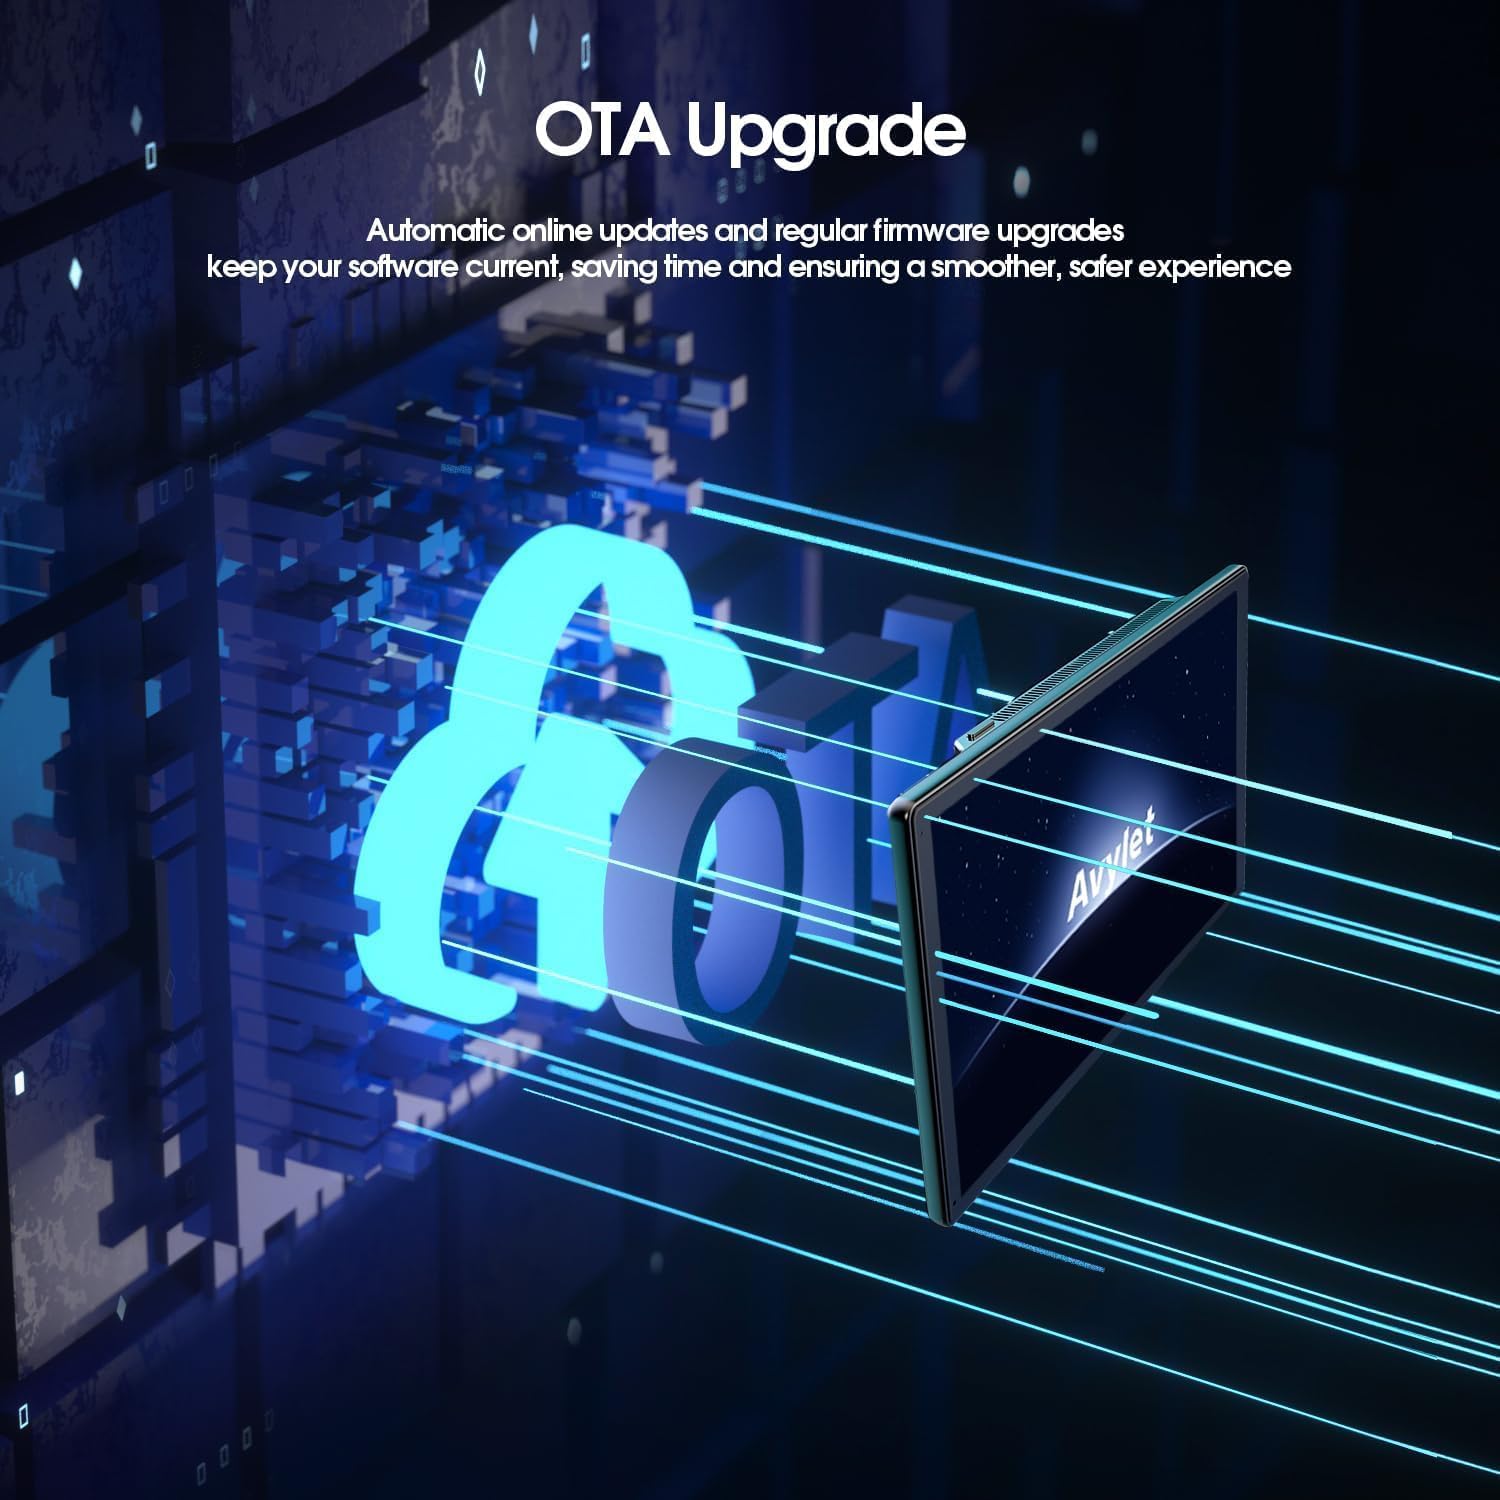
Image: A conceptual image illustrating the OTA (Over-The-Air) upgrade process, showing data flowing from a cloud icon to the Avylet display, symbolizing automatic online updates and firmware upgrades.
Maintenance
To ensure the longevity and optimal performance of your Avylet display:
- Clean the screen regularly with a soft, lint-free cloth. Do not use abrasive cleaners or solvents.
- Keep the device free from dust and debris.
- Ensure all cables are securely connected and not pinched or damaged.
- If the device will not be used for an extended period, disconnect it from power.
Troubleshooting
If you encounter issues with your Avylet display, refer to the following common problems and solutions:
| Problem | Possible Cause / Solution |
|---|---|
| Device does not power on. |
|
| Cannot connect to Apple CarPlay/Android Auto. |
|
| No audio output. |
|
| Backup camera image not displayed. |
|
| Screen rotation not working. |
|
Specifications
| Feature | Detail |
|---|---|
| Brand | Avylet |
| Model Name | RM |
| Vehicle Service Type | Truck, Car, SUV, Jeep, RV |
| Screen Size | 9 Inches |
| Special Feature | Bluetooth |
| Connectivity Technology | Wi-Fi |
| Included Components | Carplay unit |
| Mounting Type | Dashboard Mount, Windshield Mount |
| Memory Storage Capacity | 256 GB |
| Item Weight | 431 Grams |
Warranty and Support
Avylet provides a 2-year warranty and lifetime technical support for this product.
For any inquiries, technical assistance, or warranty claims, please contact Avylet customer support directly. You can find contact information in the product packaging or by visiting the official Avylet website: Avylet.com. Our team aims to respond to your requests within 12 hours.
Related documentsRM

Ask a question about this manual
Ask about setup, troubleshooting, compatibility, parts, safety, or missing instructions. Manuals+ will review the question and use this page’s manual context to help answer it.