1. Product Overview
The AWANFI YG-811 Two-Way Radios provide reliable communication for various activities. This manual details the setup, operation, and maintenance of your device to ensure optimal performance and longevity.
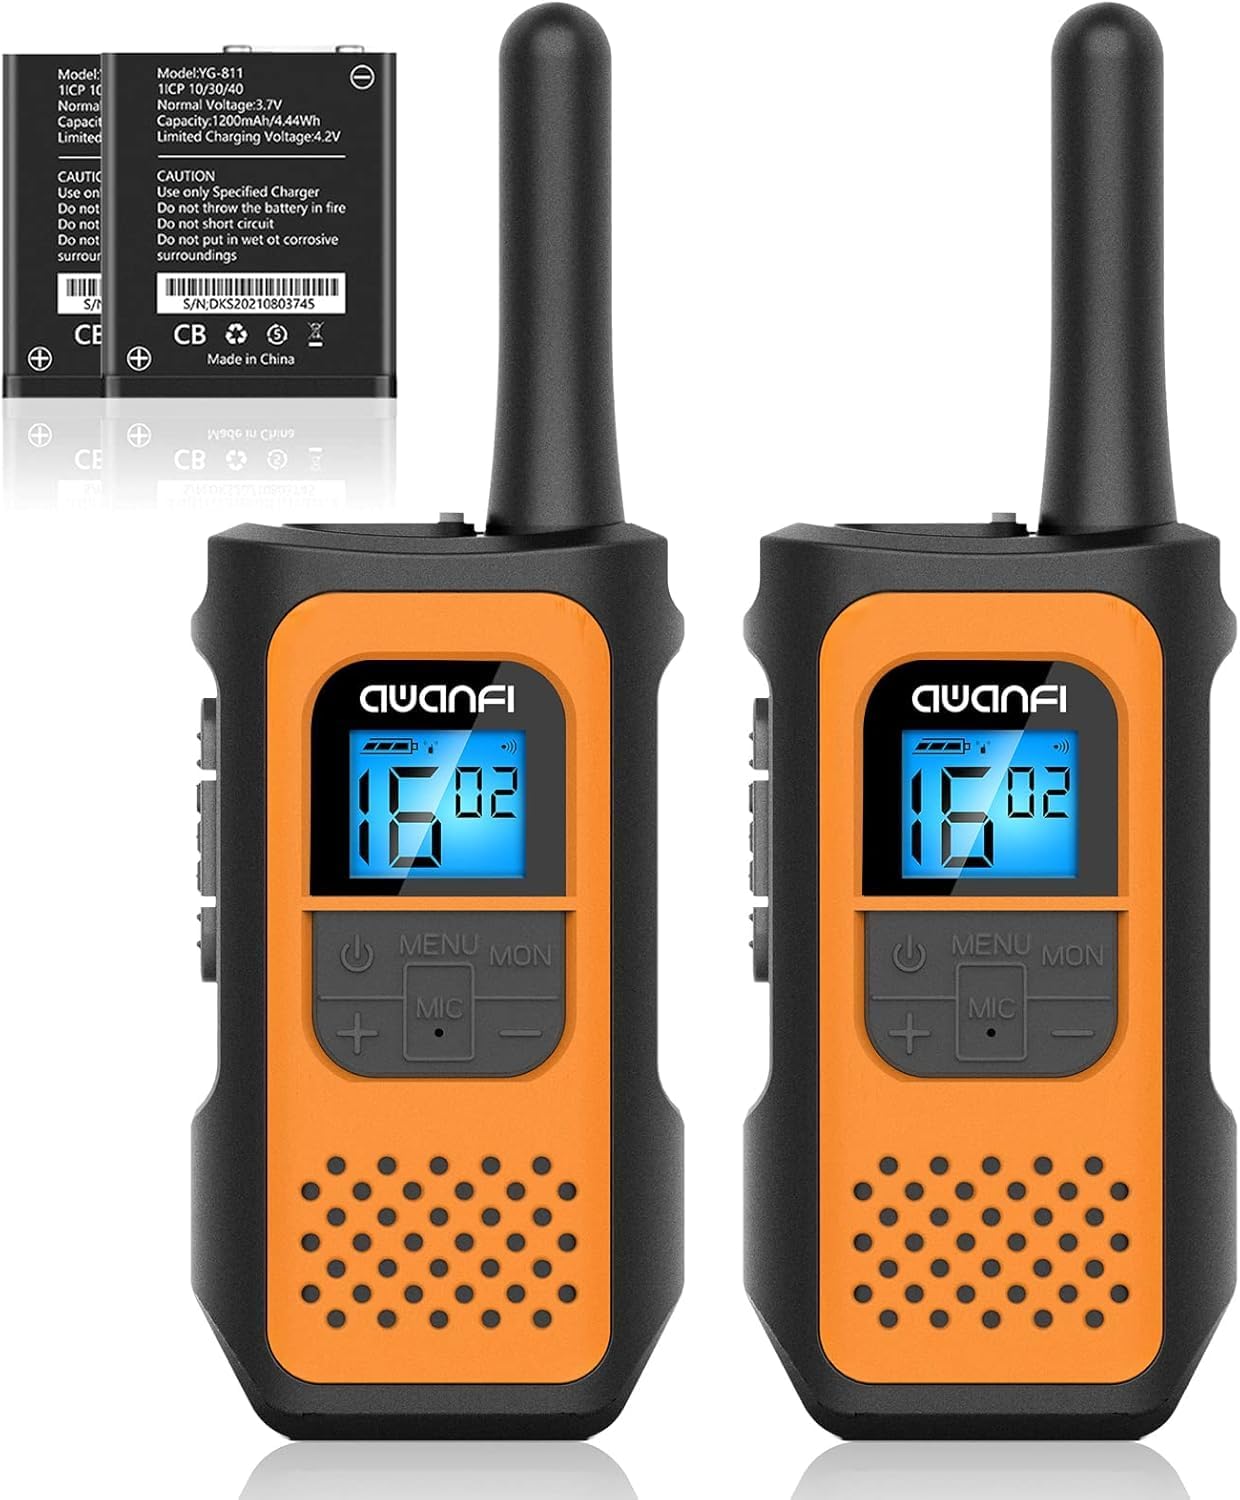
Image 1.1: AWANFI YG-811 Two-Way Radios. This image displays two orange and black walkie-talkies, highlighting their compact design and digital display.
2. Package Contents
Please verify that all items are present in your package:
- 2 x AWANFI Walkie Talkies
- 2 x Belt Clips
- 1 x 2-in-1 Type-C Cable
- 1 x User Manual (this document)
3. Product Features
- Rechargeable 1200mAh Li-ion Battery: Provides up to 24 hours of battery life on a single charge.
- USB Type-C Charging: Convenient and efficient charging.
- 22 Channels: Offers a wide range of communication options.
- 99 Privacy Codes: Ensures private communication.
- VOX (Voice Operated Exchange): Enables hands-free communication.
- Integrated Flashlight: Useful for low-light conditions.
- Keypad Lock: Prevents accidental setting changes.
- Auto Scan: Automatically scans for active channels.
- 10 Call Tone Alerts: Customizable alert sounds.
- SOS Siren: For emergency signaling.
- Compact and Lightweight Design: Easy to carry with included lanyards and belt clips.
- Back-lit Display: Improves visibility in various lighting conditions.
- Noise Reduction: Enhances audio clarity.
- Squelch System: Reduces background noise.
- Drop Protection: Durable environmental protection shell.

Image 3.1: Key Features of the AWANFI YG-811. This graphic illustrates the main functionalities such as VOX, Keypad Lock, and Noise Reduction.
4. Component Identification
Familiarize yourself with the various parts of your AWANFI Two-Way Radio:

Image 4.1: AWANFI YG-811 Component Diagram. This image labels the antenna, earphone jack, charge jack, PTT button, power button, microphone/speaker, LCD display, menu/lock button, up button, and down button.
- Antenna: For signal transmission and reception.
- Earphone Jack: Connect external audio accessories.
- Charge Jack: USB Type-C port for charging.
- PTT Button (Push-To-Talk): Press and hold to transmit your voice.
- Power Button: Turns the radio on/off.
- Microphone/Speaker: For speaking and listening.
- LCD Display: Shows channel, battery status, and other settings.
- MENU/MON Button: Accesses menu settings or monitors channels.
- UP Button (+): Navigates menu or increases values.
- DOWN Button (-): Navigates menu or decreases values.
5. Setup
5.1 Battery Installation
The AWANFI YG-811 uses a 1200mAh Li-ion battery. Ensure the battery is correctly installed before first use.
- Open the battery compartment cover on the back of the radio.
- Insert the Li-ion battery, ensuring the contacts align correctly.
- Close the battery compartment cover securely.

Image 5.1: Battery Installation and Safety. This image illustrates how to insert the 1200mAh Li-ion battery and highlights its safety features like overcharge protection and IEC62133 certification.
5.2 Charging the Battery
Charge the walkie-talkie fully before initial use. Use the provided Type-C cable for charging.
- Connect the Type-C cable to the charge jack on the side of the radio.
- Connect the other end of the cable to a compatible USB power adapter, power bank, or car charger.
- The battery indicator on the LCD display will show charging status.
- Charging is complete when the battery indicator shows full.
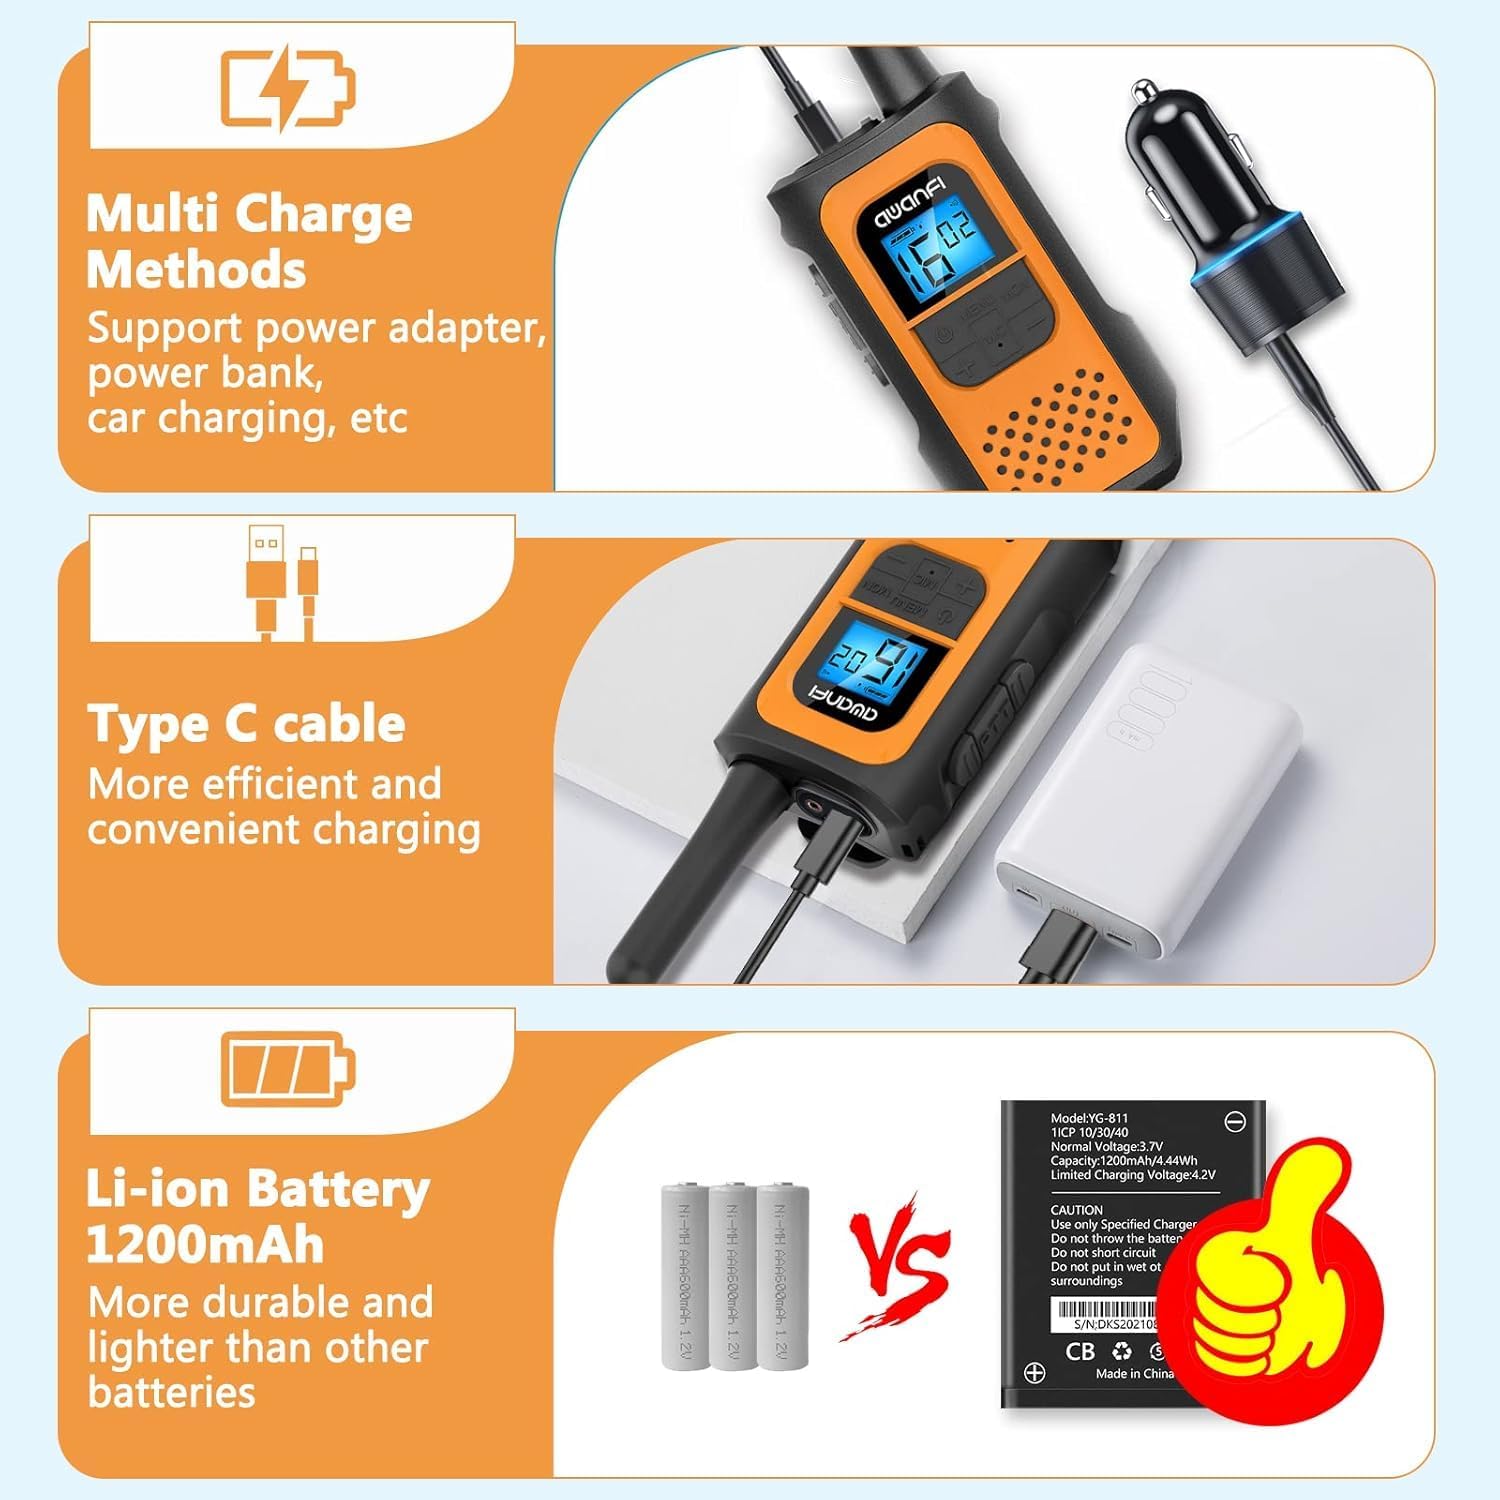
Image 5.2: Multi-Charge Methods. This image demonstrates various ways to charge the walkie-talkie using the Type-C cable, such as with a power adapter, power bank, or car charger.
5.3 Powering On/Off
- To Power On: Press and hold the Power Button until the LCD display illuminates.
- To Power Off: Press and hold the Power Button until the LCD display turns off.
6. Operating Instructions
6.1 Selecting a Channel
- Press the MENU button to enter the menu.
- Use the UP (+) or DOWN (-) buttons to navigate to the channel setting.
- Press MENU again to select the channel.
- Use UP (+) or DOWN (-) to choose your desired channel (1-22).
- Press MENU to confirm, then press PTT or wait for the menu to exit automatically.
6.2 Setting Privacy Codes (CTCSS/DCS)
Privacy codes help reduce interference from other users on the same channel.
- Press the MENU button repeatedly until the privacy code setting appears.
- Use UP (+) or DOWN (-) to select a privacy code (01-99).
- Press MENU to confirm, then press PTT or wait for the menu to exit automatically.
- Ensure all radios in your group are set to the same channel and privacy code.
6.3 Transmitting and Receiving
- To Transmit: Press and hold the PTT button. Speak clearly into the microphone. Release the PTT button when finished speaking.
- To Receive: The radio will automatically receive transmissions when the PTT button is not pressed and you are on the same channel and privacy code as the transmitting party.
6.4 VOX Function (Hands-Free Communication)
When VOX is enabled, the radio transmits automatically when it detects your voice.

Image 6.1: VOX Function in Use. This image shows two individuals hiking, with walkie-talkies attached to their backpacks, illustrating the convenience of hands-free communication.
- Press the MENU button repeatedly until the VOX setting appears.
- Use UP (+) or DOWN (-) to select a VOX sensitivity level (e.g., 1-3, with 3 being most sensitive). Select 'OFF' to disable.
- Press MENU to confirm, then press PTT or wait for the menu to exit automatically.
6.5 Keypad Lock
To prevent accidental changes to settings:
- To Lock: Press and hold the MENU/MON button until the lock icon appears on the display.
- To Unlock: Press and hold the MENU/MON button again until the lock icon disappears.
6.6 Flashlight
The integrated flashlight can be activated for illumination in dark environments.
- Consult the specific button assignment in your radio's menu or quick guide for flashlight activation, typically a long press of a specific button (e.g., UP or DOWN button).
6.7 Range Information
The communication range varies depending on terrain and conditions.

Image 6.2: Communication Range. This graphic provides estimated ranges for different environments: up to 5km in mountainous areas, up to 3km in open water, and up to 1.5km in urban neighborhoods.
- Mountain to Valley: Up to 5 km
- Open Water: Up to 3 km
- Neighborhood: Up to 1.5 km
7. Maintenance
7.1 Battery Care
- Do not expose the battery to extreme temperatures.
- Avoid short-circuiting the battery terminals.
- Recharge the battery regularly, even if not in use, to maintain its lifespan.
- Use only the specified charger.
7.2 Cleaning
- Wipe the radio with a soft, damp cloth.
- Do not use harsh chemicals or abrasive cleaners.
- Ensure the radio is dry before use or charging.
7.3 Storage
- Store the radio in a cool, dry place when not in use.
- Remove the battery if storing for extended periods.
7.4 Water Resistance
Please note that the AWANFI YG-811 Two-Way Radio is Not Water Resistant. Avoid exposure to water or high humidity to prevent damage.
8. Troubleshooting
| Problem | Possible Cause | Solution |
|---|---|---|
| No power | Battery low or not installed correctly. | Charge the battery. Reinstall the battery, ensuring proper contact. |
| Cannot transmit or receive | Incorrect channel/privacy code. Out of range. Battery low. | Verify all radios are on the same channel and privacy code. Move closer to other radios. Charge the battery. |
| Poor audio quality | Weak signal. Interference. | Move to an open area. Change channel/privacy code. |
| Keypad unresponsive | Keypad lock is active. | Unlock the keypad by pressing and holding the MENU/MON button. |
9. Specifications
- Model Number: YG-811
- Brand: AWANFI
- Number of Channels: 22
- Battery Type: 1200mAh Li-ion (Nonstandard Battery)
- Talking Range Maximum: 3 Kilometers (Open Water)
- Water Resistance Level: Not Water Resistant
- Manufacturer: Shenzhen yizhongge Electronic Co., Ltd
10. Warranty and Support
Your AWANFI YG-811 Two-Way Radio comes with a 1-Year Warranty from the date of purchase.
For technical support, warranty claims, or further assistance, please contact AWANFI customer service through the retailer where the product was purchased or visit the official AWANFI website.
Please retain your proof of purchase for warranty purposes.