
1. Introduction
The Orayafid YY-L8-06 Outdoor Solar 4G Router is designed to provide wireless internet connectivity in outdoor and remote environments. It converts 4G cellular signals into a 2.4GHz Wi-Fi signal, enabling network access for various devices, including security cameras. The router features an integrated 20000mAh battery and a 15W solar panel for continuous operation.
Key features include:
- Versatile Connectivity: Supports SIM and VSIM cards, compatible with major carriers.
- Extended Wi-Fi Coverage: Provides a 2.4GHz 150Mbps Wi-Fi signal over a 50-meter range.
- Multi-Device Support: Connects up to 8 security cameras or other Wi-Fi devices simultaneously.
- Self-Sustaining Power: Built-in 20000mAh battery and 15W solar panel for prolonged operation, even during extended cloudy periods.
- Durable Design: IP66 waterproof rating and wide operating temperature range for harsh outdoor conditions.
2. Package Contents
Verify that all items are present in the package:
- Monocrystalline 4G Router
- Solar Panel (integrated with router)
- Battery Pack (integrated)
- Mounting Bracket
- Screw Bag (screws and wall anchors)

Image: Contents of the Orayafid YY-L8-06 package, including the solar 4G router, mounting bracket, and screw bag.
3. Setup Guide
3.1 SIM Card Installation
The router supports Nano-SIM cards and VSIM cards. Ensure the router is powered off before inserting or removing any SIM card.
- Locate the SIM card slot on the router.
- For Nano-SIM: Insert your existing Nano-SIM card into the designated slot. Ensure it is correctly oriented.
- For VSIM: The router comes with a VSIM card offering a free 200MB test data allowance valid for 15 days. Activate the VSIM by scanning the QR code provided or visiting the activation link: https://traffic.secueye.app/?imei=353899261399222. Follow the on-screen instructions for activation.

Image: Diagram illustrating the insertion of a Nano-SIM card into the router, with options for VSIM activation via QR code.
3.2 Mounting the Router
The router includes a 360° adjustable bracket for flexible installation and optimal solar panel positioning.
- Choose a location with ample direct sunlight for the solar panel and within the desired Wi-Fi coverage area.
- Use the provided screws and wall anchors to securely attach the mounting bracket to a wall, pole, or other stable surface.
- Attach the router to the mounting bracket.
- Adjust the angle of the solar panel to maximize sunlight exposure throughout the day. The 360° adjustment allows for precise positioning.

Image: The solar router mounted on a 360-degree adjustable bracket, demonstrating flexibility for optimal solar exposure.
3.3 Initial Charging
Before first use, it is recommended to fully charge the router's internal battery. This can be done via the integrated solar panel or the USB-C port.
- Solar Charging: Ensure the solar panel is positioned in direct sunlight. The charging indicator will illuminate.
- USB-C Charging: Connect a USB-C cable to the router's charging port and a compatible power adapter (not included).
4. Operation
4.1 Network Connectivity
Once powered on and with a valid SIM/VSIM card, the router will establish a 4G connection and broadcast a 2.4GHz Wi-Fi signal.
- The router converts the 4G signal into a 2.4GHz Wi-Fi signal with a speed of up to 150Mbps.
- The Wi-Fi signal effectively covers an area of approximately 50 meters in open environments.
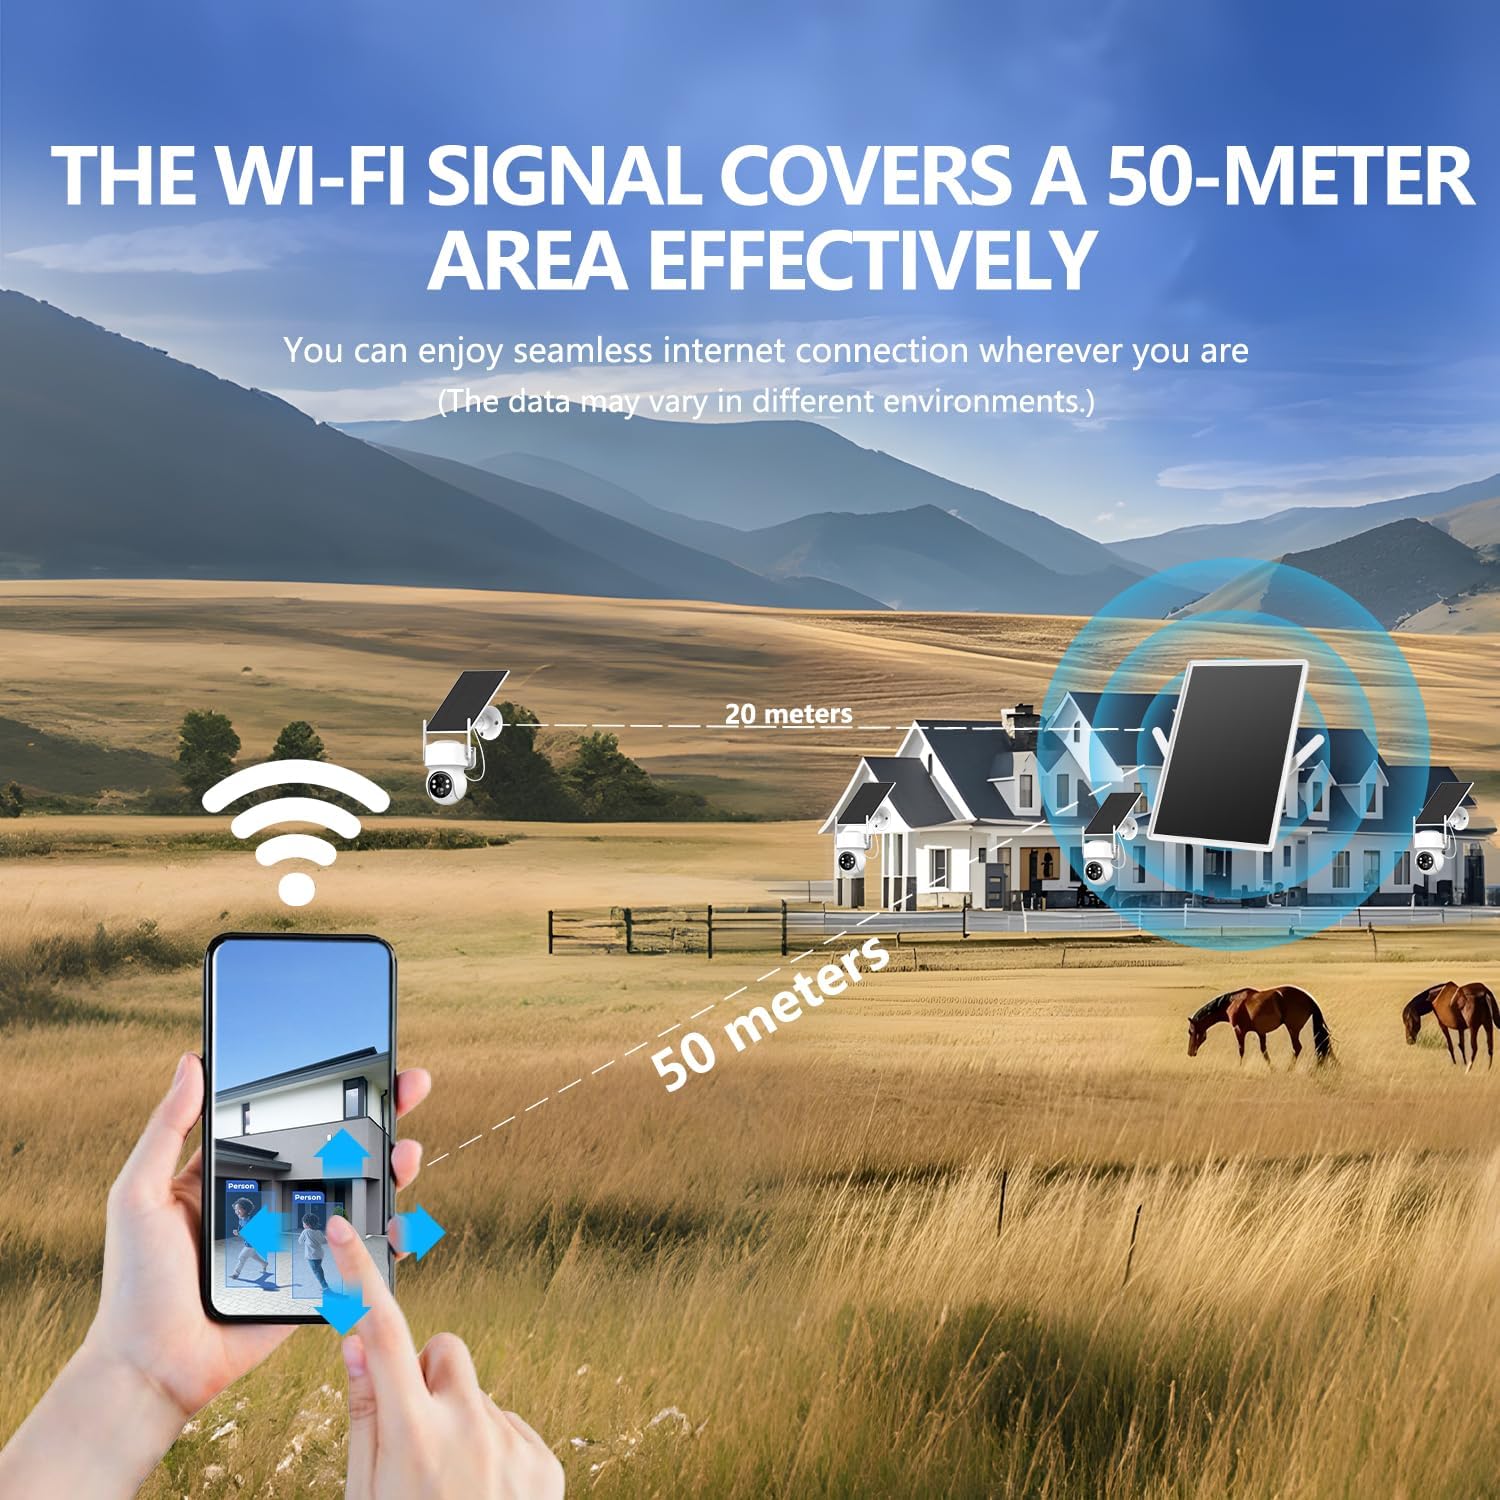
Image: A solar panel router with a smartphone displaying a Wi-Fi speed test result of 83.61 Mbps, indicating active network connectivity.

Image: A diagram showing the Wi-Fi signal from the solar router covering a 50-meter area around a house, illustrating its effective range.
4.2 Device Connection
The router can provide network access for up to 8 devices simultaneously.
- On your Wi-Fi enabled device (e.g., security camera, smartphone, tablet), search for available Wi-Fi networks.
- Select the network name (SSID) broadcast by the Orayafid router.
- Enter the Wi-Fi password (usually found on a label on the router or in the initial setup instructions).
- Your device should now be connected to the internet.
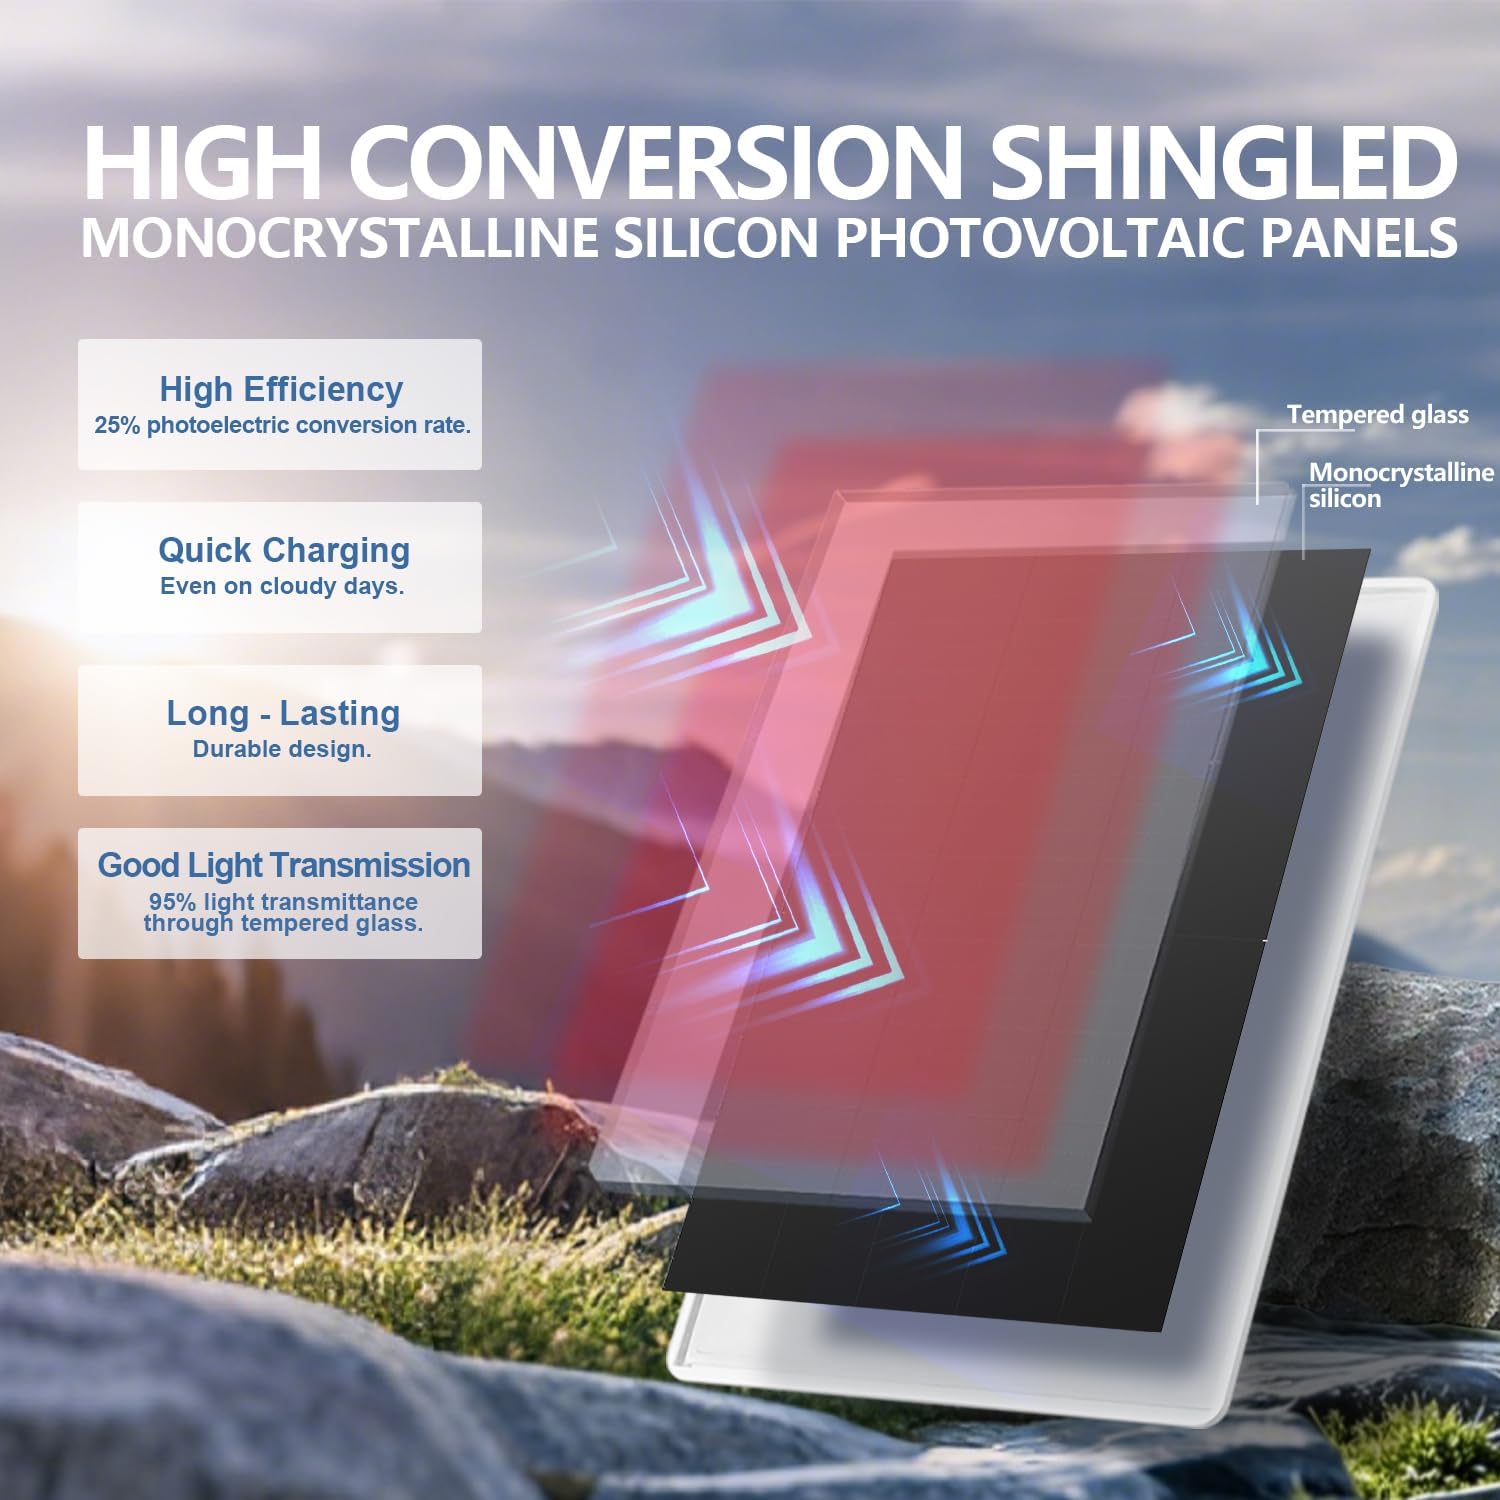
Image: An illustration depicting the solar router providing stable network connectivity to eight devices, including security cameras, a mobile phone, and a Bluetooth speaker.
4.3 Power Management
The router is equipped with a 20000mAh rechargeable battery and a 15W monocrystalline solar panel.
- The solar panel continuously charges the battery during daylight hours.
- The 20000mAh battery capacity allows the router to operate for up to 7 consecutive rainy days without direct sunlight.
- The USB-C port can be used for supplementary charging if needed, especially during prolonged periods of low sunlight.
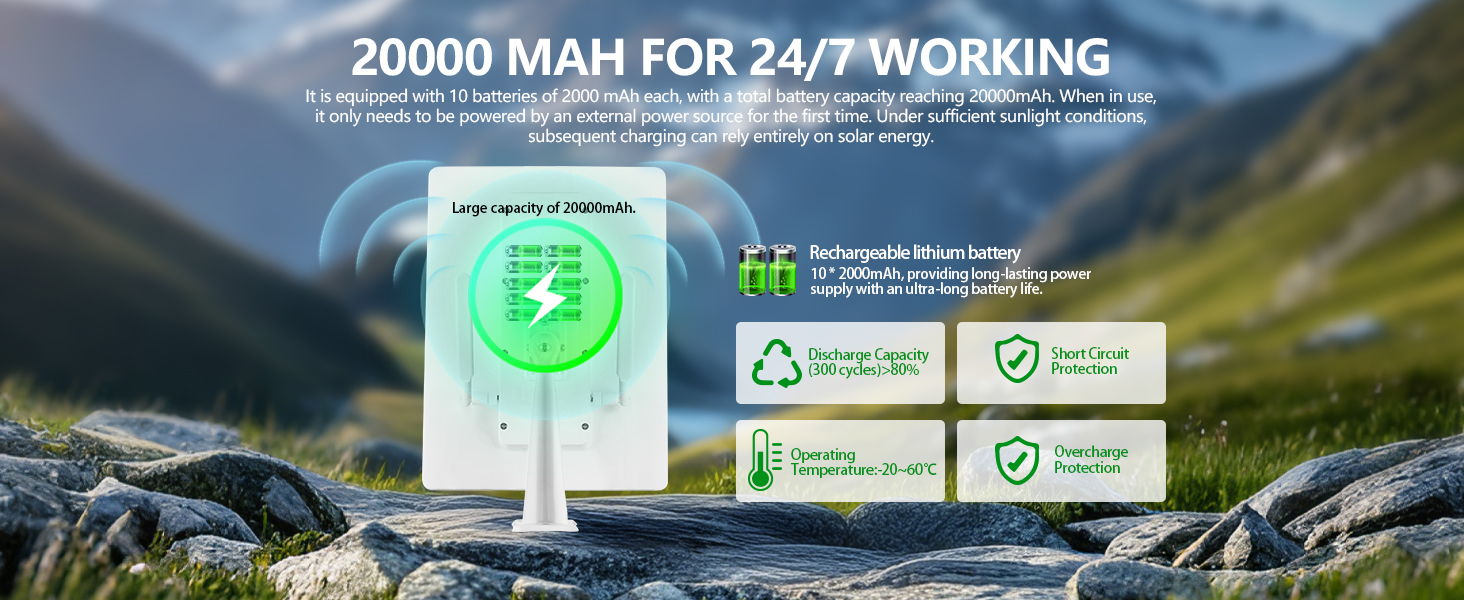
Image: A diagram highlighting the 20000mAh battery capacity of the solar router, composed of 10 individual 2000mAh lithium batteries, with features like discharge capacity, operating temperature, short circuit protection, and overcharge protection.
5. Maintenance
5.1 Weather Resistance
The Orayafid YY-L8-06 router is designed for outdoor use with an IP66 waterproof and dustproof rating.
- It can withstand heavy rain, snow, and dust.
- Operating temperature range: 14°F to 120°F (-10°C to 49°C).
Image: A solar panel shown under simulated rain, with text indicating its IP65 waterproof and dustproof rating, suitable for outdoor use.
5.2 Solar Panel Care
To ensure optimal charging efficiency, keep the solar panel clean.
- Periodically wipe the surface of the solar panel with a soft, damp cloth to remove dust, dirt, or debris.
- Avoid using abrasive cleaners or harsh chemicals that could damage the panel surface.
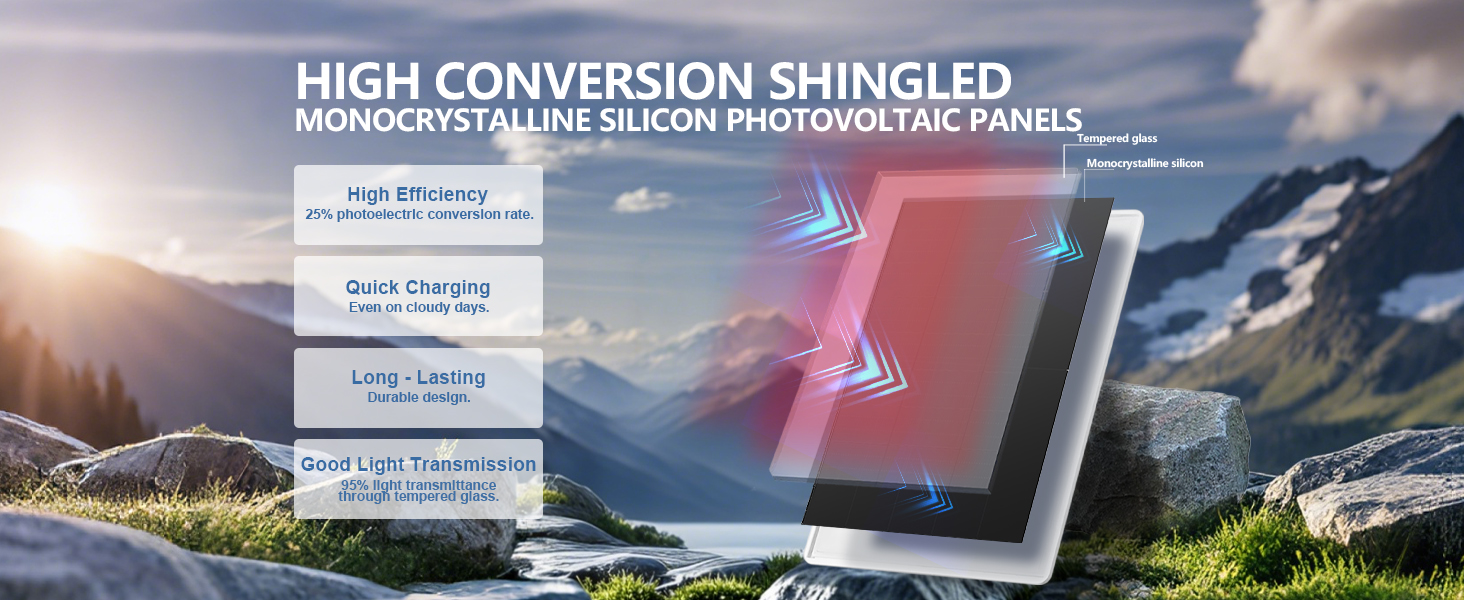
Image: A detailed view of the high-conversion shingled monocrystalline silicon photovoltaic panels, highlighting features like high efficiency (25% photoelectric conversion rate), quick charging, long-lasting durability, and good light transmission (95% through tempered glass).
6. Troubleshooting
6.1 No Internet Connection
- SIM Card: Ensure the SIM/VSIM card is correctly inserted and activated.
- APN Settings: Some carriers may require manual APN settings. Refer to your carrier's documentation or contact Orayafid support for assistance.
- Signal Strength: Check the 4G signal strength in the router's location. Relocate the router if the signal is weak.
- Data Plan: Verify that your SIM card has an active data plan with sufficient data allowance.
6.2 Power Issues
- Solar Charging: Ensure the solar panel is clean and positioned for maximum direct sunlight exposure.
- Battery Level: If the battery is depleted, charge it via the USB-C port for faster initial charging.
- USB-C Cable/Adapter: Ensure the USB-C cable and power adapter are functional if charging externally.
6.3 Weak Wi-Fi Signal
- Router Placement: Position the router centrally within the desired coverage area and away from obstructions like thick walls or metal structures.
- Distance: Ensure connected devices are within the 50-meter effective range of the router.
- Interference: Minimize interference from other 2.4GHz devices (e.g., cordless phones, microwaves).
7. Specifications
| Feature | Specification |
|---|---|
| Model Name | YY-L8-06 (U-L8) |
| Product Dimensions | 12.6 x 9.25 x 7 inches |
| Item Weight | 3.91 pounds |
| Battery | 20000mAh Lithium Ion (10 x 2000mAh cells) |
| Solar Panel | 15W Monocrystalline Silicon |
| Connectivity Technology | Wi-Fi, 4G LTE |
| Wireless Communication Standard | 802.11n (2.4GHz) |
| Frequency Band Class | Single-Band |
| Compatible Devices | Personal Computer, Smartphone, Security Camera, Printer, Smart Television |
| Special Feature | Weatherproof (IP66 rated) |
| Operating Temperature | 14°F to 120°F (-10°C to 49°C) |
| Max Connected Devices | Up to 8 |
8. Warranty and Support
For warranty information, technical support, or assistance with APN settings, please contact Orayafid customer service. Refer to the product packaging or the official Orayafid website for contact details.