1. Introduction
This manual provides comprehensive instructions for the installation and operation of your BRIKSMAX 2.0 LED Light Kit, specifically designed for the LEGO Ideas 21354 Twilight: The Cullen House set. This kit enhances your LEGO model with innovative lighting effects, bringing it to life with vibrant illumination. Please read all instructions carefully before beginning installation.
What's Included:
- Light Kit
- Instructions
- USB cable

2. Safety Information
Please observe the following safety guidelines to ensure safe operation and prevent damage to the product or injury:
- Small Parts Warning: This product contains small parts and is not suitable for children under 3 years of age due to choking hazards.
- Electrical Safety: Ensure all connections are secure before powering on the light kit. Do not expose the light kit to water or excessive moisture.
- Power Source: Use only the recommended power source (AA Battery Box or USB cable) as specified in the instructions. Do not use power sources with higher voltage than recommended.
- Handling Wires: Handle wires carefully to avoid damage. Do not pull on wires forcefully.
- Heat: While LED lights generate minimal heat, ensure proper ventilation around the LEGO model to prevent any potential heat buildup.
3. Setup Instructions
The BRIKSMAX 2.0 Light Kit is designed for integration with your existing LEGO Ideas 21354 Twilight: The Cullen House set. Detailed, step-by-step instructions with illustrations are provided in the included paper manual. The following provides a general overview and highlights key features.
General Installation Steps:
- Prepare Your LEGO Set: Carefully disassemble sections of your LEGO Twilight: The Cullen House model as indicated in the detailed instruction manual to allow for wire routing and light placement.
- Install Lights: Place the LED lights and light strips in the designated areas. Ensure wires are routed neatly and securely.
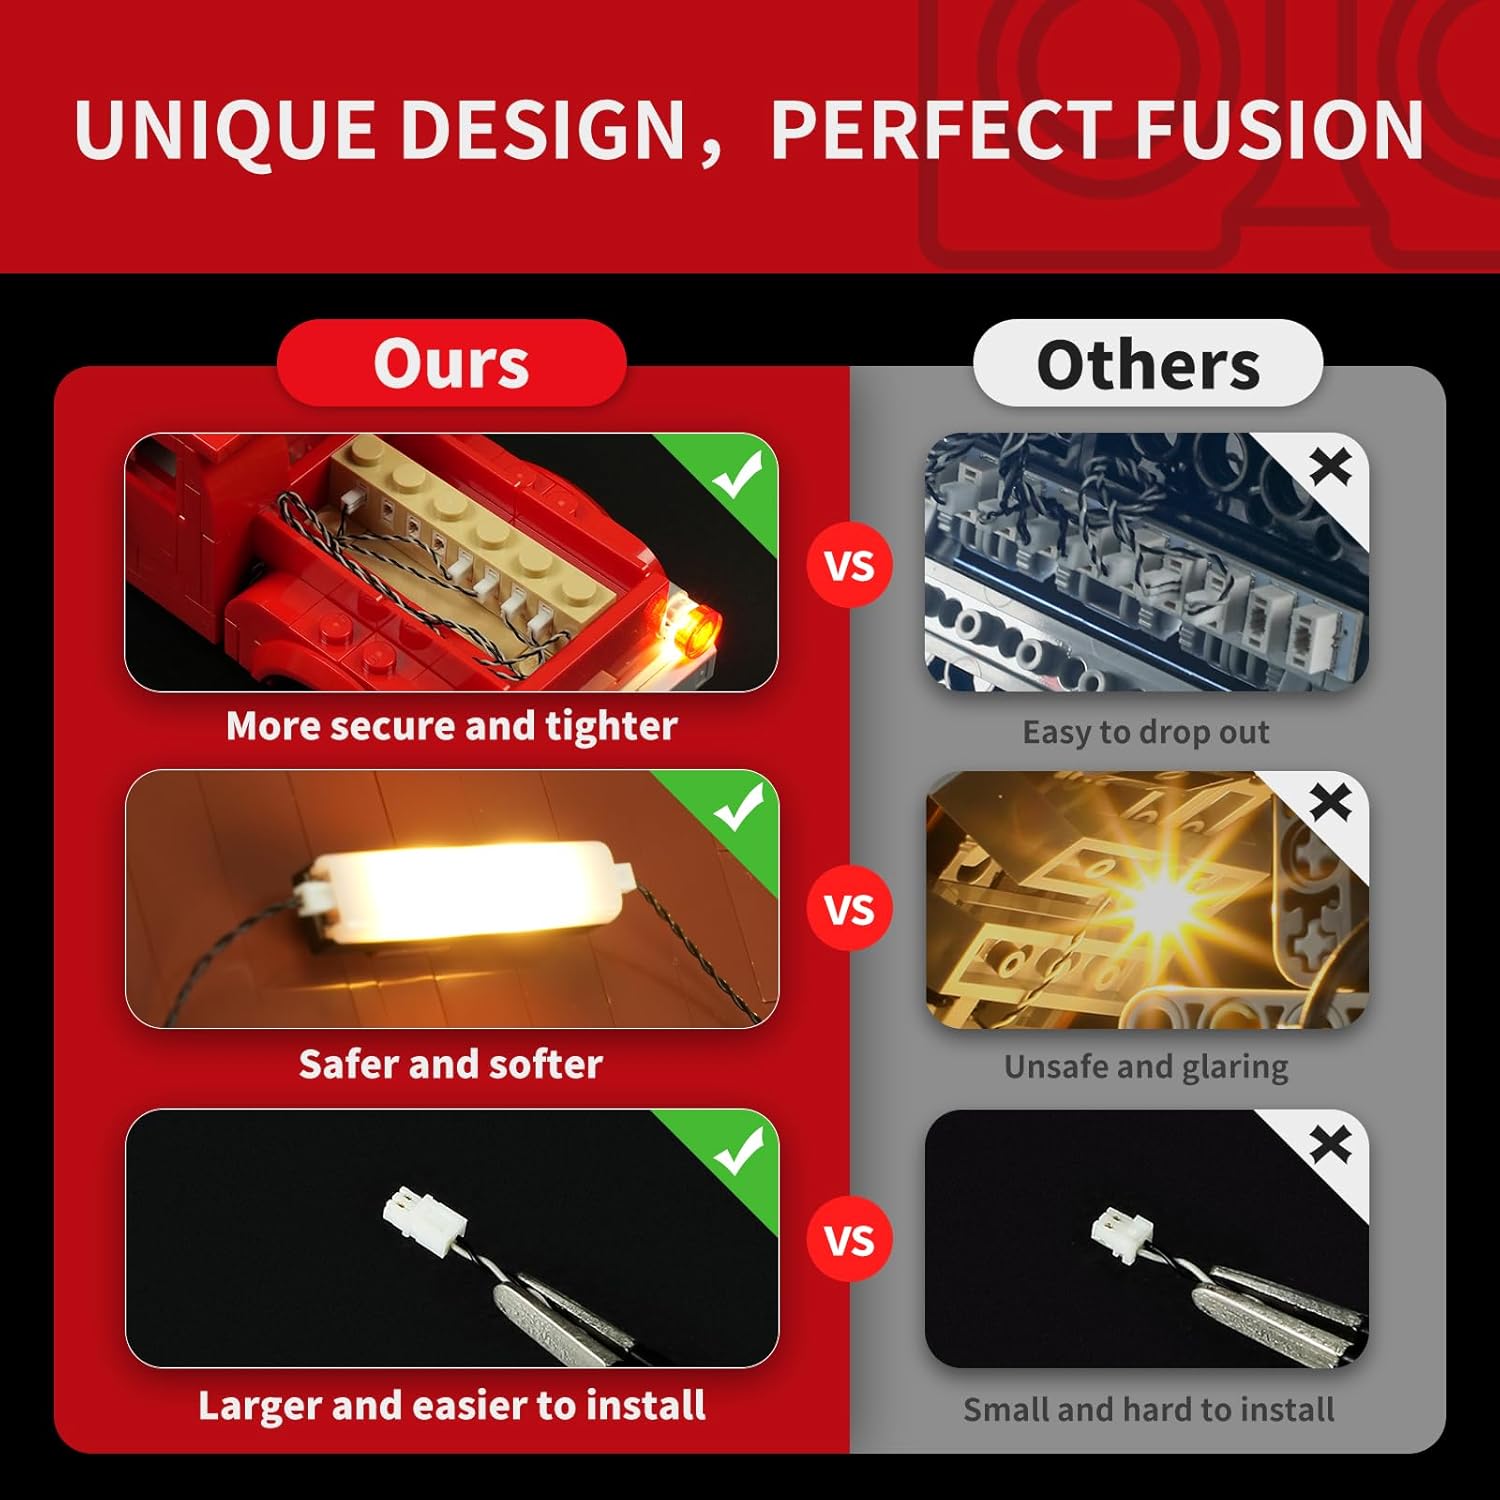
- Connect Components: Use the expansion boards to connect multiple light components. The BX2.0 expansion boards are designed for secure and tighter connections.
- Wire Management: Utilize the newly designed wire organizer parts to conceal wires, prevent breakage, and maintain the aesthetic integrity of your LEGO model.
- Power Connection: Connect the light kit to the provided AA battery box or USB cable.
- Test Functionality: Before reassembling the entire model, test the lights to ensure all connections are working correctly.
- Reassemble Model: Carefully reassemble your LEGO model, ensuring no wires are pinched or damaged.


Installation Video Guide:
4. Operating Instructions
Once the BRIKSMAX 2.0 Light Kit is fully installed and connected to a power source, operating it is straightforward:
- Power On/Off: If using the AA battery box, switch the power button to the 'ON' position to illuminate the lights. Switch to 'OFF' to turn them off. If using a USB power source, the lights will typically turn on when connected and off when disconnected.
- Light Effects: The light kit provides static illumination. There are no adjustable light modes or colors unless specified by additional accessories (not included in the basic kit).
5. Maintenance
To ensure the longevity and optimal performance of your BRIKSMAX 2.0 Light Kit, follow these maintenance guidelines:
- Cleaning: Gently dust the lights and wires with a soft, dry cloth. Avoid using liquid cleaners or abrasive materials.
- Wire Inspection: Periodically inspect wires for any signs of wear, fraying, or damage. If damage is found, discontinue use and contact customer support.
- Battery Replacement: If using the AA battery box, replace batteries when lights dim or cease to function. Ensure correct battery polarity.
- Storage: If storing the LEGO model for an extended period, disconnect the power source (remove batteries or unplug USB) to prevent battery drain or potential issues.
6. Troubleshooting
If you encounter issues with your BRIKSMAX 2.0 Light Kit, refer to the following common problems and solutions:
| Problem | Possible Cause | Solution |
|---|---|---|
| Lights do not turn on. | No power, loose connection, faulty component. | Check battery box (ensure batteries are fresh and correctly inserted) or USB connection. Verify all wire connections to expansion boards. Inspect for damaged wires. |
| Some lights are dim or flickering. | Low battery power, loose connection, partial wire damage. | Replace batteries or try a different USB port/power adapter. Re-check connections. Gently inspect wires for kinks or damage. |
| Lights are too bright/glaring. | Not applicable for this kit. | The BRIKSMAX 2.0 kit uses silicone lights designed for softer illumination. If you find the lights too bright, consider adjusting ambient room lighting. |
| Wires are visible or not neatly arranged. | Improper wire routing. | Refer to the detailed paper instructions for proper wire management techniques using the provided organizer parts. |
If the issue persists after attempting these solutions, please contact BRIKSMAX customer support for further assistance.
7. Specifications
| Feature | Detail |
|---|---|
| Brand | BRIKSMAX |
| Model Number | 21354 (Compatible with LEGO Ideas 21354) |
| Material | Plastic |
| Light Source Type | LED |
| Power Source | Battery Powered (AA Battery Box included) or USB |
| Voltage | 1.5 Volts (DC) |
| Item Weight | 12.3 ounces (350 Grams) |
| Product Dimensions | 6.5 x 4.72 x 1.57 inches |
| Included Components | Light Kit, Instructions, USB cable |
8. Warranty & Support
Warranty Information:
BRIKSMAX LED lighting kits are manufactured from safe and reliable materials. In the event of any damaged or missing parts upon receipt, please contact us for a replacement. Specific warranty duration details are typically provided with your purchase documentation.
Customer Support:
For any questions, technical assistance, or to report damaged/missing parts, please contact BRIKSMAX customer support through the retailer where you purchased the product or visit the official BRIKSMAX website for contact information.
Optional Protection Plans:
Extended protection plans may be available for purchase separately, offering additional coverage beyond the standard warranty. Examples include:
- 3-Year Protection Plan
- 4-Year Protection Plan
- Complete Protect (monthly billing)
Please refer to the specific terms and conditions of any purchased protection plan for full details on coverage and claims.


