1. Product Overview
This Genérico Artisan Oak Sideboard is designed to provide versatile storage solutions, helping to keep your living space tidy and organized while enhancing its aesthetic appeal. Constructed from durable engineered wood, this piece offers stability and resistance to moisture, warping, and breakage.
The sideboard features two doors and two drawers, offering ample storage space for various items. The doors provide enclosed storage to protect your belongings and keep them out of sight, while the drawers offer convenient access for frequently used items. The sturdy top surface is ideal for displaying decorative items or keeping essentials within reach.
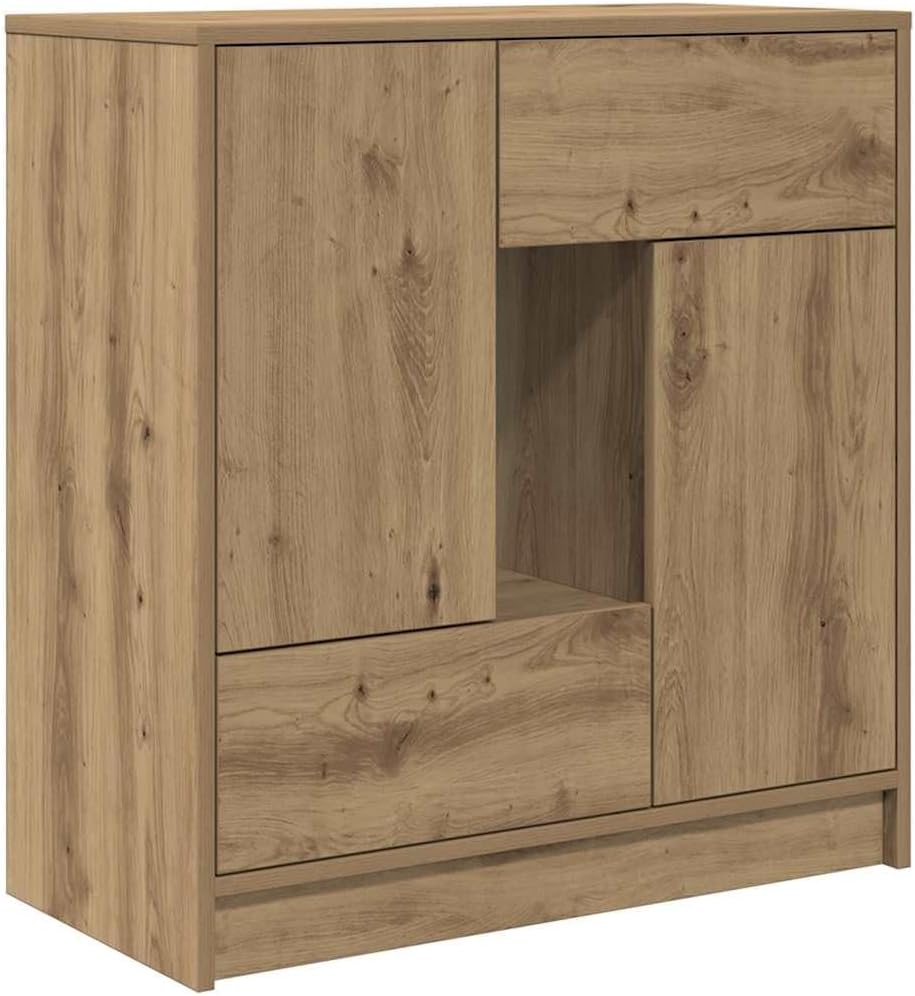
Image 1.1: Front view of the assembled Genérico Artisan Oak Sideboard, showcasing its closed doors and drawers.
2. Safety Information
- Anti-Tip Device: For safety, it is highly recommended to secure the sideboard to a wall using an anti-tip device (not included, but generally recommended for tall furniture). This prevents accidental tipping, especially in households with children or pets.
- Weight Capacity: Do not exceed the specified weight capacities for the top surface, drawers, or total unit. Overloading can cause damage or instability.
- Assembly: Assemble the unit on a soft, clean surface to prevent scratches. Keep small parts away from children during assembly.
- Placement: Place the sideboard on a level surface to ensure stability.
- Moving: When moving the sideboard, always lift it rather than dragging it to prevent damage to the unit or your flooring.
3. Package Contents
Before beginning assembly, please check that all components are present and undamaged. If any parts are missing or damaged, please contact your retailer.
- Engineered wood panels (various sizes for top, bottom, sides, shelves, doors, and drawer components)
- Hardware pack (screws, dowels, cam locks, hinges, drawer slides, handles)
- Assembly instructions manual
4. Assembly Instructions
Assembly is required for this product. Please follow these steps carefully. It is recommended to have two people for assembly.
4.1. Prepare the Workspace
Clear a spacious area and lay out all components on a soft, clean surface (e.g., a blanket or cardboard) to prevent scratches.
4.2. Assemble the Main Frame
Connect the side panels to the base and top panels using the provided dowels and cam locks. Ensure all connections are secure.

Image 4.2: Rear view of the sideboard, illustrating the engineered wood construction and potential attachment points for the back panel.
4.3. Install Internal Shelves and Dividers
Insert the internal shelves and dividers into their designated slots or attach them with the appropriate hardware. Refer to the detailed diagram in your printed manual for exact placement.

Image 4.3: Front view of the sideboard with the central open compartment visible, indicating internal shelf placement.
4.4. Assemble and Install Drawers
Assemble each drawer box according to the instructions, then attach the drawer slides to both the drawer boxes and the sideboard frame. Carefully insert the assembled drawers into their respective compartments.

Image 4.4: Close-up detail of the sideboard's top edge and a drawer, showing the finish and construction.
4.5. Attach Doors and Hinges
Mount the hinges to the doors and then attach the doors to the sideboard frame. Adjust the hinges as needed to ensure proper alignment and smooth closing.

Image 4.5: The sideboard with its doors and drawers open, providing a view of the internal storage compartments and shelves.
4.6. Final Checks and Placement
Ensure all screws are tightened and the unit is stable. Place the sideboard in its desired location, ensuring it is on a level surface. Attach any anti-tip hardware if applicable.

Image 4.6: The Genérico Artisan Oak Sideboard integrated into a room setting, demonstrating its functional and aesthetic appeal.
5. Operating Instructions
- Drawers: To open, gently pull the drawer handle. To close, push the drawer back until it is fully seated. Avoid slamming drawers.
- Doors: To open, gently pull the door handle. To close, push the door until it latches.
- Weight Limits:
- Maximum total weight capacity: 60 kg
- Maximum top surface weight capacity: 20 kg
- Maximum weight capacity per drawer: 5 kg
6. Maintenance and Care
- Cleaning: Wipe surfaces with a soft, damp cloth. For stubborn marks, use a mild, non-abrasive cleaner specifically designed for engineered wood. Dry immediately with a clean cloth.
- Avoid Harsh Chemicals: Do not use abrasive cleaners, solvents, or polishes containing silicone, as these can damage the finish.
- Protection: Protect the sideboard from direct sunlight, extreme temperatures, and high humidity, which can cause fading, warping, or cracking. Use coasters under drinks and placemats under hot items.
- Hardware: Periodically check and tighten all screws and fittings to ensure the unit remains stable.
7. Troubleshooting
- Unit is Wobbly:
- Ensure the sideboard is on a level surface.
- Check all assembly connections and tighten any loose screws or cam locks.
- Drawers Not Sliding Smoothly:
- Verify that the drawer slides are correctly installed and aligned.
- Ensure no objects are obstructing the drawer's path.
- Lightly lubricate the drawer slides with a silicone-based lubricant if necessary.
- Doors Not Closing Properly:
- Adjust the hinges to align the doors correctly. Most hinges allow for vertical, horizontal, and depth adjustments.
- Check for any obstructions preventing the door from closing fully.
8. Specifications
| Color | Artisan Oak |
| Material | Engineered Wood |
| Overall Dimensions (W x D x H) | 70.5 x 34 x 74.5 cm |
| Drawer Dimensions (W x D x H, each) | 41 x 28.5 x 17 cm |
| Number of Doors | 2 |
| Number of Drawers | 2 |
| Maximum Total Weight Capacity | 60 kg |
| Maximum Top Surface Weight Capacity | 20 kg |
| Maximum Weight Capacity per Drawer | 5 kg |
| Assembly Required | Yes |
| Mounting Type | Floor Mounting |
9. Warranty and Support
For warranty information and customer support, please refer to the documentation provided with your purchase or contact your retailer directly. Keep your proof of purchase for any warranty claims.


