1. Introduction
This manual provides detailed instructions for the installation, operation, and maintenance of your AINAVI Android Upgrade Car Stereo Radio. Please read this manual thoroughly before installation and use to ensure proper functionality and safety. This unit is designed to enhance your driving experience with advanced features like wireless CarPlay, Android Auto, GPS navigation, and multimedia capabilities.
2. Important Notes Before Installation
- Power Cable Compatibility: Please verify your car's factory power cable port before purchasing. This unit is not supported if your car has an optical fiber output. It is also not supported if the power cord interface has only two cables.
- Bose Audio Systems: If your vehicle is equipped with a Bose audio system, specific wiring adjustments or a decoder box may be required. Refer to the installation videos for detailed instructions on connecting the necessary components for Bose systems.

Figure 2.1: Important power cable port considerations.
3. What's Included
- Car Head Unit with Frame for Chevrolet Silverado GMC Sierra 2014-2018 (1280*720) x1
- User Manual for Chevy Silverado Radio x1
- Power Cable x1
- AHD 1080P Rear View Camera x1
- Microphone x1
- Blue Tool x1
- GPS Antenna x1
- USB Cables (4Pin & 6Pin)

Figure 3.1: Package contents.
4. Installation Guide
Professional installation is recommended. Ensure the vehicle's power is off before beginning. Refer to the provided videos for visual guidance.
4.1. Removing the Original Stereo and Trim
Carefully use a panel removal tool to pry off the main frame around the original stereo. Once the trim is removed, you will gain access to the screws holding the original unit in place. Disconnect all cables from the original stereo, including the power cable, antenna, and any other connectors.
Video 4.1: General stereo replacement process for 2014-2018 Chevy Silverado.
4.2. Connecting the Wiring Harness
Connect the new wiring harness to the vehicle's existing connectors. Ensure all connections are secure. Pay close attention to the OEM power cable and CANBUS cable connections. If your vehicle has a Bose audio system, you may need to connect a specific decoder box as shown in the relevant video.
Video 4.2: Instructions for connecting the radio with a Bose audio system.
Video 4.3: Guide to installing the decoder box.
4.3. Steering Wheel Control (SWC) Connection
Connect the steering wheel control cable from the new unit to the vehicle's existing SWC wiring. This allows you to retain control of audio functions directly from your steering wheel.
4.4. GPS Antenna and USB Cables
Connect the GPS antenna and position it in a location with a clear view of the sky for optimal signal reception. Route the USB cables to a convenient location, such as the glovebox or center console, for easy access.

Figure 4.1: GPS antenna connection.
4.5. Rear View Camera Installation
Connect the AHD 1080P Rear View Camera to the designated input on the stereo unit. Ensure the camera is mounted securely at the rear of the vehicle and wired correctly for power and signal transmission.

Figure 4.2: Rear view camera display.
4.6. Mounting the New Stereo
Carefully insert the new car stereo unit into the dashboard opening. Ensure all wires are tucked away neatly and do not interfere with the unit's seating. Secure the unit using the appropriate screws and reattach the trim panel, ensuring all clips snap into place.

Figure 4.3: Before and after installation comparison.
5. Operating Instructions
5.1. Wireless CarPlay & Android Auto
The unit supports both wireless CarPlay and Android Auto. Connect your smartphone via Bluetooth or USB to access navigation, music, calls, and messages directly on the stereo display. The signal flow is stable, and 1080P video playback is smooth.

Figure 5.1: Wireless CarPlay and Android Auto interface.
5.2. GPS Navigation
The stereo supports most satellite services and features 5G WiFi for accurate navigation. Google Maps, including 2D and 3D perspectives, various routes, obstacle broadcasts, and voice functions, are available.
Figure 5.2: GPS Navigation interface.
5.3. 5G WiFi & FM Radio
Enjoy faster network speeds with 2.4GHz and 5GHz WiFi for real-time traffic information and smooth app performance. The unit also includes a fully functional FM/AM radio.
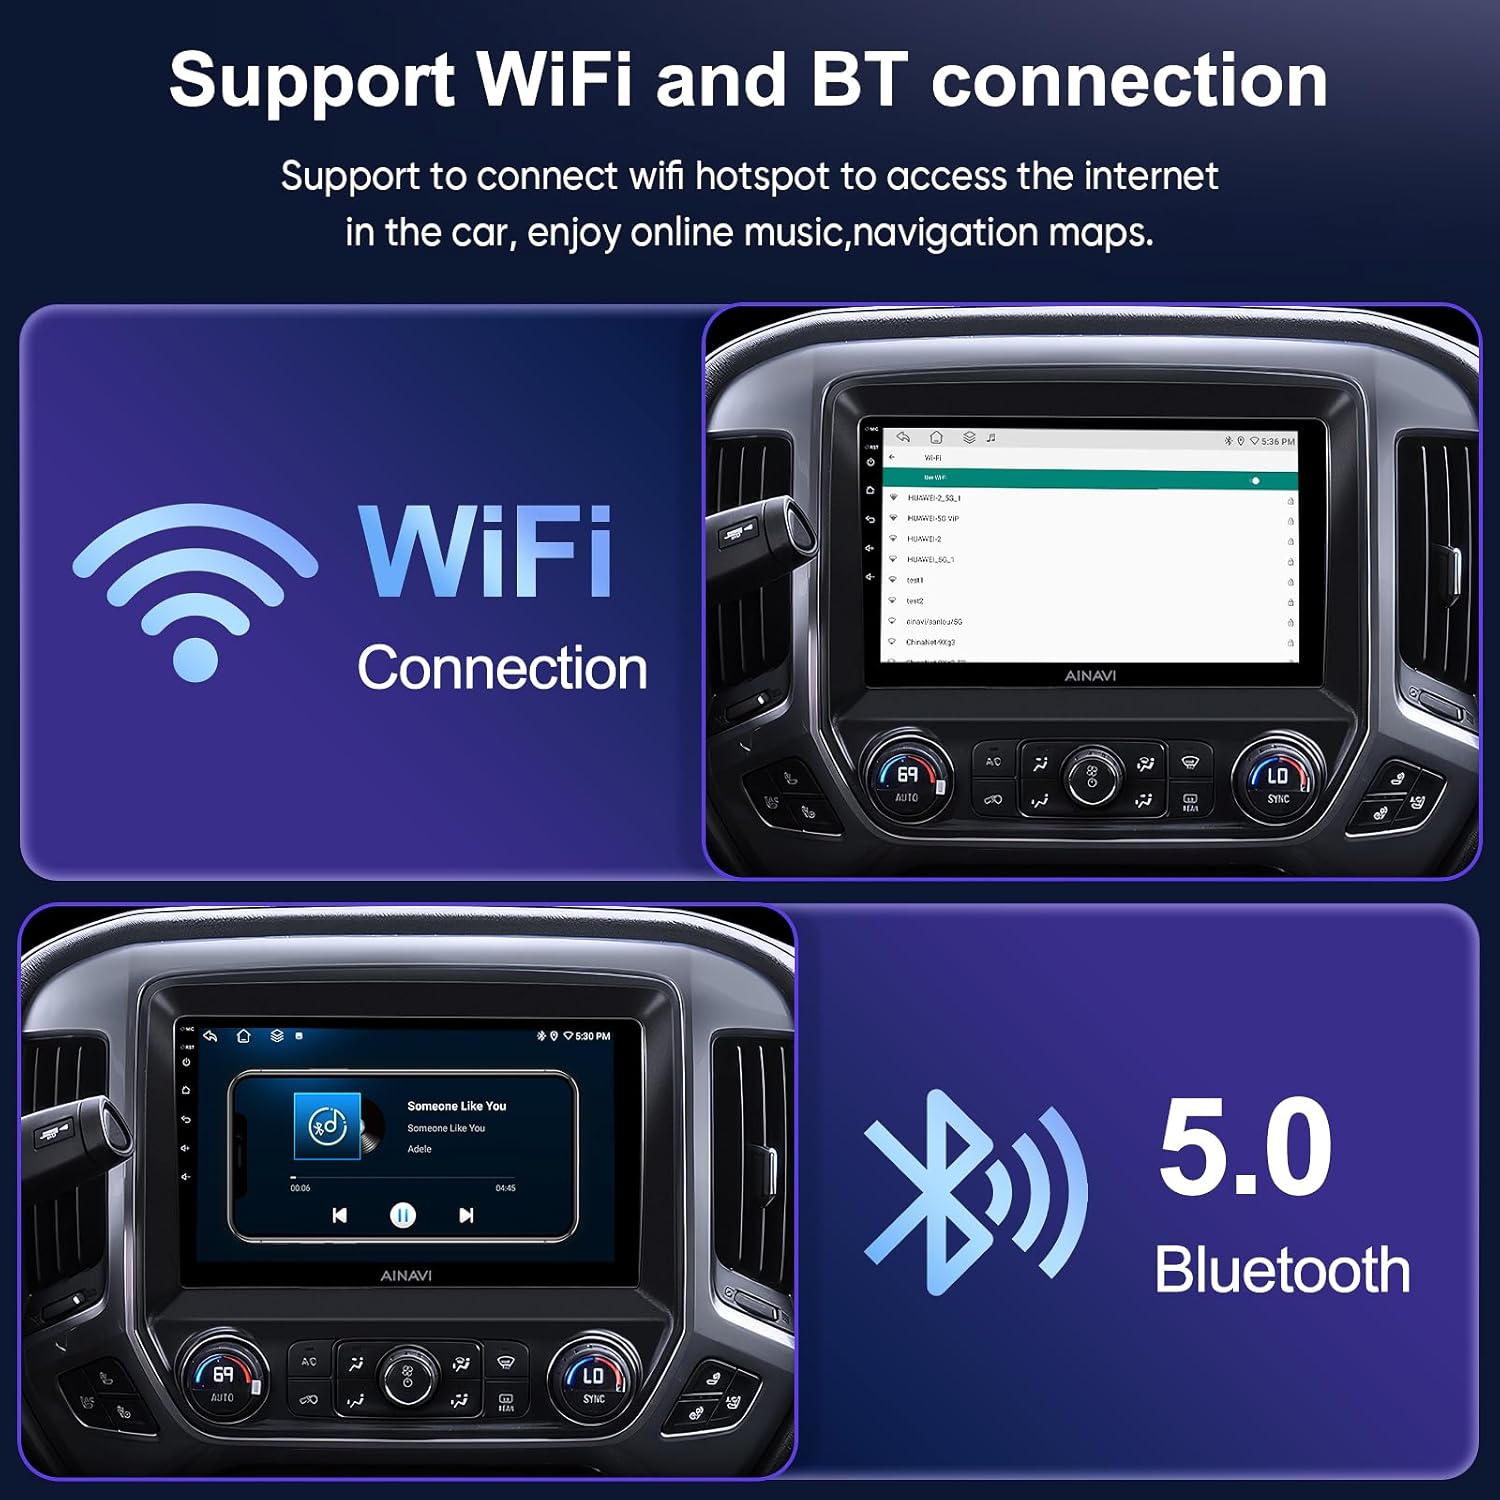
Figure 5.3: WiFi and Bluetooth connectivity.
5.4. Split Screen Functionality
The split-screen feature allows you to run multiple applications simultaneously, such as navigation and music playback, or video playback and navigation.

Figure 5.4: Split screen mode in action.
5.5. 1080P Rear View Camera
The included 1080P rear view camera provides clear reversing scenes with an astern ruler line for precise positioning. If your car supports astern trajectory, it will also be displayed on the screen.
5.6. Professional DSP & Audio Settings
The Digital Sound Processor (DSP) allows you to adjust the voice point position based on seating, offering 7 sound modes (Normal, Jazz, Pop, Classical, Heavy Metal, Vocal, Soft) and 6 surround sound patterns. You can also control bass boost and individual speaker volume.
5.7. USB to RCA Output Function
This feature allows you to play videos independently on multiple screens, providing entertainment for backseat passengers. An additional headrest monitor (ASIN: B0CCV2GC25) is required for this functionality.

Figure 5.5: Full RCA output to external displays.
6. Specifications
| Feature | Value |
|---|---|
| Item Weight | 5.46 pounds |
| Package Dimensions | 15.47 x 12.6 x 5.59 inches |
| Display Size | 10.2 Inches |
| Voice Command | Touchscreen |
| Vehicle Service Type | Truck |
| Special Feature | Highest Level QLED, Panel light and Four Themes, Split Screen Function, USB(4Pin+6Pin), wireless carplay wired android auto+Premium DSP |
| Connectivity Technology | Android Mirroring+Airplay, Bluetooth, FM+AUX, USB, Wi-Fi, Wireless/Wire(Carplay&Android Auto) |
| Map Type | Europe, North America, South America, Worldwide |
| Audio Output Mode | Surround Sound Stereo |
| Mounting Type | Dashboard Mount, Panel Mount |
| Operating System | Android |
7. Troubleshooting
If you encounter any issues during installation or operation, please refer to the following general troubleshooting tips:
- No Power: Check all power connections to ensure they are securely plugged in. Verify the vehicle's fuse box for any blown fuses.
- No Sound: Ensure the AUX input is correctly configured in your vehicle's dashboard menu. Check all audio output connections. If you have a Bose system, confirm the decoder box is properly installed and connected.
- Steering Wheel Controls Not Working: Verify the steering wheel control cable is correctly connected and configured in the unit's settings.
- GPS Signal Issues: Ensure the GPS antenna has a clear line of sight to the sky and is not obstructed.
- Connectivity Problems (CarPlay/Android Auto/WiFi): Check Bluetooth and WiFi settings on both the stereo and your smartphone. Ensure all necessary permissions are granted.
For more complex issues, please contact customer support.
8. Warranty Information
This AINAVI Android Upgrade Car Stereo Radio comes with a 12-month warranty. Please retain your proof of purchase for warranty claims.
9. Customer Support
Our professional technical support team is available to assist you with installation and any other inquiries. Please contact us freely, and we will reply to you as soon as possible.
- Phone: +1 (833) 858-5016
- Working Hours: 01:00 PM to 00:00 AM PST
- Email: info@ainavi.com

Figure 9.1: Customer support contact details.