
1. Product Overview
The camicinta 430157 Control Board is a high-quality replacement power board designed for various NordicTrack Studio Cycle exercise bikes and elliptical machines. This component is crucial for the proper functioning of your fitness equipment, ensuring smooth and efficient operation.

Image 1.1: The camicinta 430157 Control Board shown alongside several compatible NordicTrack exercise bikes, illustrating its application.
2. Key Features
- Enhanced Functionality: Facilitates smooth and efficient operation of your fitness equipment.
- Reliable Performance: Designed to ensure consistent and dependable performance during workouts.
- Easy Installation: User-friendly design for straightforward installation on your stationary bike or elliptical.
- Durability & Safety: Constructed from premium materials to withstand frequent usage, ensuring longevity and user safety by maintaining motor functions within safe parameters.
- Quality Assurance: Each control board undergoes operational testing before shipment to ensure it is free of faults upon delivery.
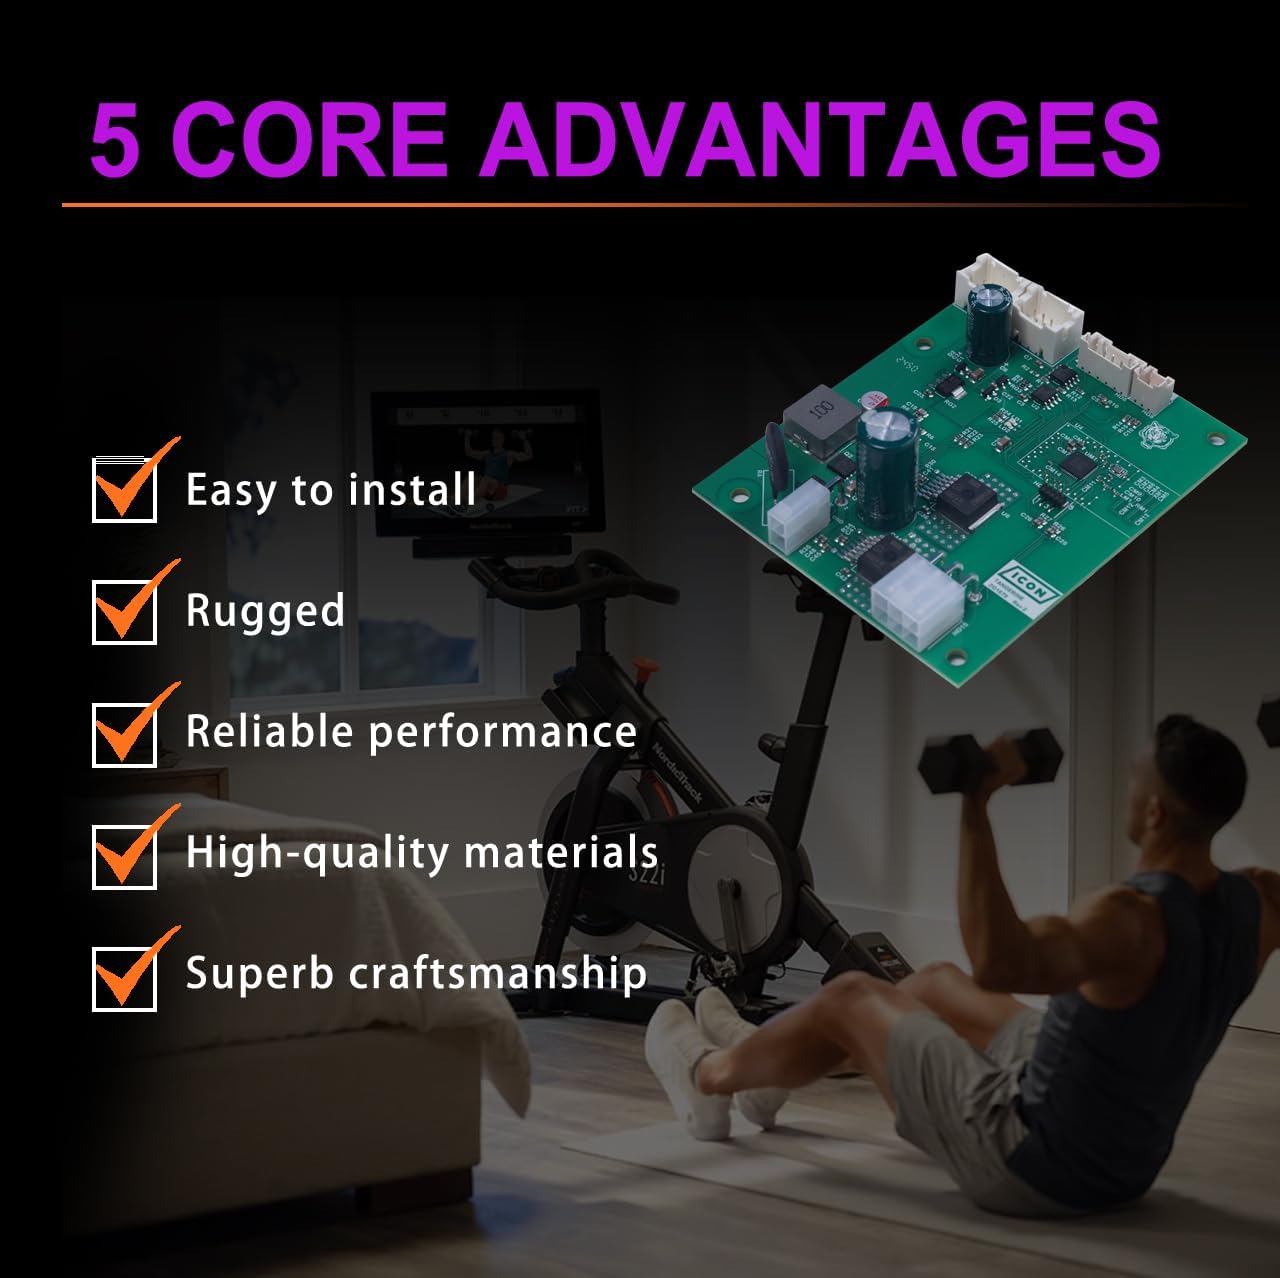
Image 2.1: Visual representation of the control board's key attributes, including ease of installation, ruggedness, reliable performance, high-quality materials, and superb craftsmanship.
3. Applicable Models
This control board (part numbers 430157, 430146) is compatible with a wide range of NordicTrack exercise equipment. To ensure compatibility, please verify your equipment's model name and serial number against the list below. For serial numbers, the first 2-5 characters are often sufficient for identification.

Image 3.1: A visual guide displaying a comprehensive list of NordicTrack S15I and S22I models compatible with the 430157 control board.
Compatible NordicTrack Models:
- C22I Studio Cycle Bike: NTEX02121.6
- S10I: NTEVEX14718.3, NTEVEX14718.4, NTEX03121.2, NTEX03121.3, NTEX03122.2, NTEX03122.5, NTEX05117NB.2
- S15I: COMM S15I STB-NTEX051211, COMM S15I STB-NTEX051212, COMM S15I STB-NTEX051214, COMM S15I STB-NTEX051215, COMM S15I STB-NTEX051216, COMM S15I STB-NTEX051217, COMM S15I STB-NTEX05121-INT1, COMM S15I STB-NTEX05121-INT2, NTEVEX16720.5, NTEVEX16720.6, NTEX05122.5
- S15I Studio Cycle: NTEX05119.7, NTEX05119.8, NTEX05119.9
- S22I: NTEVEX18718.4, NTEVEX18718.5, NTEVEX18718.6, NTEX02117NB.10, NTEX02117NB.11, NTEX02117NB.12, NTEX02117NB.7, NTEX02117NB.8, NTEX02121.1, NTEX02121.2, NTEX02121.3, NTEX02121.4, NTEX02121.7, NTEX02121.8, NTEX02121.9, NTEX02422.0, NTEX02422.14, NTEX02422.2, NTEX02422.3, NTEX02422.4, NTEX02422.5
- S22I Studio Cycle: NTEX02117NB.9, NTEX02121.0, NTEX02121.5
- S27I: NTEX02722.1, NTEX02722.10, NTEX02722.2, NTEX02722.4, NTEX02722.8, NTEX02722G.2, NTEX02722W.2
- SPACESAVER SE9I ELLIPTICAL: NTEL14421.1, NTEL14421.2, NTEL14421.5, NTEL14421.6
- X24: NTEX02425.0
4. Installation Guide
Replacing the control board requires careful attention to detail. It is recommended that this procedure be performed by individuals with technical aptitude or professional assistance. Always ensure the equipment is unplugged from the power source before beginning any installation or maintenance.
Installation Steps:
- Power Disconnection: Unplug your exercise equipment from the main power outlet.
- Access the Control Board: Carefully locate and open the housing that contains the existing control board. This may involve removing screws or panels.
- Document Connections: Before disconnecting any wires, take clear photos or make detailed diagrams of all existing connections. This will be crucial for correct reassembly.
- Disconnect Old Board: Gently disconnect all wires and connectors from the old control board. Note the orientation and position of each connector.
- Remove Old Board: Unscrew or unclip the old control board from its mounting.
- Install New Board: Place the new camicinta 430157 Control Board into position and secure it with screws or clips.
- Connect Wires: Refer to your documented connections and carefully reattach all wires and connectors to the new board. Ensure each connection is firm and correctly oriented.
- Verify Motor Function: Before fully reassembling the equipment, it is advisable to perform a preliminary power-up to ensure the motor is working properly and all connections are secure.
- Reassemble Equipment: Once verified, carefully close and secure the equipment housing.
- Final Test: Plug the equipment back into the power outlet and perform a full functional test.

Image 4.1: A detailed view of the camicinta 430157 Control Board, highlighting its various connectors and components for accurate installation.

Image 4.2: An illustration demonstrating the ease of installing the new control board, with important reminders to check motor function, wiring, and secure interfaces.
Installation Video Resources:
Video 4.1: A detailed video showcasing the 430157 S22I bike board, providing a visual reference for its components and potential installation context.
Video 4.2: A product video from LEAPTREND demonstrating the 430157 Motor Control Board Controller, offering another perspective on the component.
Video 4.3: A video showcasing the S22I Control Board 430157 for Exercise Bikes, providing additional visual details of the product.
5. Operation
Once the camicinta 430157 Control Board is correctly installed, your exercise equipment should resume normal operation. The control board manages the motor functions, resistance levels, and other electronic aspects of your machine. Refer to your specific NordicTrack equipment's user manual for detailed operating instructions, as this control board is a replacement component and does not alter the original operational procedures of your fitness machine.
- Power On: Ensure the equipment is properly plugged in and the main power switch (if applicable) is turned on.
- Console Functionality: Verify that the console powers on and displays information correctly.
- Resistance Control: Test the resistance adjustment to ensure it functions smoothly across all levels.
- Motor Response: For machines with motorized components, check for proper motor engagement and smooth operation.
6. Maintenance
The camicinta 430157 Control Board is designed for durability and minimal maintenance. However, general care for your fitness equipment will help prolong the life of all components, including the control board.
- Keep Dry: Protect the equipment from moisture and spills, as water can damage electronic components.
- Cleanliness: Regularly clean the exterior of your fitness equipment to prevent dust and debris from accumulating, which can affect internal components over time.
- Ventilation: Ensure adequate ventilation around the equipment to prevent overheating of electronic parts.
- Professional Inspection: If you suspect any issues with the control board or other electronic components, consult a qualified technician.
7. Troubleshooting
If your equipment experiences issues after installing the camicinta 430157 Control Board, consider the following troubleshooting steps:
- No Power:
- Check if the power cord is securely plugged into both the equipment and the wall outlet.
- Verify that the wall outlet is functional by plugging in another device.
- Ensure all connectors on the control board are firmly seated.
- Incorrect Resistance:
- Recheck the resistance motor connections to the control board.
- Consult your equipment's original manual for resistance calibration procedures.
- Display Issues:
- Ensure the display console cable is properly connected to the control board.
- If the display is completely blank, re-verify power connections.
- Unusual Noises or Smells:
- Immediately unplug the equipment.
- Inspect the control board and surrounding components for any visible damage, burn marks, or loose connections.
- Contact customer support for further assistance.
If issues persist after attempting these steps, please contact the manufacturer or a qualified service technician for diagnosis and repair.
8. Specifications
| Feature | Detail |
|---|---|
| Model Number | 430157 |
| Brand | camicinta |
| Part Numbers | 430157, 430146 |
| Material | Aluminum, Plastic |
| Color | Green (circuit board) |
| Product Dimensions (L x W x H) | 3.76" x 3.07" x 1.06" (9.55cm x 7.79cm x 2.7cm) |
| Item Weight | 3.52 ounces |
| Operating Temperature | 240 Degrees Fahrenheit (Maximum) |
| Display Type | No display (component for external display) |
| Batteries Required | No |
| Included Components | Motor Control Board |
| UPC | 783296437803 |

Image 8.1: Detailed view of the control board with measurements, indicating its compact dimensions for precise fit.
9. Warranty and Support
The manufacturer ensures that each control board undergoes operational testing before shipment to guarantee it is free of faults upon delivery. Should any issues arise after installation, please contact the seller for appropriate advice and support.
Optional protection plans are available for extended coverage:
- 3-Year Protection Plan
- 4-Year Protection Plan
- Complete Protect (monthly plan covering eligible purchases)
For specific warranty details and to inquire about protection plans, please refer to the product's purchase page or contact the seller directly.