
KCONBS D1A
KCONBS D1A Dehumidifier User Manual
Model: D1A | Brand: KCONBS
1. Introduction
Thank you for choosing the KCONBS D1A Dehumidifier. This compact and efficient device is designed to improve your indoor air quality by effectively removing excess moisture. Utilizing advanced semiconductor condensation technology, it operates quietly while maintaining optimal humidity levels in spaces up to 500 sq.ft. This manual provides essential information for safe and effective use, including setup, operation, maintenance, and troubleshooting.
2. Important Safety Instructions
- DO NOT IMMERSE IN WATER: To prevent electric shock, do not immerse the device, power cord, or plug in water or other liquids.
- Ensure the device is placed on a stable, level surface to prevent tipping and water spillage.
- Always unplug the dehumidifier before cleaning or performing any maintenance.
- Keep the air inlet and outlet clear of obstructions to ensure proper airflow and efficiency.
- Do not operate the device if the power cord or plug is damaged. Contact customer support for assistance.
- This appliance is for indoor use only. Do not use outdoors.
- Keep out of reach of children and pets.
3. Product Overview
The KCONBS D1A Dehumidifier is a compact unit featuring a 60 oz (1600 ml) water tank, suitable for areas up to 500 sq.ft. It is equipped with a user-friendly touch control panel, 7-color LED ambient lighting, and an automatic shut-off function for safety.
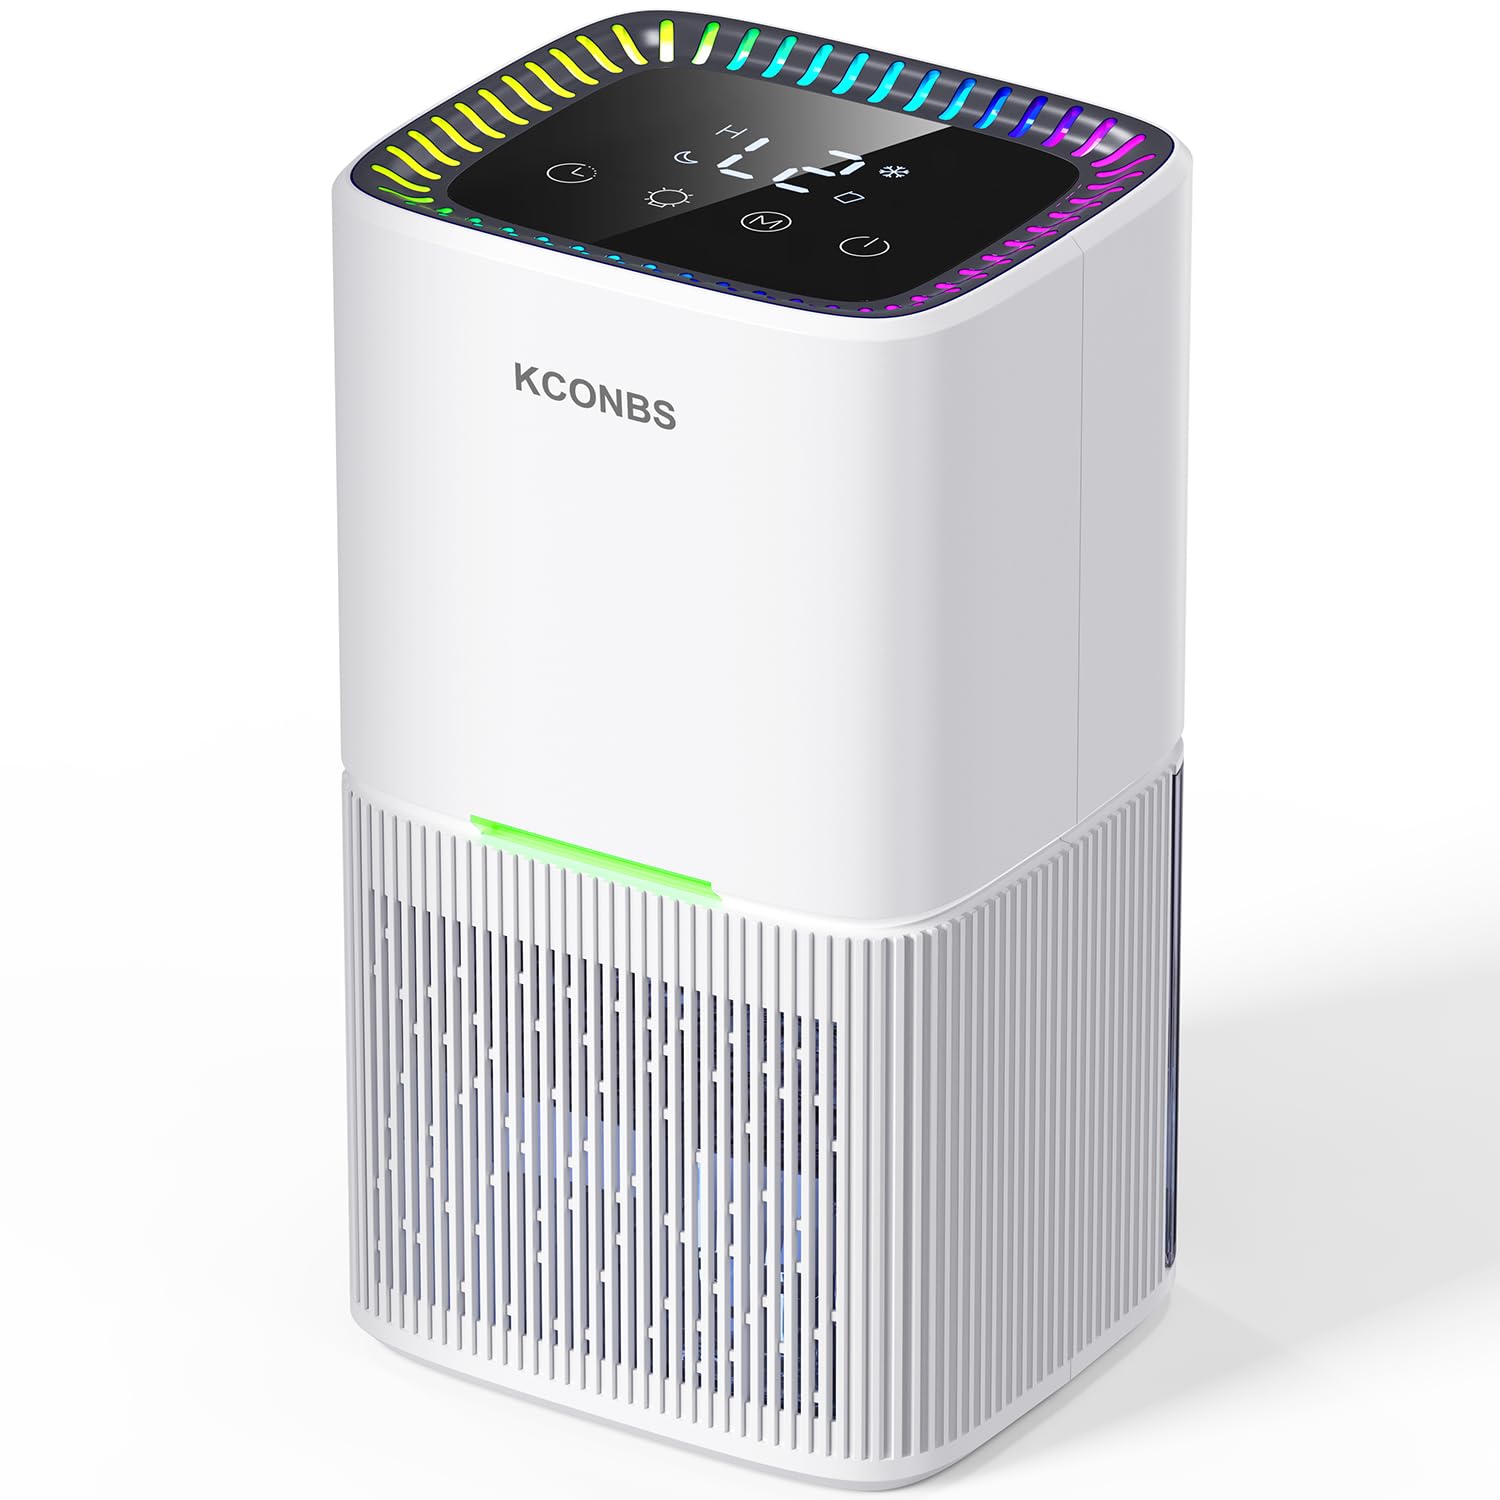
Figure 3.1: Front view of the KCONBS D1A Dehumidifier, showcasing its compact design and air intake grille.

Figure 3.2: An internal diagram illustrating the efficient semiconductor condensation technology, where a powerful fan draws in moisture, which is then condensed and dry air is blown out.
4. Setup
- Unpack the Device: Carefully remove the dehumidifier and all accessories from its packaging. Retain the packaging for future storage or transport.
- Choose a Location: Place the dehumidifier on a firm, level surface in the desired room. Ensure there is at least 10 cm (4 inches) of space around the unit for proper airflow. This unit is ideal for small spaces like bedrooms, bathrooms, and basements.
- Connect Power: Insert the power adapter into the DC input port on the back of the dehumidifier, then plug the adapter into a suitable wall outlet (100-240V AC, 50/60Hz).
- Check Water Tank: Ensure the water tank is correctly inserted into the unit. The device will not operate if the tank is not properly seated.

Figure 4.1: The dehumidifier with its water tank detached, showing how easily it can be removed for initial setup or emptying.
5. Operating Instructions
The KCONBS D1A Dehumidifier features a touch control panel for easy operation.

Figure 5.1: Close-up of the control panel, highlighting the power button, light control, mode selection, and timer settings for intuitive use.
5.1 Power On/Off
Press the Power button ( ) to turn the dehumidifier ON or OFF. The unit will start operating in the last selected mode.
5.2 Mode Selection
Press the Mode button () to switch between two dehumidification modes:
- L1 (Sleep Mode): Operates at a low speed, producing less than 30 dB of noise, ideal for quiet environments like bedrooms during sleep.
- L2 (Powerful Mode): Operates at a higher speed for faster and more effective moisture removal.
5.3 Timer Settings
Press the Timer button () to set the operating duration. You can choose between 6, 12, or 24 hours. The unit will automatically turn off once the set time has elapsed.
5.4 LED Light Control
Press the Light button () to cycle through 7 different ambient LED colors or turn the light off. This feature adds a cozy atmosphere to your room.
5.5 Video Demonstrations
Video: Dehumidifier Operation Overview
This video provides a comprehensive overview of the KCONBS D1A Dehumidifier's operation, including power, mode, timer, and light settings. It demonstrates the unit's quiet performance and efficiency in managing humidity.
Video: Dehumidifier Features and Usage
This video highlights the various features of the KCONBS D1A Dehumidifier, including its compact size, ease of use, and effectiveness in different home environments. It showcases the water tank removal and re-insertion process.
Video: Dehumidifier in Cold Conditions
This video demonstrates the dehumidifier's suitability for cold and wet winter conditions, emphasizing its ability to manage moisture effectively even in challenging environments.
Video: Effective Dehumidification
This video illustrates the effective dehumidification capabilities of the KCONBS D1A, showing its impact on reducing humidity in a room and contributing to a more comfortable living space.
6. Maintenance
6.1 Emptying the Water Tank
When the water tank is full, the dehumidifier will automatically shut off, and a red indicator light will illuminate to alert you. To empty the tank:
- Turn off the dehumidifier and unplug it from the power outlet.
- Carefully pull out the water tank from the bottom of the unit.
- Pour out the collected water.
- Slide the empty water tank back into the dehumidifier until it clicks into place.
- Plug in the device and turn it on to resume operation.

Figure 6.1: Visual representation of the auto shut-off protection, showing the water tank in both normal operating (blue) and full (red) states, indicating when it needs to be emptied.
6.2 Cleaning the Unit
- Wipe the exterior of the dehumidifier with a soft, damp cloth. Do not use abrasive cleaners or solvents.
- Clean the air inlet and outlet grilles regularly to prevent dust buildup, which can affect performance.
6.3 Auto Defrost Function
The dehumidifier is equipped with an automatic defrost function. If the ambient temperature falls below 59°F (15°C), the unit will automatically initiate defrosting to ensure continuous and safe operation. This simplifies maintenance and prolongs the device's lifespan.

Figure 6.2: The dehumidifier shown in a cold, icy environment, illustrating its automatic defrost function that activates below 59°F (15°C) to maintain efficiency.
7. Troubleshooting
| Problem | Possible Cause | Solution |
|---|---|---|
| Dehumidifier not turning on. | Not plugged in; Power outlet malfunction; Water tank not properly inserted. | Ensure power cord is securely plugged in. Try a different outlet. Re-insert the water tank correctly. |
| No water collected. | Low humidity levels; Room temperature too low; Air inlet/outlet blocked. | Check room humidity (optimal operation at 86°F and 80% RH). Ensure room temperature is above 59°F (15°C). Clear any obstructions from air vents. |
| Unit automatically shuts off. | Water tank is full; Water tank not properly inserted. | Empty the water tank. Re-insert the water tank correctly. |
| Unusual noise. | Unit not on a level surface; Internal component issue. | Place the unit on a flat, stable surface. If noise persists, contact customer support. |
8. Specifications
| Feature | Detail |
|---|---|
| Brand | KCONBS |
| Model Name | D1A |
| Water Tank Capacity | 60 Ounces (1600 Milliliters) |
| Coverage Area | Up to 500 Square Feet |
| Dehumidification Capacity | 0.45 Liters per Day (at 86°F, 80% RH) |
| Power Consumption | 22.5 Watts (approx. 0.96 kWh for 24 hours) |
| Operation Modes | L1 (Sleep Mode, <30 dB), L2 (Powerful Mode) |
| Special Features | Auto Shut-Off, Auto Defrost, 7-Color LED Light, Timer (6H/12H/24H) |
| Product Dimensions | 7.17"D x 11.81"W x 6.38"H |
| Item Weight | 3.25 pounds |
| Material | Acrylonitrile Butadiene Styrene (ABS), Polycarbonate (PC) |
9. Warranty and Support
KCONBS is committed to providing high-quality products and excellent customer service. For any questions, concerns, or warranty claims, please contact our support team.
- 24-Hour Quick Response: Our customer service team is available to assist you via phone or email.
- 30-Day Return Policy: Enjoy a 30-day no-reason return policy.
- 270-Day Free Replacement: We offer a 270-day free replacement for eligible issues.
- Lifetime Support: KCONBS provides lifetime support and satisfactory solutions for our products.
Please refer to the contact information provided with your purchase or visit the official KCONBS website for further details.
Ask a question about this manual
Ask about setup, troubleshooting, compatibility, parts, safety, or missing instructions. Manuals+ will review the question and use this page’s manual context to help answer it.