1. Introduction
This manual provides instructions for the assembly, operation, and maintenance of your Outsunny Raised Garden Bed with Trellis. This elevated planter is designed for outdoor use, offering a dedicated space for growing plants, vegetables, and climbing vines.
Key features include a spacious grow area, an integrated trellis for plant support or decoration, a self-draining design with a non-woven fabric filter, and durable fir wood construction with waterproof paint.
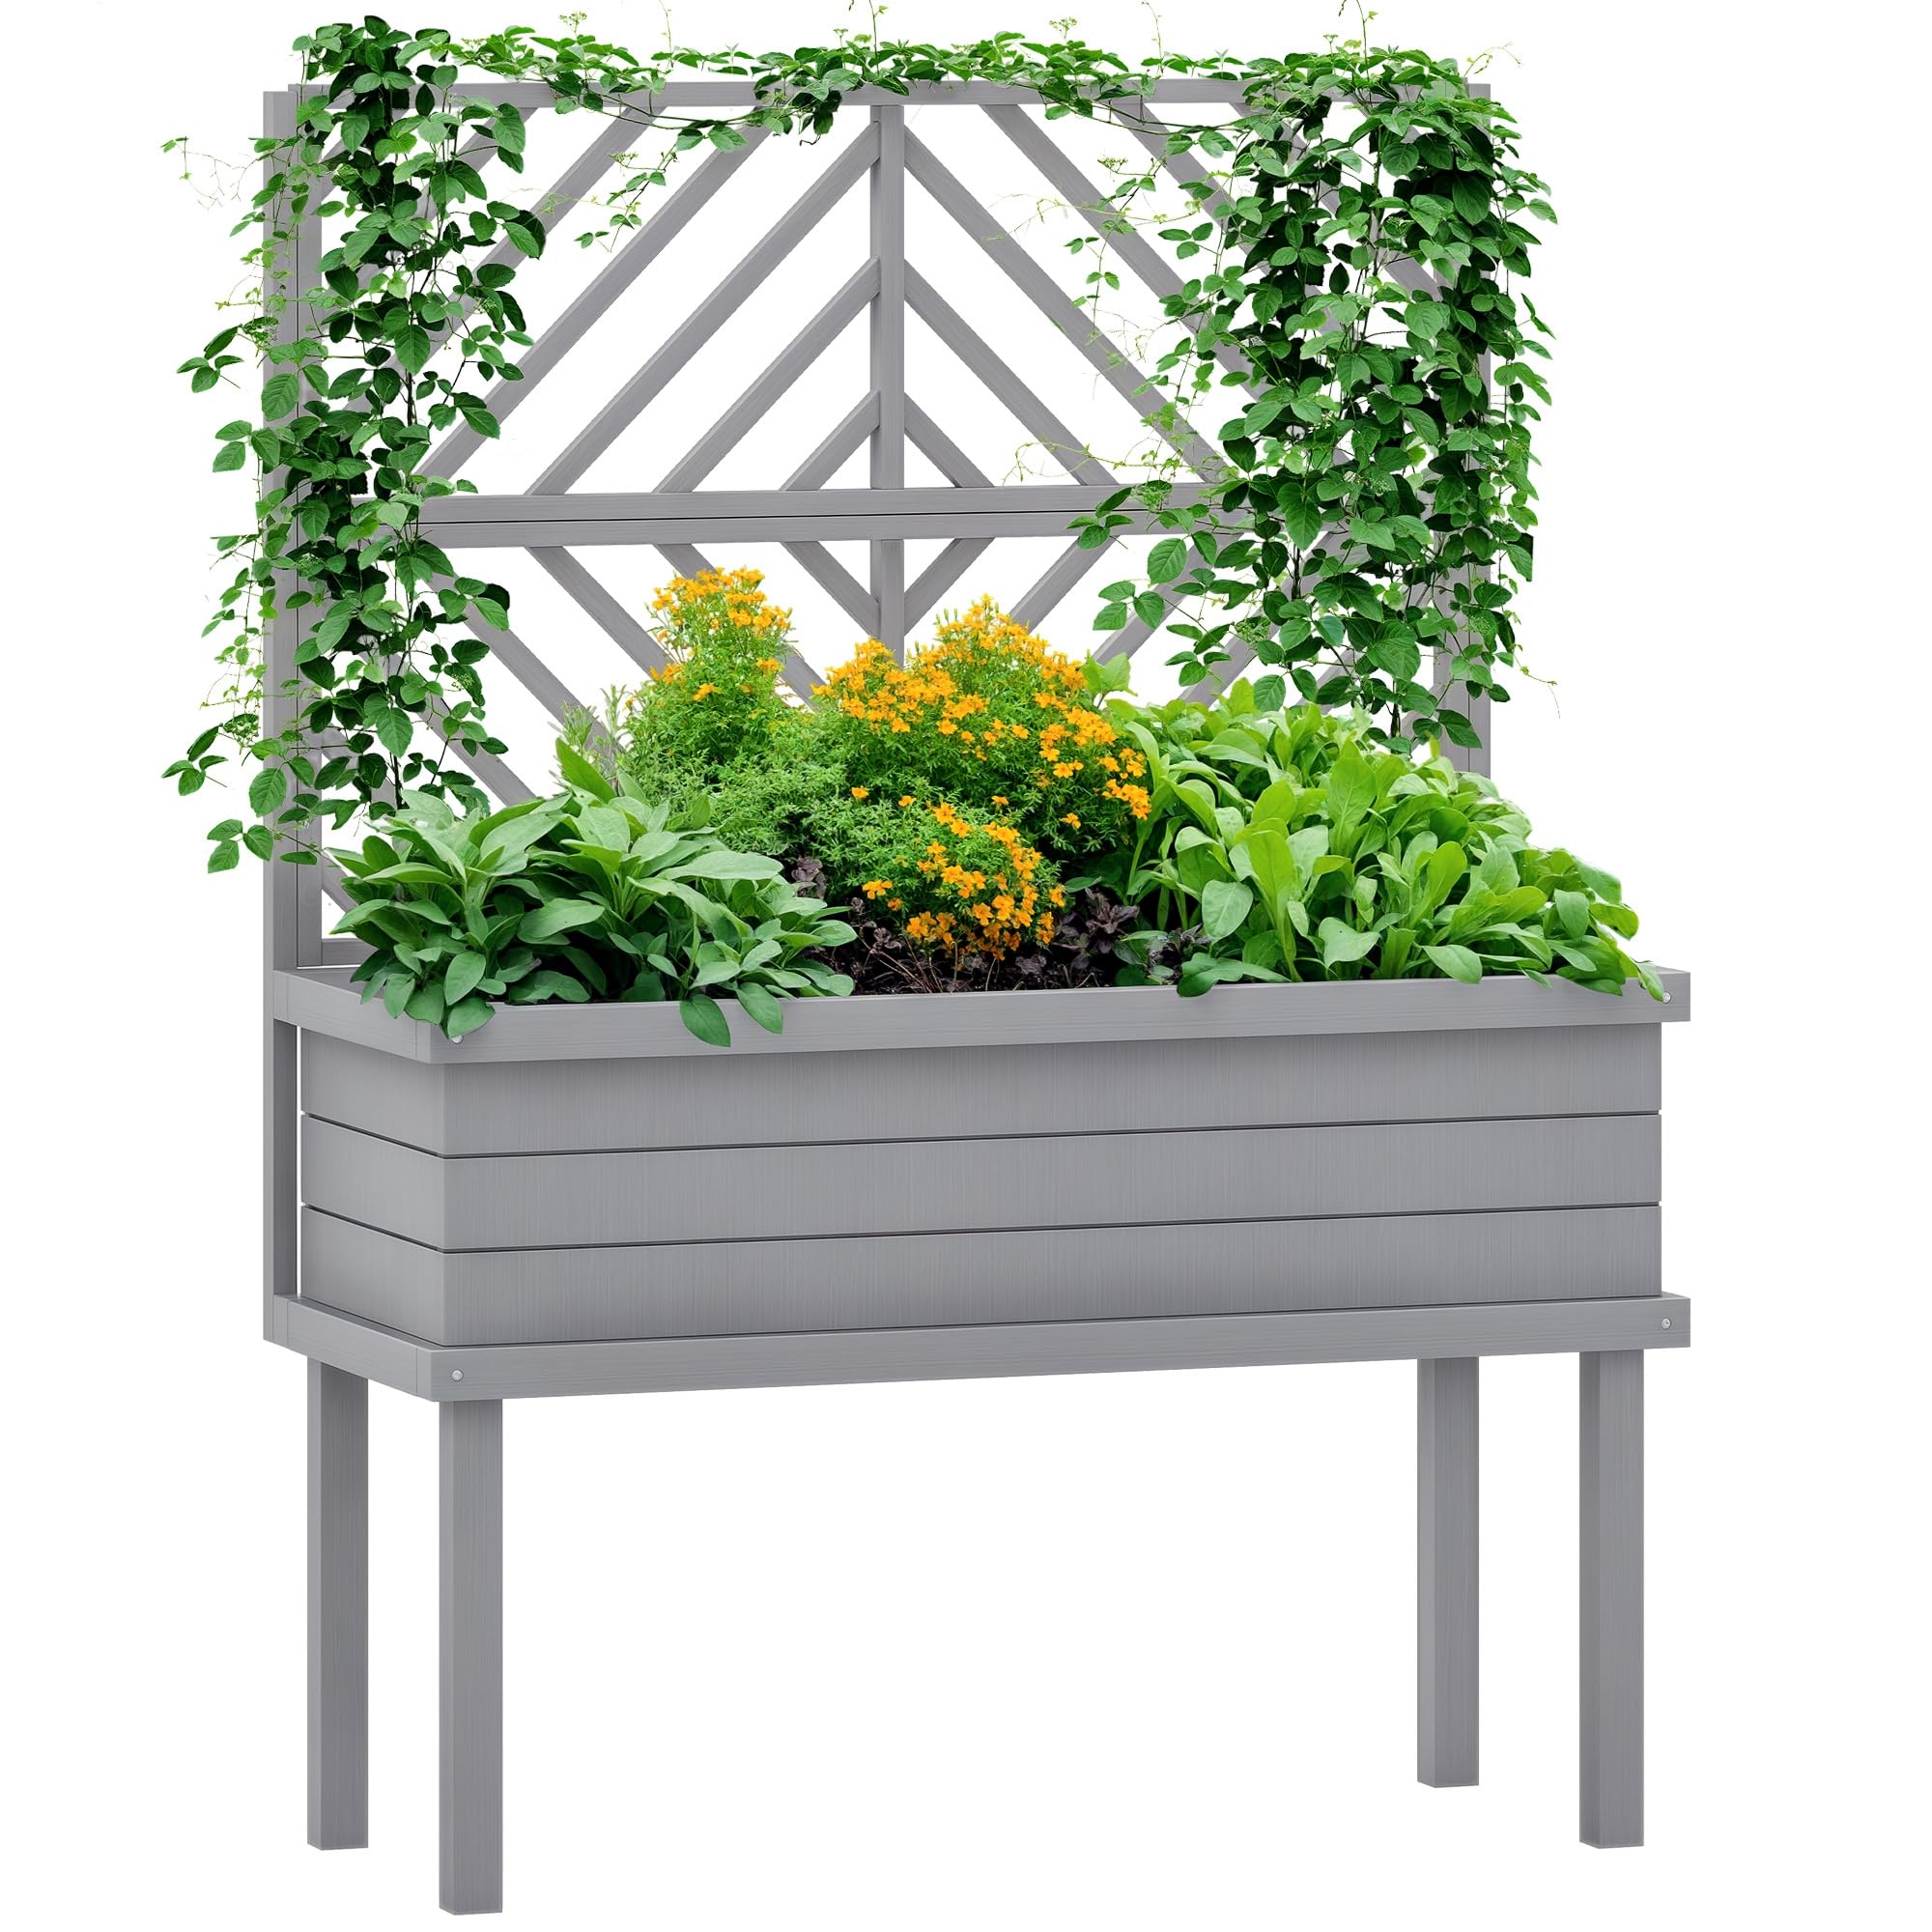
Image 1.1: The Outsunny Raised Garden Bed with Trellis in Gray, showcasing its design and functionality in an outdoor setting.
2. Safety Information
- Read all instructions carefully before assembly and use.
- Ensure all components are present and undamaged before beginning assembly.
- Wear appropriate safety gear, such as gloves, during assembly to prevent splinters or minor injuries.
- Assemble the garden bed on a flat, stable surface.
- Do not exceed the maximum weight capacity of 132 lbs (60 kg) for the planter box.
- Keep small children and pets away from the assembly area.
- Periodically check all fasteners to ensure they remain tight and secure.
- This product is intended for outdoor use.
3. Package Contents
Verify that all the following components are included in your package:
- Raised Garden Bed components
- Back Trellis components
- Non-woven fabric filter/liner
- Assembly hardware (screws, bolts, etc.)
- Instruction manual
4. Setup and Assembly
Assembly of the Outsunny Raised Garden Bed with Trellis requires careful attention to the provided instructions. It is recommended to have two people for assembly.
4.1 Tools Required
- Phillips head screwdriver
- Wrench (if bolts are included)
- Gloves (recommended)
4.2 Assembly Steps
- Unpack and Identify Parts: Carefully unpack all components and lay them out. Refer to the parts list in the included instruction manual to identify each piece.
- Assemble the Planter Box Base: Begin by connecting the side panels of the planter box. Ensure that the pre-drilled holes align correctly. Secure with the provided hardware.
- Attach the Legs: Connect the legs to the assembled planter box base. Verify that the legs are oriented correctly to ensure stability and proper height.
- Install the Trellis: Attach the trellis components to the back of the planter box. Ensure the trellis is securely fastened and stable.
- Insert the Liner: Place the non-woven fabric liner inside the planter box. This liner helps prevent soil from falling out and separates the wood from the soil, extending the life of the planter.
- Final Check: Once assembled, gently shake the unit to ensure all connections are secure and the garden bed is stable.

Image 4.1: Detailed dimensions of the assembled raised garden bed and trellis.
5. Operating Instructions
5.1 Preparing the Planter Box
- Ensure the non-woven fabric liner is properly seated within the planter box. This liner is crucial for soil retention and wood protection.
- Fill the planter box with your desired potting mix or soil. The grow area holds approximately 24.5 gallons of soil.

Image 5.1: The non-woven fabric liner placed inside the planter box, designed to prevent soil loss and protect the wood.
5.2 Planting
- Plant your chosen vegetables, herbs, or flowers according to their specific requirements for spacing and depth.
- The elevated design helps protect plants from small ground animals and reduces the need for bending or kneeling during gardening.
5.3 Utilizing the Trellis
- The integrated trellis provides support for climbing plants such as grapevines, cucumbers, or beans. Gently guide young plants to grow along the trellis.
- The trellis can also be used for decorative purposes, such as hanging lightweight outdoor decor or string lights.

Image 5.2: The back trellis feature, suitable for supporting climbing plants or for decorative elements.
5.4 Watering and Drainage
- Water plants as needed. The planter box features proper drainage holes at the bottom to prevent waterlogging.
- The self-draining design ensures excess water can escape, keeping the soil fresh and protecting plant roots from rot.

Image 5.3: Illustration of the drainage system, showing how water exits through the bottom holes.
6. Maintenance
6.1 Wood Care
- The garden bed is constructed from fir wood and treated with waterproof paint. To maintain its appearance and longevity, periodically clean the wood surfaces with a damp cloth.
- Avoid using harsh chemicals or abrasive cleaners that could damage the wood finish.
- While treated, exposure to extreme weather conditions over time may affect the wood. Consider applying an additional outdoor wood sealant annually for enhanced protection, especially in areas with high humidity or intense sun exposure.
6.2 Liner Maintenance
- The non-woven fabric liner is designed for durability. If it becomes damaged or shows signs of significant wear, it can be replaced to continue protecting the wood and retaining soil.
7. Troubleshooting
7.1 Assembly Difficulties
- Issue: Parts do not align, or holes are not pre-drilled correctly.
Solution: Double-check the orientation of the pieces against the instruction manual diagrams. If holes are slightly misaligned, gentle force or a drill with an appropriate bit may be needed to correct them. Ensure you are using the correct hardware for each step. - Issue: The assembled structure feels unstable.
Solution: Verify that all screws and bolts are tightened securely. Ensure the garden bed is placed on a level surface. Re-examine the assembly steps to confirm no parts were installed incorrectly.
7.2 Drainage Issues
- Issue: Water is not draining properly from the planter box.
Solution: Check that the drainage holes at the bottom of the planter are not obstructed by soil or debris. Ensure the non-woven fabric liner is not blocking the holes. If the soil is very dense, consider mixing in some perlite or sand to improve drainage.
7.3 Wood Integrity
- Issue: Wood appears splintered or damaged.
Solution: Minor splinters can be carefully removed or sanded. For significant damage, contact customer support for assistance. Regular maintenance and application of wood sealant can help prevent future damage.
8. Specifications
| Feature | Detail |
|---|---|
| Model Number | 84H-102V00GY |
| Material | Fir Wood |
| Color | Gray |
| Overall Dimensions | 41.25" W x 17.75" D x 55" H |
| Grow Area Dimensions | 39" L x 14.25" W x 10.25" H |
| Back Trellis Size | 41.25" L x 23.5" H |
| Weight Capacity | 132 lbs (60 kg) |
| Soil Capacity | Approx. 24.5 Gallons |
| Special Features | Drainage Hole, Aeration, Stylized Trellis |
| Indoor/Outdoor Usage | Outdoor |
| Item Weight | 26 Pounds |
9. Warranty and Support
For warranty information or technical support, please refer to the documentation included with your purchase or contact the seller directly. Keep your purchase receipt and model number (84H-102V00GY) handy when contacting support.
You can typically find contact information for Outsunny or the seller on the product packaging or the retailer's website where the product was purchased.


