1. Introduction
This manual provides detailed instructions for the assembly, operation, and care of your HJPLPXH Mechanical Whale Building Set, Model 13059. This set allows you to construct a detailed mechanical whale model with movable parts, designed for display. Please read these instructions carefully before beginning assembly to ensure a smooth and enjoyable building experience.
2. Safety Information
- WARNING: CHOKING HAZARD – Small parts. Not suitable for children under 3 years.
- Recommended age for assembly and use: 8 years and up.
- Keep all building blocks and packaging materials away from infants and small children to prevent accidental ingestion.
- Adult supervision is recommended during assembly, especially for younger builders.
3. Package Contents
Before starting assembly, please verify that all components are present. The package should contain:
- Approximately 1388 building blocks.
- One (1) Instruction Manual (this document).
- Components for the display stand.
If any pieces are missing, please refer to the "Troubleshooting" section for assistance.
4. Assembly Instructions
The HJPLPXH Mechanical Whale Building Set is designed for step-by-step assembly. Follow the detailed visual instructions provided in the included physical instruction booklet. Sort pieces by color and shape before beginning to facilitate the building process.

Figure 4.1: Overview of the assembled Mechanical Whale model and its packaging.
4.1 General Assembly Tips
- Organize Pieces: Before starting, separate the building blocks into groups based on color, size, or type to make them easier to find.
- Follow Steps Sequentially: Adhere strictly to the numbered steps in the instruction booklet. Do not skip steps.
- Check Connections: Ensure all blocks are firmly pressed together to create stable connections. Loose connections can lead to structural instability.
- Patience is Key: Building complex models requires patience. Take breaks if needed.

Figure 4.2: Product dimensions of the assembled Mechanical Whale.
5. Operating Instructions
The Mechanical Whale model features several movable parts that enhance its display and interactive appeal.
5.1 Movable Features
- Flexible Fins: The side fins are designed to move, allowing for dynamic posing.
- Swingable Tail: The tail section can be articulated to simulate swimming motion.
- Realistic Movable Mouth: The whale's mouth can be opened and closed.
- Rotatable Parts: Certain internal mechanical components are designed to rotate.

Figure 5.1: Detailed view of movable parts and operational features.
5.2 Activating Movement
To activate the whale's movement, locate the joystick mechanism on the display stand. Gently rotate the joystick to engage the internal gears, which will drive the whale's tail and fins, simulating a swimming motion.
Some models may include internal lighting. Refer to the specific steps in your physical instruction booklet for details on activating these lights, typically involving a switch or button.
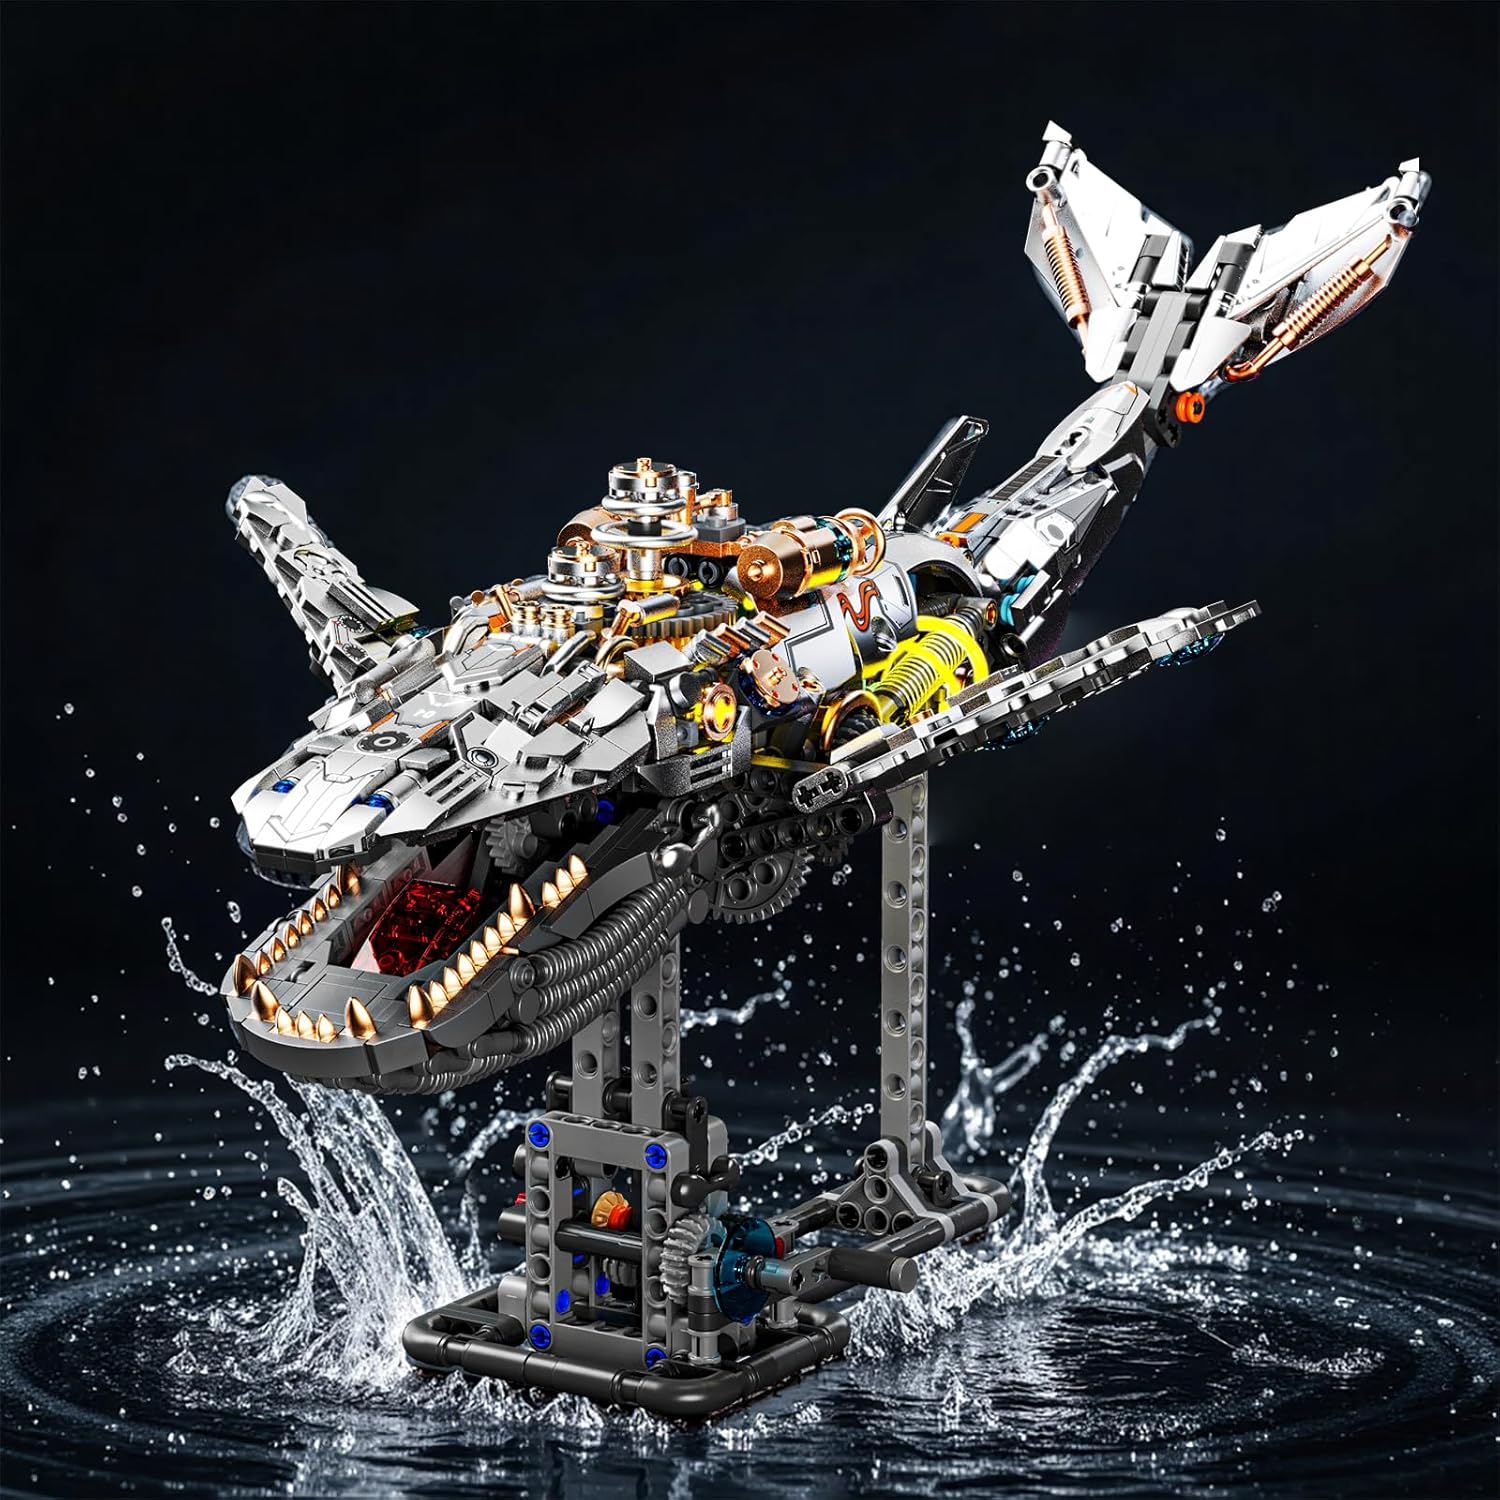
Figure 5.2: Operating the movement mechanism via the display stand handle.

Figure 5.3: Key movable features of the Mechanical Whale.
6. Maintenance
To ensure the longevity and appearance of your Mechanical Whale Building Set, follow these simple maintenance guidelines:
- Cleaning: Gently dust the model regularly with a soft, dry cloth or a soft brush to prevent dust accumulation. Avoid using liquid cleaners or abrasive materials, as these can damage the plastic.
- Storage: Store the assembled model in a stable location away from direct sunlight, extreme temperatures, and high humidity to prevent discoloration or warping of the plastic components.
- Handling: Handle the model carefully, especially when moving it, to avoid accidental detachment of parts.
7. Troubleshooting
| Problem | Possible Cause | Solution |
|---|---|---|
| Missing pieces upon opening. | Manufacturing or packaging error. | Contact the seller directly. Provide details of the missing pieces (e.g., part number from the instruction booklet, description). The seller will arrange for replacement parts to be shipped. |
| Parts do not fit together securely. | Incorrect orientation; insufficient pressure; slight manufacturing variance. | Ensure the pieces are oriented correctly according to the instruction booklet. Apply firm, even pressure. If a piece consistently does not fit, double-check if it is the correct piece for that step. |
| Movable parts (fins, tail, mouth) are stiff or do not move. | Incorrect assembly of internal mechanisms; obstruction by other blocks; dust accumulation. | Review the assembly steps for the specific movable part. Ensure all gears and connecting pins are correctly aligned and free from obstruction. Gently clean any visible dust or debris. Do not force movement. |
| Model is unstable on the display stand. | Display stand not fully assembled or connected incorrectly. | Verify that the display stand components are securely assembled and that the whale model is properly seated on the stand's attachment points. |
8. Specifications
| Feature | Detail |
|---|---|
| Model Name | Mechanical Whale Building Set |
| Model Number | 13059 |
| Brand | HJPLPXH |
| Number of Pieces | 1388 |
| Assembled Product Dimensions (L x W x H) | 18.2 x 8.3 x 11.5 inches (approximately) |
| Item Weight | 2.42 pounds (approximately) |
| Recommended Age | 8 years and up |
| Main Material | ABS Plastic |
9. Support Information
For any inquiries, assistance with missing parts, or other product-related support, please contact the seller directly through the platform where the product was purchased. When contacting support, please provide your order number and a clear description of the issue.


