
1. Introduction
The AOTIQUAL Handheld Natural Gas Detector (Model BT-RT40A) is a portable device designed to detect the presence of combustible gases such as methane, propane, and butane. It provides audible and visual alarms to alert users to potential gas leaks, enhancing safety in various environments including homes, industrial settings, and outdoor areas. This manual provides essential information for the proper setup, operation, and maintenance of your gas detector.

Figure 1: AOTIQUAL Handheld Natural Gas Detector.
2. Safety Information
Please read all safety instructions carefully before using the device. Failure to follow these instructions may result in inaccurate readings, property damage, or personal injury.
- This device is intended for detecting combustible gases (methane, propane, butane, etc.). It is not designed to detect carbon monoxide or other non-combustible gases.
- The detector is a tool for identifying potential gas leaks. It is not a substitute for professional gas leak inspections or proper ventilation.
- In case of a suspected gas leak, immediately evacuate the area, turn off the gas supply if safe to do so, and contact emergency services or a qualified technician.
- Do not expose the device to extreme temperatures, humidity, or corrosive environments.
- Keep the device out of reach of children.
3. Package Contents
Verify that all items are present in the package:
- 1 x Gas Leak Detector
- 2 x 1.5V AAA Batteries
- 1 x User Manual
4. Product Overview
Familiarize yourself with the components of your gas detector:

Figure 2: Labeled components of the Gas Detector.
- Combustible Gas Sensor: Detects gas concentrations.
- Sensitivity Key (Hi/Lo): Adjusts detection sensitivity.
- ON/OFF Button: Powers the device on or off.
- Display: Shows status, sensitivity mode, and gas concentration levels.
- Battery Cover: Protects the battery compartment.
5. Setup
5.1 Battery Installation
The detector requires two (2) AAA batteries for operation. These are included in your package.
- Unscrew the battery cover located at the bottom of the device (refer to Figure 2).
- Insert two AAA batteries, ensuring correct polarity (+/-).
- Replace the battery cover and screw it securely.
6. Operation
6.1 Power On/Off
- To power on, press and hold the ON/OFF button until the display illuminates.
- The device will enter a 30-second preheating phase. During this time, the display may show a red background and a fluctuating graph. Wait until the display turns green and shows 'Lo' or 'Hi' before use.
- To power off, press and hold the ON/OFF button again.
6.2 Sensitivity Adjustment
The detector features two sensitivity modes: High (Hi) and Low (Lo).
- Press the Hi button for high sensitivity detection, suitable for detecting small leaks or in open areas.
- Press the Lo button for low sensitivity detection, useful for pinpointing larger leaks or in confined spaces.
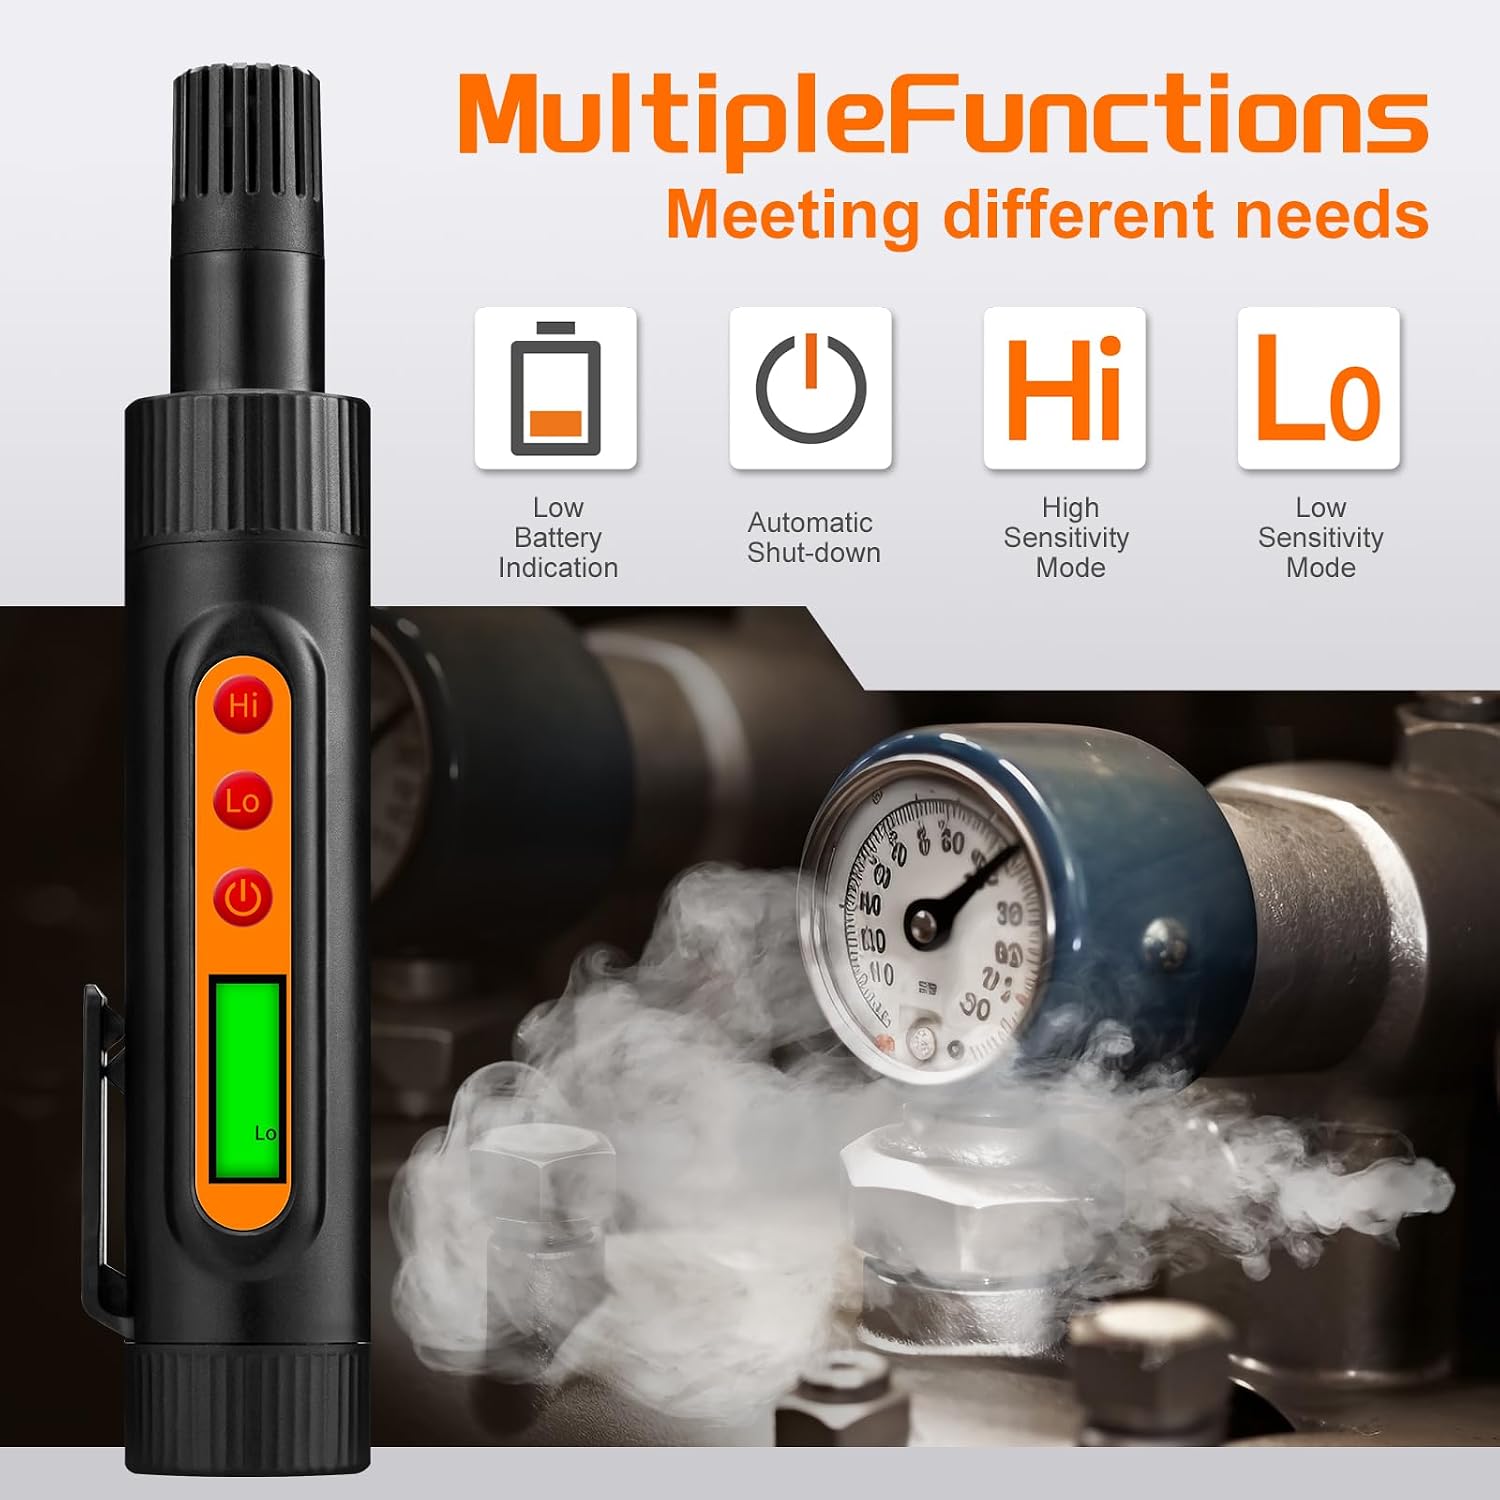
Figure 3: Multiple functions including sensitivity modes.

Figure 4: High and Low sensitivity display modes.
6.3 Gas Leak Detection
- After preheating, hold the detector with the sensor end near the area where a gas leak is suspected.
- Slowly move the detector along pipes, connections, or appliances.
- If gas is detected, the device will emit an audible alarm, the display will turn red, and an analog bar will indicate the gas concentration level. The alarm intensity increases with higher gas concentration.

Figure 5: Detector indicating gas presence near a stove burner.
6.4 Automatic Shut-down
The device features an intelligent power-saving function. If no operation is performed for approximately 4 minutes, the detector will automatically shut down to conserve battery life.
6.5 Operational Videos
Testing with a Propane Tank
Video 1: Demonstration of the gas detector being used to check for leaks around a propane tank connection. The detector emits an audible alarm and shows a visual indication when gas is detected.
Testing with a Gas Stove
Video 2: Demonstration of the gas detector being used to check for leaks near a gas stove burner. The detector responds with an alarm and visual cues when gas is present.
7. Maintenance
7.1 Cleaning
Wipe the exterior of the detector with a soft, dry cloth. Do not use abrasive cleaners or solvents, as these can damage the device or sensor.
7.2 Battery Replacement
When the low battery indicator appears on the display, replace both AAA batteries promptly to ensure accurate operation.
7.3 Storage
Store the detector in a cool, dry place away from direct sunlight and extreme temperatures. If storing for an extended period, remove the batteries to prevent leakage.
8. Troubleshooting
| Problem | Possible Cause | Solution |
|---|---|---|
| Detector does not turn on. | Dead or incorrectly installed batteries. | Check battery polarity or replace with new AAA batteries. |
| No alarm when gas is suspected. | Device not preheated; incorrect sensitivity mode; sensor obstruction. | Ensure 30-second preheating is complete. Switch to 'Hi' sensitivity. Ensure sensor is clean and unobstructed. |
| False alarms or inconsistent readings. | Presence of other volatile organic compounds (VOCs) like alcohol, paint fumes, or strong cleaning agents. | Ensure the testing area is free from other fumes. Move to a fresh air environment and re-test. |
9. Specifications

Figure 6: Key specifications of the gas detector.
- Brand: AOTIQUAL
- Model: BT-RT40A
- Power Source: 2 x AAA Batteries (included)
- Detection Range: 50-1000 PPM
- Sensitivity: ±50 PPM
- Preheating Time: Approximately 30 seconds
- Response Time: Less than 3 seconds
- Alarm Indication: Audible and Visible (LED, LCD bar display)
- Operating Humidity: 10% to 95% RH
- Product Dimensions: 7.5"D x 1.6"W x 1.6"H
- Item Weight: 3.2 ounces
- Material: ABS
- Automatic Shut-down: After 4 minutes of inactivity
10. Warranty and Support
For warranty information, technical support, or service inquiries, please contact the manufacturer directly. Refer to the product packaging or the official AOTIQUAL website for contact details.