
1. Important Safety Information
Please read all instructions carefully before assembly and use. Failure to follow these instructions may result in injury or damage to the product.
- Anchoring is Critical: To achieve the rated 120 MPH wind resistance, this shed must be permanently anchored. Use the included bolts for concrete foundations, deck screws for wooden decks, or 30-36 inch auger anchors (not included) for soft ground. Improper anchoring can lead to severe storm damage.
- Team Assembly: Assembly is designed for a team of 3-4 adults and may take 5-8 hours. Do not attempt to assemble alone.
- Weather Conditions: Do not attempt to assemble or use the shed in adverse weather conditions, such as strong winds, heavy rain, or snow.
- Foundation: A level and stable foundation (e.g., concrete slab, wooden deck) is required. You will need to build a floor before constructing the shed, as it does not include a floor and requires a base for anchoring.
- Part Inspection: Inspect all parts upon arrival. If any parts are damaged or missing, contact customer support immediately for replacements.
2. Package Contents
Your WACASA Metal Shed ships in 3 separate heavy boxes. These boxes may arrive on different days. Please ensure all boxes have arrived before beginning assembly.
Upon opening, verify that all components listed in the included parts manual are present and undamaged. Contact customer support within 24 hours for any damaged or missing parts.
3. Setup and Assembly
Follow the step-by-step video and the detailed manual provided with your shed for precise assembly instructions. The following are general guidelines:
- Prepare the Foundation: Ensure your chosen site has a level and stable foundation. A concrete slab or wooden deck is recommended. The shed requires a base to anchor to.
- Unpack and Organize: Carefully unpack all components and organize them according to the parts list. This will streamline the assembly process.
- Assemble the Base Frame: Construct the galvanized steel base frame first. This frame creates vital ground clearance and features ventilation channels to resist humidity.

The galvanized steel base frame provides a sturdy foundation and promotes air circulation.
- Install Wall Panels: Attach the 30-gauge wall panels to the frame. The ultra-thick 20-gauge structural support frame ensures stability.

The robust internal frame provides structural integrity for the shed.
- Attach Roof Panels and Skylights: Install the roof panels, including the two crystal-clear polycarbonate skylight panels. These panels allow natural light into the shed.

The translucent roof panels ensure a bright interior, reducing the need for artificial lighting during the day.
- Install Doors and Windows: Mount the double swinging doors and the shatter-resistant acrylic windows. The windows are DIY-installable on any wall section.
- Secure Anchoring: Once the shed structure is complete, securely anchor it to your chosen foundation using the appropriate hardware (bolts for concrete, screws for decks, or auger anchors for soft ground). This step is crucial for wind resistance.

Proper anchoring to a solid base is essential for the shed's stability and wind resistance.
4. Operating Instructions
- Door Operation: The shed features wide, lockable double swinging doors. These doors are designed to accommodate riding mowers, standard grills, and medium-sized outdoor equipment. Ensure the doors are fully open when moving large items to prevent damage.
- Locking Mechanism: Utilize the metal latch and your own padlock (not included) to secure the shed and protect your stored items.

The robust metal latch provides a secure point for locking the shed doors.
- Ventilation: The dual integrated vents are designed to reduce heat and moisture buildup inside the shed. Ensure these vents remain unobstructed for optimal air circulation.
- Natural Lighting: The crystal-clear polycarbonate roof panels and acrylic windows provide ample natural light, creating a bright interior environment.
5. Maintenance
- Cleaning: Periodically clean the exterior and interior of the shed with mild soap and water. Avoid abrasive cleaners or harsh chemicals that could damage the powder coating or panel finish.
- Rust Protection: The multi-layer powder-coated frame provides an impenetrable shield against salt spray, acid rain, and scratches, extending the rust-free life of your shed to 5-10 years. Regular inspection for any deep scratches or damage to the coating is recommended. Touch up any exposed metal to prevent rust.
- Anchoring Check: Annually inspect the anchoring points to ensure they remain secure, especially after severe weather events. Tighten any loose bolts or screws.
- Ventilation Check: Ensure the integrated vents are clear of debris (leaves, dirt, etc.) to maintain proper airflow and prevent moisture buildup.
- Door and Hinge Lubrication: Lubricate door hinges and the latch mechanism annually with a silicone-based lubricant to ensure smooth operation.
6. Troubleshooting
- Missing or Damaged Parts: If you discover missing or damaged parts during unpacking or assembly, immediately stop assembly and contact WACASA customer support. Provide details of the missing/damaged components for prompt replacement.
- Doors Do Not Align: Ensure the shed is assembled on a perfectly level foundation. Uneven ground can cause the frame to twist, leading to door misalignment. Adjust the foundation or shims as necessary. Check that all frame bolts are tightened evenly.
- Water Leakage: Verify that all roof panels are correctly overlapped and secured, and that all screws are tightened. Ensure the shed is properly sealed at the base to prevent water ingress from the ground. The vertically arranged metal sheets on the roof are designed to prevent rainwater accumulation and ensure leak-proofing.

The shed's roof design is engineered to shed water effectively, preventing leaks.
- Excessive Condensation: Ensure the dual integrated vents are clear and unobstructed to allow for proper air circulation. Condensation can occur in humid conditions if ventilation is restricted.
7. Specifications
| Brand | WACASA |
| Model Style | 10x10 FT |
| Color | Blackish blue |
| Material | Aluminum, Metal (Alloy Steel Frame, Transparent Aluminum Top) |
| Item Weight | 233.6 Pounds |
| Dimensions (Approx.) | 119.3" (Depth) x 114.6" (Width) x 84.3" (Height)
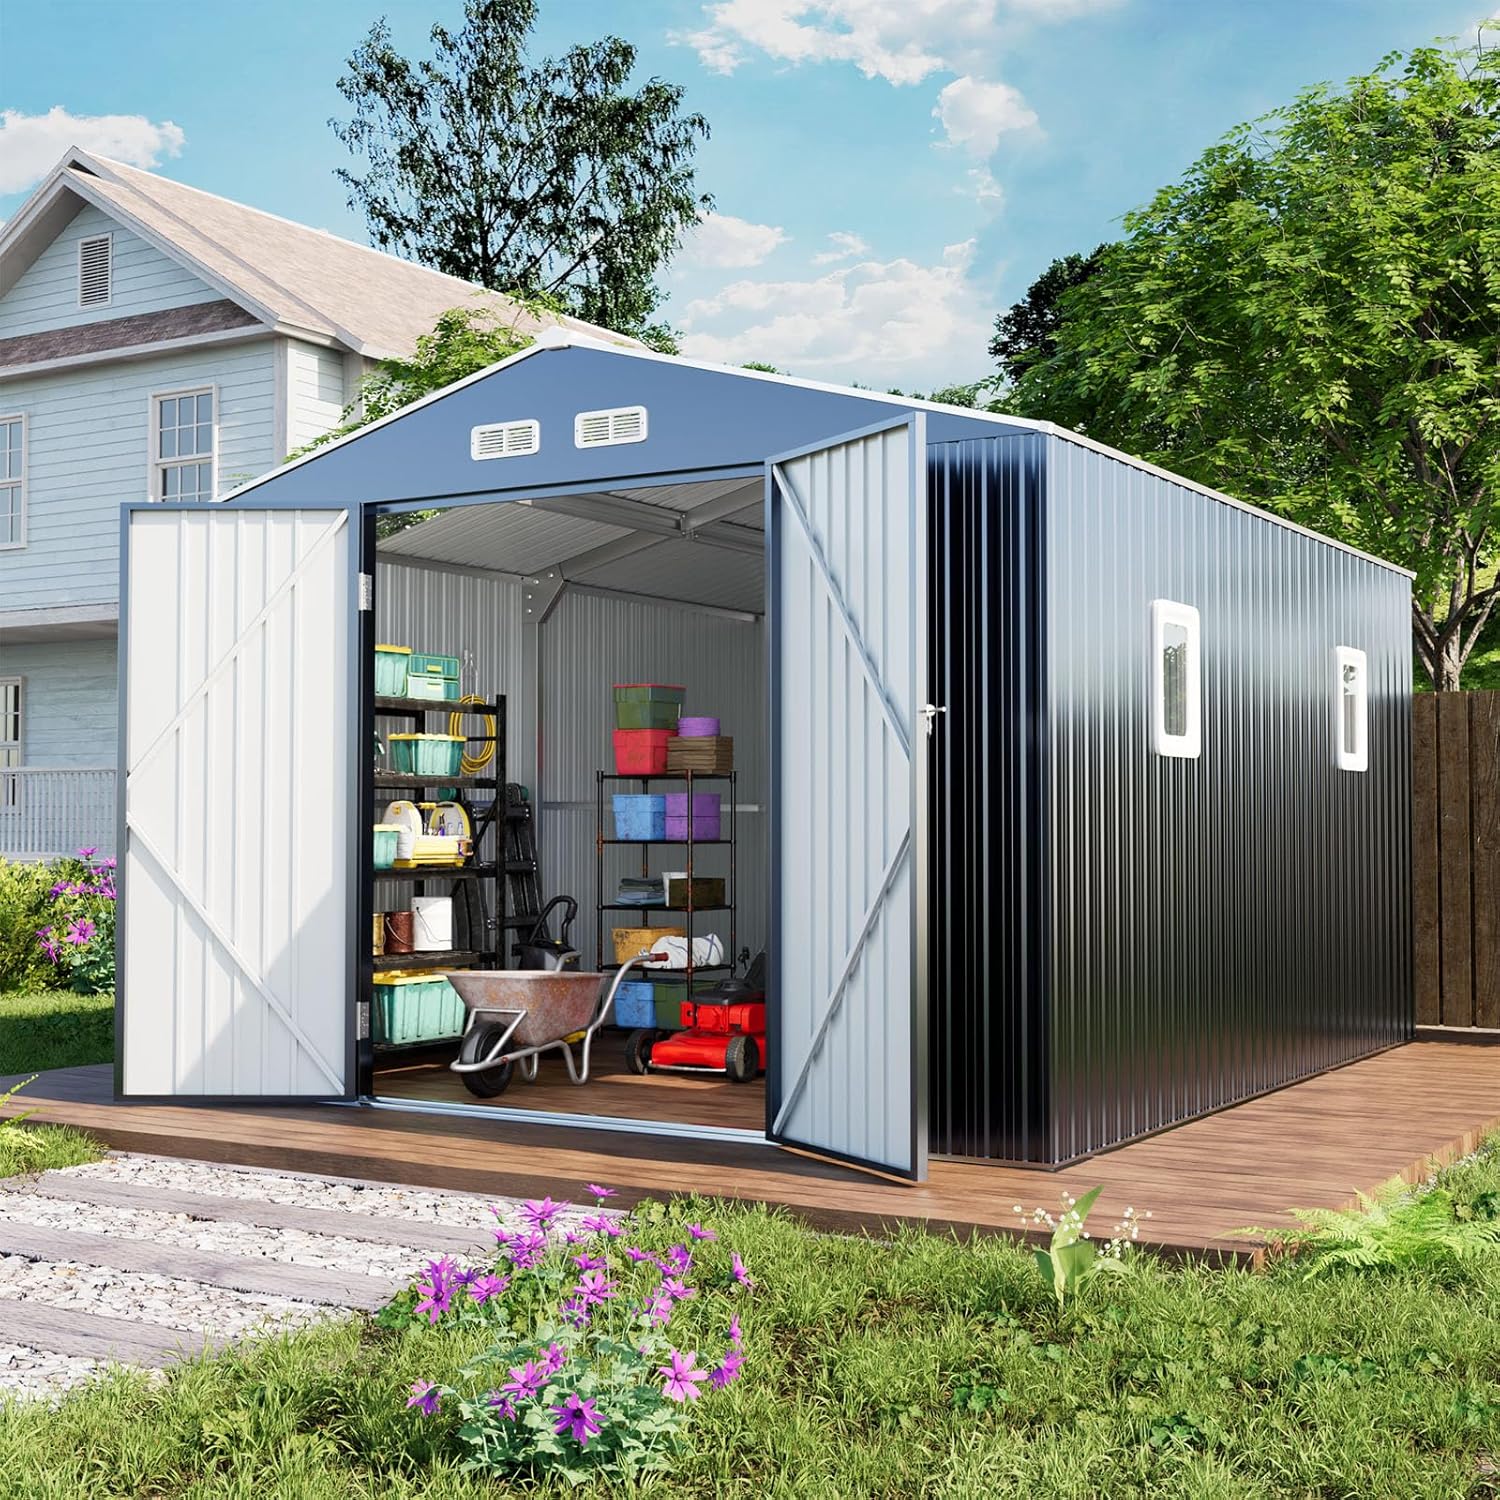
Detailed dimensions of the shed. |
| Water Resistance Level | Water Resistant |
| Snow Load Rating | 50 PSF (Pounds per Square Foot) |
| Wind Resistance Rating | 120+ MPH (when properly anchored) |
| Door Style | Double Swinging Doors |
| Assembly Required | Yes |
8. Warranty and Support
- Returns: The product is eligible for 30-day easy returns. Please refer to the retailer's return policy for full details.
- Customer Support: For any questions, concerns, or assistance with damaged part replacements, WACASA offers 24-hour support.
- Contact: Visit the official WACASA Store for support and additional product information: WACASA Store on Amazon.