Introduction
This manual provides detailed instructions for the setup, operation, and maintenance of your Memorex MX-BCD20 Portable AM/FM CD Player. Please read this manual thoroughly before using the device to ensure proper function and to maximize your listening experience. Keep this manual for future reference.
Important Safety Instructions
- Read these instructions.
- Keep these instructions.
- Heed all warnings.
- Follow all instructions.
- Do not use this apparatus near water.
- Clean only with a dry cloth.
- Do not block any ventilation openings. Install in accordance with the manufacturer's instructions.
- Do not install near any heat sources such as radiators, heat registers, stoves, or other apparatus (including amplifiers) that produce heat.
- Protect the power cord from being walked on or pinched, particularly at plugs, convenience receptacles, and the point where they exit from the apparatus.
- Only use attachments/accessories specified by the manufacturer.
- Unplug this apparatus during lightning storms or when unused for long periods of time.
- Refer all servicing to qualified service personnel. Servicing is required when the apparatus has been damaged in any way, such as power-supply cord or plug is damaged, liquid has been spilled or objects have fallen into the apparatus, the apparatus has been exposed to rain or moisture, does not operate normally, or has been dropped.
Package Contents
Ensure all items are present before setup:
- Memorex MX-BCD20 Portable AM/FM CD Player
- AC Power Adapter
- Instruction Manual (this document)
Product Overview
Familiarize yourself with the main components and controls of your Memorex MX-BCD20 unit.
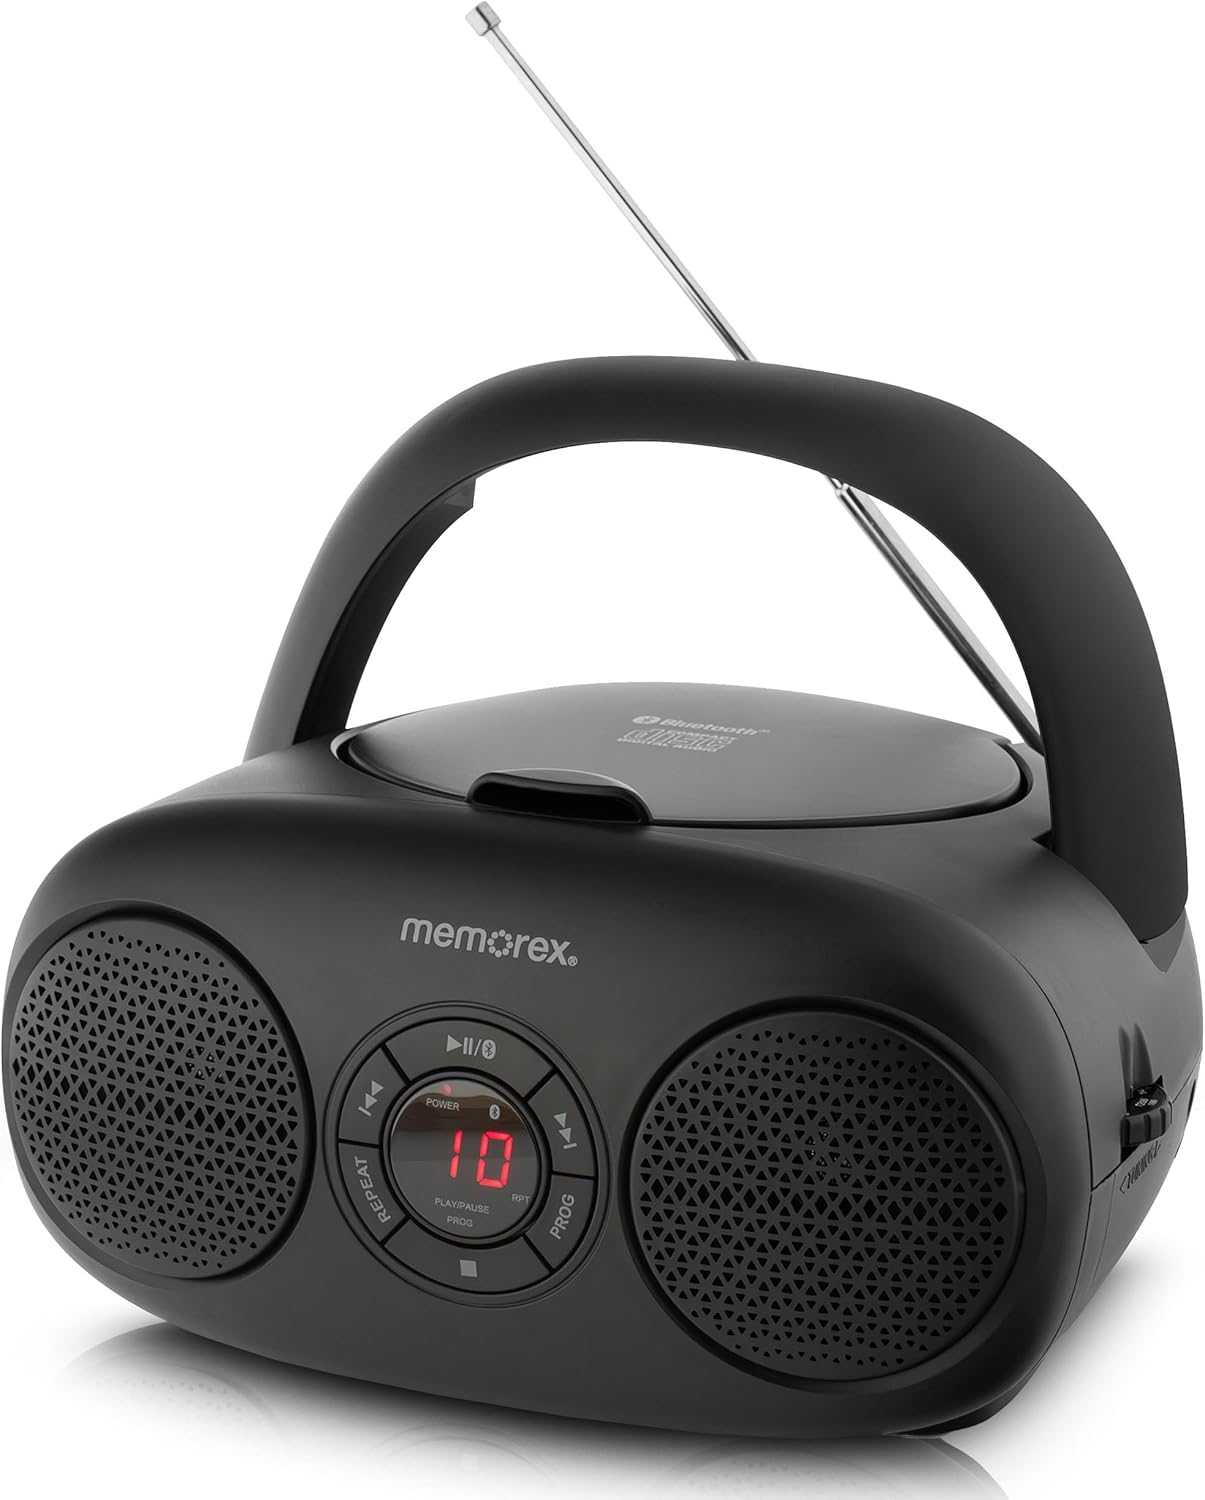
Figure 1: Front View and Controls. This image displays the front of the Memorex MX-BCD20 unit, highlighting the central control panel with buttons for Power, Play/Pause, Stop, Skip/Search (forward/back), Repeat, and Program. The LED display is visible in the center, flanked by two speakers.
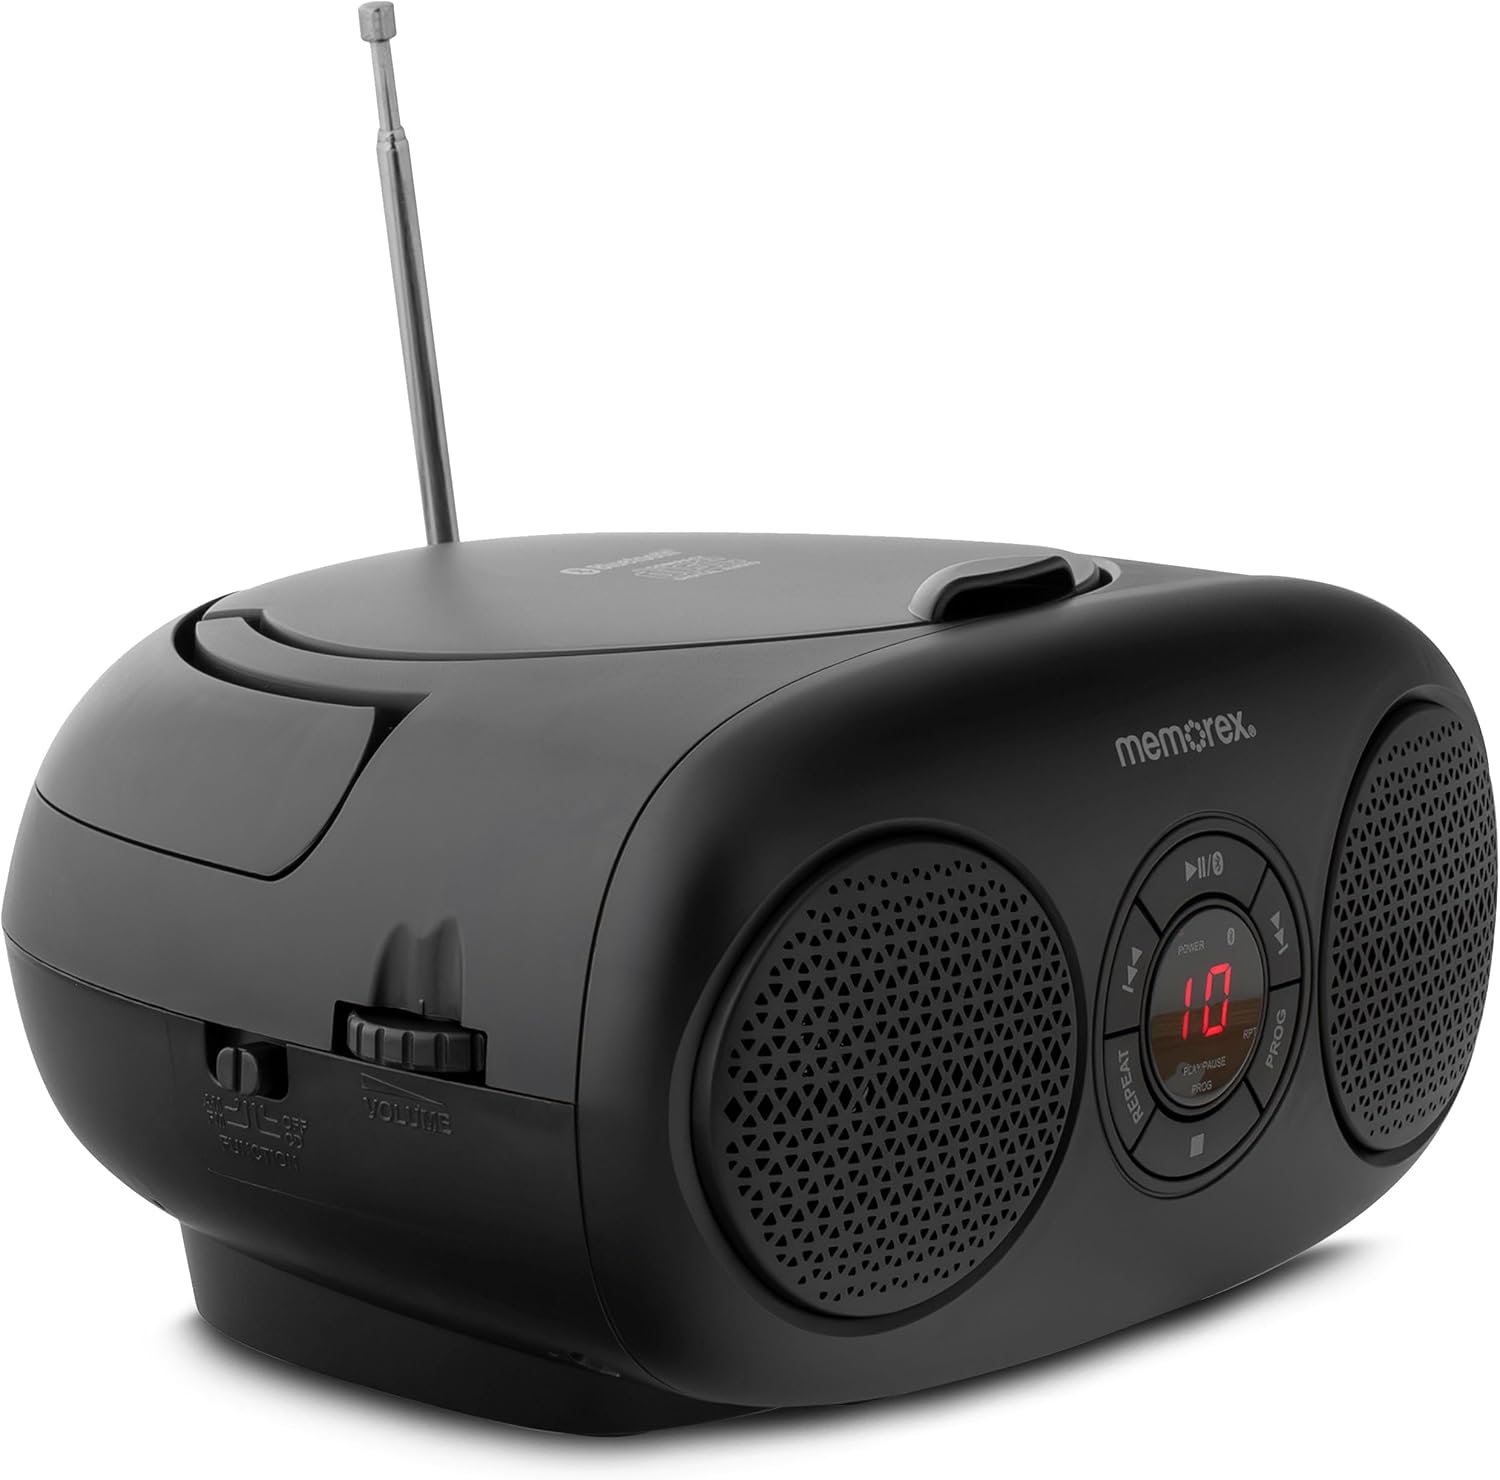
Figure 2: Side View with Volume and Tuning. This image shows the side of the unit, featuring the rotary volume control dial and the AM/FM radio tuning dial. The mode selector switch (CD/Radio/AUX) is also visible.

Figure 3: Top-Loading CD Compartment and Battery Information. This image illustrates the top-loading CD compartment in an open position, ready for disc insertion. It also indicates the unit's compatibility with 6 'C' batteries for portable operation.

Figure 4: Rear View with Antenna and Power Input. This image displays the rear of the Memorex MX-BCD20, showing the telescopic AM/FM antenna and the AC power input jack. The auxiliary input jack is also located on the back or side.
Control Panel Functions:
- POWER Button: Turns the unit ON or OFF.
- PLAY/PAUSE Button (►/❚❚): Starts or pauses CD playback.
- STOP Button (■): Stops CD playback.
- SKIP/SEARCH Buttons (◀◀ / ►►): Skips tracks or searches within a track during CD playback.
- REPEAT Button: Repeats the current track or all tracks on a CD.
- PROG (Program) Button: Used to program CD playback order.
- LED Display: Shows CD track number or other status information.
- VOLUME Dial: Adjusts the audio output level.
- TUNING Dial: Selects AM or FM radio frequencies.
- FUNCTION Switch: Selects between CD, AM, FM, or AUX modes.
- AUX IN Jack: Connects external audio devices.
- AC IN Jack: Connects the AC power adapter.
- Telescopic Antenna: Extends for improved FM radio reception.
Setup
Powering the Unit:
Your Memorex MX-BCD20 can be powered by either AC power or batteries.
- AC Power:
- Insert the AC power adapter into the AC IN jack on the back of the unit.
- Plug the other end of the adapter into a standard AC wall outlet.
- Battery Power:
- Open the battery compartment cover located on the bottom of the unit.
- Insert 6 'C' size batteries (not included), ensuring correct polarity (+/-) as indicated inside the compartment.
- Close the battery compartment cover securely.
- Note: Disconnect the AC power adapter when operating on batteries. Remove batteries if the unit will not be used for an extended period.
Antenna Setup for Radio:
For optimal FM radio reception, fully extend the telescopic antenna. For AM reception, the unit has a built-in antenna, but you may need to rotate the unit for best signal.
Operating Instructions
CD Playback:
- Press the POWER button to turn on the unit.
- Set the FUNCTION switch to the "CD" position.
- Open the top-loading CD compartment cover.
- Place a CD (CD-R/RW compatible) onto the spindle with the label side facing up.
- Close the CD compartment cover securely.
- Press the PLAY/PAUSE (►/❚❚) button to start playback. The track number will appear on the LED display.
- To pause, press PLAY/PAUSE (►/❚❚) again. Press it once more to resume.
- To stop playback, press the STOP (■) button.
- To skip to the next track, press the SKIP/SEARCH (►►) button.
- To go back to the beginning of the current track or to the previous track, press the SKIP/SEARCH (◀◀) button.
- To search rapidly forward or backward within a track, press and hold the respective SKIP/SEARCH button.
- Repeat Function: Press the REPEAT button once to repeat the current track. Press it again to repeat all tracks on the CD. Press a third time to cancel.
- Program Playback:
- In STOP mode, press the PROG button. "P01" will flash on the display.
- Use the SKIP/SEARCH (◀◀ / ►►) buttons to select the desired track number for the first program slot.
- Press PROG again to confirm and move to the next program slot.
- Repeat steps 2 and 3 to program up to 20 tracks.
- After programming, press PLAY/PAUSE (►/❚❚) to start programmed playback.
- To clear the program, open the CD compartment or press the STOP (■) button twice.
AM/FM Radio Operation:
- Press the POWER button to turn on the unit.
- Set the FUNCTION switch to "AM" or "FM" as desired.
- Extend the telescopic antenna for FM reception. For AM, rotate the unit for best reception.
- Rotate the TUNING dial to select your desired radio station.
- Adjust the VOLUME dial to your preferred listening level.
Auxiliary Input (AUX IN):
The AUX IN jack allows you to connect external audio devices (e.g., smartphone, MP3 player) to play audio through the MX-BCD20's speakers.
- Press the POWER button to turn on the unit.
- Set the FUNCTION switch to the "AUX" position.
- Connect one end of a 3.5mm audio cable (not included) to the AUX IN jack on the MX-BCD20.
- Connect the other end of the audio cable to the headphone jack or audio output of your external device.
- Start playback on your external device.
- Adjust the VOLUME dial on the MX-BCD20 and the volume on your external device for optimal sound.
Maintenance
- Cleaning: Use a soft, dry cloth to clean the exterior of the unit. Do not use abrasive cleaners or solvents.
- CD Care: Handle CDs by their edges. Keep them clean and free of scratches. Store CDs in their cases when not in use.
- Storage: If storing the unit for an extended period, remove the batteries and disconnect the AC adapter. Store in a cool, dry place.
Troubleshooting
| Problem | Possible Cause | Solution |
|---|---|---|
| No power | AC adapter not connected or faulty; batteries depleted or incorrectly inserted. | Check AC adapter connection and wall outlet. Replace batteries or ensure correct polarity. |
| CD does not play or skips | CD is dirty, scratched, or inserted incorrectly; unit is in the wrong function mode. | Clean CD with a soft cloth. Ensure CD is inserted label-side up. Set FUNCTION switch to "CD". Try another CD. |
| Poor radio reception | Antenna not extended (FM); unit position (AM); weak signal. | Fully extend FM antenna. Rotate the unit for better AM reception. Try moving the unit to a different location. |
| No sound from AUX IN | Wrong function mode; audio cable not connected properly; external device volume too low. | Set FUNCTION switch to "AUX". Ensure audio cable is fully inserted. Increase volume on both the MX-BCD20 and the external device. |
Specifications
- Model: MX-BCD20
- Power Source: AC 120V ~ 60Hz or 6 x 'C' size batteries (DC 9V)
- CD Compatibility: CD, CD-R/RW
- Radio Frequencies: AM/FM Stereo
- Connectivity: 3.5mm Auxiliary Input
- Speaker Type: Stereo
- Dimensions (L x W x H): 10 x 10 x 6 inches (approximately)
- Weight: 2.14 pounds (approximately)
Warranty and Support
Memorex products are designed for reliability and performance. For warranty information or technical support, please refer to the warranty card included with your purchase or visit the official Memorex website. Do not attempt to repair the unit yourself, as this may void your warranty.
For further assistance, please contact Memorex Customer Service.


