
1. Introduction
The COXO C-FILL MINI Endo Obturation System is a professional dental instrument designed for efficient and precise root canal filling using gutta-percha. This system comprises a heated obturation gun and a heated obturation pen, providing a comprehensive solution for various endodontic procedures. It features advanced temperature control and rapid heating capabilities to ensure optimal performance and patient safety. This manual provides essential information for the proper setup, operation, maintenance, and troubleshooting of your C-FILL MINI system.
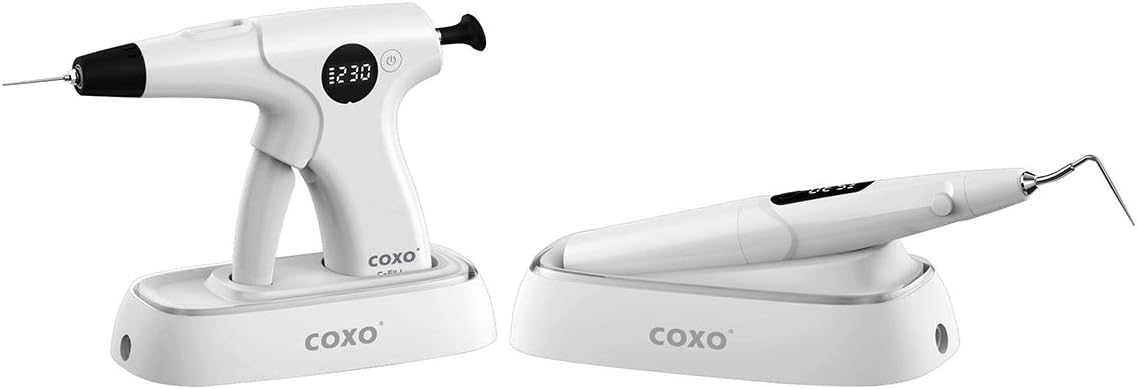
Figure 1.1: The COXO C-FILL MINI Obturation System, featuring the heated gun and pen units with their respective charging bases.
2. Safety Information
Please read all safety warnings and instructions carefully before using the device. Failure to follow these instructions may result in electric shock, fire, or serious injury.
- Professional Use Only: This device is intended for use by qualified dental professionals only.
- Electrical Safety: Ensure the power adapter and charging base are connected to a grounded power outlet. Do not operate the device with wet hands or in wet environments.
- Hot Surfaces: The obturation gun and pen tips become extremely hot during operation. Avoid direct contact with skin or other sensitive materials. Use caution when handling and allow tips to cool before cleaning or changing.
- Sterilization: All components that come into contact with patients or patient materials must be properly sterilized according to standard dental sterilization protocols. Refer to your clinic's guidelines for specific sterilization procedures.
- Storage: Store the device in a dry, clean, and cool environment, away from direct sunlight and corrosive substances.
- Disposal: Dispose of the device and its components in accordance with local regulations for electronic waste.
3. Package Contents
Carefully unpack the box and verify that all items listed below are present and undamaged. If any items are missing or damaged, please contact your supplier immediately.

Figure 3.1: Overview of the COXO C-FILL MINI package contents.
- COXO C-FILL MINI Obturation Gun Unit
- COXO C-FILL MINI Obturation Pen Unit
- Charging Base for Gun Unit
- Charging Base for Pen Unit
- Power Adapter
- Assorted Gutta-Percha Needles/Tips (various sizes)
- Cleaning Brush/Tool
- Gutta-Percha Pellets (sample)
- User Manual (this document)
4. Setup
Follow these steps to set up your COXO C-FILL MINI system for first use.
- Charge the Units: Connect the power adapter to the charging bases and plug it into a suitable power outlet. Place the obturation gun and pen units onto their respective charging bases. The indicator lights on the units will show charging status. Ensure both units are fully charged before initial use.
- Attach Tips/Needles: For the obturation pen, carefully screw the desired gutta-percha cutting tip onto the pen's heating element. For the obturation gun, insert the appropriate gutta-percha needle into the gun's nozzle and secure it according to the mechanism.
- Initial Power On: Press and hold the power button on each unit (gun and pen) to turn them on. The display will illuminate, indicating the device is ready for operation.
5. Operating Instructions
This section details the operation of both the obturation pen and gun units.
5.1. Obturation Pen Operation
The obturation pen is designed for precise cutting and shaping of gutta-percha within the root canal.

Figure 5.1.1: The obturation pen features a precise temperature control circuit for smooth gutta-percha cutting.
- Power On: Press the power button to turn on the pen.
- Select Temperature: Use the temperature selection button to cycle through the available temperature settings: 150°C, 180°C, 200°C, and 230°C. Choose the temperature appropriate for the gutta-percha material and clinical procedure.

Figure 5.1.2: Temperature selection options for the obturation pen.
- Rapid Heating: The pen heats up rapidly. It can reach 200°C in approximately 0.5 seconds, allowing for immediate use without significant waiting time.

Figure 5.1.3: The obturation pen's rapid heating capability.
- Operation: Once the desired temperature is reached, apply the heated tip to the gutta-percha for precise cutting or shaping.
5.2. Obturation Gun Operation
The obturation gun is used for injecting heated gutta-percha into the root canal system.
- Power On: Press the power button to turn on the gun.
- Select Temperature: Use the temperature selection button to cycle through the available temperature settings: 150°C, 180°C, 200°C, and 230°C. Select the appropriate temperature for the gutta-percha material.

Figure 5.2.1: Temperature selection options for the obturation gun.
- Heating Time: The gun heats up quickly, reaching 200°C in approximately 15 seconds, allowing for efficient workflow.
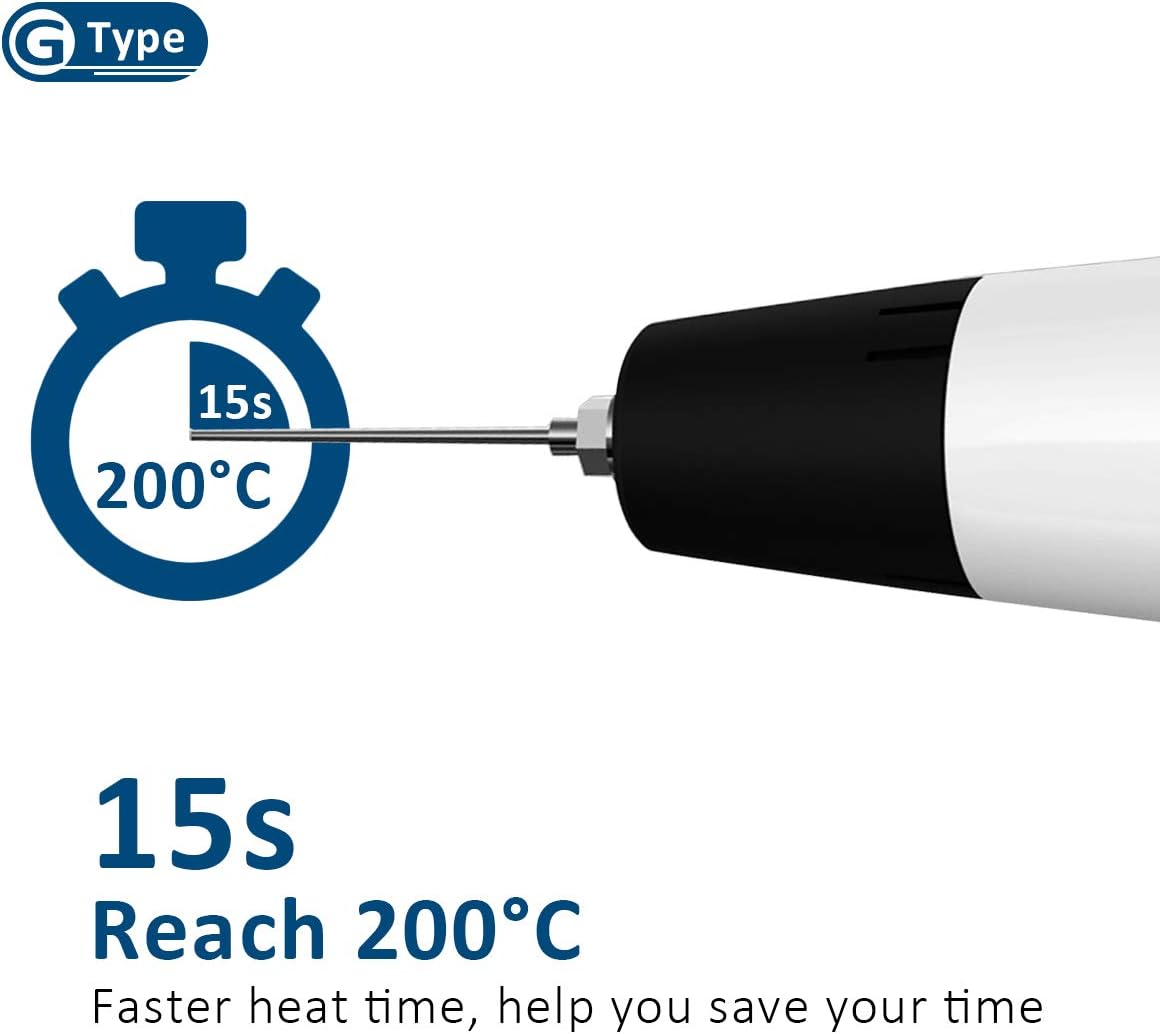
Figure 5.2.2: The obturation gun's heating time.
- Load Gutta-Percha: Insert a gutta-percha pellet into the loading chamber of the gun.
- Injection: Once heated, press the trigger to extrude the softened gutta-percha through the needle into the root canal. The gun features a new design wrench structure for accurate pushing.

Figure 5.2.3: Internal mechanism of the obturation gun.
5.3. Dual Display and Control
Both the gun and pen units feature a double-sided display and control interface, providing convenient operation and visibility from multiple angles during procedures.

Figure 5.3.1: Double-side display and control for enhanced usability.
6. Maintenance
Proper maintenance ensures the longevity and optimal performance of your COXO C-FILL MINI system.
- Cleaning Tips/Needles: After each use, carefully clean any residual gutta-percha from the tips and needles using the provided cleaning brush or appropriate dental cleaning tools. Ensure tips are cool before handling.
- Unit Cleaning: Wipe the main body of the gun and pen units with a soft, damp cloth. Do not immerse the units in water or use abrasive cleaners. Use a disinfectant wipe suitable for medical devices.
- Charging Contacts: Periodically inspect the charging contacts on the units and bases for any debris or corrosion. Clean with a dry cotton swab if necessary.
- Storage: When not in use, store the units on their charging bases or in a clean, dry place away from direct sunlight and extreme temperatures.
7. Troubleshooting
This section addresses common issues you might encounter with your device.
| Problem | Possible Cause | Solution |
|---|---|---|
| Unit does not turn on. | Low battery; Unit not charged; Power button not pressed correctly. | Place unit on charging base and ensure it charges; Press and hold power button firmly. |
| Tip/Needle not heating. | Tip/Needle not properly attached; Unit malfunction. | Ensure tip/needle is securely attached; If problem persists, contact support. |
| Gutta-percha not extruding (gun). | Insufficient heating time; Blocked needle; Empty chamber. | Allow sufficient heating time; Check needle for blockages and clean if necessary; Ensure gutta-percha pellet is loaded. |
| Display not working. | Unit off; Battery low; Malfunction. | Turn unit on; Charge unit; If problem persists, contact support. |
If you encounter issues not listed here or if the suggested solutions do not resolve the problem, please contact your authorized dealer or manufacturer's support for assistance.
8. Specifications
Technical specifications for the COXO C-FILL MINI Endo Obturation System.
| Specification | Detail |
|---|---|
| Manufacturer | COXO |
| Brand | PROTECTOR |
| Model Number | c-fill |
| Item Weight | 5 pounds (total package) |
| Package Dimensions | 10 x 8 x 5 inches |
| Material | Plastic (Handle Material: Plastic) |
| Usage | Cutting (for pen), Filling (for gun) |
| Included Components | TIP (various types) |
| Grip Type | Ergonomic |
| Temperature Settings | 150°C, 180°C, 200°C, 230°C |
| Pen Heating Time (to 200°C) | Approx. 0.5 seconds |
| Gun Heating Time (to 200°C) | Approx. 15 seconds |
9. Warranty and Support
For information regarding the product warranty, please refer to the warranty card included with your purchase or contact your authorized PROTECTOR dealer. For technical support, spare parts, or service inquiries, please reach out to the seller or manufacturer directly. Keep your purchase receipt as proof of purchase for warranty claims.
Contact Information: Please refer to the contact details provided by your point of purchase or visit the official PROTECTOR brand store on Amazon: PROTECTOR Store
