1. Introduction
Thank you for choosing the Pelonis 5L Evaporative Cooler. This 3-in-1 device combines the functions of an air cooler, fan, and humidifier, providing a comfortable environment for your home or office. Please read this manual thoroughly before operation to ensure proper use, maintenance, and safety.
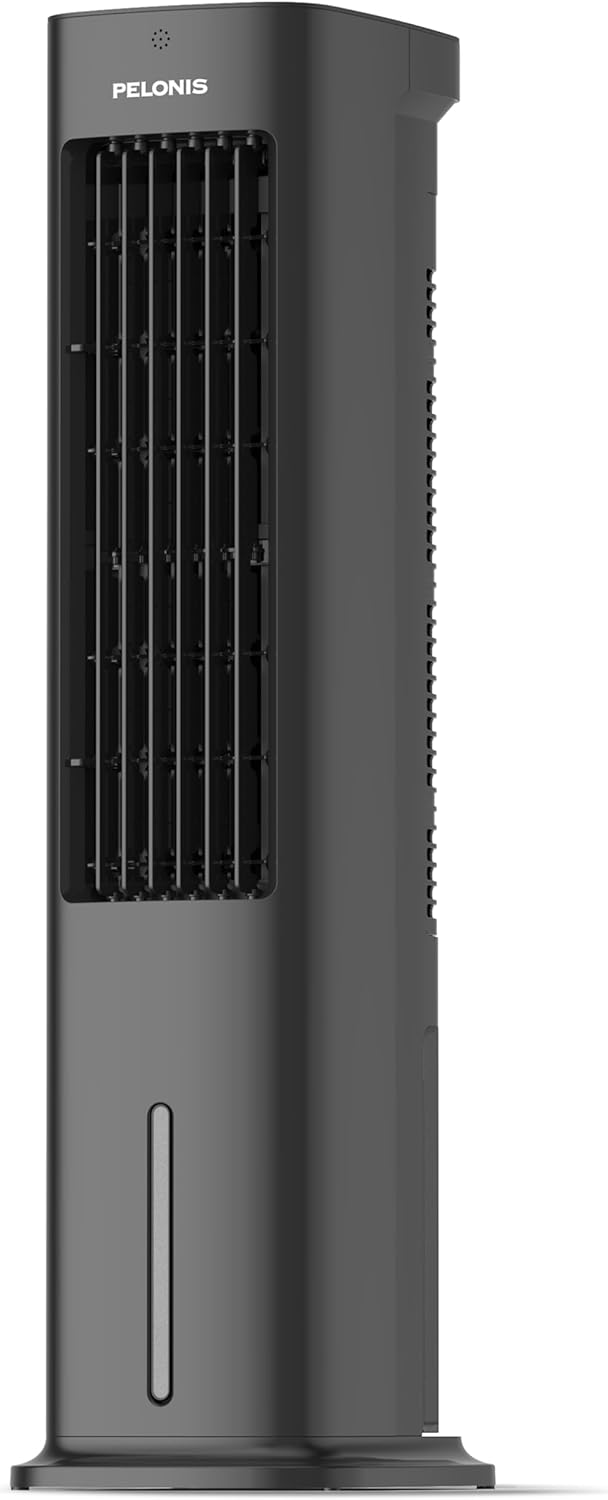
Figure 1.1: Pelonis 5L Evaporative Cooler (Side View)

Figure 1.2: The 3-in-1 functionality of the Pelonis Evaporative Cooler, illustrating its use as a fan, humidifier, and air cooler.
2. Important Safety Instructions
To reduce the risk of fire, electric shock, or injury, always follow these basic safety precautions:
- Read all instructions before using this appliance.
- Do not operate any fan with a damaged cord or plug. Discard fan or return to an authorized service facility for examination and/or repair.
- Do not run cord under carpeting. Do not cover cord with throw rugs, runners, or similar coverings. Do not route cord under furniture or appliances. Arrange cord away from traffic area and where it will not be tripped over.
- Always unplug the appliance from the power outlet when not in use, when moving it from one location to another, and before cleaning.
- Do not immerse the appliance in water or other liquids.
- Do not allow children to operate or play with the appliance.
- Use the appliance only for its intended household use as described in this manual.
- Ensure the voltage indicated on the appliance corresponds to your local mains voltage before connecting the appliance.
- Do not block air openings or operate near curtains or other objects that may block air intake.
- Always place the appliance on a stable, flat surface.
3. Package Contents
Please check the package for the following items:
- Pelonis 5L Evaporative Cooler Unit
- Remote Control (2 AAA batteries included)
- 2 Cooling Pads
- User Manual
4. Product Overview
Familiarize yourself with the main components of your Pelonis Evaporative Cooler.

Figure 4.1: Front view of the cooler, highlighting its fan, humidification, and cooling functions.

Figure 4.2: Illustration of the 60-degree oscillation feature for wide air distribution.

Figure 4.3: The evaporative cooler being controlled by its remote, emphasizing wireless convenience.
5. Setup
Follow these steps to set up your evaporative cooler:
5.1 Base Assembly
- Carefully remove the unit from its packaging.
- Attach the base to the bottom of the main unit. Ensure it is securely fastened, typically by screwing it into place.
5.2 Filling the Water Tank
The unit features a 5L water tank for humidification and cooling functions.
- Locate the water tank at the bottom of the unit.
- Carefully pull out the water tank.
- Fill the tank with clean water. Do not exceed the maximum fill line.
- For enhanced cooling, place the two cooling pads in the freezer until frozen, then place them into the water tank.
- Slide the water tank back into the unit until it clicks into place.

Figure 5.1: Instructions for filling the 5L water tank, showing the maximum fill line and warning against overfilling or tipping.
5.3 Remote Control Battery Installation
The remote control requires 2 AAA batteries (included).
- Open the battery compartment on the back of the remote control.
- Insert the 2 AAA batteries, ensuring correct polarity (+/-).
- Close the battery compartment.
6. Operating Instructions
Your Pelonis Evaporative Cooler offers multiple functions and settings for optimal comfort.
6.1 Power On/Off
- Plug the power cord into a suitable electrical outlet.
- Press the Power button on the control panel or remote control to turn the unit on or off.
6.2 Mode Selection
The unit has three primary modes: Fan, Evaporative Cooler, and Humidifier.
- Press the Mode button to cycle through the available modes.
- Fan Mode: Circulates air without humidification or cooling.
- Evaporative Cooler Mode: Uses water and cooling pads to provide a cooling effect. Ensure the water tank is filled.
- Humidifier Mode: Adds moisture to the air. Ensure the water tank is filled.

Figure 6.1: Visual representation of the three operational modes: Humidifier, Air Cooler, and Fan.
6.3 Speed Settings
Choose from three fan speeds: Quiet, Standard, or Strong.
- Press the Speed button to adjust the fan speed.
- The current speed setting will be indicated on the display.
6.4 Oscillation Function
The unit features a 60° automatic oscillation for wider air distribution.
- Press the Oscillation button to activate or deactivate the automatic swing function.
- You can also manually adjust the vertical angle of the air outlet.
6.5 Timer Function
Set the unit to automatically turn off after a specified period, up to 7 hours.
- Press the Timer button repeatedly to set the desired operating time in 1-hour increments.
- The timer indicator will show the selected duration.
6.6 Wind Modes
Select from Natural, Sleep, or Normal wind modes for varied airflow patterns.
- Press the Wind Mode button to cycle through Natural, Sleep, and Normal modes.
- Natural Mode: Simulates natural breeze with varying fan speeds.
- Sleep Mode: Operates at a lower, quieter speed for undisturbed sleep.
- Normal Mode: Constant fan speed.

Figure 6.2: The evaporative cooler operating in a bedroom, emphasizing its quiet night mode for optimal cooling during sleep.
7. Maintenance
Regular maintenance ensures optimal performance and longevity of your evaporative cooler.
7.1 Cleaning the Water Tank
Clean the water tank regularly to prevent mold and mildew growth.
- Unplug the unit from the power outlet.
- Remove the water tank.
- Empty any remaining water.
- Clean the tank with a soft cloth and mild detergent. Rinse thoroughly with clean water.
- Allow the tank to air dry completely before reinserting.
7.2 Cleaning the Filter Screen
The removable filter screen should be cleaned periodically.
- Unplug the unit.
- Locate and remove the filter screen from the back of the unit.
- Rinse the filter screen under running water to remove dust and debris. For stubborn dirt, use a soft brush.
- Allow the filter screen to dry completely before reinserting it into the unit.

Figure 7.1: Illustration of the removable filter screen and the process of cleaning it for improved air quality.
7.3 Exterior Cleaning
- Wipe the exterior of the unit with a soft, damp cloth.
- Do not use abrasive cleaners or solvents.
7.4 Storage
- If storing the unit for an extended period, ensure the water tank is empty and clean, and the filter screen is dry.
- Store the unit in a cool, dry place, away from direct sunlight.
8. Troubleshooting
If you encounter issues with your Pelonis Evaporative Cooler, refer to the following table for common problems and solutions.
| Problem | Possible Cause | Solution |
|---|---|---|
| Unit does not turn on | No power supply Power button not pressed | Check if the power cord is securely plugged in. Press the Power button on the unit or remote. |
| No cool air / Weak cooling | Water tank empty Cooling pads not frozen Filter screen clogged | Fill the water tank. Freeze the cooling pads before use. Clean the filter screen. |
| Unit is noisy | Unit not on a flat surface Foreign object inside | Place the unit on a stable, flat surface. Unplug and check for any obstructions. |
| Remote control not working | Batteries dead or incorrectly inserted Obstruction between remote and unit | Replace batteries and check polarity. Ensure a clear line of sight to the unit's receiver. |
If the problem persists after trying these solutions, please contact customer support.
9. Specifications
| Feature | Detail |
|---|---|
| Model Number | PFC50A4AWGBDE |
| Dimensions (L x W x H) | 29.5 x 23 x 85 cm |
| Weight | 9.06 Kilograms |
| Water Tank Capacity | 5 Liters |
| Voltage | 220 Volts |
| Control Type | Remote Control |
| Special Features | Timer, Tower Base, Remote Controlled, Oscillating, Quiet Operation, Safety Certified |
| Certification | CE, RoHS |
| Included Components | Remote Control |
10. Warranty & Support
This Pelonis Evaporative Cooler comes with a 2-year warranty from the date of purchase. This warranty covers defects in materials and workmanship under normal use.
For warranty claims, technical support, or any questions regarding your product, please contact Pelonis customer service through the retailer where you purchased the product or visit the official Pelonis website for contact information.
Please retain your proof of purchase for warranty purposes.


