
Introduction
This manual provides comprehensive instructions for the installation, operation, and maintenance of your LEDVANCE 4-inch Night Ring Retrofit Downlight, Model 65797. This product is designed for ease of installation and offers versatile lighting solutions for various indoor applications.
The LEDVANCE Night Ring Retrofit Downlight features an integrated Night Light mode, which can be activated using a standard wall switch. It also includes 5 CCT (Correlated Color Temperature) selectability, allowing you to choose from five different color temperatures (2700K, 3000K, 3500K, 4000K, 5000K) to match your environment or preference. This high-efficacy LED downlight meets Energy Star standards and is suitable for damp locations.
Setup and Installation
Before beginning installation, ensure the power supply is turned off at the circuit breaker to prevent electrical shock.
- Prepare the Fixture: Unpack the downlight and inspect it for any damage. Ensure all components are present.
- Select Color Temperature: Locate the CCT selection switch on the back of the downlight. Choose your desired color temperature (2700K, 3000K, 3500K, 4000K, or 5000K) before installation.
- Remove Existing Fixture (if applicable): If replacing an existing recessed light, carefully remove the old bulb and trim. Disconnect any wiring.
- Connect Wiring: The downlight comes with an E26 adapter for screw-in connections. Screw the E26 adapter into the existing recessed can socket. Alternatively, if direct wiring is required, connect the downlight's wiring to the junction box wiring according to local electrical codes (typically black to black, white to white, and ground to ground). Use appropriate wire connectors.

Image: The LEDVANCE 4-inch Night Ring Retrofit Downlight with its E26 adapter and wiring, illustrating the compact design and connection method. Dimensions are shown as 4.76 inches in diameter and 1.5 inches in height.
- Secure the Downlight: Gently push the downlight into the recessed housing. The spring clips on the sides of the fixture will secure it firmly in place against the ceiling.
- Restore Power: Once the downlight is securely installed, restore power at the circuit breaker.
- Test Operation: Turn on the wall switch to test the downlight.
Operating Instructions
The LEDVANCE Night Ring Retrofit Downlight offers two primary operating modes: standard illumination and Night Light mode, along with adjustable color temperature.
Standard Illumination and Color Temperature Selection
- Turning On/Off: Use a standard wall switch to turn the downlight on or off.
- Color Temperature (CCT) Adjustment: The CCT is set via a switch on the fixture itself during installation. Once installed, the chosen CCT will be active when the light is turned on. The available CCTs are 2700K (Warm White), 3000K (Soft White), 3500K (Neutral White), 4000K (Cool White), and 5000K (Daylight).
- Dimming: This downlight is dimmable. Use a compatible LED dimmer switch for adjustable brightness.
Night Light Mode
The integrated Night Light mode provides a low-level, calming ambient glow.
- Activation: To activate the Night Light mode, quickly toggle the standard wall switch OFF and then ON again. The downlight will switch from its standard illumination to the Night Light mode.
- Deactivation: To return to standard illumination, quickly toggle the wall switch OFF and then ON again. The downlight will cycle back to its previously selected CCT.
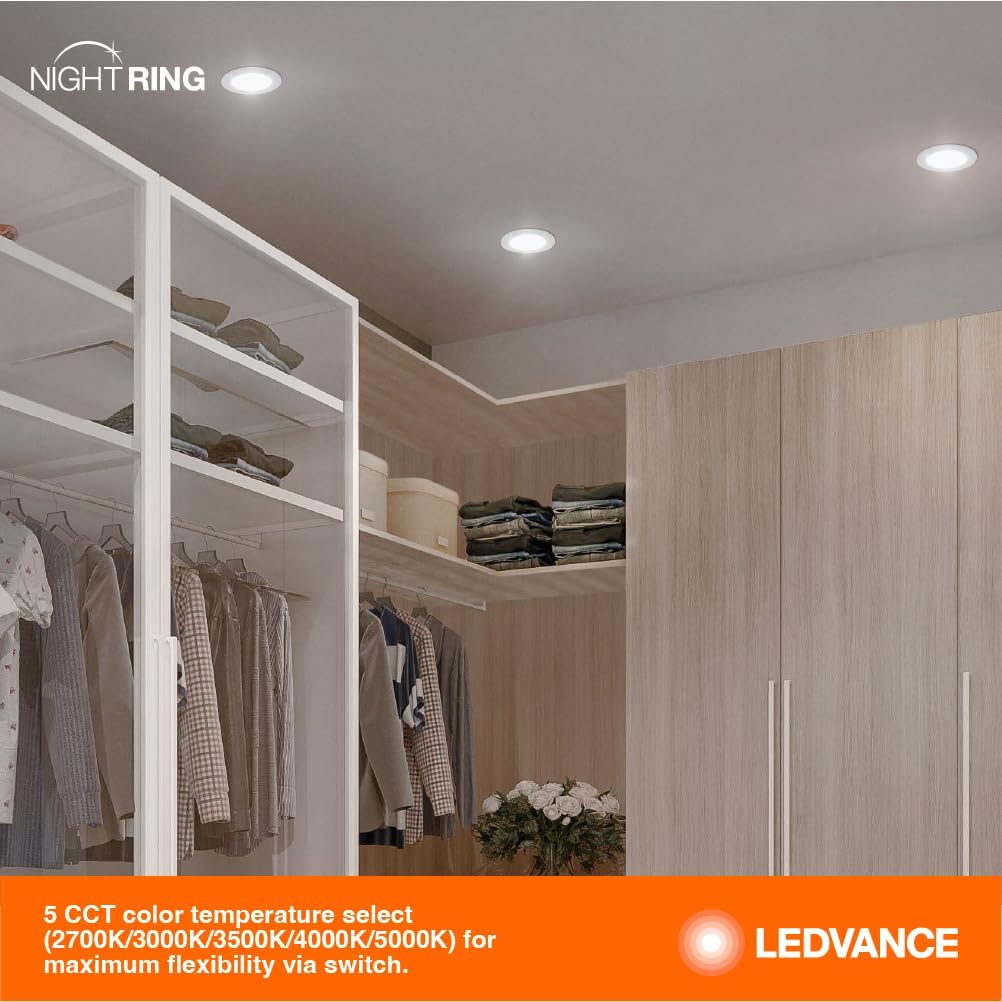
Image: LEDVANCE Night Ring Downlights providing bright, even illumination in a modern closet setting.
Maintenance
The LEDVANCE Night Ring Retrofit Downlight requires minimal maintenance.
- Cleaning: Ensure the power is off before cleaning. Wipe the fixture with a soft, dry, or slightly damp cloth. Do not use abrasive cleaners or solvents, as these can damage the finish or electrical components.
- No User-Serviceable Parts: The LED light source is integrated and not user-replaceable. Do not attempt to open or repair the fixture.
- Regular Inspection: Periodically check the fixture for any signs of damage or loose connections. If any issues are observed, consult a qualified electrician.
Troubleshooting
If you encounter issues with your LEDVANCE Night Ring Retrofit Downlight, refer to the following common problems and solutions:
| Problem | Possible Cause | Solution |
|---|---|---|
| Light does not turn on. | No power, loose connection, faulty switch. | Check circuit breaker. Ensure all wire connections are secure. Test the wall switch. |
| Light flickers or dims inconsistently. | Incompatible dimmer, loose wiring, power fluctuations. | Ensure a compatible LED dimmer is used. Check wiring connections. Consult an electrician if power fluctuations are suspected. |
| Night Light mode does not activate or deactivate. | Incorrect switch toggling sequence. | Ensure a quick OFF-ON toggle of the wall switch. A slow toggle may not register the command. |
| Color temperature is not as expected. | CCT selection switch set incorrectly. | Turn off power, carefully remove the fixture, and verify the CCT selection switch setting. Adjust if necessary before re-installing. |
If these steps do not resolve the issue, please contact LEDVANCE customer support or a qualified electrician.
Product Specifications
| Feature | Specification |
|---|---|
| Brand | LEDVANCE |
| Model Number | 65797 |
| Size | 4 Inch |
| Wattage | 8 Watts |
| Brightness | 700 Lumens |
| Color Temperature (CCT) | Selectable: 2700K, 3000K, 3500K, 4000K, 5000K |
| CRI (Color Rendering Index) | 90 |
| Voltage | 120 Volts |
| Material | Metal, Plastic |
| Finish Type | Powder Coated |
| Installation Type | Flush Mount |
| Indoor/Outdoor Usage | Indoor (Damp Rated) |
| Special Features | Adjustable Color Temperature, Night Light Mode, Energy Efficient, Dimmable, Damp Rated |
| Product Dimensions | 4.8"L x 4.8"W x 1.5"H |
| Item Weight | 6.4 ounces |
| Certifications | Energy Star, FCC, RoHS, cETL |
Warranty Information
This LEDVANCE Night Ring Retrofit Downlight (Model 65797) is backed by a 5-year manufacturer's limited warranty. This warranty covers defects in materials and workmanship under normal use and service. Please retain your proof of purchase for warranty claims.
For detailed warranty terms and conditions, please refer to the official LEDVANCE website or contact customer support.
Customer Support
For technical assistance, troubleshooting not covered in this manual, or warranty inquiries, please contact LEDVANCE customer support.
- Online Support: Visit the official LEDVANCE website for FAQs, product information, and contact options.
- Contact Information: Refer to the product packaging or the LEDVANCE website for the most current customer service contact details.


