
1. Introduction
Thank you for choosing the FIREGAS 52cm Integrated Cooker Hood. This manual provides essential information for the safe installation, operation, and maintenance of your appliance. Please read these instructions carefully before use and retain them for future reference.
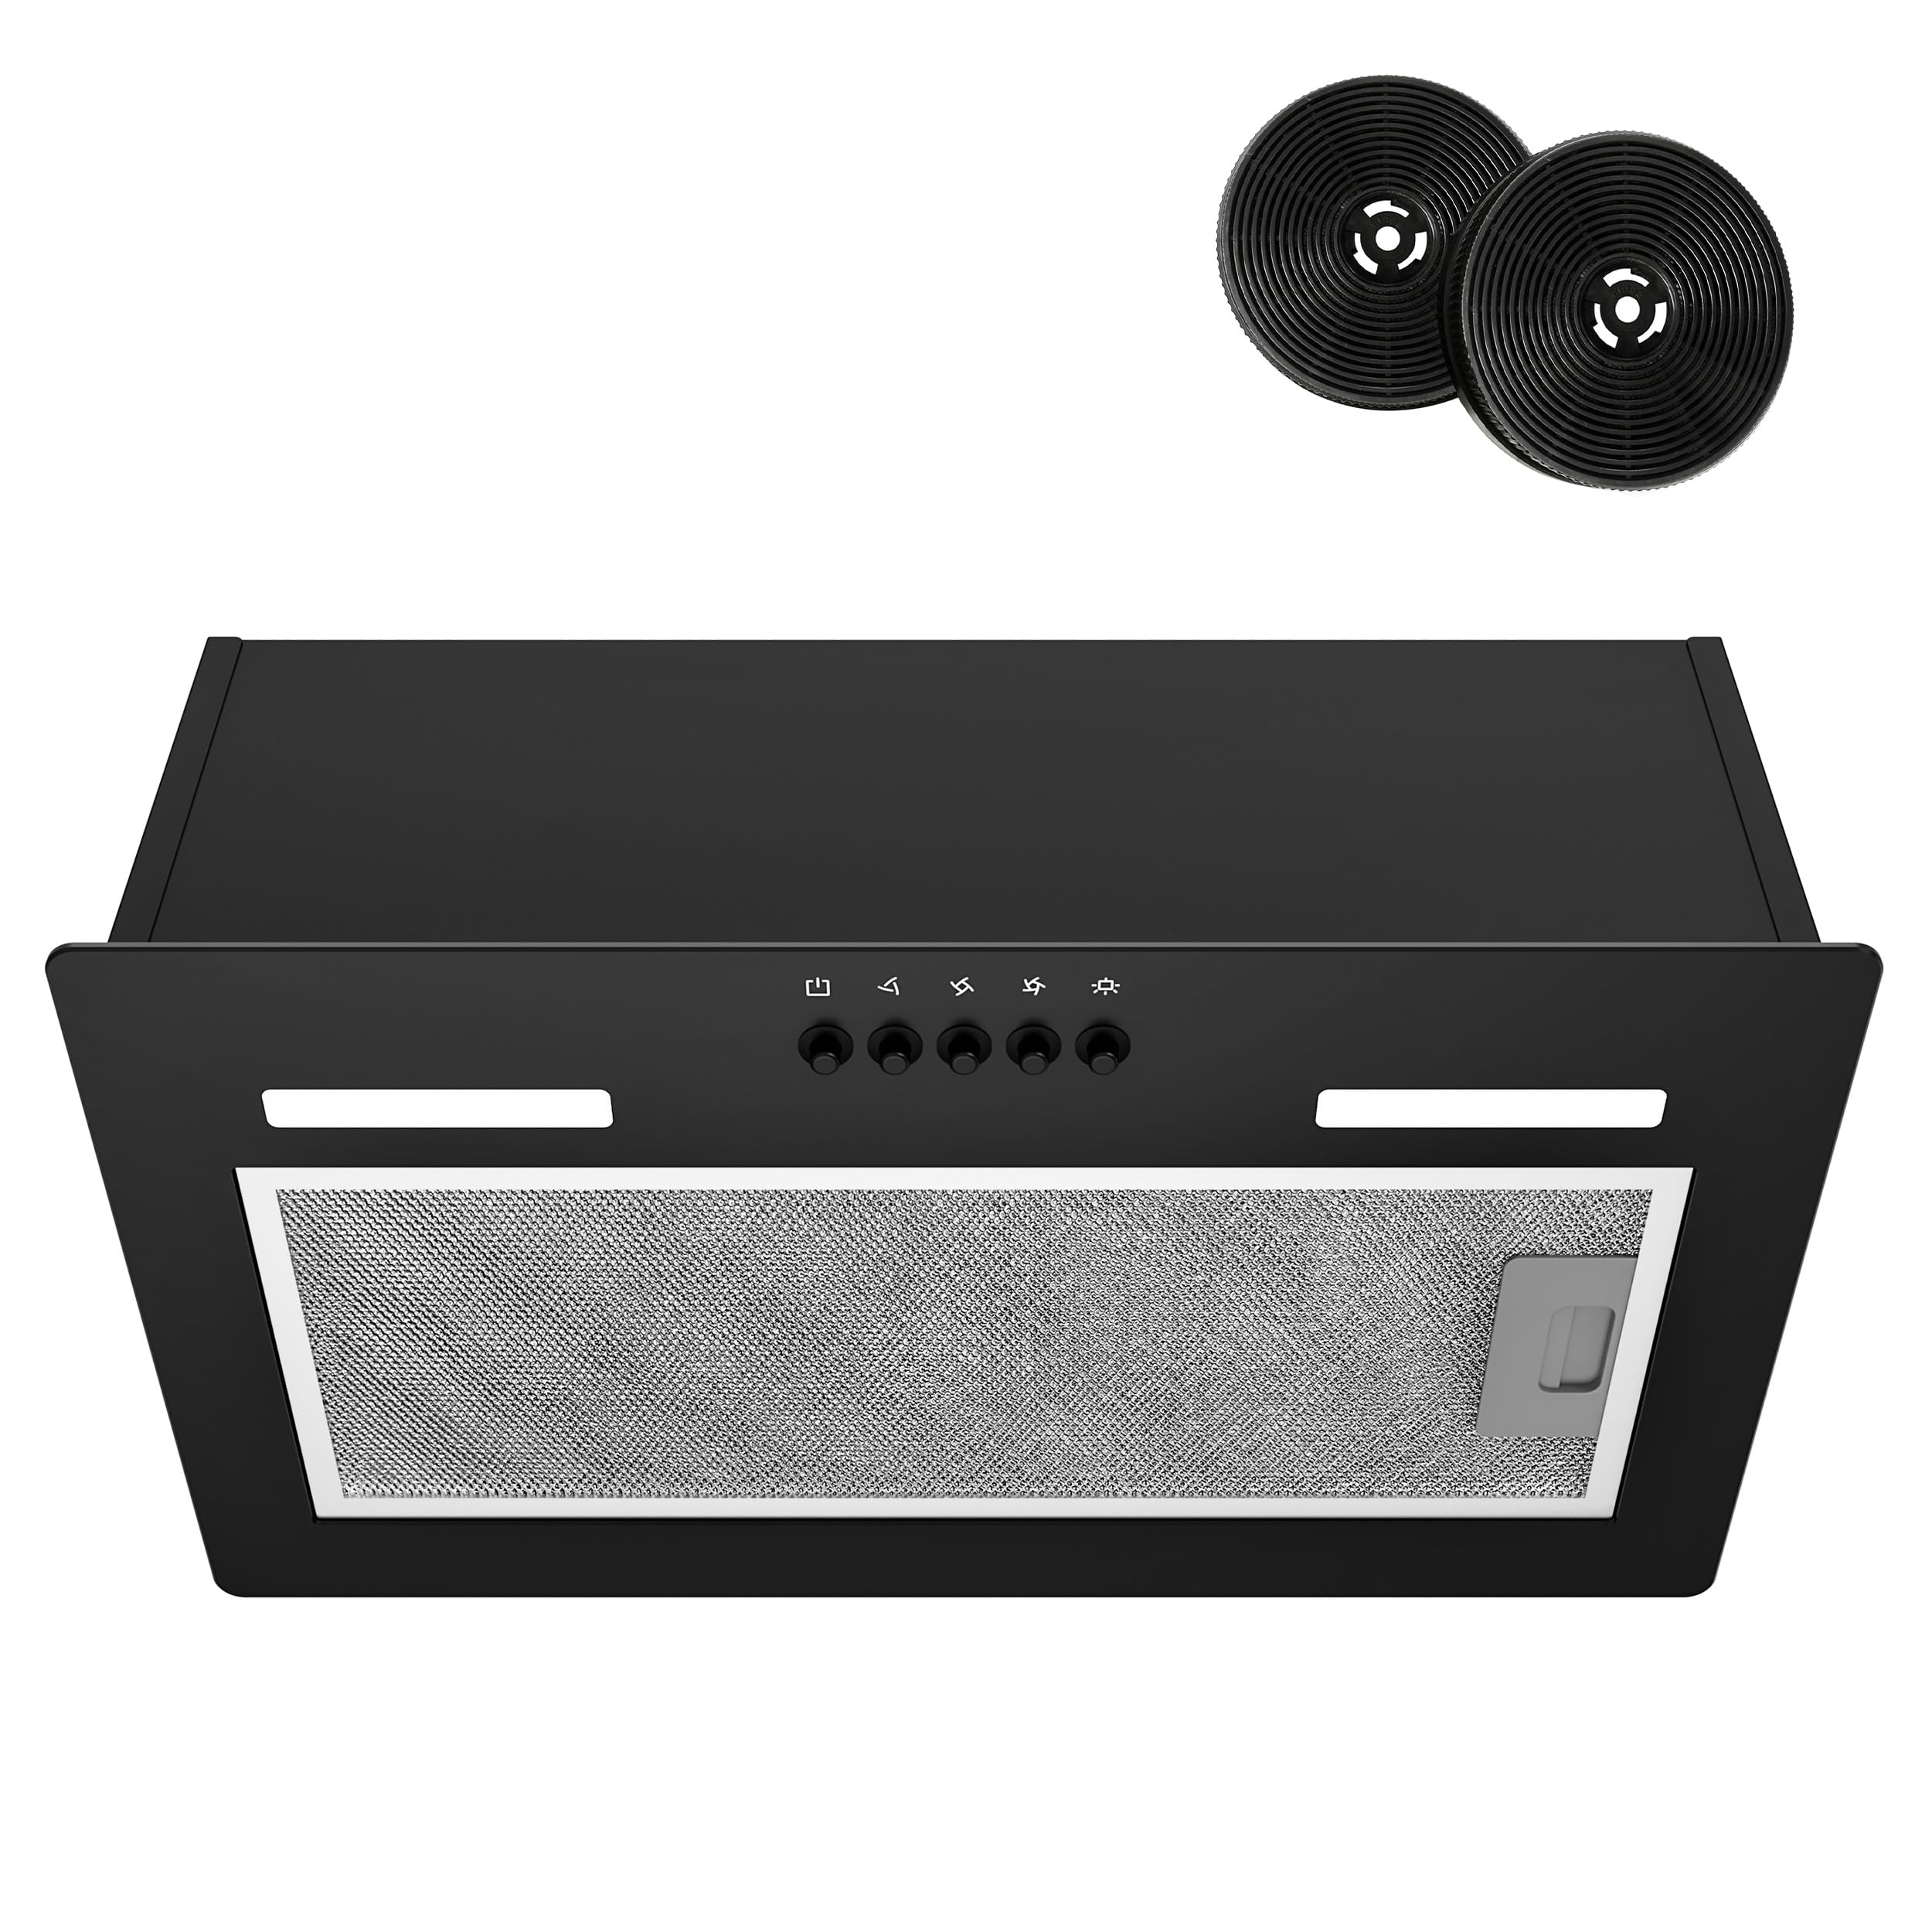
Image: The FIREGAS 52cm Integrated Cooker Hood seamlessly installed under kitchen cabinetry.
2. Safety Information
To reduce the risk of fire, electric shock, or injury, observe the following:
- Ensure the electrical installation complies with local regulations.
- Do not operate the hood if the power cord is damaged.
- Always disconnect the appliance from the power supply before cleaning or maintenance.
- The hood is intended for domestic use only.
- Maintain a minimum distance between the hob and the lower part of the hood as specified in the installation section.
- Do not flambé under the cooker hood.
- Regularly clean grease filters to prevent fire hazards.
3. Product Overview
Key Features:
- Integrated Design: Discreetly embeds into standard 52cm cabinetry.
- Powerful Extraction: 350m³/h airflow capacity for efficient smoke removal.
- Brushless Motor: Ensures quiet operation, energy efficiency, and long lifespan.
- 3 Speed Settings: Adjustable extraction power for various cooking needs.
- A Energy Rating: Reduces electricity consumption.
- LED Lighting: Two 1.5W LED lights illuminate the cooking area.
- Filtration System: Includes 5-layer aluminium grease filter and activated carbon filter for recirculation mode.
Included Components:
- 1 x Black Cooker Hood
- 1 x Installation Kit & UK plug
- 1 x Instruction Manual
- 2 x Carbon Filter

Image: Contents of the product package, detailing filtration system and installation accessories.

Image: Features of the brushless motor, emphasizing its benefits.
4. Setup and Installation
This cooker hood is designed for built-in installation into a 52cm cabinet. It can be configured for either ducted extraction or recirculation mode.
Installation Steps:
- Prepare the Cabinet: Ensure the cabinet opening matches the hood dimensions (52cm width). Refer to the provided wall templates for precise cutting.
- Marking and Drilling: Use the installation drawing to mark screw positions and the ducting hole (if applicable) on the cabinet. Drill pilot holes.
- Mounting the Hood: Secure the cooker hood into the cabinet using the provided screws.
- Ducting (for extraction mode): Connect the 2m extendable aluminium ducting to the hood's outlet and vent it to the outside. Ensure proper sealing.
- Carbon Filter Installation (for recirculation mode): If using recirculation, install the activated carbon filters onto the motor. These filters remove odors from the air before it is returned to the kitchen.
- Electrical Connection: Connect the UK plug to a suitable power outlet.

Image: Visual guide for the main installation steps: marking, drilling, and mounting the hood.

Image: Detailed steps for tightening screws and installing charcoal filters.
Mounting Height:
The suitable mounting height for the cooker hood above the hob is typically 550-650 mm. Refer to local regulations and hob manufacturer guidelines for specific requirements.

Image: Recommended mounting height for optimal performance and safety.
5. Operating Instructions
The cooker hood features push-button controls for fan speed and lighting.
Fan Speed Control:
- Press the speed buttons (1, 2, 3) to select the desired extraction level.
- Use speed 1 for light cooking, speed 2 for normal cooking, and speed 3 for heavy frying or strong odors.
- Press the 'Off' button to turn off the fan.
LED Lighting:
- Press the light button to turn the LED lights on or off.
- The two 1.5W LED lights provide illumination for your cooking area.

Image: Demonstrating the 3-speed settings control.

Image: The cooker hood's LED lighting in operation.
6. Maintenance
Regular maintenance ensures optimal performance and extends the lifespan of your cooker hood.
Cleaning the Aluminium Grease Filters:
The 5-layer aluminium filters capture grease and should be cleaned regularly (approximately every 2-4 weeks, depending on usage).
- Removal: Push the latch on the filter and pull downwards to remove.
- Cleaning: Wash the filters by hand in warm soapy water or in a dishwasher. Avoid using abrasive cleaners.
- Reinstallation: Ensure filters are completely dry before reinserting them into the hood.

Image: Illustration of the filter system and cleaning process.
Replacing Carbon Filters (for recirculation mode):
Carbon filters cannot be washed and must be replaced every 3-6 months, depending on usage.
- Removal: Twist the old carbon filters counter-clockwise to detach them from the motor.
- Installation: Place new carbon filters onto the motor and twist clockwise to secure.
Exterior Cleaning:
Wipe the exterior surfaces with a soft cloth and mild detergent. Do not use abrasive materials or corrosive cleaners.
7. Troubleshooting
If you encounter issues with your cooker hood, refer to the following table before contacting support.
| Problem | Possible Cause | Solution |
|---|---|---|
| Hood does not operate | No power supply Power cord disconnected | Check power connection and fuse/circuit breaker Ensure plug is securely inserted |
| Low extraction efficiency | Grease filters clogged Carbon filters saturated Ducting obstructed or too long | Clean grease filters Replace carbon filters Check ducting for obstructions or reduce length/bends |
| Excessive noise | Loose components Improper installation Ducting issues | Check for and tighten any loose parts Ensure hood is securely mounted Verify ducting is correctly installed and not vibrating |
| LED lights not working | Light bulb faulty Electrical connection issue | Replace LED bulb (if replaceable) Check electrical connections to the light |
8. Specifications
| Feature | Specification |
|---|---|
| Brand | FIREGAS |
| Model | FGS-EBB08Z52AC |
| Product Dimensions (D x W x H) | 27D x 52W x 17.4H centimetres |
| Colour | Black |
| Air Flow Capacity | 350 Cubic Metres Per Hour |
| Noise Level | 50 Decibels |
| Mounting Type | Built-In Mount |
| Controls Type | Push Button |
| Voltage | 220V |
| Number of Speeds | 3 |
| Light Source | LED (2 x 1.5W) |
| Filter Type | 5-Layer Aluminium Mesh, Carbon Filter |
| Ventilation Type | Convertible (Ducted or Recirculation) |
| Material Type | Aluminium, Stainless Steel |
| Item Weight | 6 Kilograms |

Image: Product dimensions for installation planning.
9. Warranty and Support
Warranty:
This FIREGAS cooker hood comes with a 1-year manufacturer's warranty from the date of purchase. This warranty covers manufacturing defects and faulty materials under normal domestic use. It does not cover damage caused by improper installation, misuse, neglect, or unauthorized repairs.
Customer Support:
For technical assistance, warranty claims, or spare parts, please contact FIREGAS customer service through your retailer or the official FIREGAS website. Please have your model number (FGS-EBB08Z52AC) and proof of purchase ready when contacting support.