1. Introduction
Thank you for purchasing the HATUSOKU Digital Visual Timer TM04. This device is designed to assist with time management for various activities such as studying, working, or cooking. Its visual display and multiple notification modes make it a versatile tool for both children and adults. Please read this manual carefully to ensure proper use and to maximize the timer's functionality.
2. Product Overview

Figure 1: Front view of the HATUSOKU Digital Visual Timer TM04, displaying a smiley face and remaining time.
The HATUSOKU Digital Visual Timer TM04 features a clear digital display that visually represents time progression using a circular bar. It offers both countdown and count-up functions, along with various notification options to suit different environments.
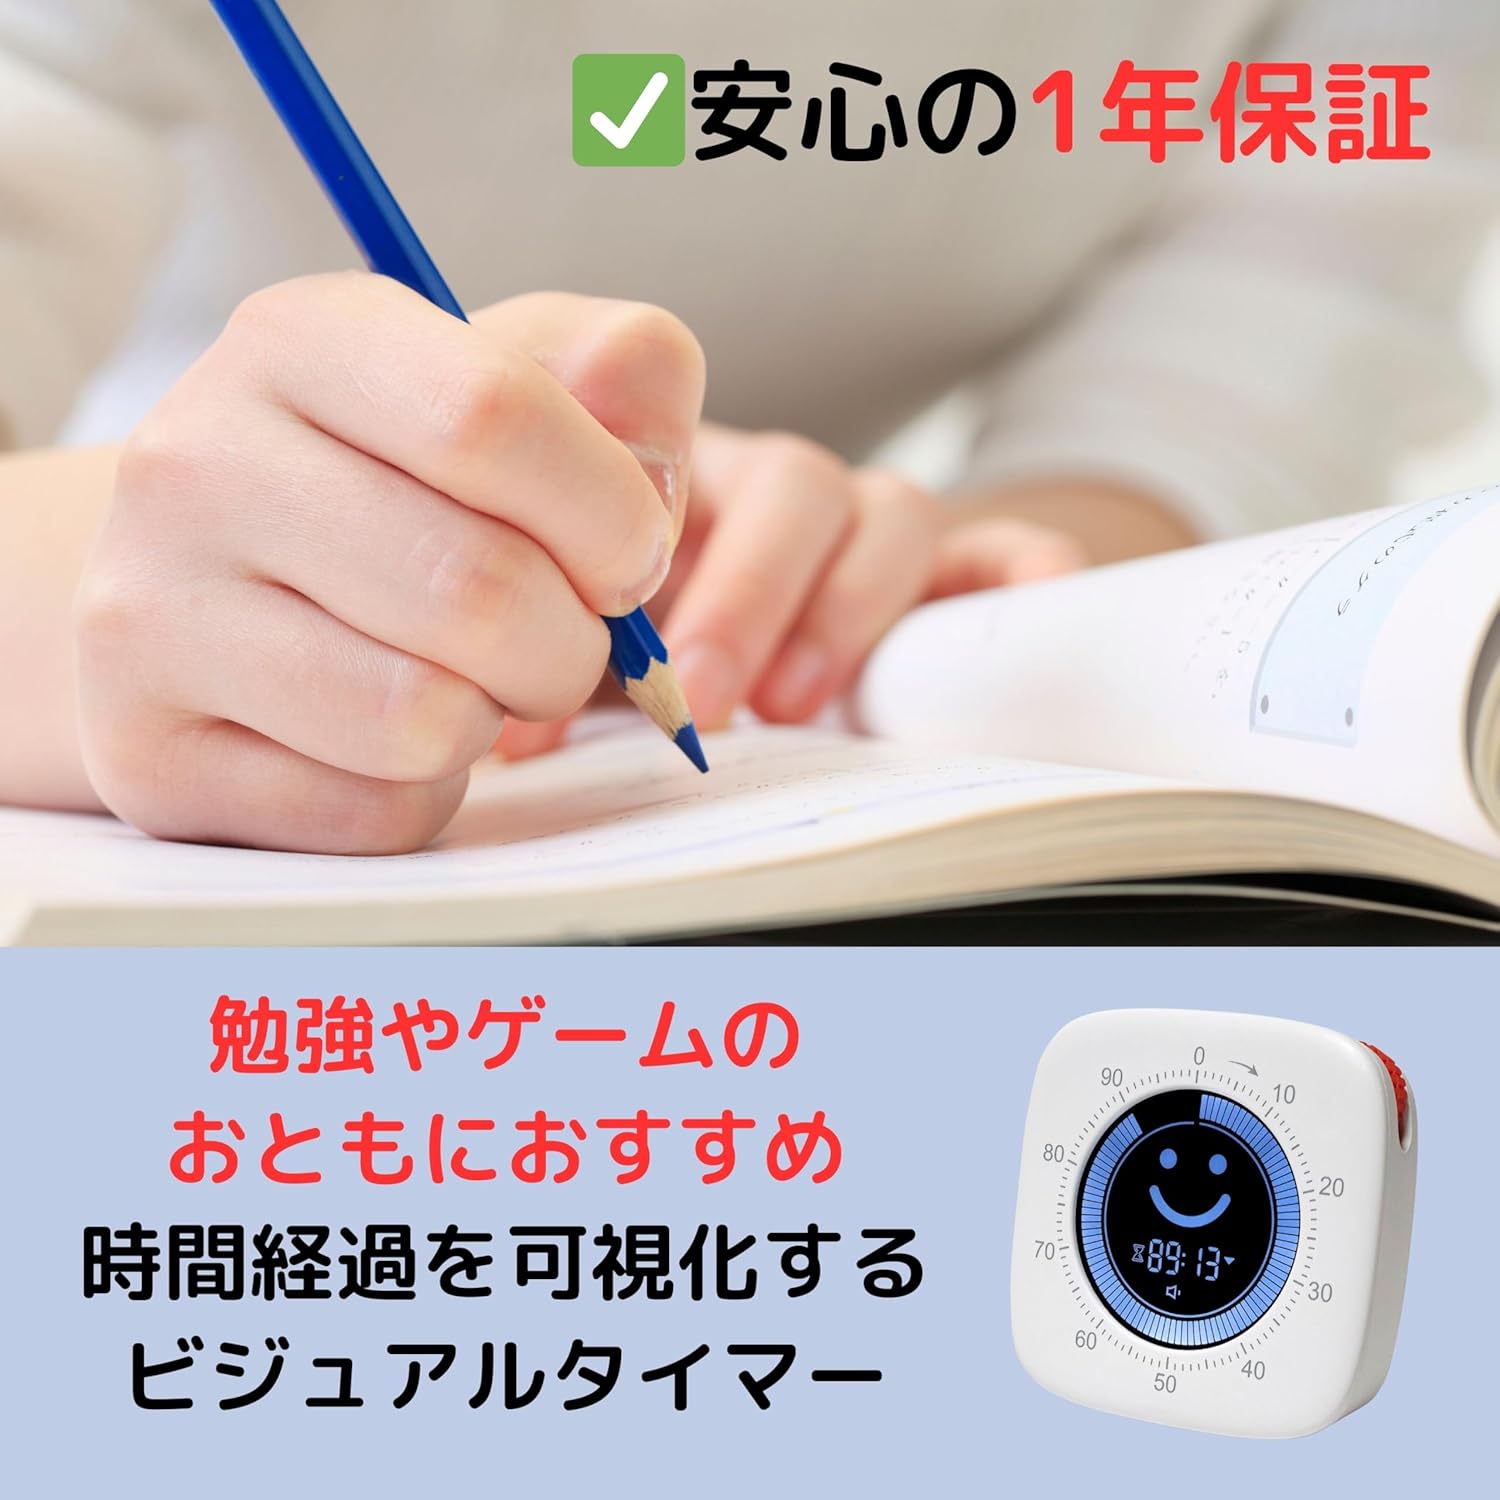
Figure 2: The timer in a study setting, demonstrating its application for focused work.
3. Setup
3.1 Initial Charging
Before first use, fully charge the timer. Connect the included USB cable to the USB charging port on the back of the device. Plug the other end into a standard USB-AC adapter (5V, not included) or a USB port on a computer. The charging indicator light will illuminate. Charging with rapid chargers is not supported.

Figure 3: Rear view of the timer, highlighting the USB charging port and power button.
3.2 Power On/Off
To power on, press and hold the power button located on the back of the device. To power off, press and hold the power button again.
4. Operating Instructions
4.1 Setting the Timer
The timer can be set for a maximum of 100 minutes. Settings are in minute increments; second-level settings are not available.
- Rotate the dial on the side of the timer clockwise to increase the time, or counter-clockwise to decrease the time.
- The selected time will be displayed on the screen.
4.2 Countdown Mode
In countdown mode, the circular bar on the display gradually decreases as time elapses. This mode is ideal for tasks with a set duration.
- Set the desired time using the dial.
- Press the start/pause button (usually the main button on the back or front) to begin the countdown.
- The display will show a smiley face during the countdown.
- When the time reaches zero, the selected notification mode will activate, and the display will show a 'sleep' face.
4.3 Count-Up Mode
In count-up mode, the circular bar on the display gradually increases, indicating elapsed time from zero. This mode is useful for tracking how long a task takes.
- Ensure the timer is at 00:00.
- Press the start/pause button to begin counting up.
- Press the start/pause button again to pause or stop the count-up.

Figure 4: Visual representation of countdown and count-up modes.

Figure 5: Display changes from a smiley face during counting to a 'sleep' face upon completion.
4.4 Notification Modes
The timer offers four notification modes for when the countdown finishes:
- Loud Volume: An audible alarm at high volume.
- Low Volume: An audible alarm at low volume.
- Silent: The display flashes to indicate completion without sound. Recommended for quiet environments.
- Vibration: The device vibrates to indicate completion.
To change the notification mode, locate the mode selection button (refer to the device's physical buttons, usually a small button near the power button or on the side) and press it to cycle through the options.

Figure 6: Icons representing the four available notification modes.
5. Specifications

Figure 7: Dimensions and weight of the HATUSOKU Digital Visual Timer TM04.
| Feature | Detail |
|---|---|
| Brand | HATUSOKU |
| Model Number | TM04 |
| Material | Acrylonitrile Butadiene Styrene (ABS) |
| Color | White |
| Product Dimensions | 7.7 x 7.7 x 2.5 cm |
| Item Weight | 82 Grams |
| Battery Type | Lithium Ion (Built-in) |
| Max Measurement Time | 100 minutes |
| Time Unit Setting | Minutes (seconds not supported) |
6. Maintenance
- Clean the timer with a soft, dry cloth. Do not use abrasive cleaners or solvents.
- Avoid exposing the device to extreme temperatures, direct sunlight, or moisture.
- Store the timer in a cool, dry place when not in use for extended periods.
7. Troubleshooting
- Timer resets after pausing: The timer is designed to power off after a few minutes of inactivity when paused to conserve battery. This will reset the current timer setting. To avoid this, complete your session or restart the timer if you need to pause for an extended period.
- Vibration mode is weak: Ensure the timer is fully charged. If the issue persists, consider using the audible notification modes (loud or low volume) for a more noticeable alert.
- Display is unresponsive or frozen: Try turning the device off and on again. If the problem continues, ensure the battery is charged.
- Timer not charging: Verify that the USB cable is securely connected to both the timer and the power source. Ensure the power source (USB-AC adapter or computer USB port) is functional. Avoid using rapid chargers.
8. Warranty and Support
The HATUSOKU Digital Visual Timer TM04 comes with a 1-year warranty from the date of purchase. This warranty covers manufacturing defects under normal use. Please retain your proof of purchase for warranty claims.
For technical support, warranty claims, or any questions regarding your product, please contact HATUSOKU customer service through the retailer where you purchased the item or visit the official HATUSOKU brand store online.
Thank you for choosing HATUSOKU.


