
GODOX AD600BM II
Contents
Godox AD600BM II 600Ws Outdoor Flash Instruction Manual
Model: AD600BM II | Brand: GODOX
1. Introduction
This manual provides detailed instructions for the safe and effective operation of your Godox AD600BM II 600Ws Outdoor Flash. Please read this manual thoroughly before use to ensure optimal performance and to prevent damage to the unit or injury to yourself or others. The Godox AD600BM II is a high-power outdoor flash designed for professional photography, featuring a Bowens mount, high-speed sync (HSS), fast recycling times, and a powerful 40W modeling lamp.
2. Safety Information
To prevent damage to the product or injury to yourself or others, always observe the following safety precautions:
⚠ Warning (English)
- Always keep this product dry.
- Keep out of reach of children.
- Keep away from ignition sources.
For warnings in other languages, please refer to the multi-language warning label image below.
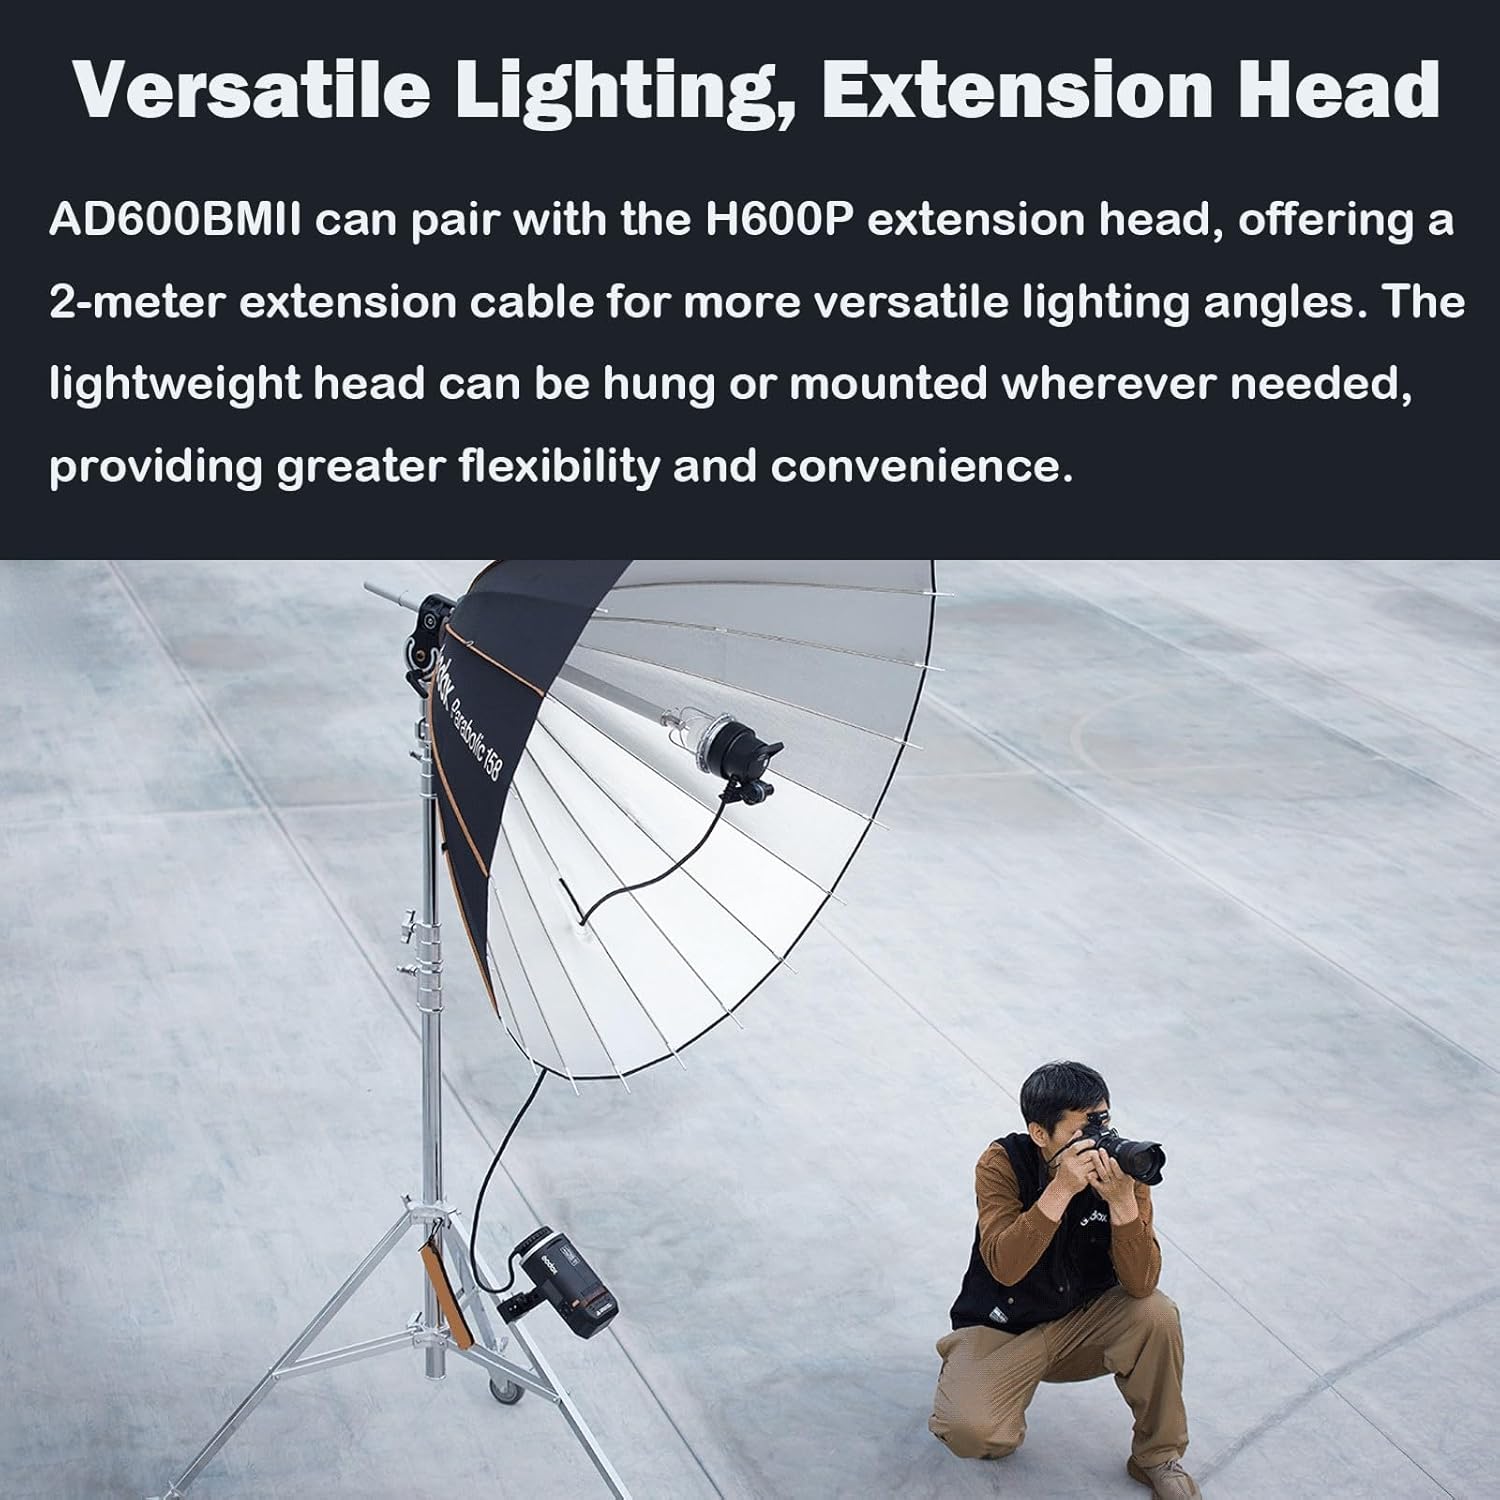
Image Description: A multi-language warning label showing safety instructions in English, German, French, Italian, Spanish, Turkish, Polish, Dutch, and Swedish. Key warnings include keeping the product dry, out of reach of children, and away from ignition sources.
3. Package Contents
Please check to ensure all items are included in your package. If anything is missing or damaged, contact your retailer immediately.
- Godox AD600BM II Flash Unit
- Flash Tube
- Reflector
- Lithium Battery Pack
- Battery Charger
- Power Cable
- Handle
- Carrying Bag (CB-09)
- Flash Bag (PB-600)
- Color Filters (White, Yellow, Red, Blue, Green)

Image Description: A complete view of the Godox AD600BM II flash unit along with its accessories, including the flash tube, reflector, battery, charger, power cable, handle, carrying bag, and a set of color filters.
4. Product Overview
Familiarize yourself with the main components and controls of the AD600BM II flash unit.
4.1 Control Panel and Display
The AD600BM II features a 2.8-inch TFT color screen and an upgraded interactive menu for convenient operation.

Image Description: A detailed view of the flash unit's control panel, highlighting the 2.8-inch TFT color screen displaying wireless settings (Wireless On, Channel 21, Group B, ID 18) and the surrounding buttons including MENU, MODE, SET, and a modeling lamp one-touch button.
- TFT Color Screen: Displays current settings, modes, and power levels.
- MENU Button: Accesses the main menu for advanced settings.
- MODE Button: Cycles through flash modes (e.g., Manual, Multi, S1/S2).
- SET Dial/Button: Used to navigate menus, adjust values, and confirm selections.
- Modeling Lamp Button: One-touch control for the modeling lamp (long press for control).
5. Setup
5.1 Battery Installation
- Ensure the flash unit is powered off.
- Locate the battery compartment on the rear of the flash unit.
- Insert the lithium battery pack, ensuring correct polarity, until it clicks into place.
- To remove, press the release button and slide the battery out.
5.2 Mounting Accessories (Bowens Mount)
The AD600BM II features a Bowens mount, allowing compatibility with a wide range of light modifiers.
- Align the accessory (e.g., softbox, reflector) with the Bowens mount on the front of the flash unit.
- Twist the accessory clockwise until it locks securely into place.
- To remove, press the release lever on the mount and twist the accessory counter-clockwise.

Image Description: An illustration showcasing different types of Bowens mount accessories such as reflectors, flash projection attachments, softboxes, snoots, beauty dishes, and barn door kits, demonstrating the versatility of the AD600BM II's mounting system. Note: Accessories are not included with the flash unit unless specified in the package contents.
6. Operating Instructions
6.1 Power On/Off
Press and hold the power button (usually integrated with the SET dial) for a few seconds to turn the unit on or off.
6.2 Adjusting Flash Power
The AD600BM II offers a wide power range from 1/1 (full power) to 1/512, allowing for precise light control across ten levels of adjustment.
- In Manual (M) mode, rotate the SET dial to increase or decrease the flash output.
- The display will show the current power level (e.g., A 1/512).

Image Description: A close-up of the Godox AD600BM II's display screen, showing the flash power set to 1/512, indicating fine control over light output. A hand is shown interacting with the SET dial.
6.3 Using the 40W Modeling Lamp
The integrated 40W modeling lamp provides continuous, stable illumination at approximately 5600K, useful for previewing lighting effects or for video shooting.
- Press the dedicated modeling lamp button on the control panel to turn it on or off.
- Long press the button for additional control options, such as adjusting brightness (if available).

Image Description: The Godox AD600BM II flash unit mounted on a light stand, with its 40W modeling lamp casting a bright, circular light pattern on a dark background, demonstrating its continuous illumination capability.
6.4 Wireless Synchronization (One-Tap Sync)
The AD600BM II supports wireless control via Godox X-series triggers (X3, XproII, X2T, X1). The One-Tap Sync feature simplifies the pairing process.
- Ensure your Godox X3 trigger (or compatible trigger) is powered on and set to the desired channel and group.
- On the AD600BM II, navigate to the wireless settings menu.
- Select "Wireless Sync" or similar option to initiate pairing.
- The flash and trigger should synchronize automatically.

Image Description: A split image showing the Godox X3 trigger on the left, displaying its wireless sync interface with channel 21 and ID OFF. On the right, the AD600BM II's screen shows its wireless settings menu with Wireless ON, Channel 21, Group A, ID OFF, and a "Wireless Sync" option highlighted, illustrating the seamless synchronization process.
6.5 16-Color Identification
For multi-light setups, the AD600BM II introduces 16 color group indicator lights, allowing for easy identification and management of each flash unit.
- Assign a unique color ID to each flash unit in your setup via the menu.
- The indicator light on the flash will display the assigned color, simplifying identification in complex lighting arrangements.

Image Description: A studio setup demonstrating multiple Godox flash units, each labeled with a different group (Group A, Group D, Group 1) and corresponding color indicators, illustrating the 16-color identification system for managing various lights in a complex shooting environment.
7. Advanced Features
7.1 H600P Extension Head Compatibility
The AD600BM II can be paired with the optional H600P extension head, providing a 2-meter extension cable for greater flexibility in positioning the light source. This allows the lightweight head to be hung or mounted in various locations, offering more versatile lighting angles.

Image Description: A photographer operating a camera while the Godox AD600BM II flash, connected to an H600P extension head, is mounted on a light stand with a large softbox, demonstrating the flexibility of positioning the light source away from the main flash unit.
8. Maintenance
- Cleaning: Use a soft, dry cloth to clean the flash unit. For stubborn dirt, a slightly damp cloth can be used, followed by immediate drying. Avoid harsh chemicals or abrasive materials.
- Storage: Store the flash unit in a dry, cool place, away from direct sunlight and extreme temperatures. Remove the battery if storing for extended periods.
- Battery Care: Recharge the battery regularly, even if not in use, to maintain its lifespan. Avoid fully discharging the battery.
- Flash Tube: Handle the flash tube with care. Avoid touching the glass directly with bare hands, as oils can reduce its lifespan.
9. Troubleshooting
| Problem | Possible Cause | Solution |
|---|---|---|
| Flash does not fire. |
|
|
| Slow recycle time. |
|
|
| Modeling lamp not working. |
|
|
10. Specifications
| Feature | Detail |
|---|---|
| Brand | GODOX |
| Model | AD600BM II |
| Power Output | 600Ws |
| Guide Number (GN) | 87 (m ISO 100, with standard reflector) |
| Recycle Time | 0.01s - 1.9s |
| Full Power Flashes | Approx. 500 |
| Flash Duration | 1/220 to 1/10000 seconds (t0.1) |
| High-Speed Sync (HSS) | Up to 1/8000s |
| Power Adjustment | 1/1 to 1/512 (10 stops) |
| Modeling Lamp | 40W LED, approx. 5600K |
| Display | 2.8-inch TFT Color Screen |
| Wireless Function | 2.4G wireless system (compatible with Godox X-series triggers) |
| Mount Type | Bowens Mount |
| Product Dimensions | 21.65 x 17.72 x 8.27 inches |
| Item Weight | 15.62 pounds |
| ASIN | B0DWMCNRKQ |
| Date First Available | February 10, 2025 |
11. Warranty and Support
For warranty information and technical support, please refer to the documentation included with your purchase or visit the official Godox website. Keep your proof of purchase for any warranty claims.
Godox Official Website: www.godox.com
Ask a question about this manual
Ask about setup, troubleshooting, compatibility, parts, safety, or missing instructions. Manuals+ will review the question and use this page’s manual context to help answer it.