Introduction
Thank you for choosing the VLISBO 4000V Electric Mosquito Swatter. This device is designed to effectively eliminate mosquitoes and other flying insects, offering both manual swatting and automatic trapping capabilities. Its 180-degree rotatable head and rechargeable battery provide convenience for various indoor and outdoor settings. Please read this manual thoroughly before use to ensure proper operation and safety.
Key Features:
- 180-Degree Rotatable Head: Allows for easy access to hard-to-reach areas and versatile positioning.
- 4000V High-Voltage Grid: Delivers instant and effective insect elimination.
- Rechargeable 1200mAh Battery: Provides long-lasting power with convenient Type-C charging.
- Dual Operating Modes: Manual handheld swatting and automatic mosquito trap with purple light attraction.
- Three-Layer Protective Mesh: Enhances safety by preventing accidental contact with the high-voltage grid.
- Portable and Lightweight Design: Ideal for home, camping, and outdoor use.
Setup
1. Unboxing and Initial Inspection:
Carefully remove the VLISBO Electric Mosquito Swatter from its packaging. Inspect the device for any visible damage. The package should include one mosquito swatter, one Type-C charging cable, and this instruction manual.
2. Charging the Device:
Before first use, fully charge the swatter. Locate the Type-C charging port on the handle. Connect the provided Type-C cable to the swatter and plug the other end into a compatible USB power adapter (not included). The charging indicator light will illuminate during charging and turn off or change color when fully charged. A full charge typically takes approximately 3 hours.

Image: Close-up of the swatter's handle indicating Type-C charging and battery status.
3. Adjusting the Head:
The swatter features a 180-degree rotatable head. Gently rotate the head to your desired angle for either handheld use or to position it as a stationary trap.

Image: The swatter head rotated to a different position, demonstrating its flexibility.
Operating Instructions
The VLISBO Electric Mosquito Swatter offers two primary operating modes:
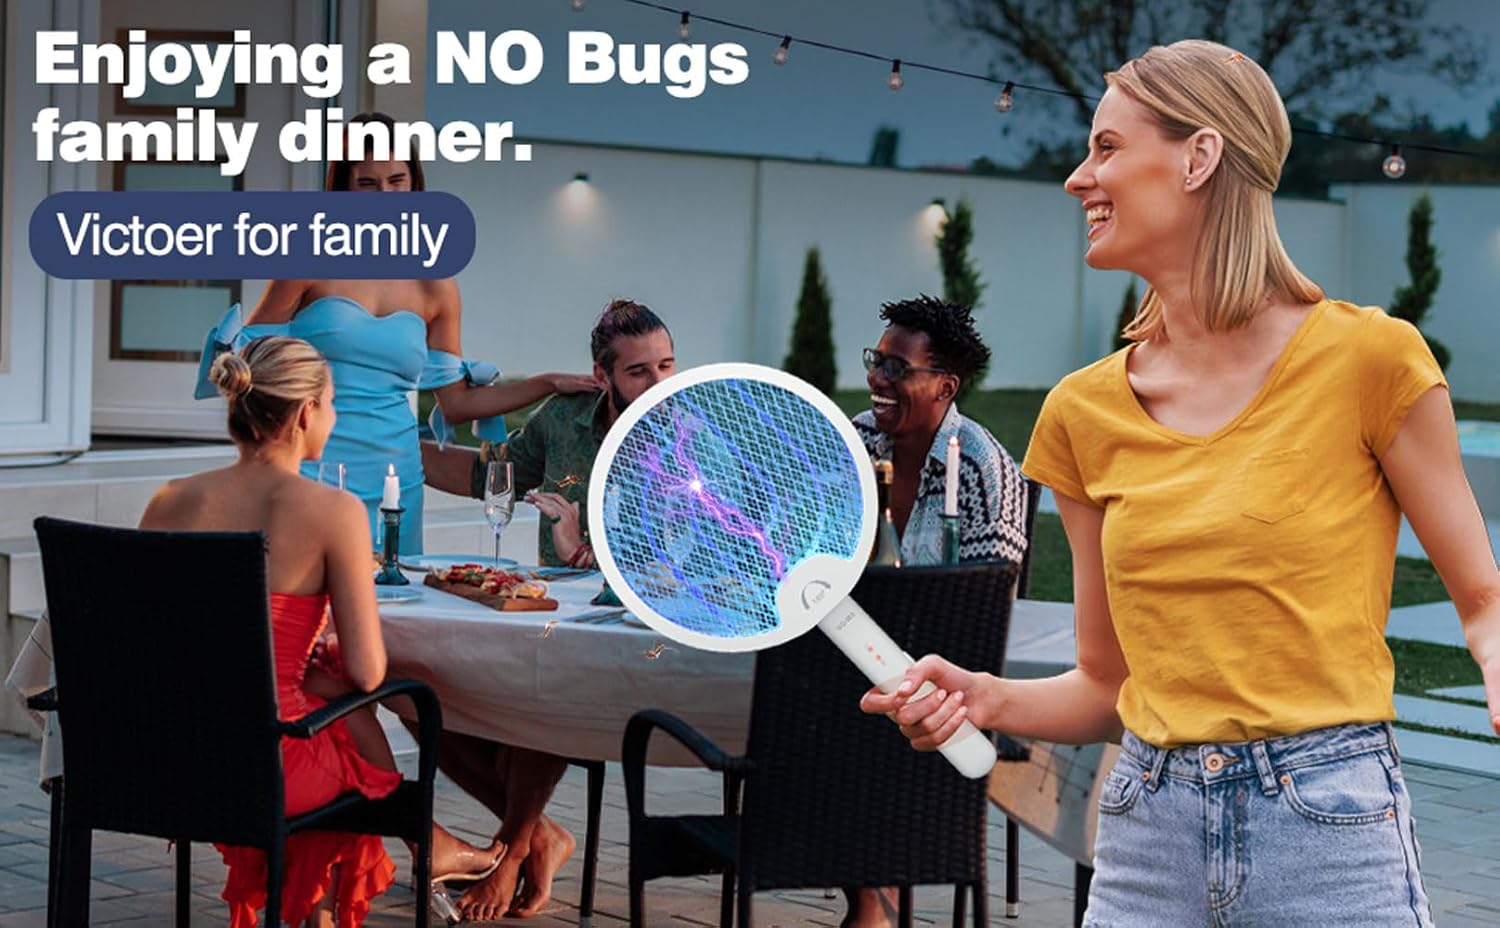
1. Manual Handheld Swatting Mode (ON1):
- Slide the power switch on the handle to the ON1 position.
- Press and hold the large circular button (lightning bolt icon) on the handle. The purple LED light on the grid will illuminate, indicating the high-voltage grid is active.
- Swing the swatter towards flying insects to make contact with the electrified mesh. A 'zap' sound indicates successful elimination.
- Release the button to deactivate the high-voltage grid.
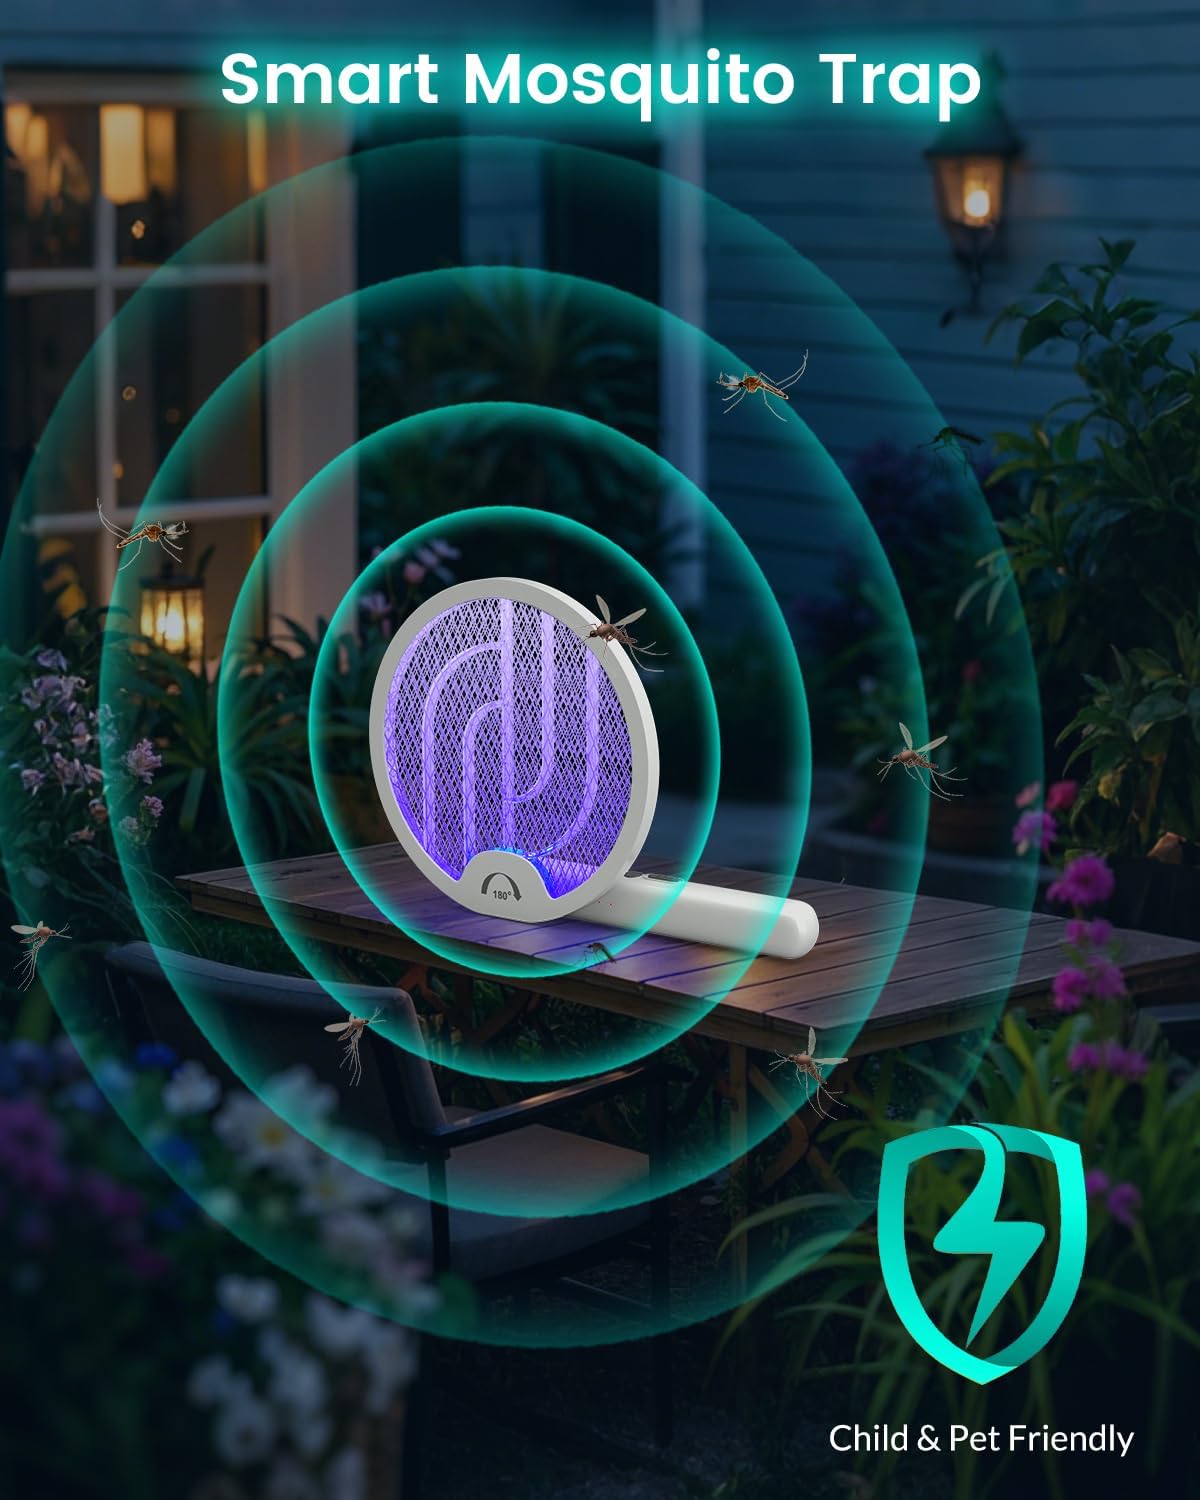
2. Automatic Mosquito Trap Mode (ON2):
- Slide the power switch on the handle to the ON2 position.
- The purple LED light on the grid will continuously illuminate, attracting insects. The high-voltage grid will remain active without needing to press the button.
- Place the swatter on a flat surface or hang it using the integrated hanging hole. Ensure it is in an area where insects are present and away from children and pets.
- Insects attracted to the light will fly into the grid and be eliminated.

Image: The swatter operating in automatic trap mode, emitting purple light to attract insects.
Safety Precautions:
- Keep out of reach of children and pets.
- Do not touch the inner metal mesh when the device is active or recently used.
- Do not use near flammable liquids or gases.
- Avoid using in wet environments or near water.
- The outer protective mesh is designed to prevent accidental contact, but caution should always be exercised.
Maintenance
1. Cleaning:
After use, ensure the device is turned OFF and completely discharged (by pressing the lightning button until the light fades). Use a soft brush or cloth to gently remove any insect debris from the mesh. Do not use water or cleaning solutions directly on the mesh or electronic components.
2. Storage:
Store the swatter in a cool, dry place away from direct sunlight and moisture. Ensure the power switch is in the OFF position before storing. The rotatable head allows for compact storage.

Image: The swatter being used and stored, highlighting its portable design.
Troubleshooting
- Device does not turn on or charge:
Ensure the Type-C charging cable is securely connected to both the swatter and a working power source. Verify the power switch is in the ON1 or ON2 position for operation, or OFF for charging. If the battery is completely depleted, it may take a few minutes for the charging indicator to appear. - Swatter is on but not zapping insects:
In manual mode (ON1), ensure you are continuously pressing the lightning bolt button while swatting. In automatic mode (ON2), ensure the purple light is on. The high-voltage grid may not activate if the battery is critically low. - Short battery life:
Ensure the device is fully charged before use. Battery performance can vary based on usage patterns and environmental conditions. Continuous use in automatic mode (ON2) will consume battery faster than intermittent manual use. - Loud 'zap' sound:
This is normal and indicates that an insect has made contact with the high-voltage grid and has been successfully eliminated.
Specifications
| Brand | VLISBO |
| Model Number | WD-980 |
| Voltage | 4000V |
| Battery | 1200mAh Lithium Ion (included) |
| Material | Acrylonitrile Butadiene Styrene (ABS) |
| Product Dimensions (Folded) | 9.4"L x 9"W x 1.8"H |
| Product Dimensions (Handheld) | 17"L x 9"W x 1.1"H |
| Item Weight | 0.58 Pounds (approx. 9.3 ounces) |
| Charging Port | Type-C |
Visual Aids
Product Images:


Official Product Videos:
VLISBO 4000V Electric Mosquito Swatter Rechargeable 1200mAh
Video demonstrating the features and operation of the VLISBO 4000V Electric Mosquito Swatter, including its rechargeable battery and various modes.
Warranty and Support
Specific warranty details for the VLISBO 4000V Electric Mosquito Swatter (Model WD-980) are not provided in this document. For information regarding warranty coverage, returns, or technical support, please refer to the product packaging, the manufacturer's official website, or contact the seller directly. Keep your purchase receipt as proof of purchase for any warranty claims.


