
1. Introduction
Thank you for choosing the Chuboor P13 Handheld Cordless Vacuum Cleaner. This versatile device is designed to provide efficient cleaning and utility with its 6-in-1 multifunctional capabilities, including vacuuming, blowing, inflating, air extraction, flashlight, and SOS light. This manual provides essential information for safe operation, setup, maintenance, and troubleshooting to ensure optimal performance and longevity of your product.
2. Safety Instructions
- Read all instructions before use.
- Keep the vacuum away from water or other liquids. Do not use in wet conditions.
- Do not vacuum flammable or combustible materials, hot ashes, or sharp objects.
- Ensure the filter is properly installed before operation.
- Do not allow children to operate the vacuum.
- Use only the provided charging cable and ensure the power source matches the specifications.
- Do not block the air inlets or outlets during operation.
- If the vacuum is damaged, do not attempt to repair it yourself. Contact customer support.
3. Package Contents
Please check the package for the following items:
- Chuboor P13 Handheld Cordless Vacuum Cleaner Unit
- 2-in-1 Nozzle (Crevice Tool & Brush)
- Long Hose Attachment
- Inflation Nozzles (Small, Medium, Large, Silicone)
- Type-C Charging Cable
- Washable HEPA Filter (pre-installed)
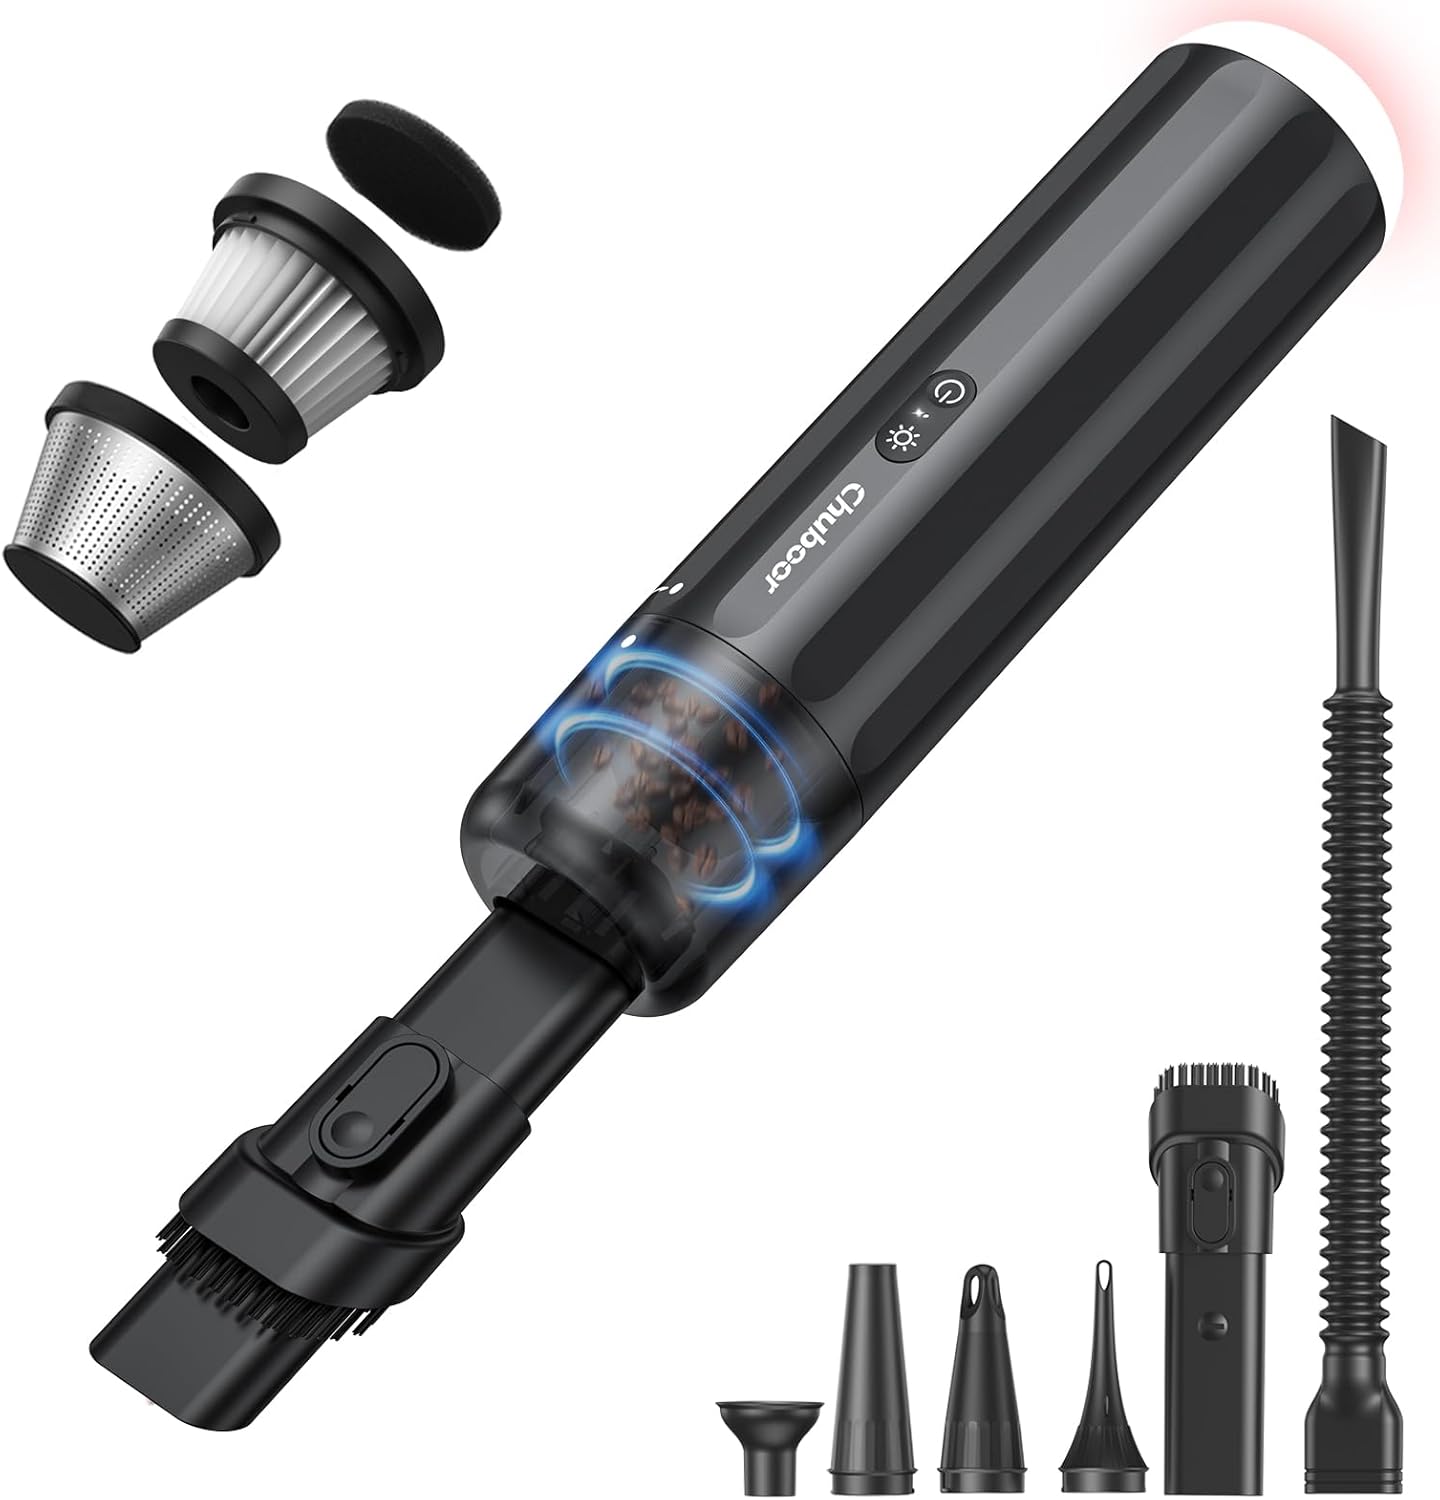
This image displays the main vacuum unit along with its various attachments, including the 2-in-1 nozzle, long hose, and multiple inflation nozzles, as well as the internal filter components.
4. Product Overview
The Chuboor P13 features a compact design with intuitive controls. Key components include the main unit, dust cup, power button, mode button, and LED light.

This image illustrates the main vacuum body and the different types of nozzles that can be attached for various functions, highlighting the modular design.
5. Setup
5.1 Initial Charging
Before first use, fully charge the vacuum cleaner. Connect the provided Type-C charging cable to the vacuum's charging port and plug the other end into a compatible USB power adapter (not included), car charger, or power bank. A full charge typically takes approximately 3 hours.
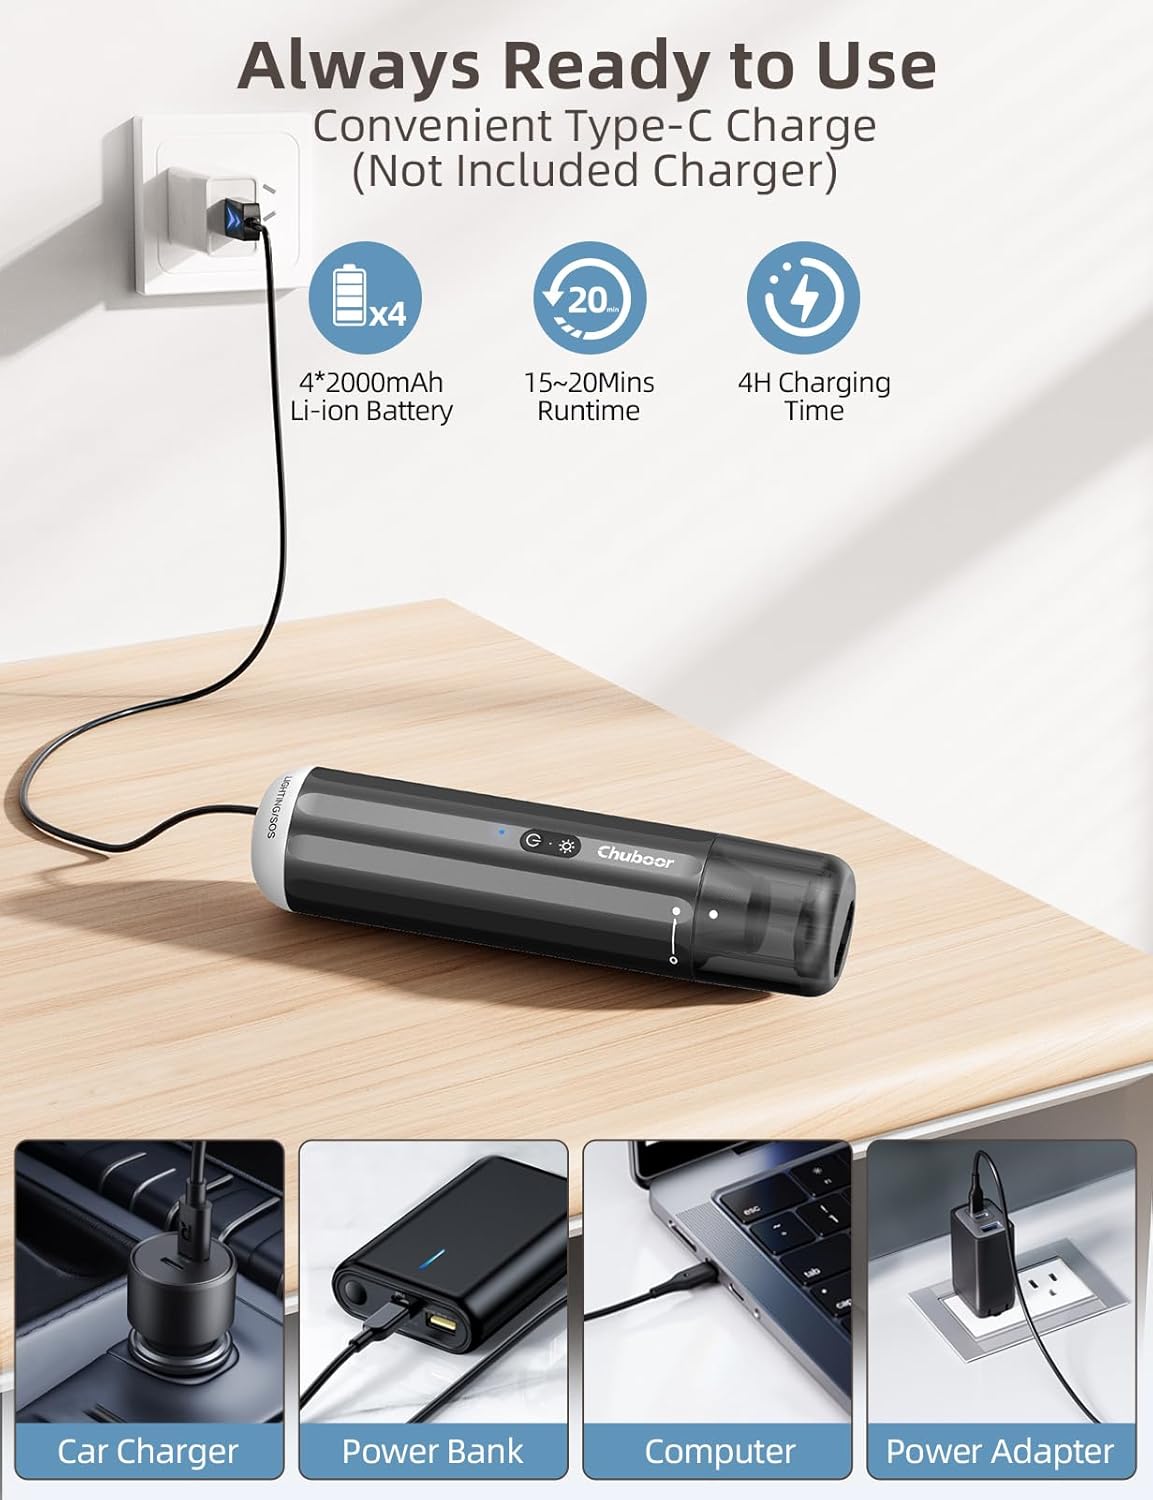
This image shows the vacuum being charged via a Type-C cable, illustrating different charging methods such as a wall adapter, car charger, power bank, and computer.
5.2 Attaching Nozzles
Select the appropriate nozzle for your cleaning task. Align the nozzle with the vacuum's intake and push firmly until it clicks into place. To remove, pull the nozzle away from the vacuum.
6. Operating Instructions
6.1 Power On/Off and Suction Modes
- Press the power button once to turn on the vacuum in the standard suction mode (9kPa, approx. 25 minutes runtime).
- Press the power button a second time to switch to high suction mode (14kPa, approx. 15 minutes runtime).
- Press the power button a third time to turn off the vacuum.
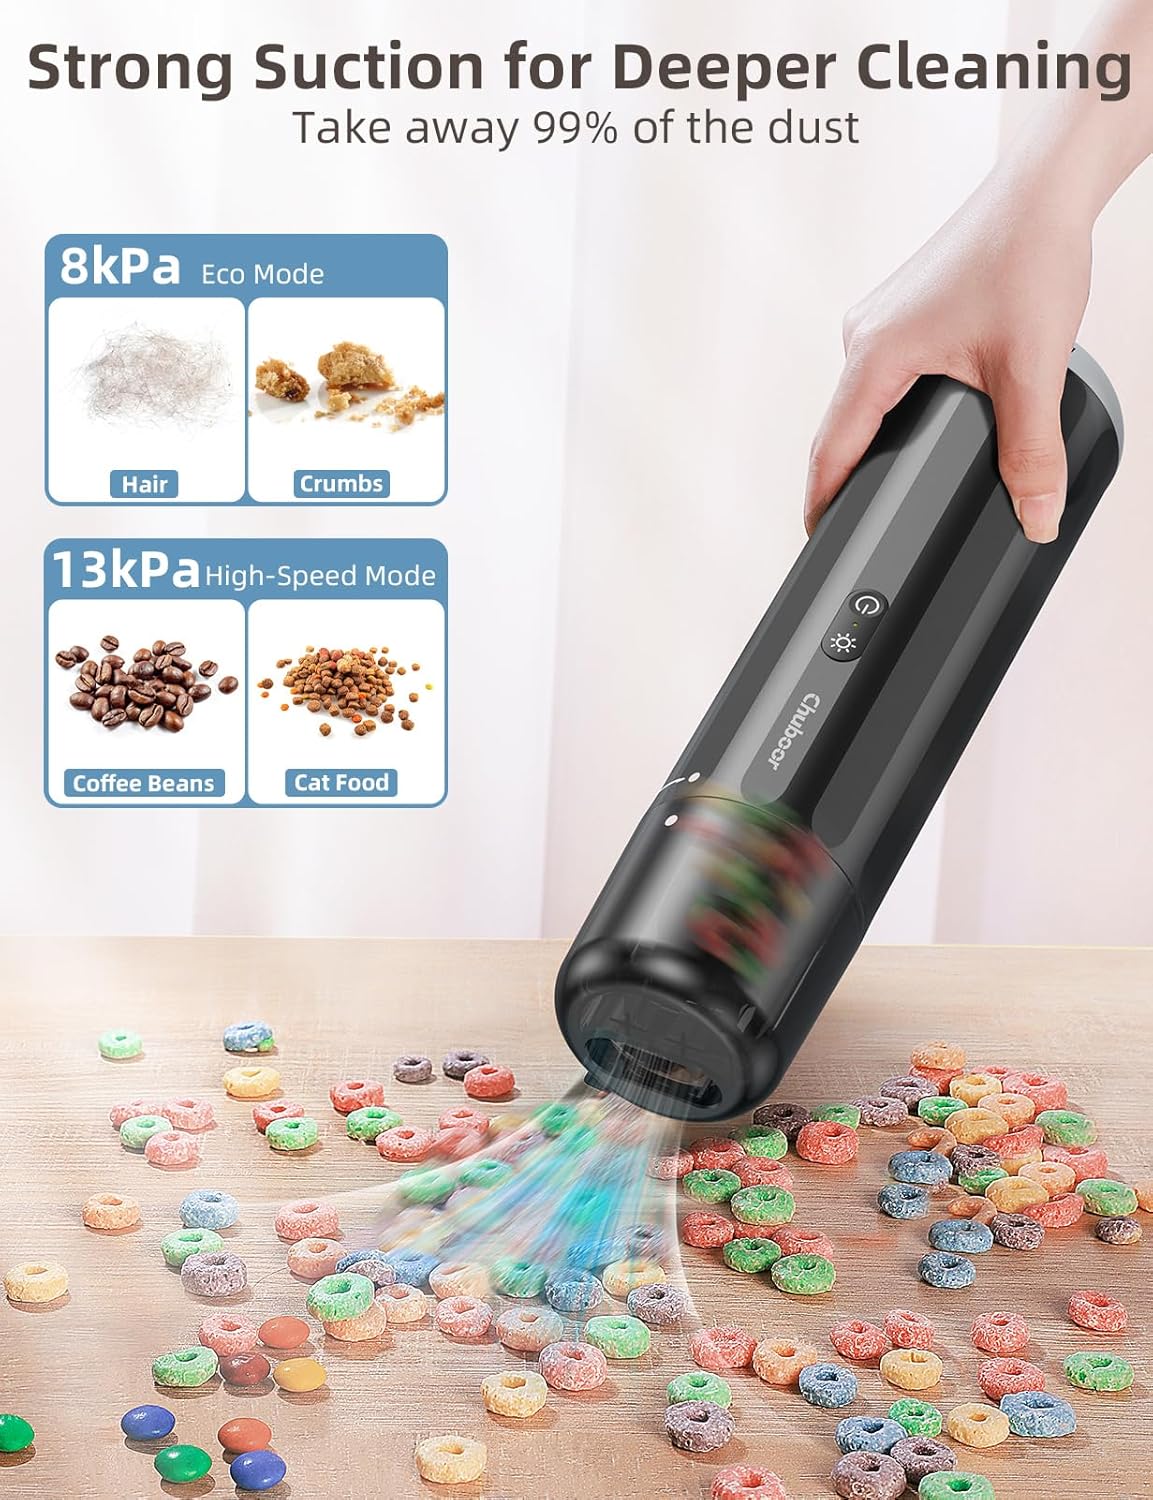
This image illustrates the two suction modes, showing their effectiveness on different types of debris, from hair and crumbs to coffee beans and cat food.
6.2 Multifunctional Use
The Chuboor P13 offers six distinct functions:
- Vacuuming: Use the appropriate nozzle (crevice, brush, or long hose) to clean dust, crumbs, pet hair, and debris from various surfaces, including car interiors, furniture, and tight spaces.
- Blowing: Attach the nozzle to the exhaust port to use the vacuum as a mini blower for clearing dust from keyboards, camera lenses, or starting campfires.
- Inflating: Use the specialized inflation nozzles to inflate items such as air mattresses, pool floats, and sleeping pads.
- Air Extraction (Wireless Compressor): Attach the silicone nozzle to the exhaust port to compress air from storage bags, optimizing space.
- Flashlight: Press the light button once to activate the low-level flashlight. Press again for high-level brightness.
- SOS Light: Press the light button a third time to activate the flashing SOS emergency light. Press a fourth time to turn off the light.

This image provides a comprehensive overview of the vacuum's six functions, showing it in action for each use case, from cleaning pet litter to inflating items and providing emergency lighting.

This image demonstrates the effective use of the crevice nozzle, brush nozzle, and long hose for cleaning various surfaces and tight spots.
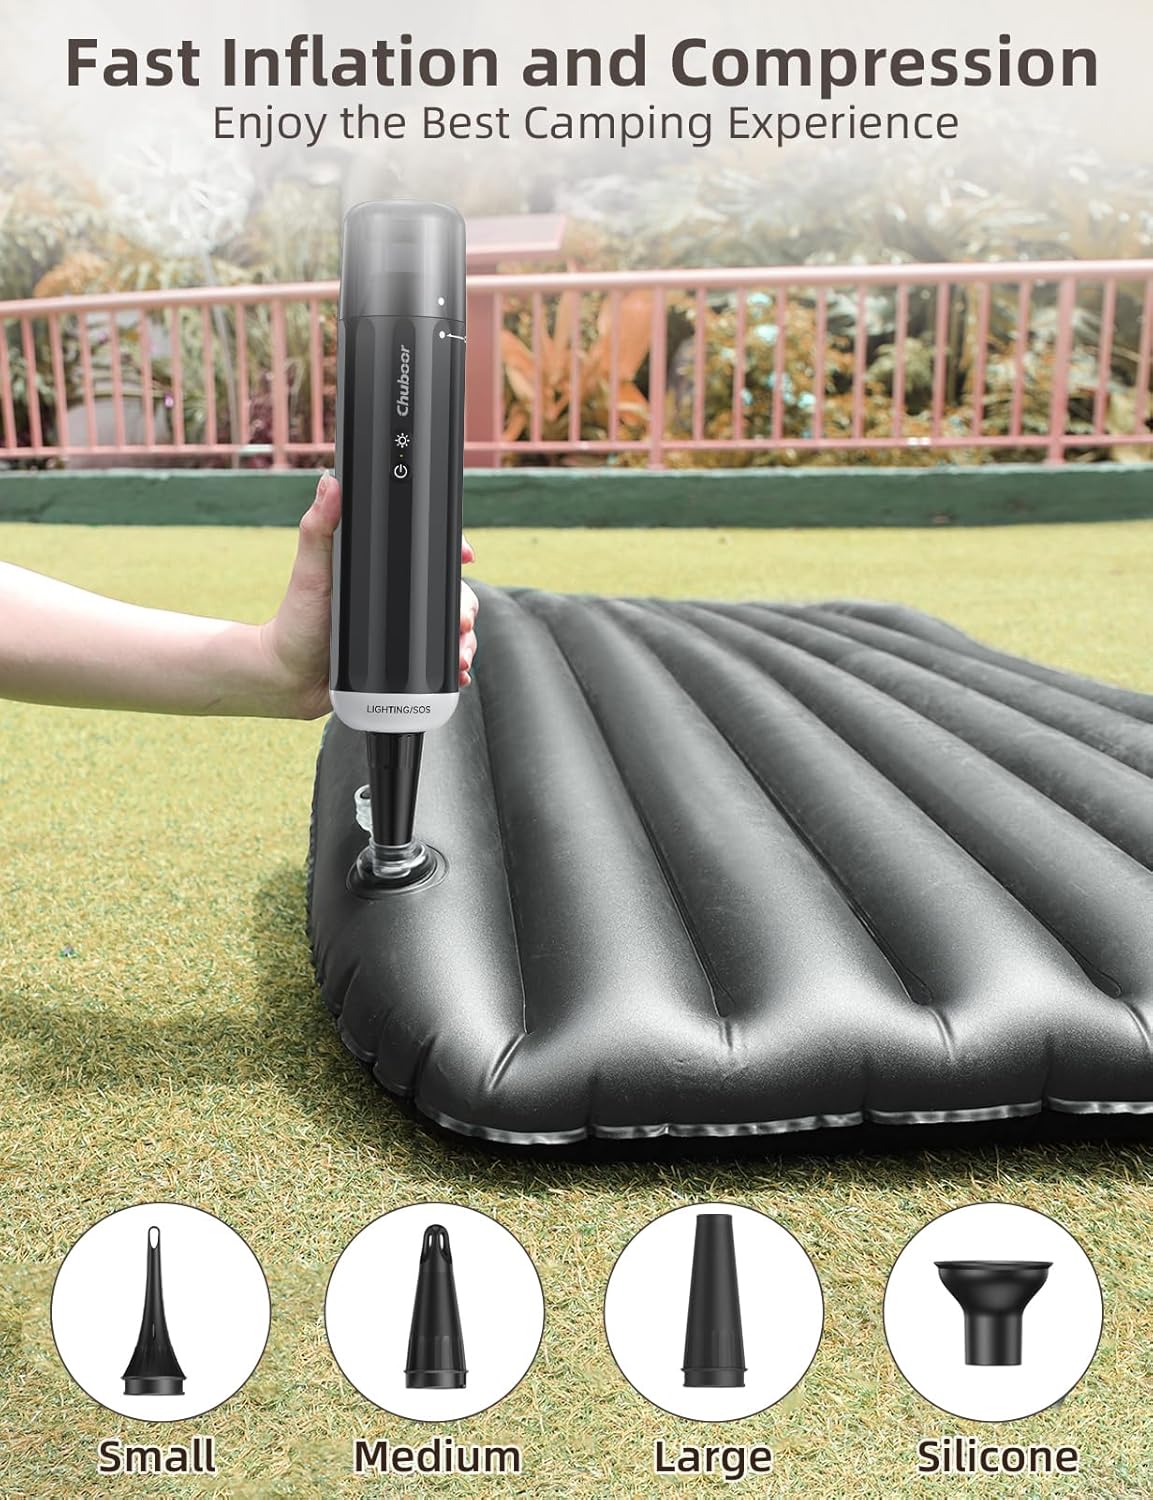
This image highlights the inflation capability of the vacuum, showing it inflating an air mattress and detailing the different nozzle sizes available for various inflatable items.

This image demonstrates the flashlight function for detailed inspection and the SOS emergency light for roadside safety.
7. Maintenance
Regular maintenance ensures the longevity and optimal performance of your Chuboor P13 vacuum cleaner.
7.1 Emptying the Dust Cup
- Ensure the vacuum is turned off.
- Locate the dust cup release button/mechanism (often a single click).
- Remove the dust cup and empty its contents into a trash receptacle.
7.2 Cleaning the HEPA Filter
The Chuboor P13 features a washable 3-stage filtration HEPA filter.
- After emptying the dust cup, gently twist and pull out the filter system from the dust cup.
- Separate the HEPA filter from the metal pre-filter.
- Rinse both the HEPA filter and the metal pre-filter under running water until clean.
- Allow all filter components to air dry completely before reassembling and placing them back into the vacuum. Do not use the vacuum with wet filters.
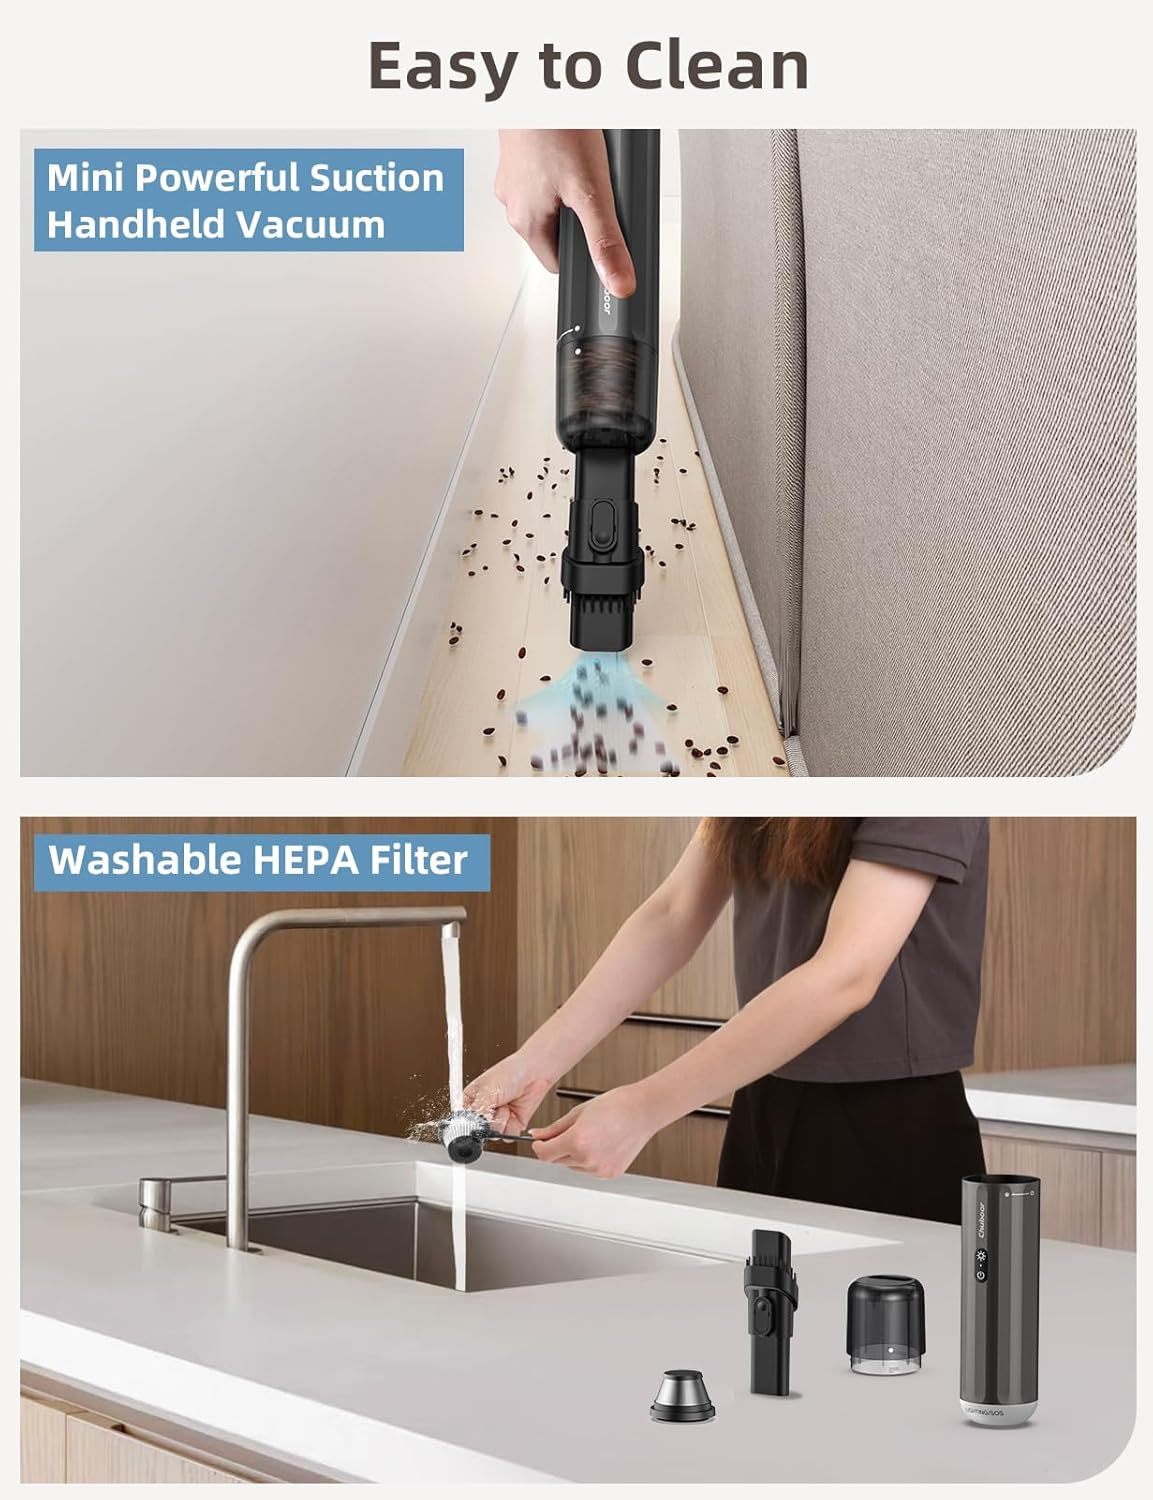
This image shows the vacuum in action and provides a visual guide to cleaning the washable HEPA filter, emphasizing the ease of maintenance.

This image provides a clear, step-by-step visual instruction for the entire cleaning and maintenance process of the vacuum and its filter system.
8. Troubleshooting
If you encounter any issues with your Chuboor P13, please refer to the following common problems and solutions:
| Problem | Possible Cause | Solution |
|---|---|---|
| Vacuum does not turn on | Low battery; Power button not pressed correctly | Charge the vacuum fully; Press the power button firmly. |
| Weak suction power | Dust cup full; Filter clogged; Nozzle blocked | Empty the dust cup; Clean or replace the filter; Clear any blockages from the nozzle. |
| Short operating time | Battery not fully charged; Using high suction mode continuously | Ensure battery is fully charged; Use standard suction mode for longer runtime. |
| Light not working | Light button not pressed correctly; Low battery | Press the light button firmly multiple times; Charge the vacuum. |
9. Specifications
| Feature | Detail |
|---|---|
| Brand | Chuboor |
| Model Name | P13 |
| Suction Power | 14kPa (High Mode), 9kPa (Standard Mode) |
| Motor Power | 120W Brushless Motor |
| Battery | 8000mAh Lithium-ion (4*2000mAh) |
| Charging Time | Approx. 3 hours (Type-C) |
| Runtime | 15 minutes (High Mode), 25 minutes (Standard Mode) |
| Filter Type | 3-stage filtration HEPA |
| Dust Cup Capacity | 150 Milliliters |
| Weight | 1.3 pounds |
| Product Dimensions | 2"L x 2"W x 12"H |
| Noise Level | 65 dB |
| Special Features | Compact, HEPA, Portable, 6-in-1 (Vacuum, Blower, Inflator, Air Extraction, Flashlight, SOS) |

This image visually summarizes the main technical specifications and features of the Chuboor P13 vacuum cleaner.
10. Warranty and Support
Chuboor products are designed for reliability and performance. For warranty information, product support, or any inquiries, please refer to the contact information provided with your purchase or visit the official Chuboor website. Please retain your proof of purchase for warranty claims.
