1. Introduction
Thank you for choosing the Gaimoo GM200 Mini Projector. This manual provides essential information for setting up, operating, and maintaining your device. Please read it thoroughly before use to ensure optimal performance and safety.
The Gaimoo GM200 is a versatile smart projector featuring built-in Android TV OS, WiFi 6, Bluetooth 5.2, and support for 4K/1080P video playback. Its compact design, 180° rotatable stand, auto keystone correction, and digital zoom make it suitable for various projection environments.

Image 1.1: The Gaimoo GM200 Mini Projector used in different settings, including a home theater, a bedroom for bedtime viewing, and an outdoor movie night.
2. Safety Information
- Power Supply: Use only the provided power adapter. Ensure the voltage matches the projector's requirements.
- Ventilation: Do not block ventilation openings. Ensure adequate airflow around the projector to prevent overheating.
- Liquid Exposure: Keep the projector away from water or other liquids. Do not operate with wet hands.
- Cleaning: Unplug the projector before cleaning. Use a soft, dry cloth. Avoid abrasive cleaners.
- Placement: Place the projector on a stable, level surface. Avoid direct sunlight or heat sources.
- Eye Protection: Do not look directly into the projector lens when the lamp is on.
- Children: Keep the projector out of reach of small children.
- Disassembly: Do not attempt to disassemble or repair the projector yourself. Contact qualified service personnel.
3. Package Contents
Verify that all items are present in the package:
- Gaimoo GM200 Mini Projector (x1)
- HDMI Cable (x1)
- Power Adapter with Cable (x1)
- Remote Control (x1)
- Wireless Mouse (x1)
- User Manual (x1)
4. Product Overview
4.1. Projector Components
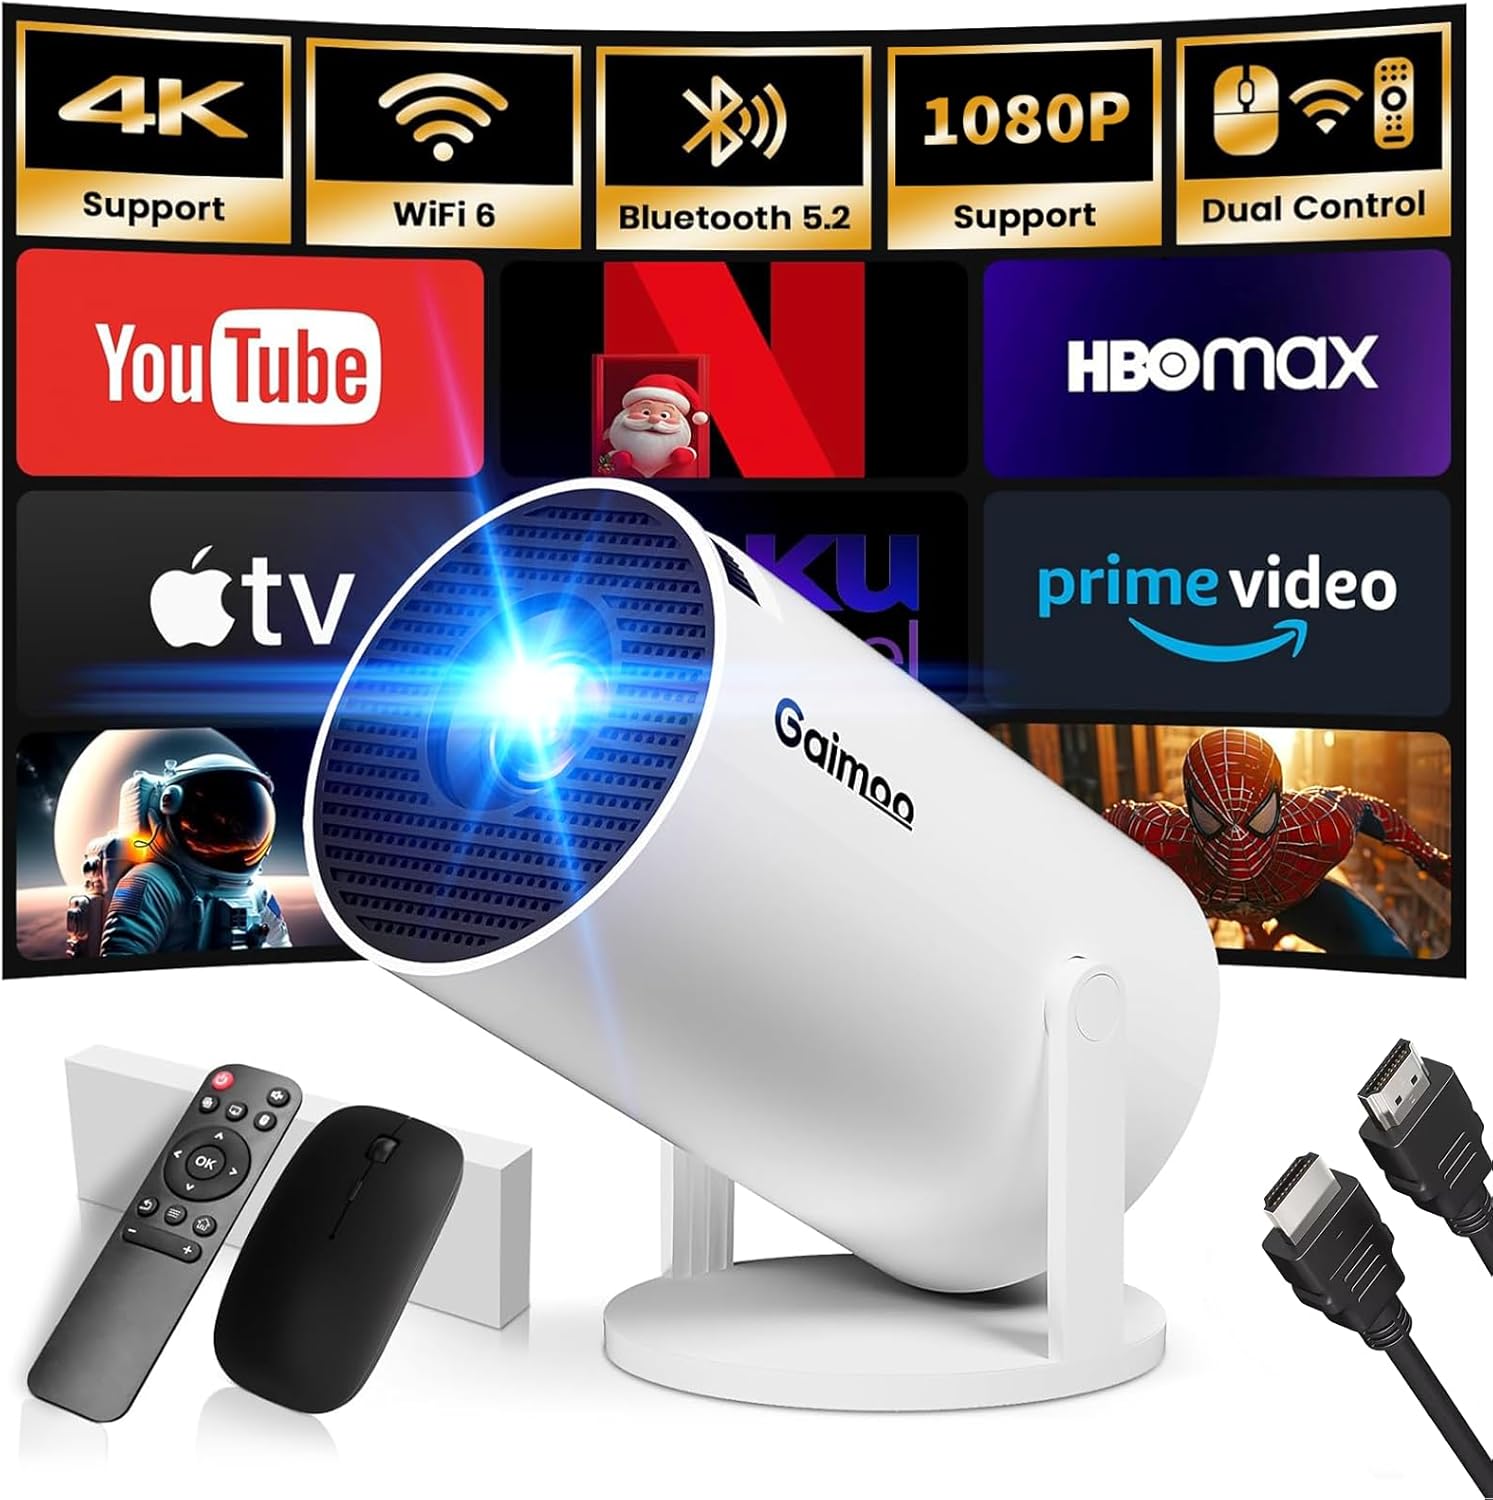
Image 4.1: Front view of the Gaimoo GM200 Mini Projector, highlighting its compact design and the included accessories.
The Gaimoo GM200 Mini Projector features a cylindrical design with a 180° rotatable stand, allowing for flexible projection angles. The main lens is located at the front. The device includes a wireless mouse and a remote control for navigation.
4.2. Ports and Connections
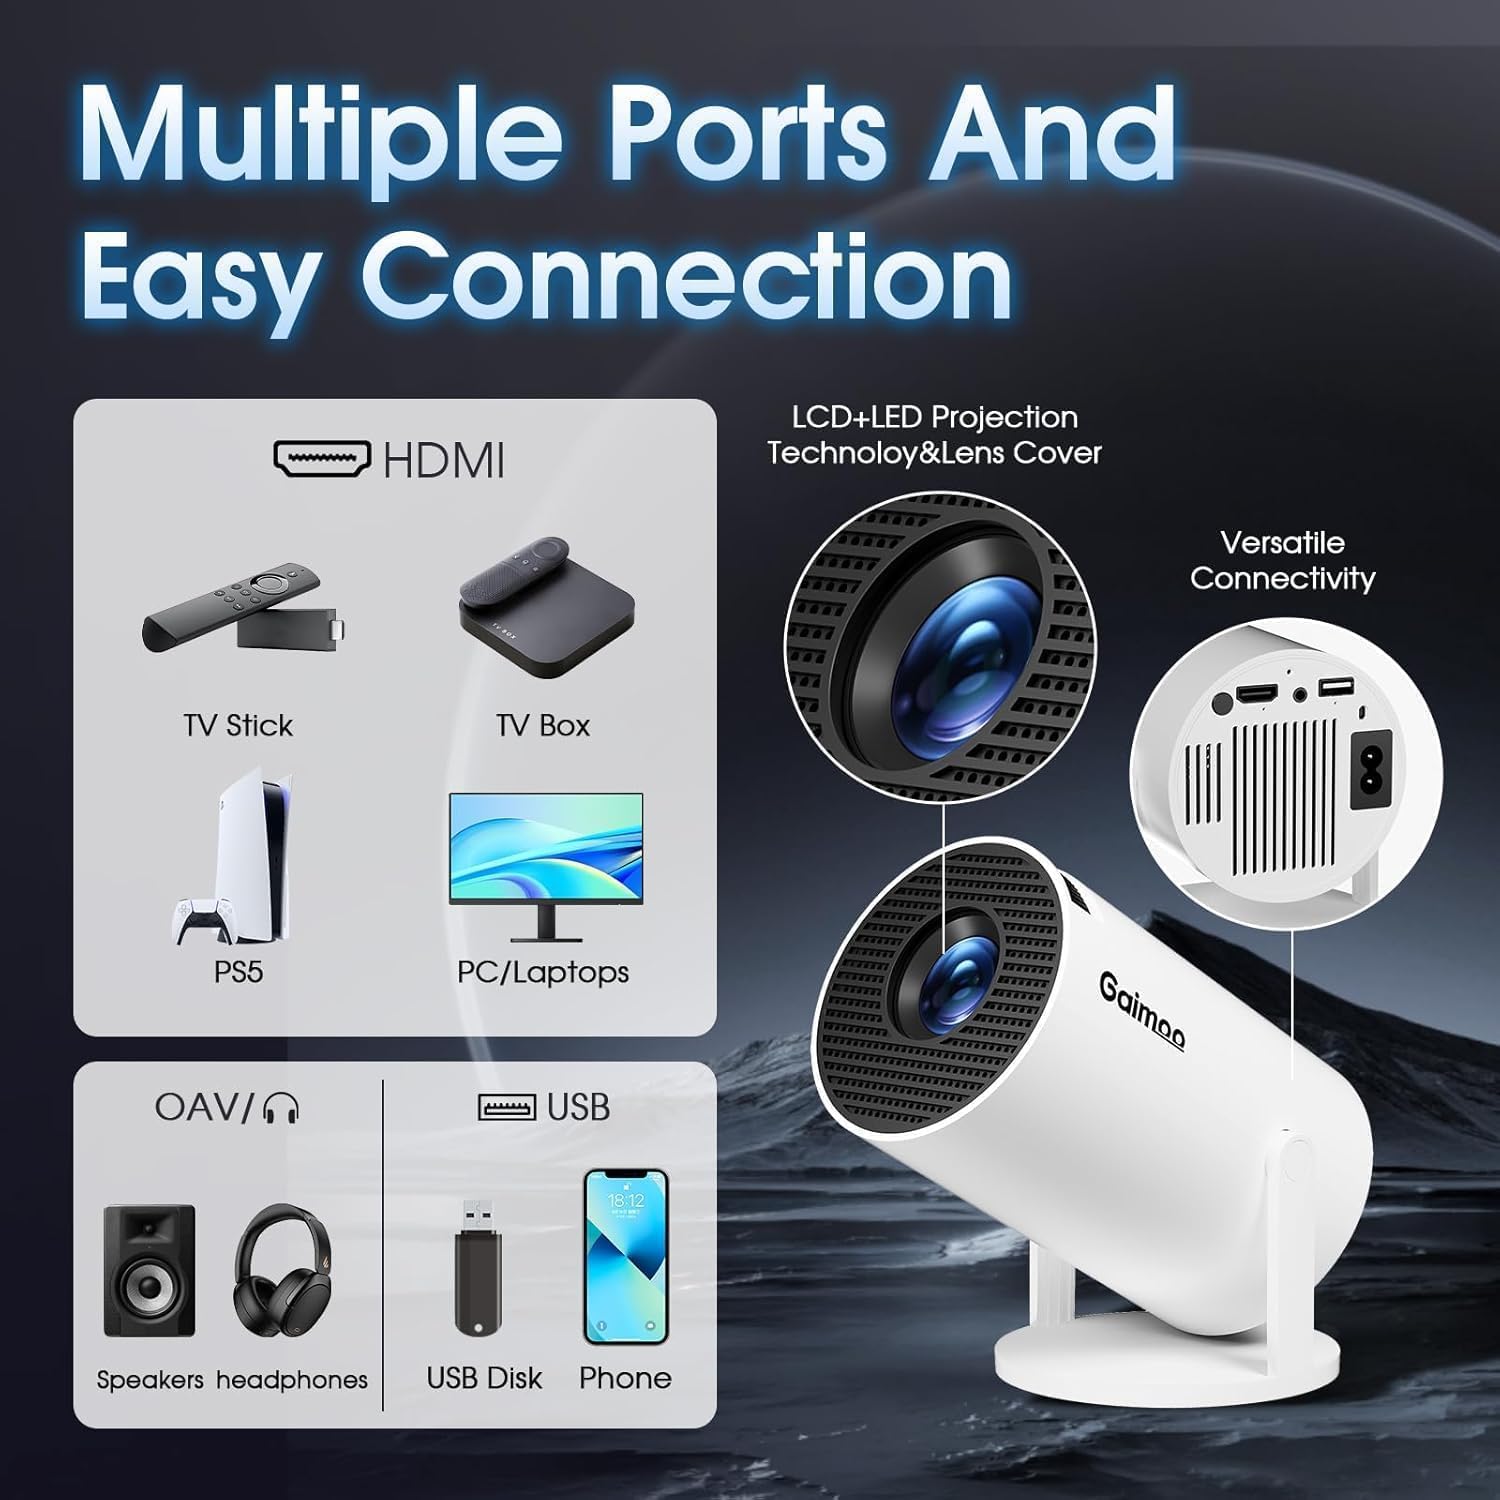
Image 4.2: Detailed view of the projector's connectivity options, illustrating the HDMI, USB, and 3.5mm audio ports.
- HDMI Port: Connect external devices such as TV sticks, laptops, gaming consoles (PS5, Switch), or TV boxes.
- USB Port: Connect USB drives for media playback or the wireless mouse receiver.
- 3.5mm Headphone Jack: Connect external speakers or headphones for enhanced audio.
- Power Input: Connect the provided power adapter.
5. Setup
5.1. Power Connection
- Connect the power adapter to the projector's power input port.
- Plug the power adapter into a wall outlet.
- Press the power button on the projector or remote control to turn it on.
5.2. Initial Setup and Network Connection
- Upon first power-on, follow the on-screen prompts to select your language and region.
- Navigate to the Settings menu using the remote control or wireless mouse.
- Select Network & Internet.
- Choose your desired Wi-Fi network from the list and enter the password. The projector supports Wi-Fi 6 for faster and more stable connections.
5.3. Bluetooth Pairing
- Go to Settings > Connected Devices > Bluetooth.
- Ensure Bluetooth is enabled on both the projector and your desired audio device (e.g., wireless speakers, headphones).
- Select your device from the list of available devices to pair. The projector supports two-way Bluetooth 5.2 audio transmission.
5.4. Projector Placement
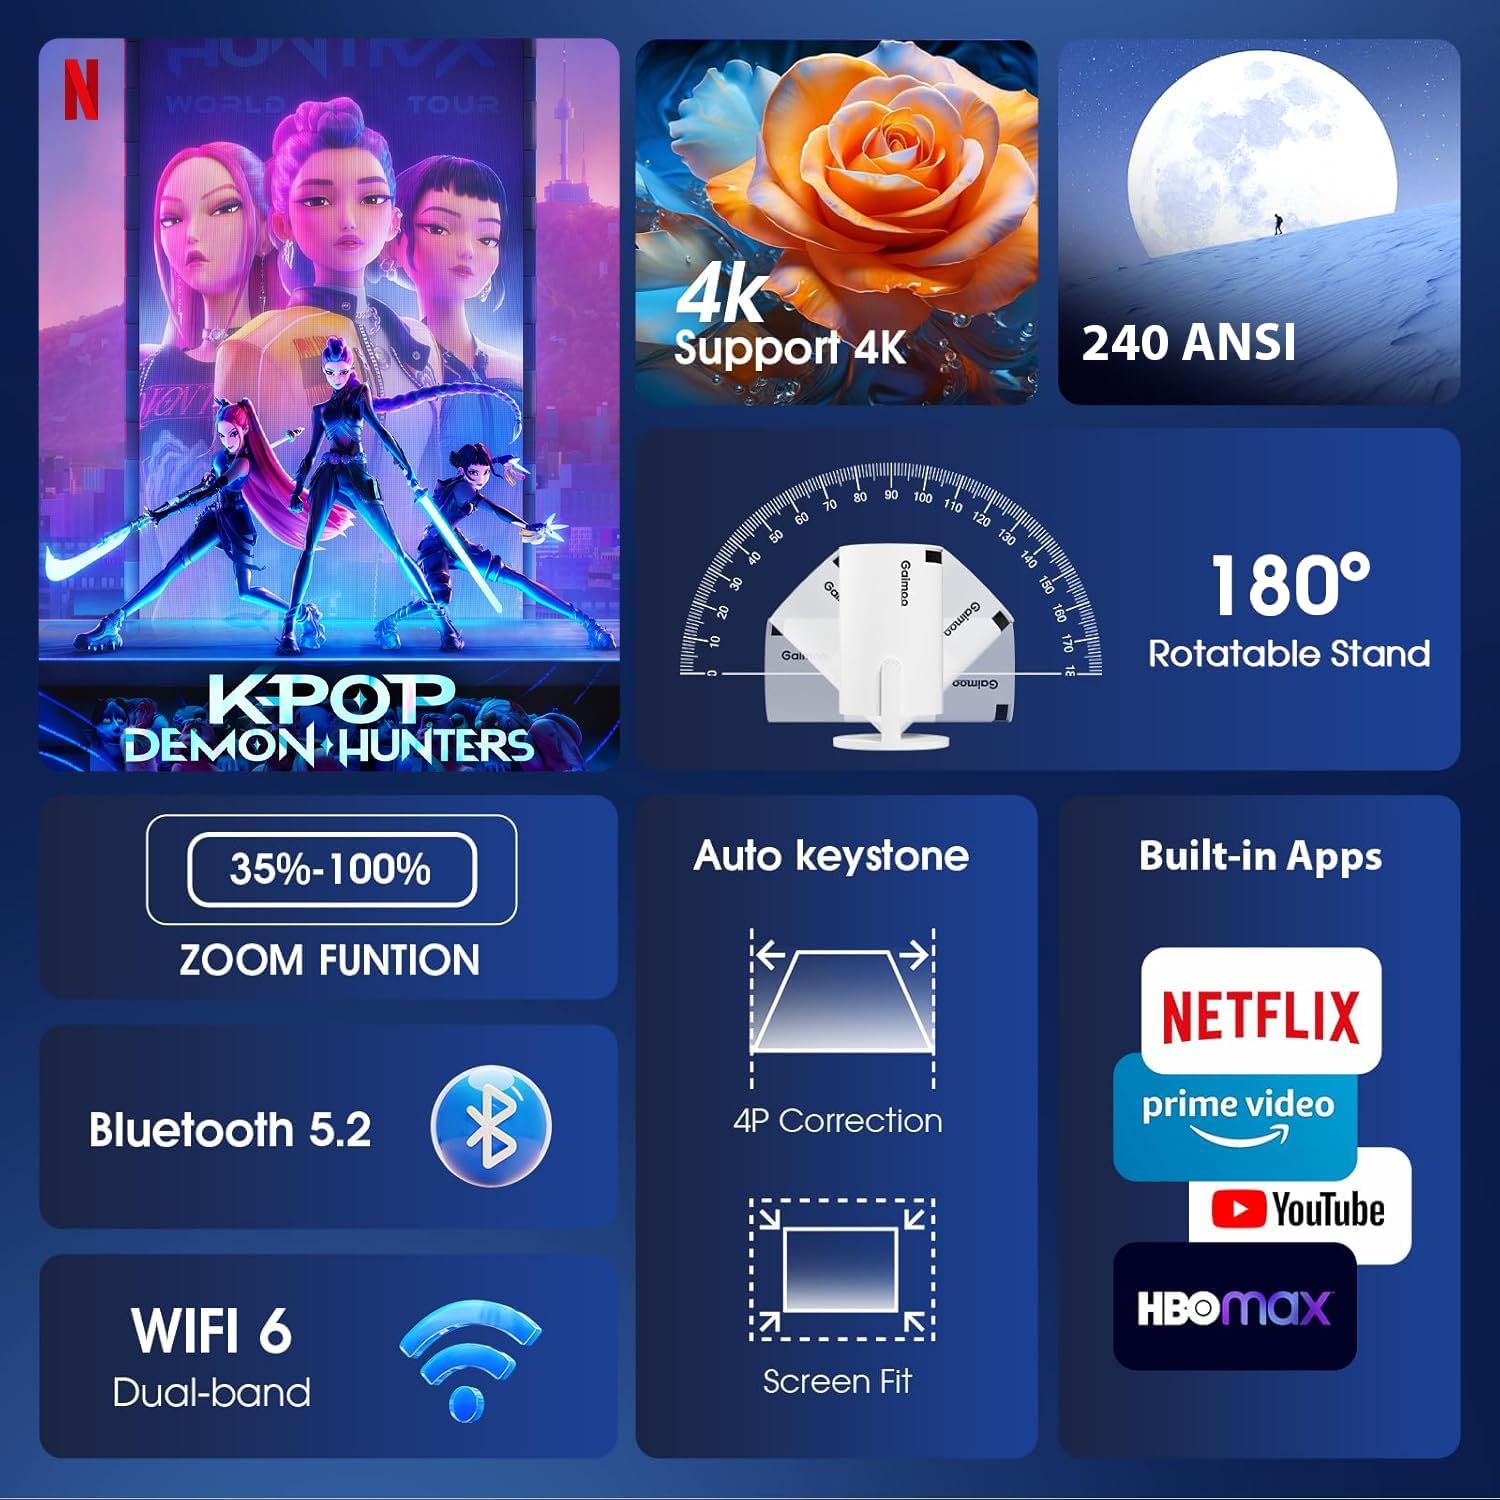
Image 5.1: Key features of the projector, including its 180° rotatable stand for flexible positioning.
- The projector features a 180° rotatable stand, allowing you to adjust the projection angle for ceiling, wall, or floor projection.
- The optimal projection distance ranges from 3 to 18 feet, producing a screen size between 35 and 120 inches.
- A 1/4-inch screw hole at the bottom supports tripod mounting, ceiling mounting, or desktop placement.
6. Operating Instructions
6.1. Basic Navigation
The projector can be controlled using the included remote control or the wireless mouse. The mouse offers more precise navigation within the Android TV OS interface.
- Remote Control: Use the directional buttons, OK button, Back button, and Home button to navigate menus and select options.
- Wireless Mouse: Plug the USB receiver into the projector's USB port. Use the mouse to point and click on screen elements, similar to a computer.
6.2. Smart TV OS and Built-in Apps
The Gaimoo GM200 comes with a built-in Android TV OS, providing access to various streaming applications.
- From the home screen, you can directly access pre-installed apps such as YouTube, Netflix, and Prime Video.
- Additional applications can be downloaded from the integrated app store.
- Ensure a stable Wi-Fi connection for optimal streaming performance.
6.3. Connecting External Devices
To project content from external sources:
- HDMI: Connect your device (e.g., laptop, TV stick, gaming console) to the projector's HDMI port using an HDMI cable. The projector will automatically detect the input or you may need to select the HDMI source from the input menu.
- USB: Insert a USB drive into the USB port. The projector's media player will typically launch, allowing you to browse and play media files.
6.4. Projection Adjustment
To achieve a clear and properly aligned image:
- Focus Adjustment: Rotate the focus wheel located on the projector to sharpen the image until it is clear.
- Auto Keystone Correction: The GM200 features automatic keystone correction to adjust the image shape if the projector is not perfectly perpendicular to the screen. This helps correct trapezoidal distortion.
- Digital Zoom: Access the digital zoom function through the settings menu to adjust the screen size between 35% and 100% without moving the projector.
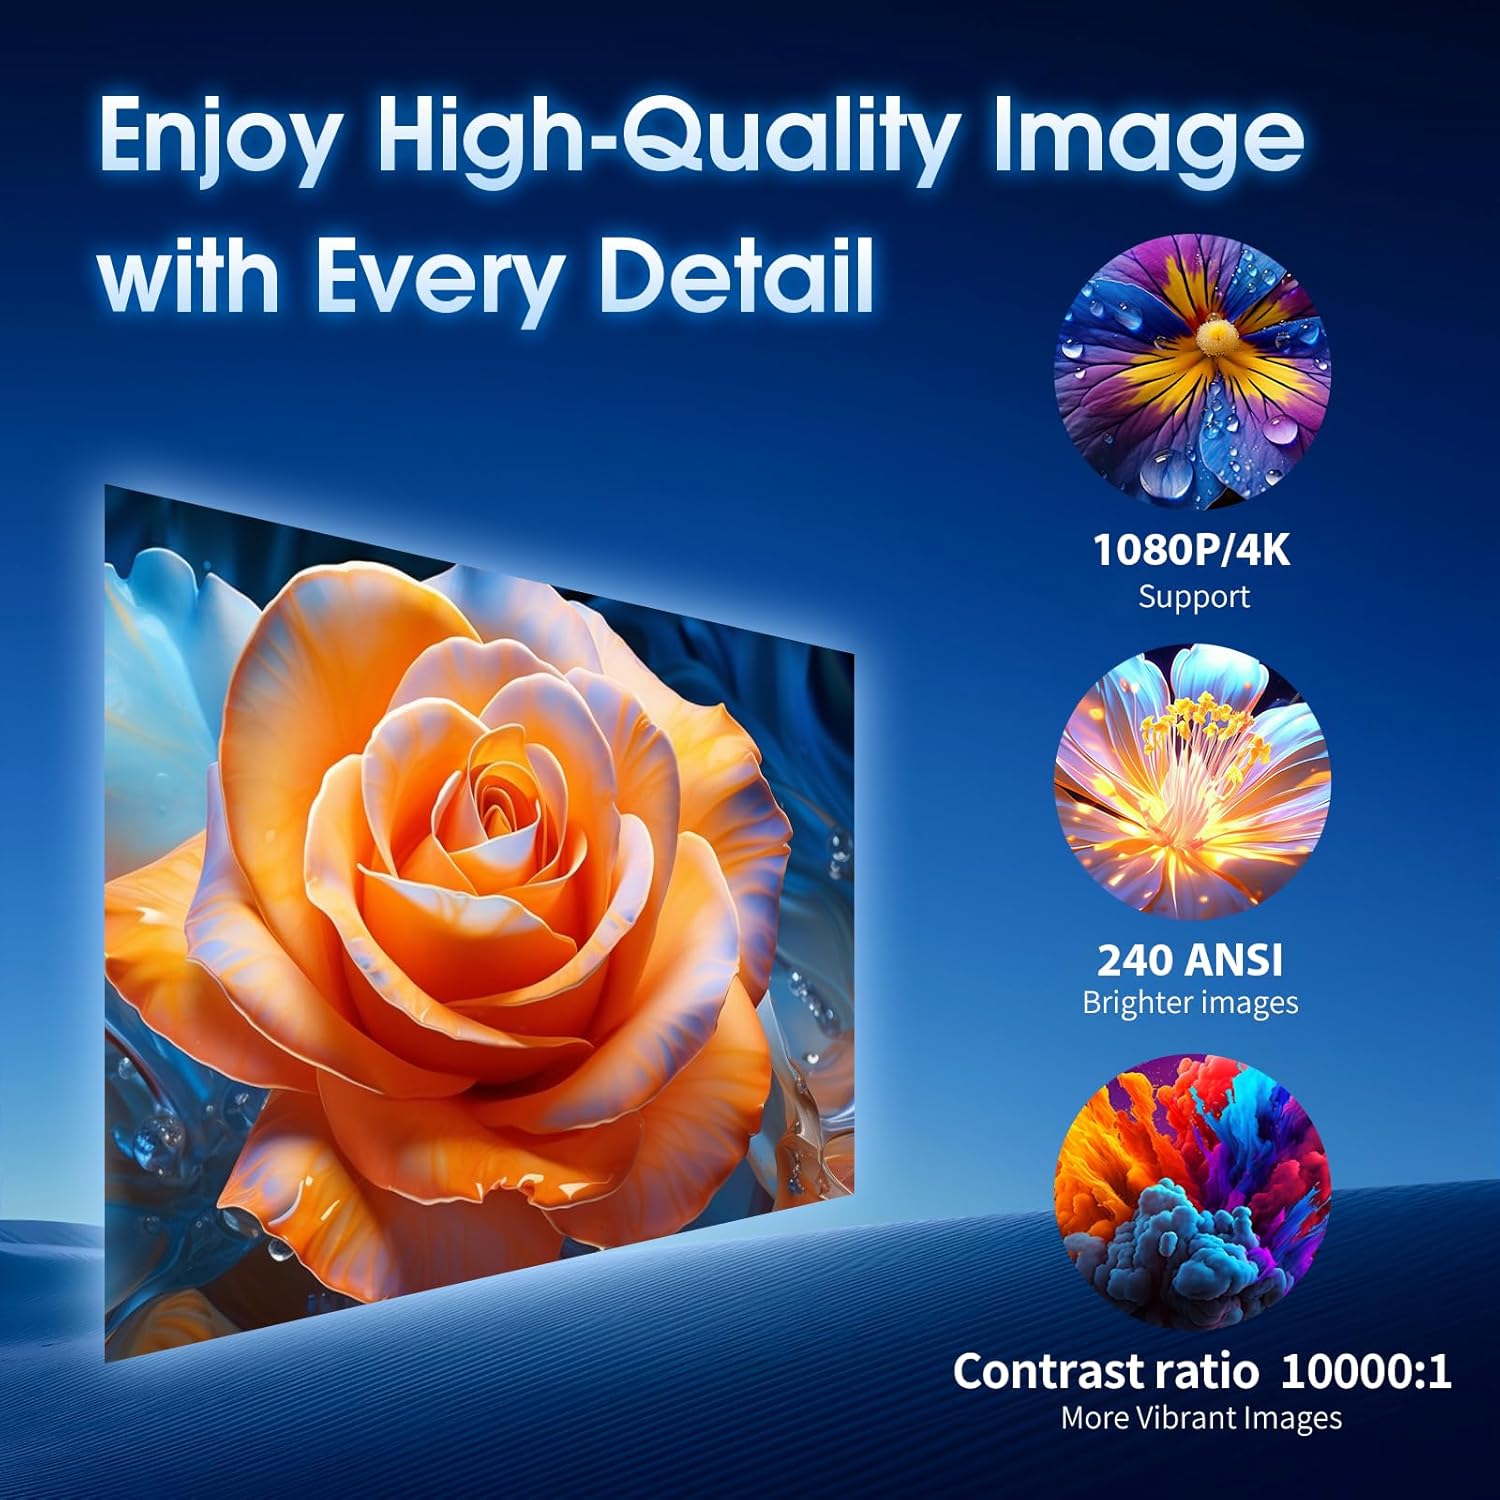
Image 6.1: Example of the high-quality image projection, demonstrating support for 4K and 1080P content.
7. Specifications
| Feature | Description |
|---|---|
| Brand | Gaimoo |
| Model Number | GM200 |
| Native Resolution | 720P (Supports 4K & 1080P playback) |
| Connectivity | WiFi 6 (Dual-band), Bluetooth 5.2 (Two-way), HDMI, USB, 3.5mm Audio Jack |
| Operating System | Built-in Android TV OS |
| Special Features | Built-in Apps, Built-in Speaker, Lightweight, Digital Keystone Correction, 180° Rotatable Stand |
| Projection Size | 35-120 inches |
| Projection Distance | 3-18 feet |
| Aspect Ratio | 1.3:1 |
| Digital Zoom | 35%-100% |
| Item Weight | 14.1 ounces |
| Product Dimensions | 3.98 x 3.98 x 7.44 inches |
8. Troubleshooting
8.1. No Power
- Ensure the power adapter is securely connected to both the projector and a working power outlet.
- Check if the power outlet is functional by plugging in another device.
- Press the power button firmly on the projector or remote control.
8.2. No Image / Blurry Image
- No Image: Verify the correct input source is selected (e.g., HDMI 1). Ensure the connected device is powered on and outputting a signal.
- Blurry Image: Adjust the focus wheel on the projector until the image is sharp.
- Distorted Image: The projector has auto keystone correction. If the image is still distorted, check the projector's position relative to the screen.
- Image Too Small/Large: Use the digital zoom function in the settings to adjust the image size.
8.3. No Sound
- Check the volume level on both the projector and the connected source device.
- If using external Bluetooth speakers, ensure they are properly paired and connected.
- If using the 3.5mm audio jack, ensure the cable is fully inserted and the external audio device is powered on.
8.4. Wi-Fi / Bluetooth Connectivity Issues
- Wi-Fi: Ensure the Wi-Fi router is within range and functioning correctly. Re-enter the Wi-Fi password if necessary.
- Bluetooth: Ensure the Bluetooth device is in pairing mode and within range. Try unpairing and re-pairing the device.
9. Maintenance
- Lens Cleaning: Gently wipe the projector lens with a soft, lint-free cloth specifically designed for optical lenses. Do not use abrasive materials or harsh chemicals.
- Dust Removal: Use a soft brush or compressed air to clean dust from the ventilation openings.
- Storage: When not in use for extended periods, store the projector in a cool, dry place, protected from dust and direct sunlight.
10. Warranty and Support
The Gaimoo GM200 Mini Projector comes with a standard manufacturer's warranty. Please refer to the warranty card included in your package for specific terms and conditions.
For technical support, troubleshooting assistance, or warranty claims, please contact Gaimoo customer service through the contact information provided on the product packaging or the official Gaimoo website.