
1. Introduction
Thank you for choosing the Signature Hardware 498628 Lentz Thermostatic Valve Trim. This manual provides essential information for the safe installation, operation, and maintenance of your new valve trim. Please read these instructions thoroughly before installation and keep them for future reference.
This product is designed to control water temperature only, requiring a separate volume control. The rough-in valve is not included with this trim kit.
2. Safety Information
WARNING: Improper installation or use can lead to injury or property damage.
- Always turn off the main water supply before beginning any plumbing work.
- If you are unsure about any part of the installation process, consult a qualified plumber.
- Wear appropriate personal protective equipment (PPE) such as safety glasses and gloves during installation.
- Ensure all connections are secure and watertight to prevent leaks.
- This product contains chemicals known to the State of California to cause cancer and birth defects or other reproductive harm (Proposition 65 warning).
3. Package Contents
Verify that all components are present before beginning installation:
- Lentz Thermostatic Valve Trim
- Mounting Hardware
- Instruction Manual (this document)
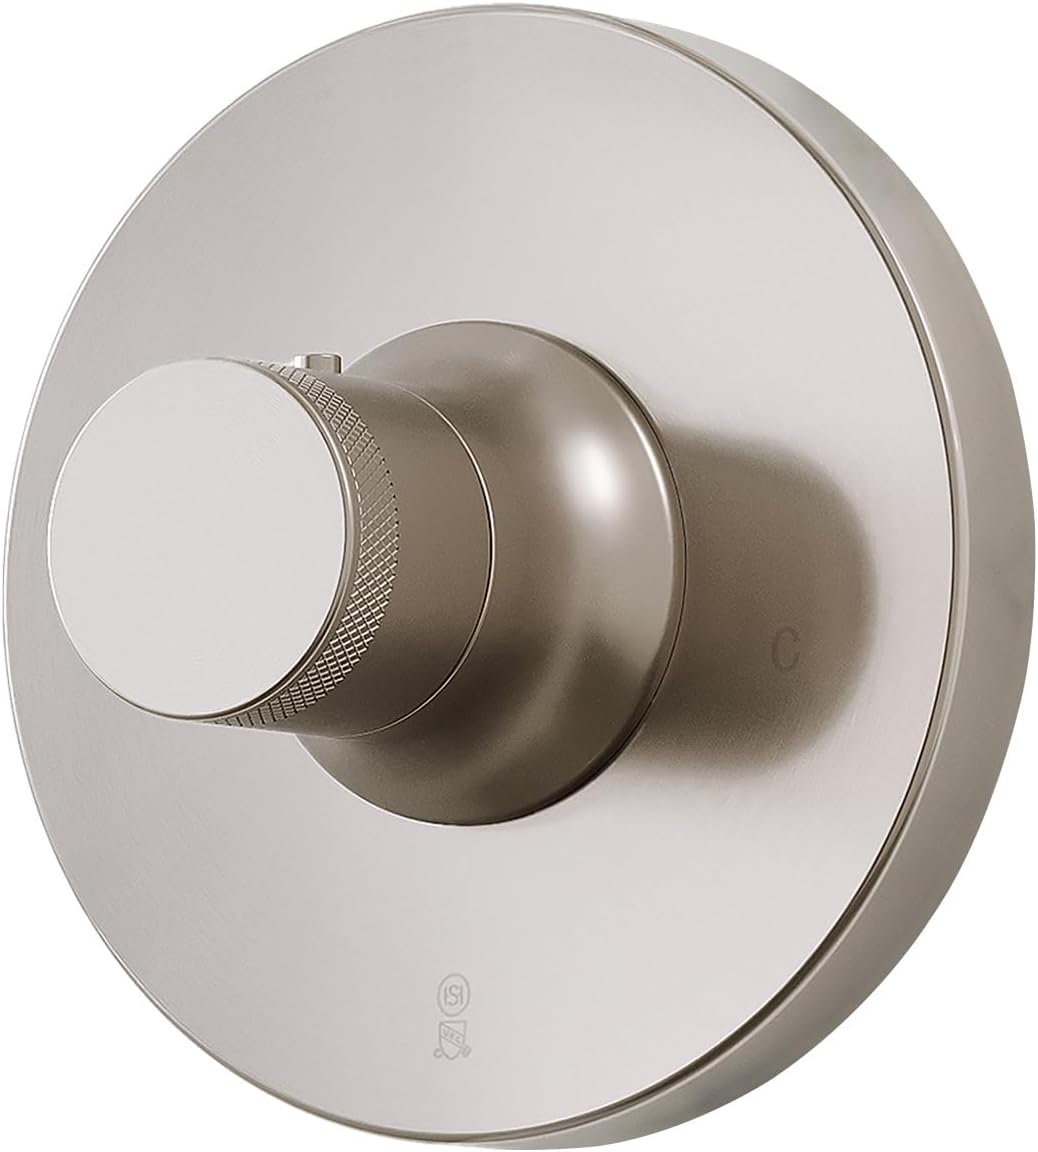
Figure 1: Signature Hardware 498628 Lentz Thermostatic Valve Trim in Brushed Nickel. This image displays the complete trim kit, including the handle and escutcheon plate, ready for installation over a compatible rough-in valve.
4. Setup and Installation
This section outlines the general steps for installing the thermostatic valve trim. Refer to the rough-in valve's specific instructions for its installation.
4.1 Tools Required (Not Included)
- Adjustable Wrench
- Screwdriver (Phillips/Flathead as needed)
- Plumber's Putty or Thread Sealant
- Measuring Tape
4.2 Installation Steps
- Prepare the Area: Ensure the rough-in valve is correctly installed and secured within the wall, and the wall finish is complete. Turn off the main water supply.
- Install Escutcheon Plate: Position the escutcheon plate over the rough-in valve body. Secure it to the wall using the provided screws. Ensure it is flush and level.
- Install Temperature Control Handle: Align the temperature control handle with the spline on the thermostatic cartridge. Push the handle onto the spline and secure it with the set screw (if applicable). Test for smooth rotation.
- Test for Leaks: Once all components are installed, slowly turn on the main water supply. Check all connections for leaks. If leaks are detected, turn off the water, tighten connections, and re-test.
Note: This trim kit is designed for temperature control only. A separate volume control is required for water flow adjustment.
5. Operating Instructions
The Lentz Thermostatic Valve Trim provides precise control over water temperature.
- Temperature Adjustment: Rotate the handle to adjust the water temperature. Turning the handle counter-clockwise typically increases the temperature, while clockwise rotation decreases it.
- Safety Stop: Most thermostatic valves include a safety stop to prevent accidental scalding. To exceed the preset maximum temperature, you may need to depress a button or override mechanism on the handle while rotating. Refer to your rough-in valve's manual for specific instructions on adjusting the temperature limit.
- Water Flow: This trim does not control water flow. Water flow is managed by a separate volume control valve (not included).
6. Care and Maintenance
Proper care will ensure the longevity and appearance of your Signature Hardware valve trim.
- Cleaning: Clean the surface with a soft, damp cloth. Avoid abrasive cleaners, harsh chemicals, or scouring pads, as these can damage the finish.
- Spot Cleaning: For stubborn spots, use a mild soap solution and rinse thoroughly with water, then dry with a soft cloth.
- Avoid Wax-Based Cleaners: Do not use cleaners containing wax, as they can build up and dull the finish.
7. Troubleshooting
If you encounter issues with your thermostatic valve trim, refer to the following common problems and solutions:
| Problem | Possible Cause | Solution |
|---|---|---|
| No water flow or low flow | Main water supply off; rough-in valve issue; separate volume control closed. | Ensure main water supply is on. Check rough-in valve and separate volume control for proper operation. |
| Incorrect water temperature | Thermostatic cartridge calibration issue; hot/cold water supply reversed. | Refer to your rough-in valve's manual for cartridge calibration or check hot/cold supply lines. |
| Leaks around the trim | Loose connections; damaged O-rings or seals. | Turn off water supply. Tighten all connections. Inspect and replace O-rings or seals if damaged. |
If the problem persists after attempting these solutions, contact Signature Hardware customer support or a qualified plumber.
8. Specifications
| Model Number | 498628 |
| Brand | Signature Hardware |
| Material | Metal |
| Valve Trim Height | 6-11/16" (bottom to top) |
| Valve Trim Width | 13/16" (left to right) |
| Item Weight | 2.67 Pounds |
| UPC | 781889999837 |
| Manufacturer Part Number | SHLZ9009LHZBN |
9. Warranty and Support
This Signature Hardware product is covered under Signature Hardware's 25-year Premier finishing process. Finishes are designed to resist corrosion and tarnishing through everyday use.
For warranty claims, technical assistance, or replacement parts, please contact Signature Hardware customer support. Keep your proof of purchase for warranty validation.
Visit the Signature Hardware Store for more information.