Introduction
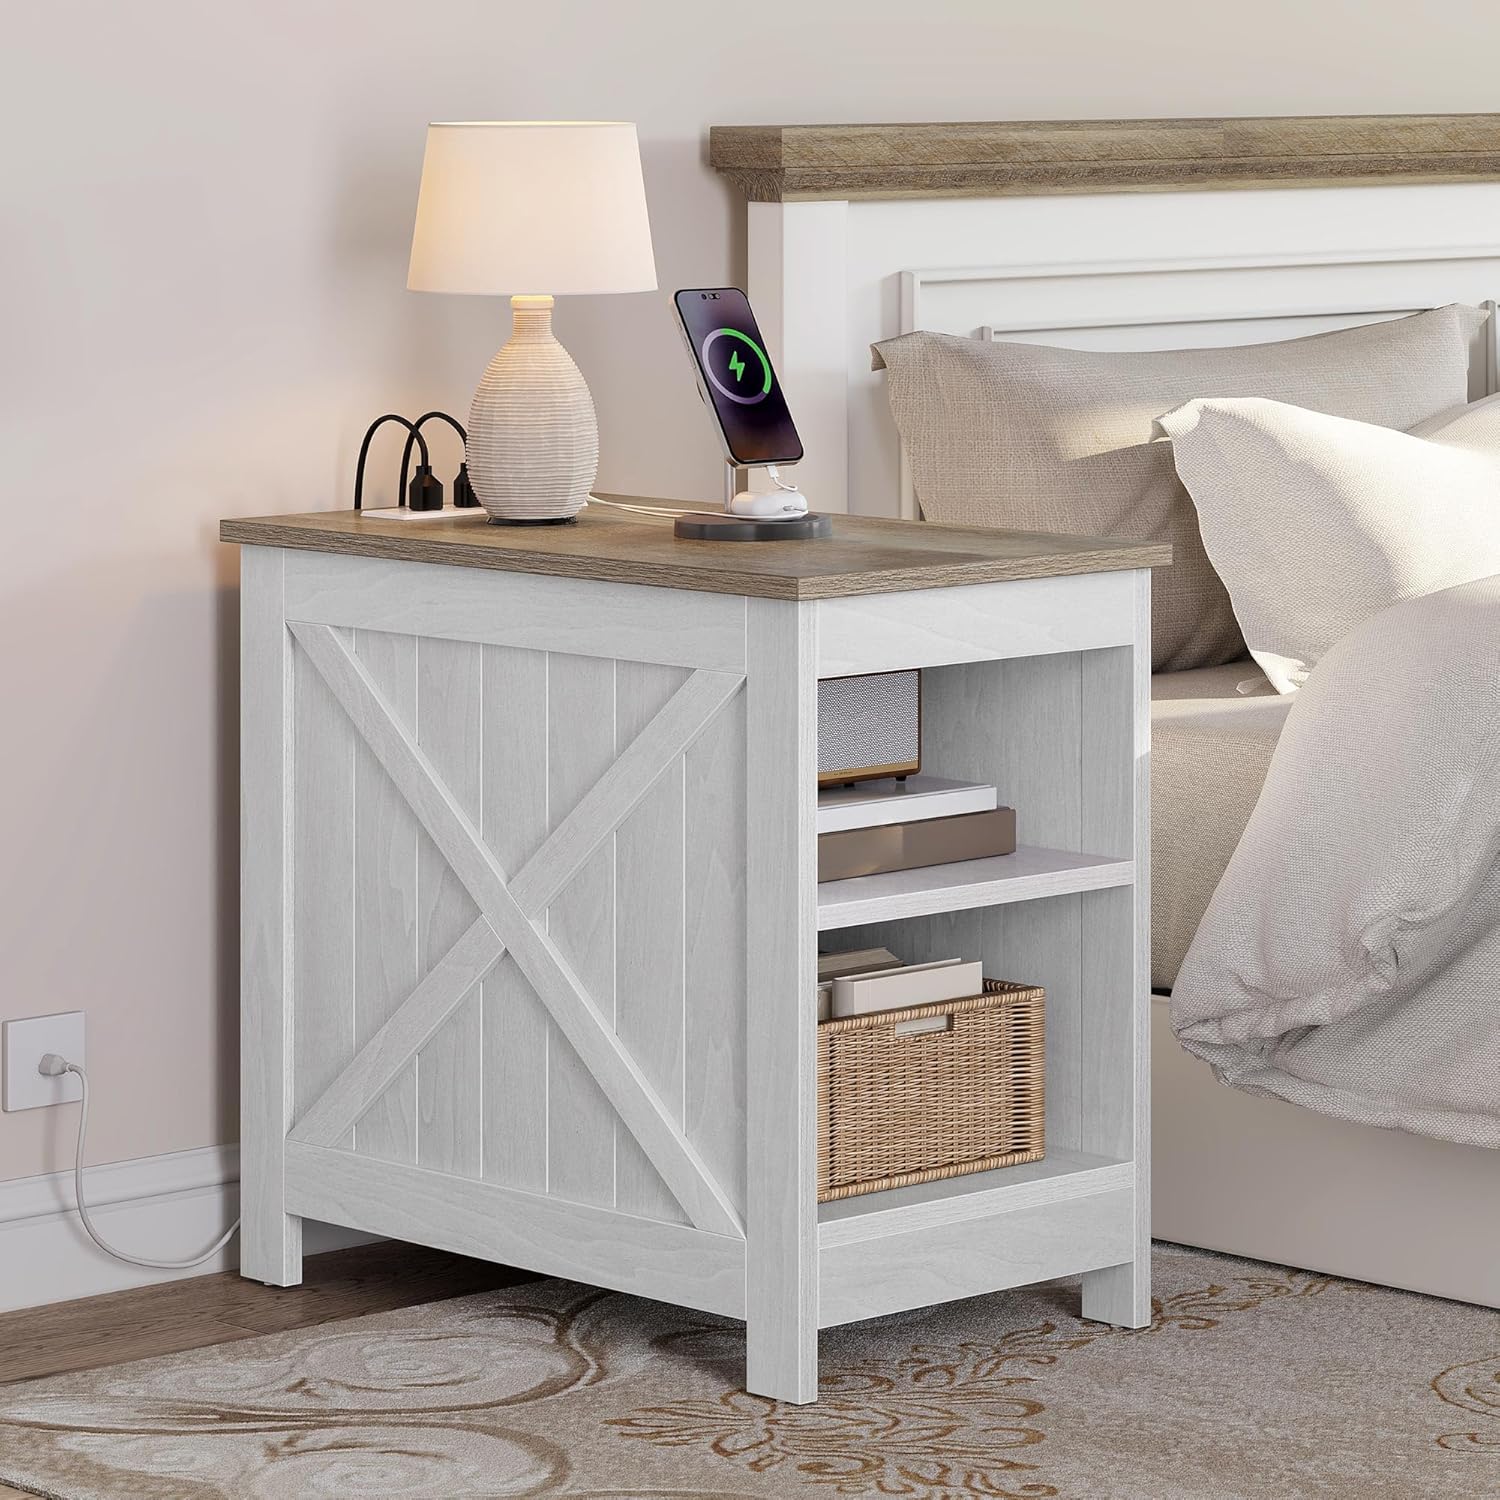
This manual provides detailed instructions for the assembly, operation, and maintenance of your YITAHOME Side Table with Power Outlet. Designed for convenience and functionality, this table offers integrated charging capabilities and ample storage for various spaces. Please read these instructions carefully before assembly and use to ensure safe and proper operation.
Safety Information
Attention: Use the side table only according to the provided instructions. Ensure the side table is placed on a stable surface and is not overloaded. Avoid placing objects on the side table that could unbalance it. Observe electrical safety guidelines when using the outlets and USB ports.
- Do not exceed the maximum weight recommendation of 75 Kilograms.
- Keep liquids away from electrical outlets and USB ports.
- Ensure all connections are secure before plugging into a wall outlet.
- Do not attempt to modify the electrical components.
Package Contents
Please verify that all components are present before beginning assembly. If any parts are missing or damaged, please contact customer support.
- Tabletop with integrated power strip
- Side panels (2) with X-shaped decor
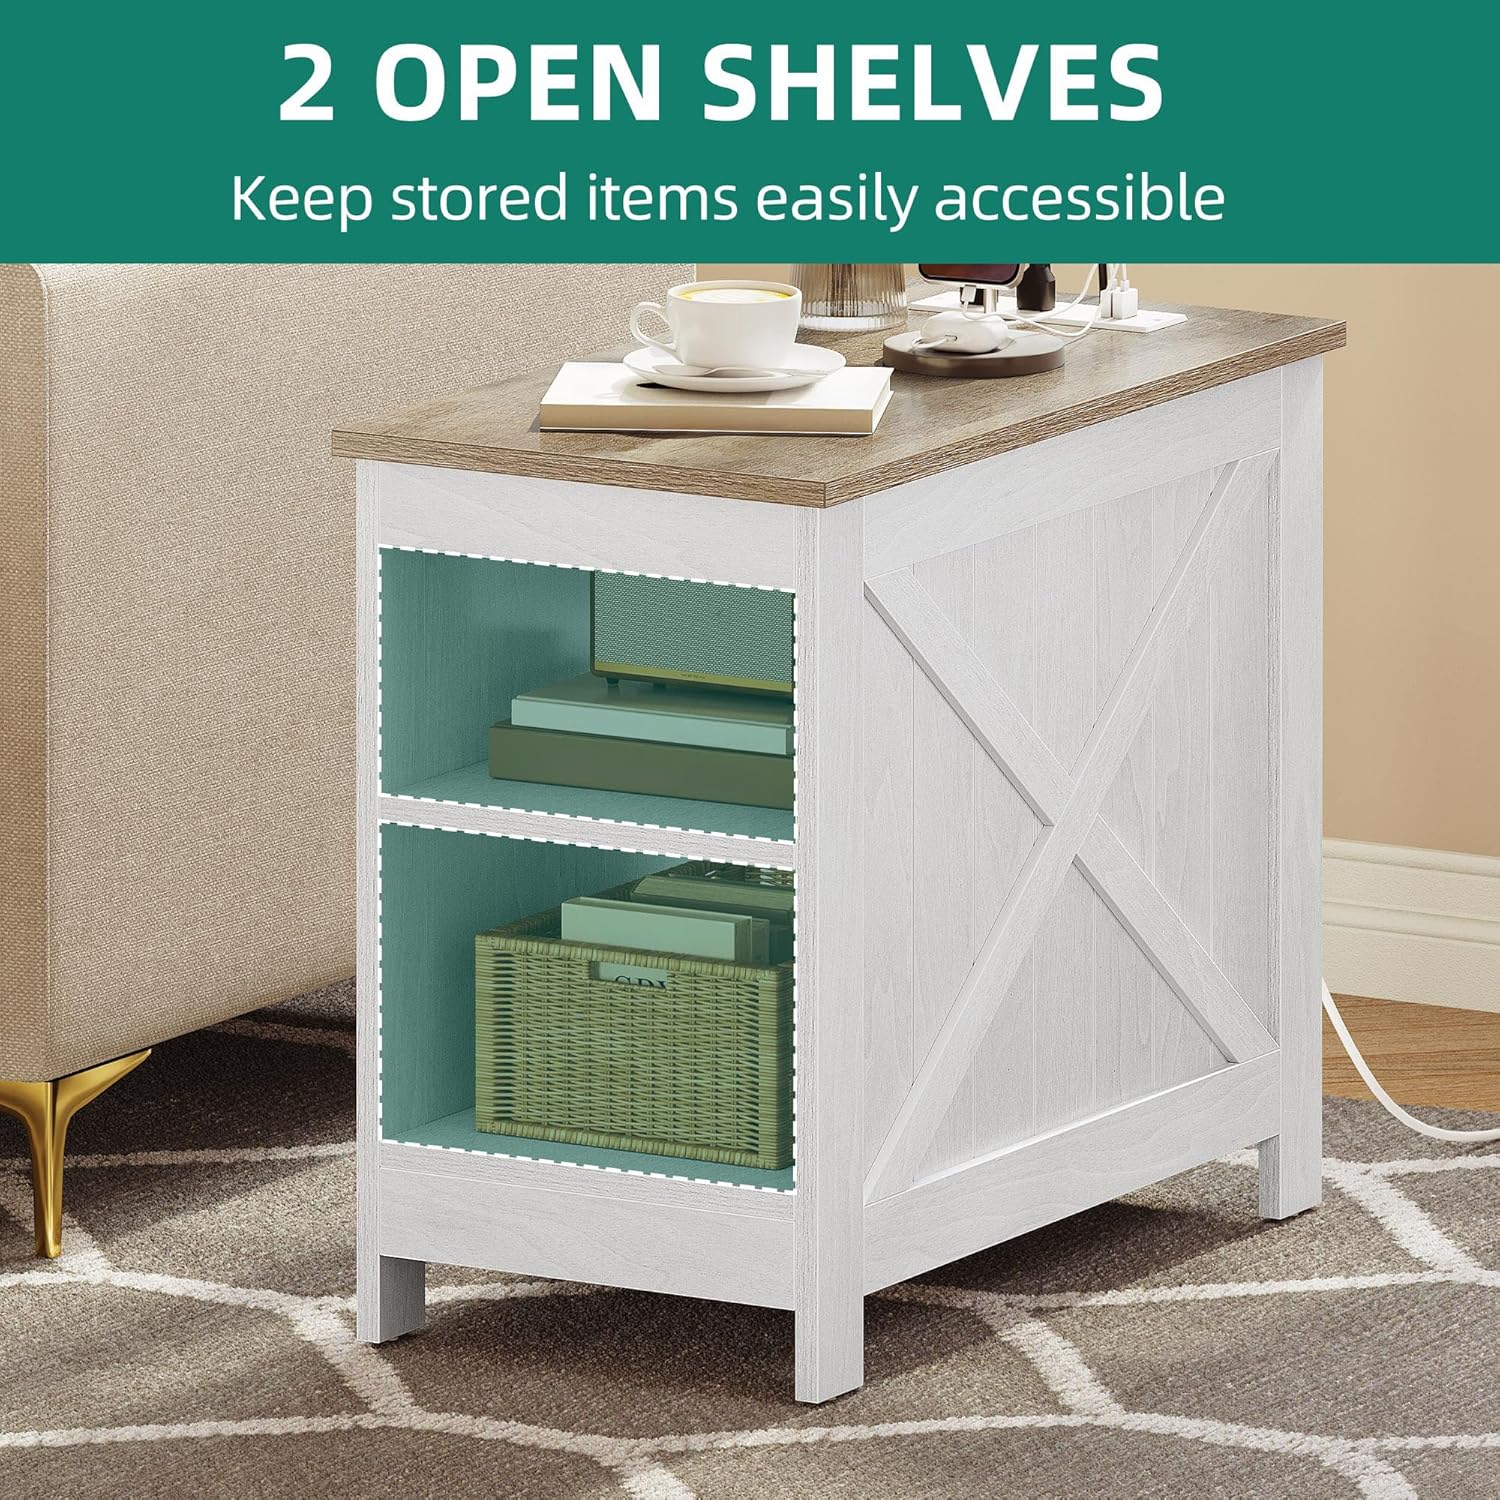
- Bottom shelf
- Middle shelf
- Support legs/feet
- Assembly hardware (screws, dowels, etc.)
- Assembly Guide
Assembly Instructions
Assembly is straightforward with pre-marked pieces and step-by-step instructions. Recommended tools include a wrench, hammer, and screwdriver.
- Unpack Components: Carefully remove all parts from the packaging and lay them out on a clean, soft surface to prevent scratches. Identify each component using the provided parts list.
- Attach Side Panels: Secure the side panels to the bottom shelf using the designated screws and dowels. Ensure the X-shaped decor faces outwards.
- Install Middle Shelf: Insert the middle shelf between the side panels, aligning it with the pre-drilled holes. Fasten securely with screws.
- Attach Tabletop: Place the tabletop onto the assembled base, ensuring the power strip is positioned as desired. Secure the tabletop to the side panels using the appropriate hardware.
- Final Check: Once assembled, gently lift and move the table to its desired location. Ensure all screws are tightened and the table is stable.


Operating Instructions
The YITAHOME Side Table features an integrated power strip for convenient charging.
- Connect to Power: Plug the 1.5-meter power cord from the side table into a standard wall electrical outlet.
- Use Electrical Outlets: The table provides two standard electrical outlets (230V/12A). Plug your devices directly into these outlets for power.
- Use USB Ports: The table includes two 5V/2A USB ports. Connect your USB-compatible devices (e.g., smartphones, tablets) to these ports for charging.

Maintenance and Care
Proper care will extend the life and appearance of your side table.
- Cleaning: Wipe the surface with a soft, damp cloth. Avoid harsh chemicals or abrasive cleaners. The surface is water-resistant and easy to clean.
- Spills: Promptly wipe up any spills to prevent damage to the wood.
- Protection: Use coasters under drinks and placemats under hot items to protect the tabletop.
- Stability: Periodically check and tighten all screws to ensure the table remains stable.
Troubleshooting
If you encounter issues with your side table, refer to the following common solutions:
- Table is wobbly: Ensure all assembly screws are securely tightened. Check that the table is on a flat, even surface. Adjust anti-slip pads if necessary.
- Power outlets/USB ports not working:
- Verify the main power cord is securely plugged into a functional wall outlet.
- Check if the wall outlet itself is receiving power (test with another device).
- Ensure the device you are trying to charge is properly connected to the outlet/USB port.
- Avoid overloading the power strip with too many high-power devices.
- Scratches on surface: While the surface is scratch-proof, extreme force can still cause damage. Use protective mats for heavy or sharp objects.
Product Specifications
| Feature | Specification |
|---|---|
| Brand | YITAHOME |
| Model Number | AEYIHDvo9w |
| Dimensions (L x W x H) | 60 x 30 x 50 cm (23.6 x 11.8 x 19.7 inches) |
| Item Weight | 12.2 Kilograms (26.9 lbs) |
| Maximum Weight Recommendation | 75 Kilograms (165 lbs) |
| Frame Material | Engineered Wood |
| Top Material Type | Wood |
| Color | White |
| Style | Farmhouse |
| Power Outlets | 2 (230V/12A) |
| USB Ports | 2 (5V/2A) |
| Power Cord Length | 1.5 meters |
| Assembly Required | Yes |
| Included Components | Assembly Guide |

Warranty Information
YITAHOME products are manufactured to high-quality standards. For specific warranty details regarding your side table, please refer to the warranty card included in your package or visit the official YITAHOME website. Keep your purchase receipt for warranty claims.
Customer Support
If you have any questions, require assistance with assembly, or need to report missing/damaged parts, please contact YITAHOME customer support through their official website or the contact information provided in your product packaging. Please have your model number (AEYIHDvo9w) and purchase details ready when contacting support.
YITAHOME Official Website: Visit YITAHOME Store on Amazon


