1. Introduction
This manual provides detailed instructions for the setup, operation, and maintenance of your Bmax B1 Mini PC. Please read this manual thoroughly before using the device to ensure proper functionality and longevity.
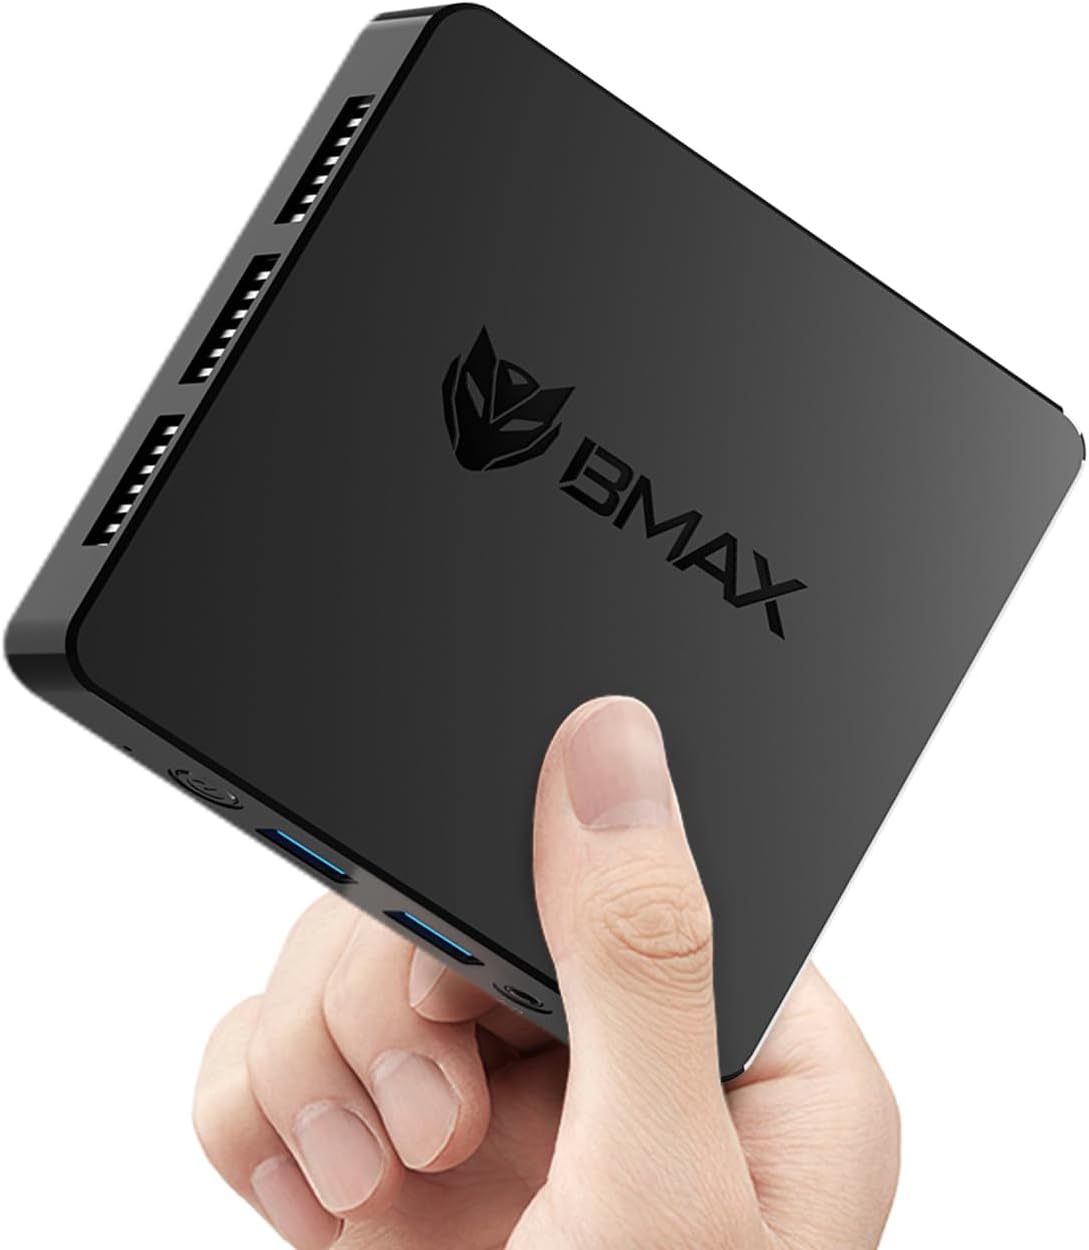
Image 1.1: The Bmax B1 Mini PC, demonstrating its compact and portable design.
Package Contents
Verify that all items are present in the package:
- Bmax B1 Mini PC
- Power Adapter
- HDMI Cable
- User Manual (this document)
2. Product Overview
The Bmax B1 Mini PC is a compact desktop computer designed for various applications, from office work to home entertainment. It features an Intel Gemini Lake N4000 processor, 8GB LPDDR4 RAM, and 128GB eMMC storage.

Image 2.1: Key features and specifications of the Bmax B1 Mini PC.
Port Layout
Familiarize yourself with the available ports on your Bmax B1 Mini PC:

Image 2.2: Port configuration on the Bmax B1 Mini PC.
- DC Power In: Connects to the power adapter.
- USB 3.0 Ports (x2): For high-speed data transfer with compatible devices.
- USB 2.0 Ports (x2): For connecting peripherals like keyboards, mice, or printers.
- HDMI Ports (x2): Supports dual 4K display output.
- RJ45 Ethernet Port: For wired network connection (1000Mbps LAN).
- 3.5mm Headset Jack: For audio output to headphones or speakers.
- Power Button: To turn the device on/off.
- Power Indicator: LED light indicating power status.
Dimensions and Weight

Image 2.3: Physical dimensions and weight of the Bmax B1 Mini PC.
The Bmax B1 Mini PC measures approximately 4.25 (L) x 4.17 (W) x 0.87 (H) inches (10.8 x 10.6 x 2.2 cm) and weighs around 1.37 pounds (0.62 kg), making it highly portable and space-efficient.
3. Setup Guide
3.1 Initial Connection
- Connect to Display: Use an HDMI cable to connect the Mini PC to your monitor or TV. The device supports up to two displays simultaneously.
- Connect Peripherals: Plug in your USB keyboard and mouse into the available USB ports.
- Connect to Network (Optional): For a wired connection, connect an Ethernet cable to the RJ45 port. For wireless, Wi-Fi 5 (802.11a/b/g/n/ac) is built-in.
- Connect Power: Plug the power adapter into the DC Power In port on the Mini PC, then connect the adapter to a power outlet.
3.2 First Boot
- Press the Power Button on the Mini PC. The power indicator light will illuminate.
- The device comes with Windows 11 Pro pre-installed. Follow the on-screen instructions to complete the initial Windows setup, including language, region, and user account creation.
- The Mini PC also supports Linux/Ubuntu operating systems, allowing for flexible OS installation if desired.
3.3 Placement Options
The compact design of the Bmax B1 Mini PC allows for versatile placement options:

Image 3.1: Various placement options for the Bmax B1 Mini PC.
- Desk Placement: Simply place the Mini PC on your desk.
- All-in-One Setup: Mount the Mini PC behind a compatible monitor using a VESA mount (not included) for a clean, integrated workspace.
- Wall Mounting: Secure the Mini PC to a wall using appropriate mounting hardware (not included) to save desk space.
4. Operating Instructions
4.1 Multi-Display Setup
The Bmax B1 Mini PC supports connecting up to two monitors simultaneously via its two HDMI ports, enabling extended desktop or mirrored display configurations. Ensure your monitors are connected before powering on the device for optimal detection.
4.2 Storage Expansion
The internal storage can be expanded by adding an M.2 2280 SATA SSD (up to 2TB, not included). This allows for increased storage capacity for applications and data.

Image 4.1: The M.2 SATA 2280 slot for additional storage.

Image 4.2: Steps for installing an M.2 SATA SSD for storage expansion.
To install an M.2 SATA SSD:
- Power off the Mini PC and disconnect all cables.
- Locate the screws on the bottom cover of the device.
- Carefully remove the screws and open the bottom cover.
- Insert the M.2 2280 SATA SSD into the designated slot.
- Secure the SSD with the provided screw (if applicable).
- Replace the bottom cover and secure it with the screws.
4.3 Power Management Features
The Mini PC includes several power management features:
- Auto-boot: Configurable to automatically power on when connected to power.
- Wake-on-LAN (WoL): Allows the device to be powered on remotely via a network signal.
- PXE Boot: Enables booting from a network server.
- Wake-on-RTC: Allows scheduling the device to power on at a specific time.
These settings can typically be configured within the BIOS/UEFI settings of the Mini PC.
5. Maintenance
5.1 Cooling System
The Bmax B1 Mini PC features a built-in smart cooling system (fan + heat sink + hard drive cooler) to maintain optimal operating temperatures. Ensure that the ventilation openings are not obstructed to allow for proper airflow.
5.2 Software Updates
Regularly update your operating system and drivers to ensure system stability, security, and performance. For system updates, it is recommended to use a stable wired internet connection to avoid potential wireless issues during the update process. If you encounter difficulties, contact Bmax support for assistance.
6. Troubleshooting
6.1 Common Issues
- No Display:
- Ensure the HDMI cable is securely connected to both the Mini PC and the monitor.
- Verify the monitor input source is set correctly (e.g., HDMI 1, HDMI 2).
- Check if the power adapter is properly connected and the power indicator light is on.
- No Power:
- Confirm the power adapter is fully plugged into both the Mini PC and the wall outlet.
- Test the power outlet with another device to ensure it is functional.
- Slow Performance:
- Close unnecessary applications running in the background.
- Ensure the Mini PC has adequate ventilation and is not overheating.
- Check for available operating system updates.
6.2 One-Click Recovery
The Bmax B1 Mini PC features a one-click smart recovery function. This allows you to restore the device to its factory settings quickly. Refer to the specific instructions provided by Bmax for accessing and utilizing this feature, as it may vary based on the pre-installed operating system configuration.
7. Specifications
| Feature | Detail |
|---|---|
| Processor | Intel Celeron N4000 (Dual Core, 1.1 GHz base, up to 2.6 GHz burst) |
| Graphics | Intel UHD Graphics 600 |
| RAM | 8GB LPDDR4 (2133 MHz) |
| Internal Storage | 128GB eMMC SSD |
| Expandable Storage | 1x M.2 2280 SATA SSD slot (up to 2TB, not included) |
| Operating System | Windows 11 Pro (pre-installed), supports Linux/Ubuntu |
| Wireless Connectivity | Wi-Fi 5 (802.11a/b/g/n/ac Dual-Band), Bluetooth 5.0 |
| Wired Connectivity | 1x RJ45 Gigabit Ethernet (1000Mbps) |
| USB Ports | 2x USB 3.0, 2x USB 2.0 |
| Video Output | 2x HDMI (supports dual 4K display) |
| Audio Output | 1x 3.5mm Headset Jack |
| Dimensions (L x W x H) | 4.25 x 4.17 x 0.87 inches (10.8 x 10.6 x 2.2 cm) |
| Weight | Approximately 1.37 pounds (0.62 kg) |
| Power Source | DC Power Adapter |
8. Warranty and Support
The Bmax B1 Mini PC comes with a 12-month warranty. For technical assistance, troubleshooting, or warranty claims, please contact Bmax customer support. They offer 24/7 one-on-one support.
For the latest support information and contact details, please refer to the official Bmax website or the contact information provided with your purchase.


