
Sylviera 8x10FT Greenhouse Kit
Contents
Sylviera 8x10FT Polycarbonate Greenhouse Kit Instruction Manual
Model: 8x10FT Greenhouse Kit
1. Introduction
Thank you for choosing the Sylviera 8x10FT Polycarbonate Greenhouse Kit. This manual provides essential information for the safe and efficient assembly, operation, and maintenance of your new greenhouse. Please read all instructions carefully before beginning assembly and retain this manual for future reference.
This greenhouse is designed to provide an optimal environment for plant growth, featuring a durable aluminum frame, UV-resistant polycarbonate panels, and excellent ventilation. Proper assembly and care will ensure years of reliable use.


2. Safety Information
WARNING: Failure to follow these safety instructions may result in injury or damage to the product.
- Always wear appropriate safety gear, including gloves and eye protection, during assembly.
- Ensure the assembly area is clear of obstructions and children.
- Do not attempt to assemble the greenhouse alone. Two or more people are recommended for safe installation.
- Securely anchor the greenhouse to the ground to prevent wind damage.
- Do not climb on the greenhouse structure or roof.
- Keep all electrical tools and cords away from water.
- Regularly inspect the greenhouse for loose parts or damage and address them promptly.
- Remove protective film from panels during installation as instructed.
3. Package Contents
Before beginning assembly, verify that all parts are present and undamaged. Refer to the detailed parts list provided in your physical manual. Key components include:
- Reinforced Aluminum Alloy Frame components
- 4mm thick, 580g Double-Wall Polycarbonate Panels
- Adjustable Roof Vents
- Lockable Door components
- Drainage Channel components
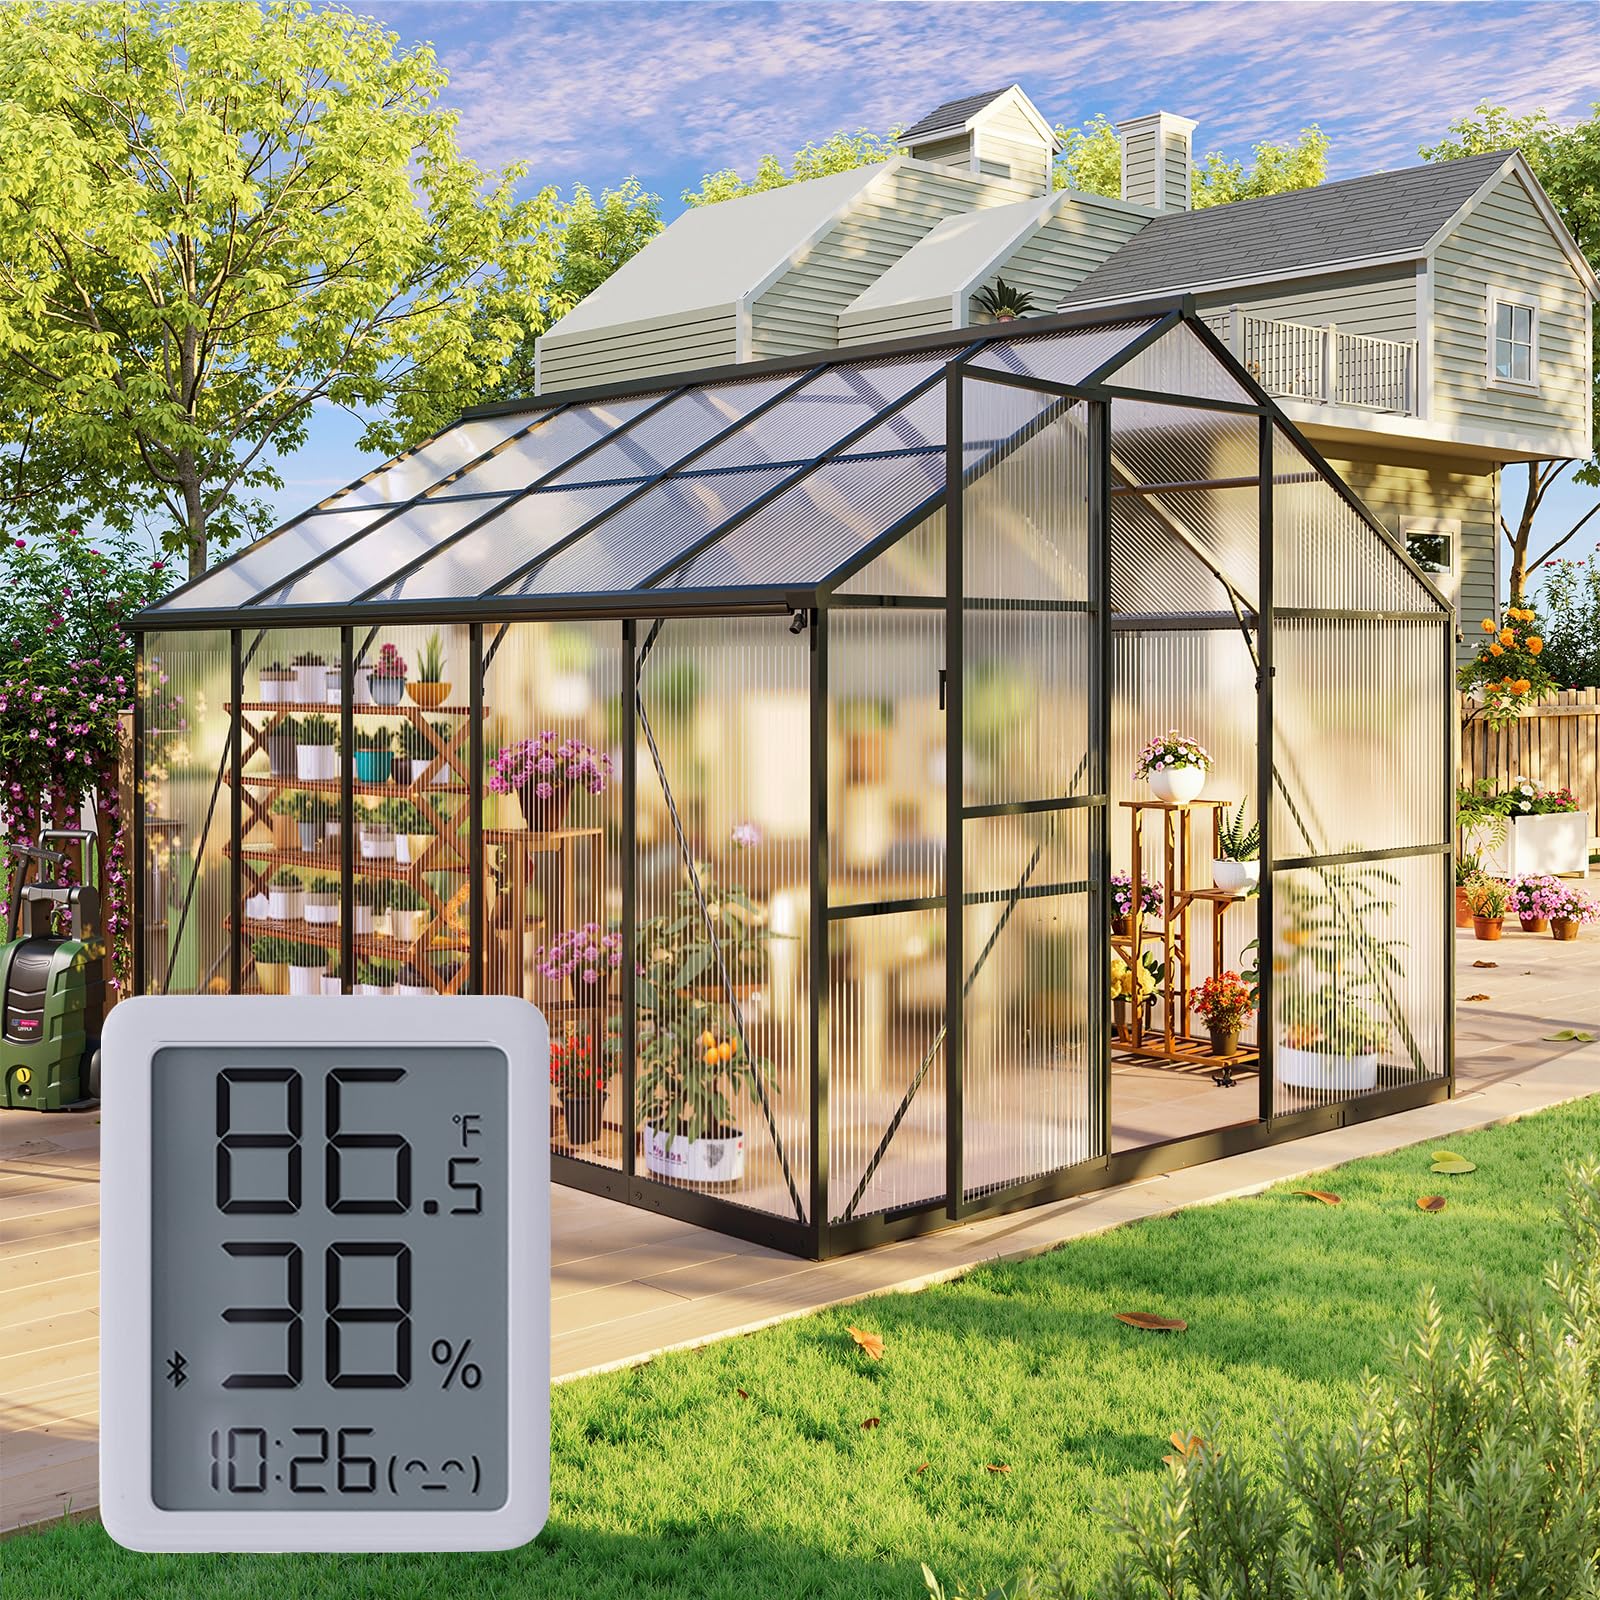
- Hygrometer (if included with your model)
- All necessary screws, washers, and connectors (labeled for easy identification)
If any parts are missing or damaged, please contact Sylviera customer support.
4. Setup & Assembly
Follow these steps for proper assembly. It is highly recommended to have at least two people for this process.
4.1 Site Preparation
- Choose a level spot with enough space for your greenhouse.
- Clear the area of any debris, rocks, or vegetation.
- Ensure good drainage around the chosen site.
4.2 Base Frame Assembly
Assemble the bottom frame components as shown in the diagram. Ensure all connections are secure.

Video Guide: Two Methods for Installing Greenhouse Base Fixing Parts
Video 1: Demonstrates two methods for securely fixing the greenhouse base to the ground, including using screws for hard surfaces and hammering anchors for softer ground.
4.3 Column Installation
Install the vertical column components into the base frame. Pay close attention to the orientation of each column as indicated in the instructions.
Video Guide: Installation guide for Columns
Video 2: Step-by-step instructions for installing the vertical columns of the greenhouse frame, highlighting correct part identification and secure fastening.
4.4 Panel Installation (Side and Top)
Carefully insert the polycarbonate panels into the frame grooves. Ensure the protective film is removed from both sides of each panel during installation. Secure panels with the provided screws.

Video Guide: Installation guide of the Side Panel
Video 3: Detailed guide on how to install the side polycarbonate panels into the greenhouse frame, emphasizing proper groove insertion and securing.
Video Guide: Installation Method for the Greenhouse Side PC Panels
Video 4: Shows the process of installing the side PC panels, including inserting them into grooves and securing them with structural components.
4.5 Roof Vent Installation
Assemble and install the roof vents. These are crucial for proper ventilation and temperature regulation.
Video Guide: Installation guide for C3 (Roof Vent Mechanism)
Video 5: Instructions for assembling and installing the C3 component, which is part of the roof vent mechanism, ensuring proper functionality.
4.6 Drainage Channel Installation
Install the aluminum alloy drainage gutters to collect rainwater. This system helps manage water runoff and can be used for water collection.

4.7 Door Installation
Assemble and install the lockable door. Ensure it opens and closes smoothly and latches securely.
5. Operating Instructions
5.1 Ventilation
The greenhouse includes adjustable roof vents to promote airflow and maintain optimal temperature. Open the vents during warmer periods to release excess heat and humidity. Close them during cooler weather or rain to retain heat.
5.2 Door Usage
The door is lockable to secure your plants. Ensure the door is properly closed and latched when not in use to maintain the internal climate and protect against pests.
5.3 Hygrometer (if applicable)
If your kit includes a hygrometer, use it to monitor the internal temperature and humidity levels. Adjust ventilation and watering as needed to create an ideal environment for your specific plants.

6. Maintenance
- Cleaning: Regularly clean the polycarbonate panels with mild soap and water to ensure maximum light transmission. Avoid abrasive cleaners that could scratch the panels.
- Frame Inspection: Periodically check all frame connections and screws for tightness. Tighten any loose fasteners to maintain structural integrity.
- Drainage System: Keep the drainage channels clear of leaves and debris to ensure proper water flow.
- Panel Integrity: Inspect panels for any cracks or damage. Replace damaged panels promptly to maintain insulation and UV protection.
- Winter Care: During heavy snowfall, gently remove snow from the roof to prevent excessive weight buildup. The greenhouse is designed to handle snow load, but excessive accumulation should be avoided.

7. Troubleshooting
| Problem | Possible Cause | Solution |
|---|---|---|
| Greenhouse feels unstable. | Loose frame connections or inadequate anchoring. | Check and tighten all screws. Ensure the base is securely anchored to the ground. Consider adding silicone sealant to panel gaps for extra rigidity. |
| Water leakage. | Improperly seated panels or gaps in seals. | Verify all panels are correctly inserted into grooves. Apply silicone sealant (not included) to any persistent gaps. |
| Poor ventilation/temperature control. | Roof vents not adjusted correctly or blocked. | Ensure roof vents are open during warm periods. Check for any obstructions preventing airflow. |
| Difficulty with door operation. | Misaligned door frame or debris in tracks. | Inspect door frame for proper alignment. Clear any debris from the door tracks. |
8. Specifications
- Model: 8x10FT Greenhouse Kit
- Brand: Sylviera
- Product Dimensions (L x W x H): 119.29" x 97.24" x 80.71"
- Frame Material: Aluminum
- Panel Material: 4mm thick, 580g Double-Wall Polycarbonate (UV-Resistant)
- Color: Black
- Features: Adjustable Roof Vents, Lockable Door, Drainage Channel, Hygrometer (included)
- UPC: 783430957730

9. Warranty & Support
For warranty information and customer support, please refer to the documentation included with your product packaging or visit the official Sylviera website. Keep your purchase receipt as proof of purchase.
Sylviera Customer Service: For assistance, please visit the Sylviera Store on Amazon.
Ask a question about this manual
Ask about setup, troubleshooting, compatibility, parts, safety, or missing instructions. Manuals+ will review the question and use this page’s manual context to help answer it.