1. Introduction and Overview
Thank you for choosing the X-PRO Kauai 150cc Moped. This manual provides essential information for the safe assembly, operation, and maintenance of your new moped. Please read it thoroughly before beginning assembly or operation to ensure proper use and longevity of your vehicle.
The X-PRO Kauai 150cc Moped is equipped with a 149.6cc, air-cooled, 4-stroke engine, designed for efficient and reliable urban commuting and recreational use. It features a DC ignition system for improved starting performance and comes with lightweight 12"/10" aluminum wheels, which are significantly lighter than traditional steel wheels, contributing to overall vehicle performance.

Figure 1.1: X-PRO Kauai 150cc Moped (White)
2. Assembly Instructions
Some assembly is required for your X-PRO Kauai 150cc Moped. This section will guide you through the necessary steps. It is recommended to have assistance during the uncrating and initial setup phases.
Video 2.1: X-PRO 150 Moped Assembly Guide (Duration: 15:13)
2.1. Uncrating and Component Identification
Carefully cut the straps securing the cardboard box. Lift the cardboard box off the metal frame. Use a power drill to remove the bolts securing the moped to the metal frame. Remove all bubble wrap and protective packaging from the moped and its components. Identify all parts, including the front wheel, front fender, handlebars, rear shock, and battery.

Figure 2.1.1: Moped in its shipping box.
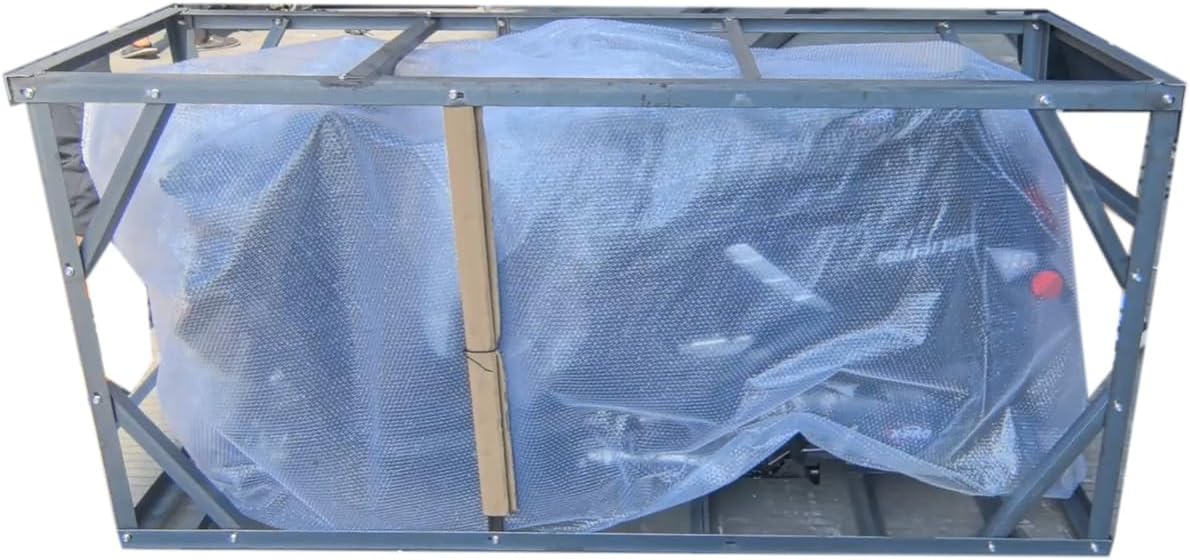
Figure 2.1.2: Moped secured within the metal frame.
2.2. Front Fender Installation
Locate the front fender and the corresponding bolts. Align the fender with the mounting points on the front fork and secure it using the provided bolts. Ensure a snug fit.
2.3. Handlebar Installation
Carefully position the handlebars onto the steering column. Secure them using the designated bolts and nuts. Ensure all cables are free from pinching or obstruction.
2.4. Front Wheel Installation
Install the front wheel by aligning the brake disc with the caliper. Insert the axle through the wheel and fork, securing it with the appropriate nuts. Connect the speedometer cable to the hub odometer counter.

Figure 2.4.1: Front view of the moped, highlighting the front wheel and lights.
2.5. Rear Shock Installation
Attach the rear shock absorber to its designated mounting points on the frame and swingarm. Ensure all bolts are tightened securely.
2.6. Rear Brake Cable Connection
Connect the rear brake cable to the rear brake mechanism. Adjust the tension as needed to ensure proper braking function.
2.7. Front Fairing Installation
Carefully align the front fairing with the moped's body and secure it using the provided screws. Ensure all clips are properly engaged for a flush fit.
2.8. Front Light Connections
Connect the wiring harnesses for the front LED lights. Ensure all connections are secure and properly seated.
2.9. Footrest Mat Installation
Place the footrest mat onto the footboard, ensuring it aligns with the designated holes. Secure it with the appropriate screws.
2.10. Rear Rack Installation
Mount the rear rack to the designated points at the rear of the moped. Use the provided bolts and tighten them firmly.
2.11. Battery Installation and Connection
Locate the battery compartment. Carefully place the battery inside. Connect the positive (+) terminal (red wire) first, then the negative (-) terminal (black wire). Ensure connections are tight to prevent electrical issues.
2.12. Mirror Installation
Screw the rearview mirrors into the designated mounting points on the handlebars. Adjust them to provide a clear view of the rear.
3. Operating Instructions
Before operating the moped, ensure all assembly steps are complete and all components are securely fastened. Always wear appropriate safety gear, including a helmet.
- Pre-Ride Check: Inspect tires for proper inflation, check brake functionality, ensure all lights are working, and verify fuel levels.
- Starting the Moped: Insert the key into the ignition and turn it to the 'ON' position. Ensure the safety switch is in the 'ON' position. Hold the brake lever and press the electric start button.
- Riding: Familiarize yourself with the throttle and brake controls. Accelerate smoothly and apply brakes gradually.
- Parking: Use the kickstand or center stand to park the moped on a stable, level surface. Turn the ignition to 'OFF' and remove the key.
4. Maintenance
Regular maintenance is crucial for the performance and safety of your moped.
- Oil Changes: Refer to the engine manufacturer's recommendations for oil type and change intervals.
- Tire Pressure: Check tire pressure regularly and maintain recommended levels for optimal handling and tire life.
- Brake Inspection: Periodically inspect brake pads and fluid levels. Adjust or replace as necessary.
- Chain/Belt Inspection: Check the drive chain or belt for proper tension and lubrication.
- General Cleaning: Keep the moped clean to prevent corrosion and maintain its appearance.
5. Troubleshooting
This section covers common issues and their potential solutions.
- Moped won't start: Check fuel level, ensure ignition is ON, safety switch is ON, and brake lever is held. Verify battery connections.
- Lights not working: Check bulb integrity and wiring connections.
- Brakes feel spongy: May indicate low brake fluid or air in the brake lines. Consult a qualified technician.
- Unusual noises: Investigate the source of the noise. Could be loose components or mechanical issues.
6. Specifications
| Specification | Detail |
|---|---|
| Brand | X-PRO |
| Model Number | MC-Y02 |
| Engine Type | 149.6cc, Air-cooled, 4-stroke |
| Ignition System | DC Ignition |
| Wheel Size | 12"/10" Aluminum Wheels |
| Product Dimensions | 73"D x 28"W x 42.7"H |
| Material | Plastic |
| Operation Mode | Manual, Electric |
7. Warranty and Support
For warranty information, technical support, or to order replacement parts, please visit the official X-PRO website or contact their customer service. Keep your purchase receipt and Manufacturer Statement of Origin (MSO) for any warranty claims.
X-PRO is dedicated to resolving issues until you are completely satisfied. They maintain a stock of parts for most vehicles sold, ensuring fast and reliable support.


