
BIUBLE A5
BIUBLE 8000A Jump Starter User Manual
Model: A5
Introduction
This manual provides essential instructions for the safe and effective operation, maintenance, and troubleshooting of your BIUBLE 8000A Jump Starter. Please read this manual thoroughly before using the device to ensure proper function and to prevent damage or injury.

Image: The BIUBLE 8000A Jump Starter unit with its red and black smart jumper cables.
What's in the Box
Verify that all items are present in the package:
- 1 × BIUBLE 8000A Jump Starter Unit
- 1 × Smart Jumper Cables
- 1 × Type-C Charging Cable
- 1 × Instruction Manual (this document)
- 1 × Storage Bag
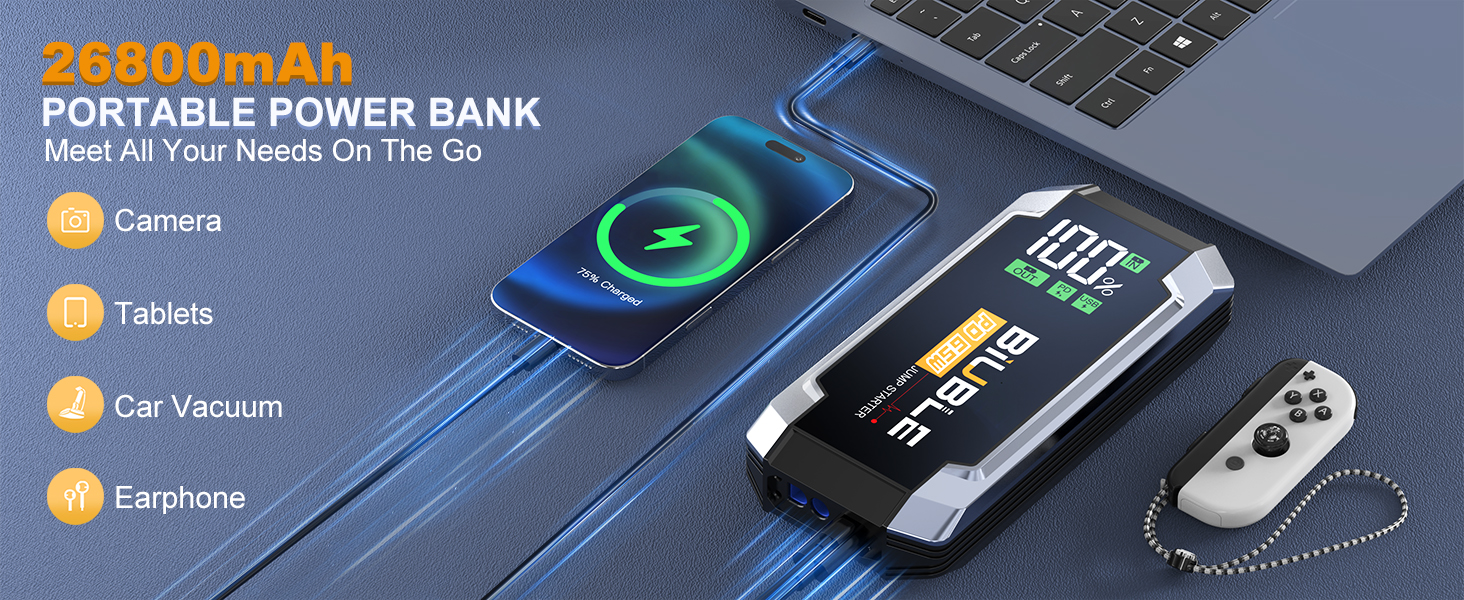
Image: A visual representation of all components included in the BIUBLE Jump Starter package.
Key Features
- High Peak Current: 8000A peak current, suitable for all gas engines and diesel engines up to 16L.
- Fast Charging: PD 65W 2-way super fast charging via USB-C, allowing the unit to charge from 0% to 80% in approximately 1 hour.
- High Capacity: 26800mAh battery capacity.
- Smart Jumper Cables: Equipped with 12 protections for enhanced safety during operation.
- Large Smart LCD Display: Provides intuitive information on operational status, battery level, and potential errors.
- Emergency Lighting: Features a 400 lumens LED light with 3 modes: Lighting, SOS, and Strobe.
- Durability: Designed for 2000+ recharge cycles and can standby for over 24 months.
Setup
Initial Charging
Before first use, fully charge the jump starter. Connect the provided Type-C charging cable to the USB-C IN/OUT port on the jump starter and to a compatible 65W PD wall charger (not included). The LCD display will show the charging progress. A full charge ensures optimal performance and readiness for emergencies.

Image: The jump starter unit highlighting its two-way 65W fast charging port.
Operating Instructions
Jump Starting a Vehicle
- Ensure the jump starter is sufficiently charged (check the LCD display).
- Insert the smart jumper cable plug firmly into the jump starter's designated port. The indicator light on the smart cable should turn green, indicating it's ready.
- Connect the red (+) clamp to the positive terminal of the vehicle's dead battery.
- Connect the black (-) clamp to the negative terminal of the vehicle's dead battery.
- Once connected, the smart cable's indicator light should remain green. If it's red or flashing, refer to the troubleshooting section.
- Start your vehicle's engine.
- Once the vehicle starts, immediately remove the smart clamps from the car battery, then disconnect the smart cable from the jump starter.

Image: A step-by-step visual guide for jump-starting a vehicle.
For a visual demonstration of the jump-starting process, please watch the official product video below:
Video: This video demonstrates the unboxing and the simple process of using the BIUBLE Jump Starter to start a vehicle with a dead battery, including connecting the smart cables and observing the indicator lights.
Charging Electronic Devices (Power Bank Function)
The BIUBLE Jump Starter can also serve as a portable power bank for your electronic devices.
- Connect your device's charging cable to the USB-C IN/OUT port (PD 65W) or the USB-A OUT port (QC3.0 18W) on the jump starter.
- The jump starter will automatically begin charging your device. The LCD screen will display the remaining battery percentage.
- This function is capable of charging smartphones, tablets, cameras, and even Macbooks/laptops.

Image: The jump starter unit connected to a smartphone and other devices, demonstrating its power bank capabilities.
Using the Emergency Light
The integrated 400 lumens LED light provides illumination for various situations.
- Press and hold the power button for 3 seconds to turn on the flashlight mode.
- Press the power button again to cycle through the modes: Flashlight > SOS > Strobe.
- Press and hold the power button for 3 seconds to turn off the light.
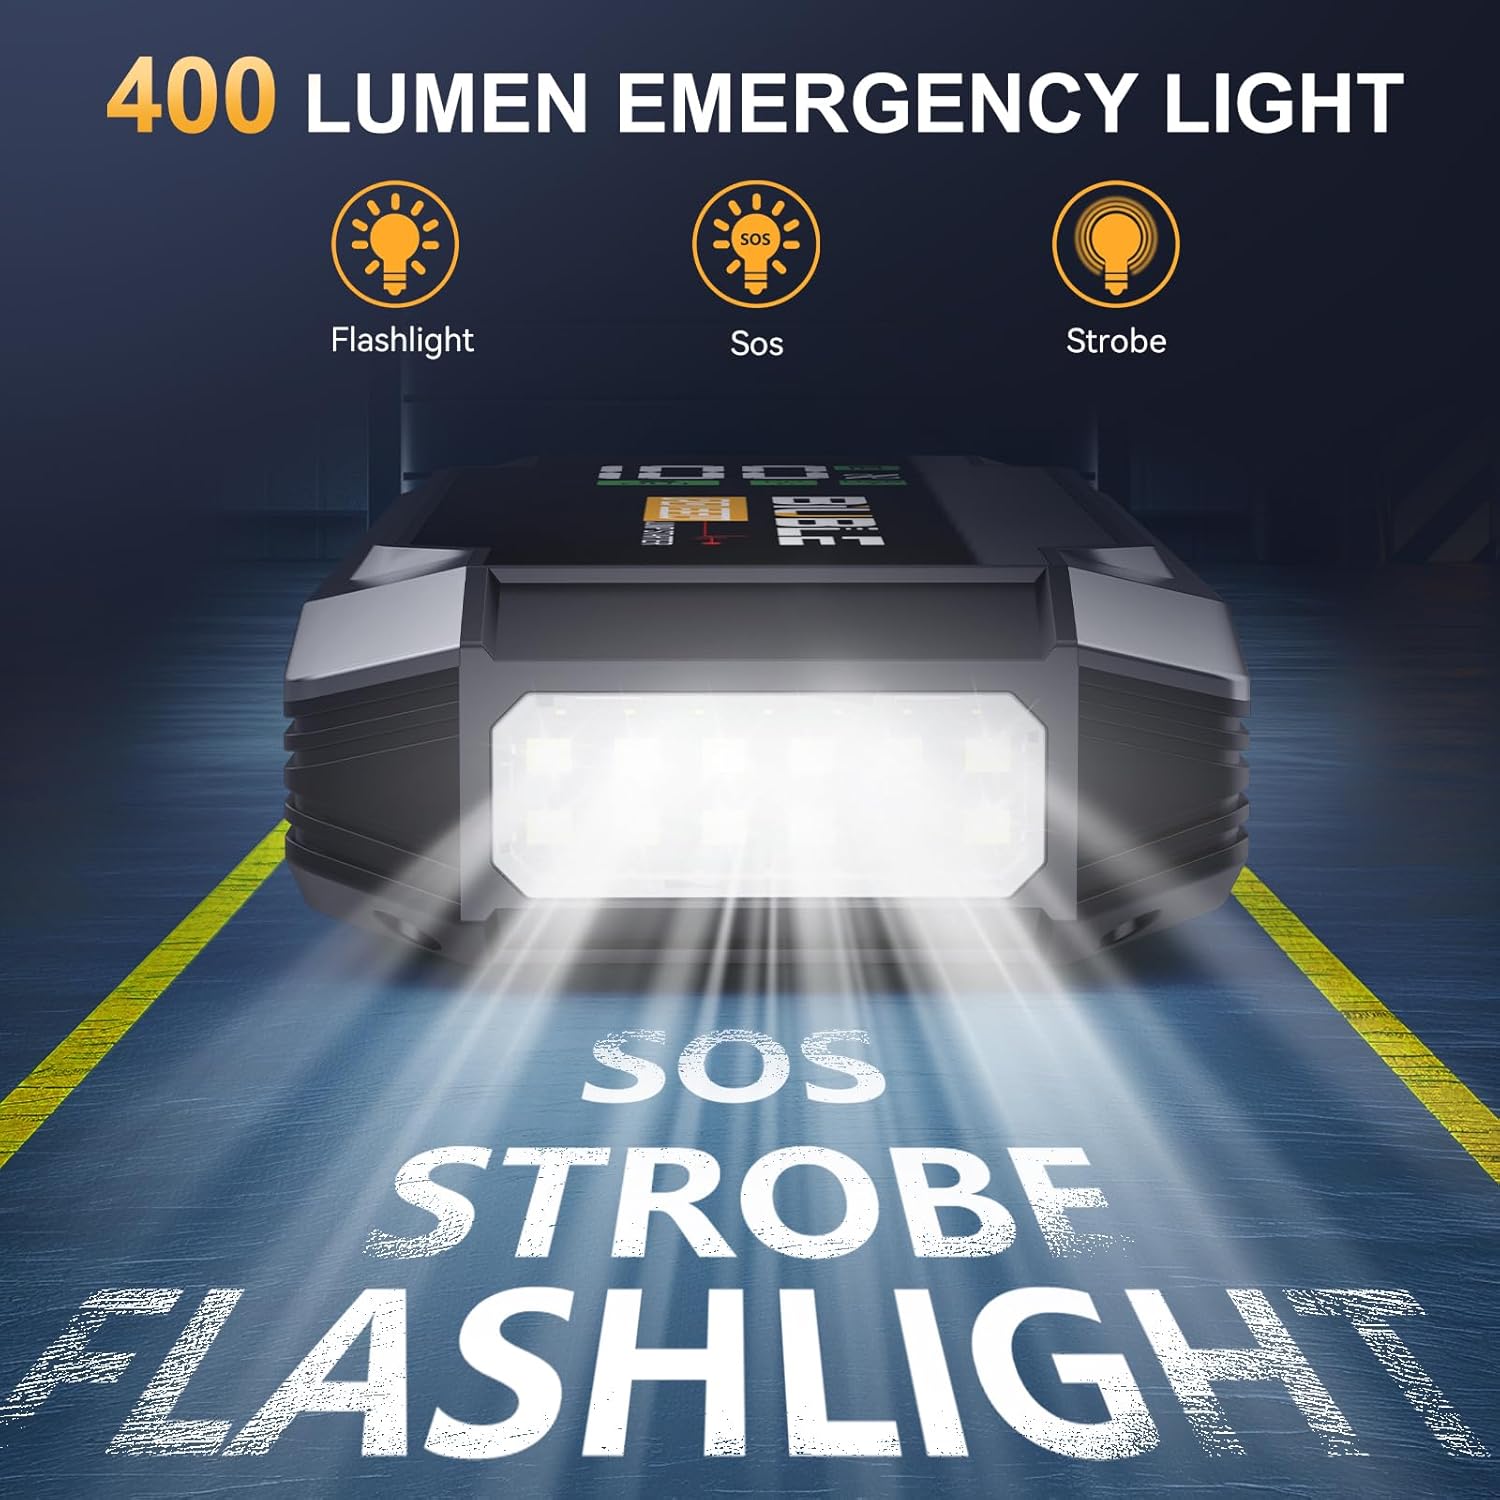
Image: The jump starter unit emitting light, illustrating its three emergency light modes.
Maintenance
- Storage: Store the jump starter in a cool, dry place away from direct sunlight and extreme temperatures. The unit is designed to hold a charge for over 24 months in standby.
- Recharging: For optimal battery life, it is recommended to recharge the unit every 3-6 months, even if not used.
- Cleaning: Use a soft, dry cloth to clean the unit. Do not use harsh chemicals or abrasive materials.
- Cable Care: Inspect the smart jumper cables for any signs of damage or wear before each use. Ensure clamps are clean and free of corrosion.

Image: The jump starter unit with an arrow graphic indicating its extended standby time of 24 months.
Troubleshooting
| Problem | Possible Cause | Solution |
|---|---|---|
| Jump Starter not turning on. | Low battery or unit is off. | Charge the jump starter. Press and hold the power button to turn on. |
| Vehicle not starting after jump. | Incorrect connection, severely dead battery, or other vehicle issue. | Ensure clamps are correctly connected (red to positive, black to negative). Wait 30-60 seconds after connecting before attempting to start. If still no start, the vehicle battery may be beyond jump-starting or there's another mechanical issue. Consult a mechanic. |
| Smart cable indicator light is red/flashing. | Indicates a protection mode (e.g., reverse polarity, short circuit, over-temperature). | Disconnect clamps and re-evaluate the connection. Ensure terminals are clean. Allow unit to cool if hot. Refer to the 12 protections diagram for specific error codes if available on the device. |
| Device not charging from power bank ports. | Cable issue, device compatibility, or jump starter low on power. | Try a different charging cable. Ensure your device is compatible with the output specifications. Charge the jump starter. |
If issues persist, please contact BIUBLE customer service for assistance.

Image: A visual guide detailing the 12 safety protections integrated into the smart jumper cables.
Specifications
| Feature | Detail |
|---|---|
| Brand | BIUBLE |
| Model | A5 |
| Peak Output Current | 8000 Amps |
| Battery Capacity | 26800mAh |
| Engine Compatibility | All Gas / 16L Diesel |
| Charging Input/Output | USB-C IN/OUT (PD 65W), USB-A OUT (QC3.0 18W) |
| Emergency Light Lumens | 400 Lumens |
| Product Dimensions | 1.5"D x 3.5"W x 7.8"H |
| Item Weight | 2.18 pounds |
| Batteries Required | 4 Lithium Ion batteries (included) |
Warranty and Support
BIUBLE is committed to providing excellent customer service and product reliability.
- Warranty: Enjoy a 3-year warranty on your BIUBLE Jump Starter.
- Technical Support: Lifetime technical support is available for all product-related inquiries.
- Customer Service: Our team is dedicated to providing 24/7 customer support. If you have any questions or require assistance, please feel free to contact us.
- Return Guarantee: A 30-day return guarantee is provided for your peace of mind.

Image: Details on BIUBLE's customer support, warranty, and technical assistance.
Related documentsA5


Ask a question about this manual
Ask about setup, troubleshooting, compatibility, parts, safety, or missing instructions. Manuals+ will review the question and use this page’s manual context to help answer it.