Introduction
The JVC GY-HC550U Handheld Connected Cam is a 4K broadcast camcorder designed for high-performance in various production environments. It features a 1-inch CMOS sensor and a 20x optical zoom lens with manual controls, providing high image quality and operational flexibility. This camcorder supports UHD 4K recording and up to 50/60p capture on an optional SSD for smooth, high-frame-rate footage. It integrates with both traditional broadcast systems and IP workflows, including MPEG-2 encoding for HD recording and streaming via Zixi wireless protocol for reliable, low-latency live broadcasts. The camera's built-in wireless LAN and return video over IP features enhance its versatility for remote and live production needs. HDR support with HLG or J-Log1 (10-bit) ensures optimal image quality, while dual SD card slots and optional SSD provide ample storage for professional workflows.
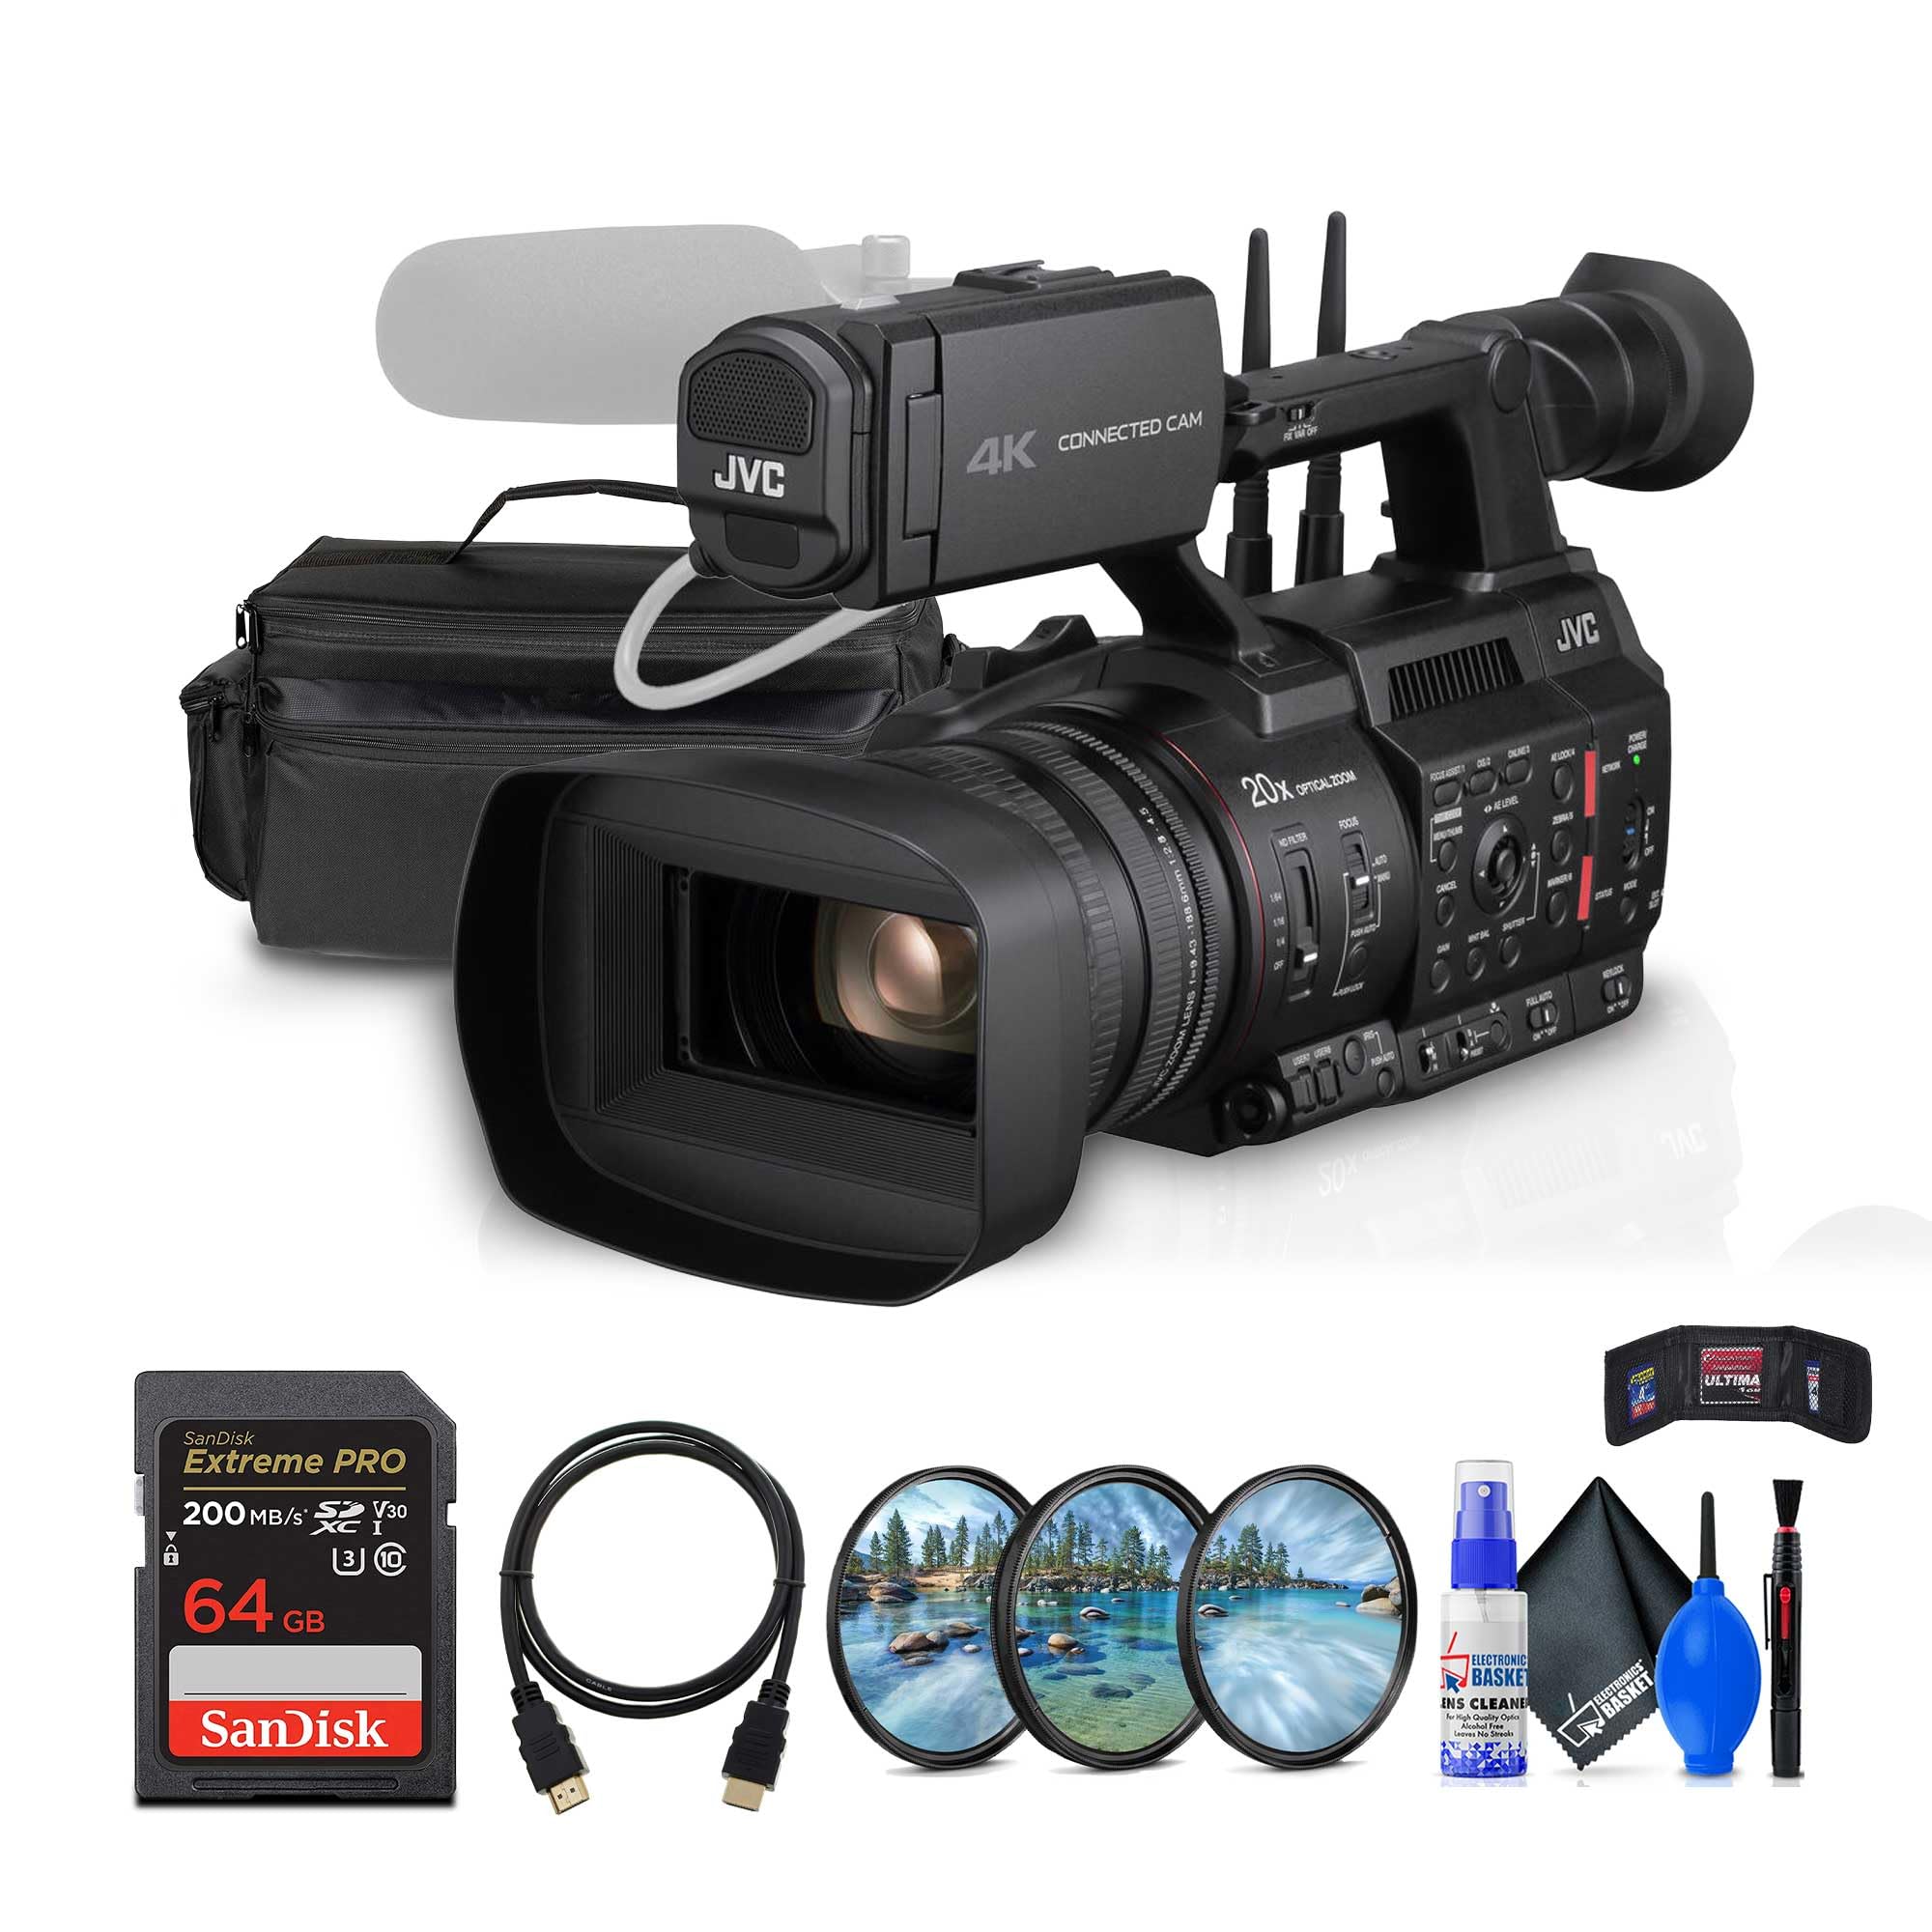
Figure 1: Front-left view of the JVC GY-HC550U camcorder, showing the lens, microphone, and handle.
Included Items
Upon unpacking, verify that all the following items are present:
- JVC GY-HC550 Handheld Connected Cam 1" 4K Broadcast Camcorder
- BN-VC264 Battery
- Lens Hood
- AC Adapter
- Power Cable
- Large Soft Padded Case
- 64GB Extreme PRO UHS-I SDXC Memory Card
- Cleaning Kit
- HDMI Cable
- UV Filter
- Memory Card Wallet
- Memory Card Reader
Setup
1. Battery Installation
- Ensure the camcorder is powered off.
- Locate the battery compartment on the rear of the camcorder.
- Align the BN-VC264 battery with the compartment guides.
- Slide the battery into the compartment until it clicks securely into place.
- To remove, press the BATT RELEASE button and slide the battery out.

Figure 2: Rear view of the camcorder, highlighting the battery compartment and various input/output ports.
2. Memory Card Insertion
- Open the SD card slot cover, typically located on the side of the camcorder.
- Insert the 64GB Extreme PRO UHS-I SDXC Memory Card (or other compatible SD/SDXC card) into the slot with the label facing the correct direction, as indicated by the diagram near the slot.
- Push the card gently until it clicks into place.
- Close the card slot cover.
- The camcorder features dual SD card slots for extended recording or backup.
3. Attaching the Lens Hood
Align the lens hood with the front of the lens and twist gently until it locks into position. The lens hood helps to reduce glare and protect the lens.
4. Power Connection
Connect the AC adapter to the camcorder's DC IN terminal and then plug the power cable into a wall outlet. The camcorder can operate directly from AC power or charge the installed battery.
Operating Instructions

Figure 3: Side view of the JVC GY-HC550U camcorder, showing the main body, lens, and control layout.
1. Powering On/Off
Locate the POWER switch, typically on the side or rear of the camcorder. Slide it to the ON position to power on. To power off, slide it to the OFF position.
2. Basic Recording
- Ensure a formatted memory card is inserted.
- Select your desired recording format (e.g., UHD 4K, HD) and frame rate (e.g., 30p, 50p/60p with optional SSD) via the menu system.
- Adjust exposure settings (iris, gain, shutter) using the dedicated controls on the camcorder body.
- Use the zoom rocker for optical zoom (20x) and the focus ring for manual focus adjustments.
- Press the REC START/STOP button to begin and end recording.

Figure 4: Detailed view of the camcorder's control panel, illustrating buttons and dials for focus, zoom, iris, and other settings.
3. Zoom and Focus
- Optical Zoom: Use the zoom rocker on the handle or the zoom ring on the lens for 20x optical magnification.
- Digital Zoom: The camcorder supports up to 40x digital zoom, which can be enabled and controlled via the menu. Note that digital zoom may reduce image quality.
- Focus: Switch between AUTO and MANUAL focus modes. In manual mode, rotate the focus ring on the lens for precise adjustment.
4. Audio Recording
The GY-HC550U features XLR audio connectors for professional microphones. Adjust audio input levels using the dedicated audio controls and monitor levels on the LCD screen or through headphones.
5. Streaming and IP Functions
The camcorder supports various IP functions including live streaming via Zixi protocol, return video over IP, and FTP file transfer. Configure network settings and streaming parameters through the camcorder's menu system. Refer to the detailed network setup guide for advanced configurations.
Maintenance
1. Cleaning
- Lens: Use a soft, lint-free cloth and a specialized lens cleaning solution. Avoid touching the lens surface directly with fingers.
- Camcorder Body: Wipe the exterior with a soft, dry cloth. For stubborn dirt, slightly dampen the cloth with water. Do not use harsh chemicals or solvents.
- Connectors: Keep all ports and connectors free from dust and debris.
2. Battery Care
- Charge the BN-VC264 battery fully before first use.
- Store batteries in a cool, dry place when not in use.
- Avoid fully discharging the battery frequently to prolong its lifespan.
3. Storage
When storing the camcorder for extended periods, remove the battery and store the unit in a dry, dust-free environment, preferably in its padded case.
Troubleshooting
Common Issues and Solutions
| Problem | Possible Cause | Solution |
|---|---|---|
| Camcorder does not power on. | Battery depleted or improperly installed; AC adapter not connected. | Charge or re-install battery; connect AC adapter securely. |
| Cannot record footage. | Memory card full or not formatted; incorrect recording mode. | Format memory card (backup data first); select appropriate recording mode. |
| Poor image quality. | Lens dirty; incorrect exposure settings; low light conditions. | Clean lens; adjust iris, gain, or shutter speed; use adequate lighting. |
| Streaming issues. | Network connectivity problems; incorrect streaming settings. | Verify Wi-Fi or LAN connection; check streaming server settings and bandwidth. |
If problems persist, consult the official JVC support resources or contact customer service.
Specifications
- Model: JVC GY-HC550U
- Sensor: 1-inch CMOS
- Optical Zoom: 20x
- Digital Zoom: 40x
- Recording Formats: UHD 4K, HD (MPEG-2)
- Frame Rates: Up to 50/60p (with optional SSD), 30p (to SD cards)
- HDR Support: HLG, J-Log1 (10-bit)
- Storage Media: Dual SD card slots, optional SSD
- Connectivity: Built-in Wireless LAN, XLR audio connectors, LAN terminal, HDMI, SDI Out
- Streaming Protocols: Zixi wireless protocol
- Viewfinder: 1.2 million-dot EVF
- Monitor: 4-inch LCD
- Item Weight: Approximately 14.68 pounds (6.66 kg)
- Product Dimensions: Approximately 21 x 12 x 12 inches (53.34 x 30.48 x 30.48 cm)
- UPC: 094148697161
Warranty and Support
For detailed warranty information, please refer to the warranty card included with your product or visit the official JVC website. JVC provides customer support for product inquiries, technical assistance, and service requests.
Official JVC Website: www.jvc.com
Please retain your proof of purchase for warranty claims.


