
Introduction
This manual provides comprehensive instructions for the installation, operation, and maintenance of your Cooler Master MasterLiquid Atmos Stealth 360 AIO Liquid Cooler. Please read this manual thoroughly before installation to ensure proper setup and optimal performance.
The MasterLiquid Atmos Stealth 360 is a high-performance closed-loop All-in-One (AIO) liquid cooling solution designed for advanced CPU cooling, featuring a dual-chamber pump, customizable cover, and Mobius 120 PWM fans.
Key Features
- Next Gen Dual Chamber Pump: Enhances water pressure and optimizes flow directly to the CPU hotspot, ideal for AMD R9 and Intel i9 processors.
- Fine Tuned Performance: Precision-engineered ultra-thin spade fins optimize microchannels for targeted heat dissipation.
- Mobius 120 Fan: Pre-installed Mobius fans deliver premium airflow with optimized PWM blades, simplifying installation.
- Ring Blade Design: Interconnected fan blades form a robust, rigid structure that minimizes vibrations, ensuring stable and fluid airflow.
- Dynamic PWM Fan: A 4-pin PWM header allows adjustable fan speeds from 0 to 2,400 RPM for balancing noise and airflow.
- Simplified Brackets: Redesigned brackets simplify installation on AM5 and LGA 1851|1700 platforms.
- Customizable Top Cover: The pump top cover can be customized with your own 3D-printed designs.
Package Contents
Please verify that all components are present before beginning installation.
- Cooler Master MasterLiquid Atmos Stealth 360 AIO Unit (Radiator, Pump, Tubes, and Fans pre-installed)
- Mounting Hardware Kit for Intel LGA 1851/1700/1200/115X
- Mounting Hardware Kit for AMD AM5/AM4
- Thermal Paste
- Tube Clips
- User Manual (this document)

Image: The complete Cooler Master MasterLiquid Atmos Stealth 360 AIO unit, showcasing the radiator with three fans, the pump, and the connecting tubes.
Setup and Installation
Before installation, ensure your system is powered off and disconnected from the power source. Refer to your motherboard manual for specific CPU socket and fan header locations.
1. Prepare the CPU Socket
Identify your CPU socket type (Intel LGA 1851/1700 or AMD AM5/AM4) and select the corresponding mounting brackets from the package contents.

Image: Illustration of the redesigned mounting brackets for Intel LGA 1851/1700 and AMD AM5/AM4 platforms, designed for simplified installation.
2. Install Backplate (Intel Only)
For Intel platforms, install the universal backplate behind the motherboard, aligning the holes with the CPU socket mounting holes. Secure with the appropriate standoffs.
3. Apply Thermal Paste
Apply a small, pea-sized amount of thermal paste to the center of your CPU's Integrated Heat Spreader (IHS). Do not spread the paste; the pressure from the cold plate will distribute it evenly.
4. Mount the Pump/Cold Plate
Carefully align the pump/cold plate assembly with the standoffs (Intel) or stock backplate (AMD) and gently lower it onto the CPU. Secure the pump with the provided thumb screws or nuts, tightening them in a diagonal pattern until snug. Do not overtighten.

Image: An internal view of the pump's dual chamber design, illustrating how it boosts water pressure and optimizes flow to the CPU hotspot for efficient cooling.

Image: The customizable top cover of the pump, highlighting its design and the possibility for users to personalize it with 3D-printed creations.
5. Install the Radiator
Mount the radiator to an available fan mount location in your PC case (e.g., top, front, or rear). Ensure adequate clearance for the radiator and fans. Use the long screws provided to secure the radiator to the case.
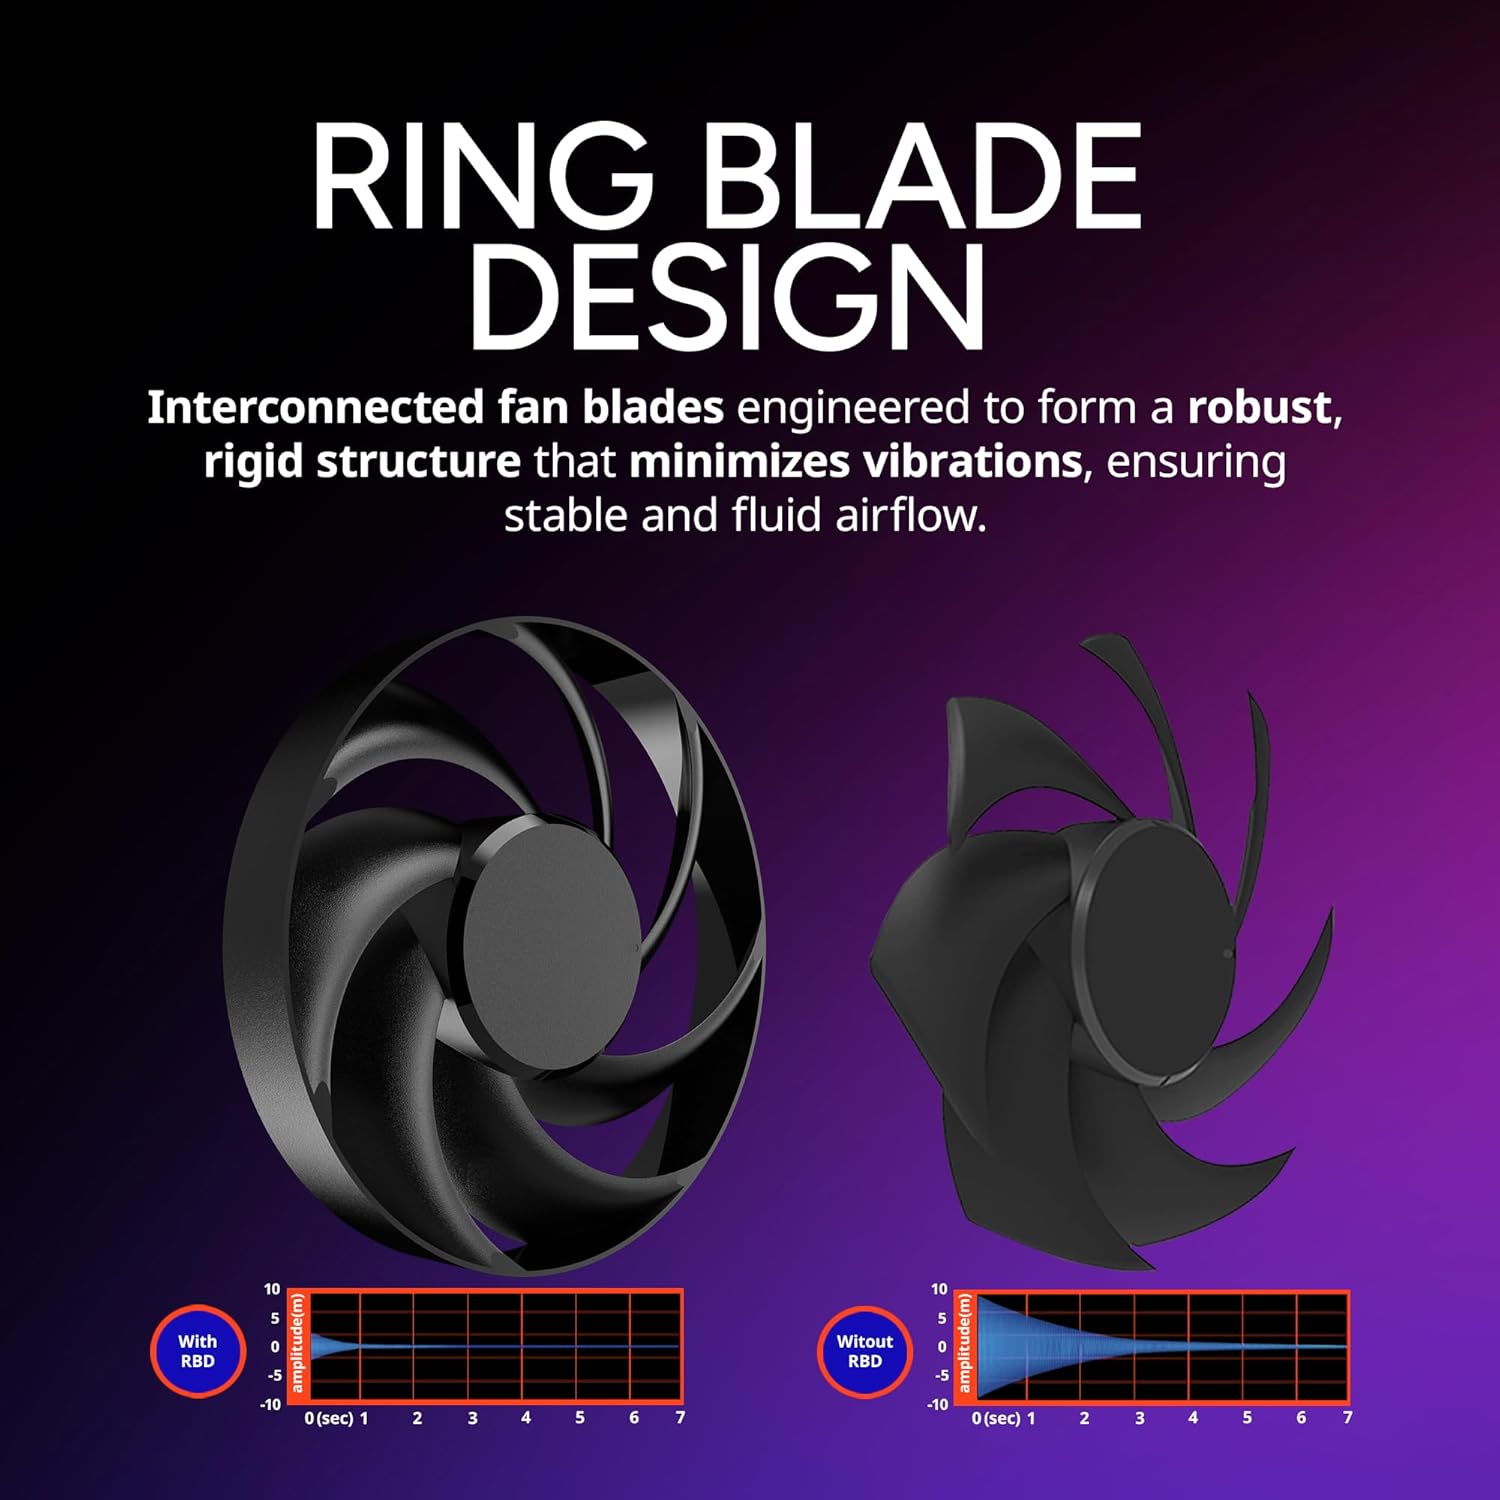
Image: A detailed cross-section of the radiator's ultra-thin spade fins, demonstrating their precision engineering for optimized microchannels and targeted heat dissipation.

Image: A top-down view of the Cooler Master MasterLiquid Atmos Stealth 360 AIO, showcasing the radiator's full length and the pump unit, emphasizing its compact design.
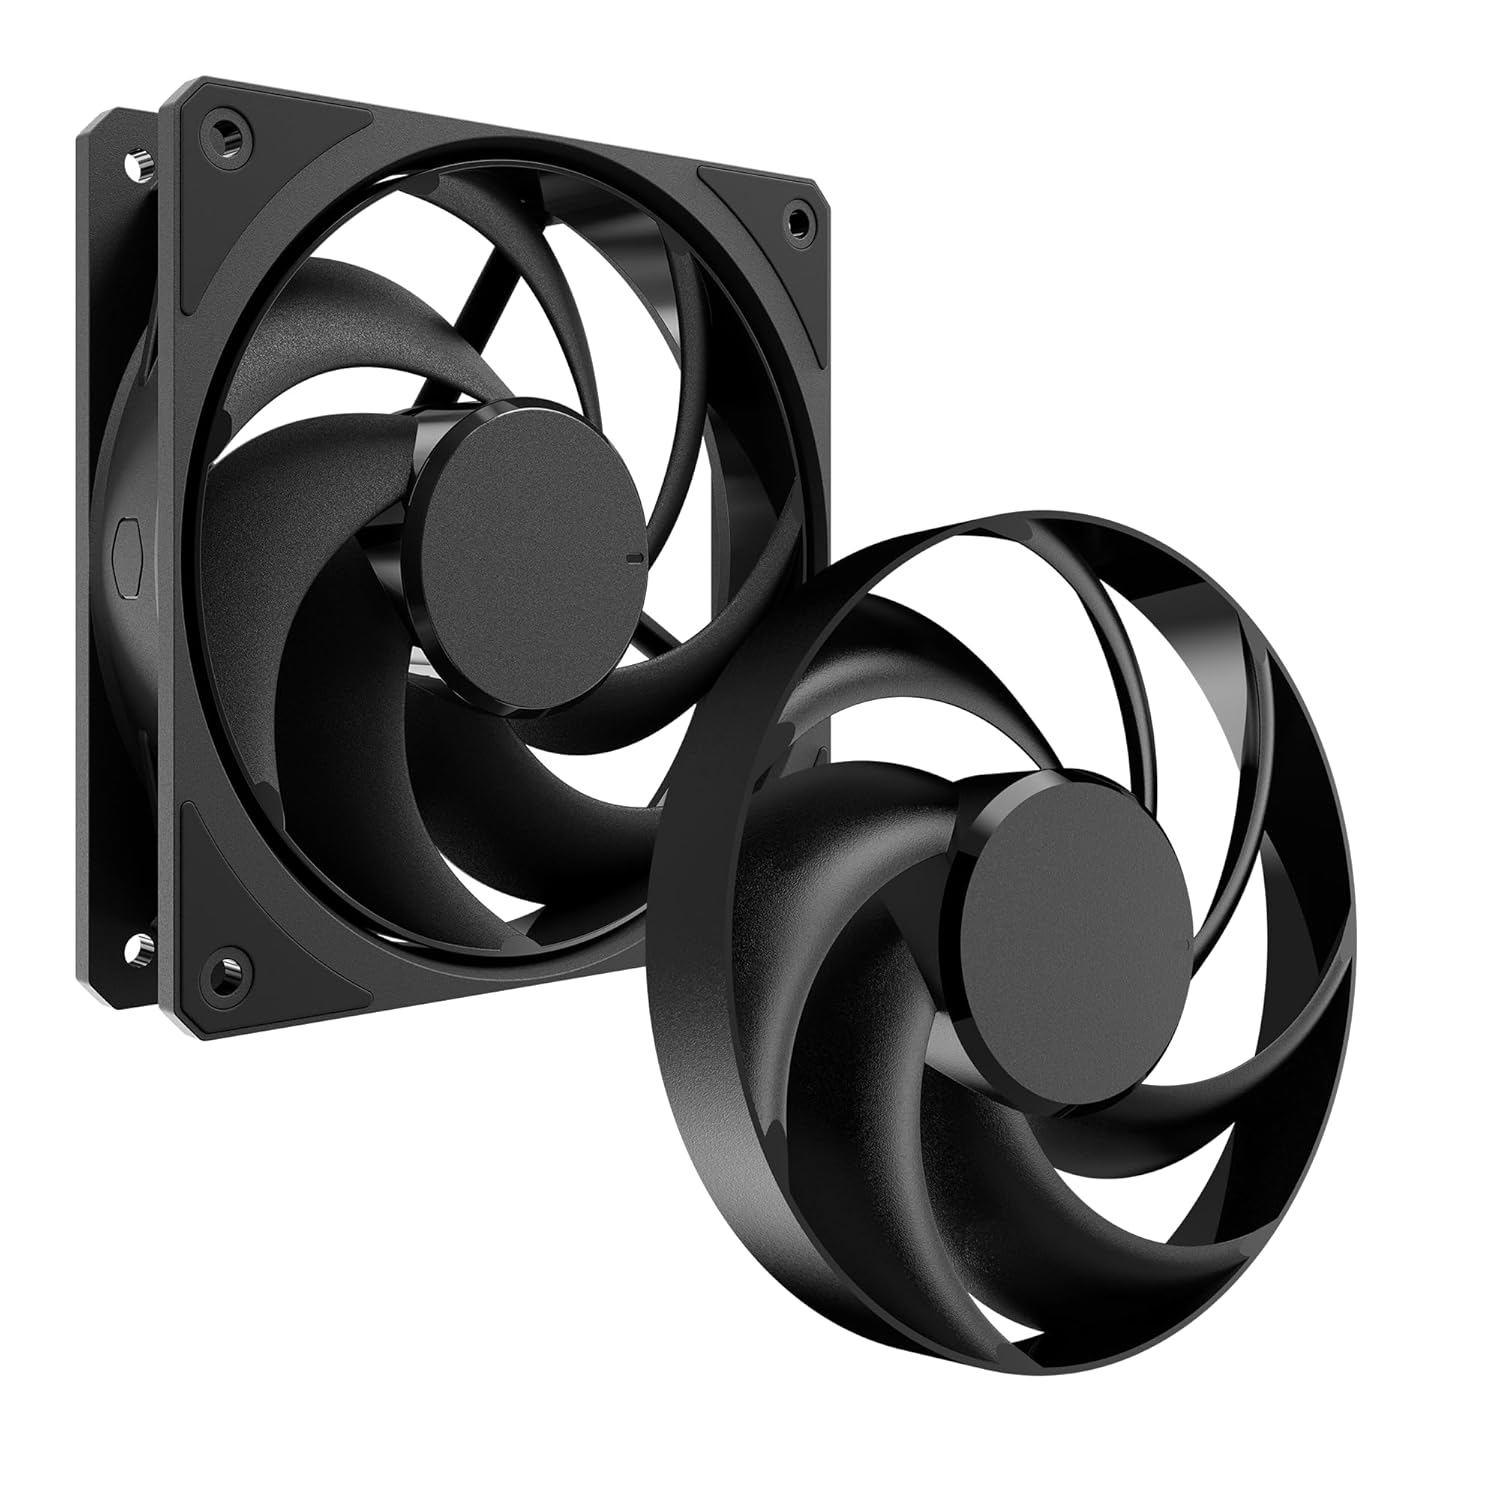
Image: A diagram illustrating the high-density fin layout of the radiator and its dimensions (394 x 119.6 x 27.2 mm or 15.5 x 4.7 x 1.1 inches), highlighting how it works with fans for maximum heat dissipation.
6. Connect Fan and Pump Cables
Connect the Mobius 120 fans to the appropriate fan headers on your motherboard. If multiple fans, use a fan splitter if necessary. Connect the pump's 4-pin PWM cable to the CPU_FAN or AIO_PUMP header on your motherboard. Ensure all connections are secure.

Image: The Mobius 120 fan, detailing its performance specifications including a maximum speed of 2400 RPM, noise level of 30 dBA(MAX), air flow of 78.2 CFM, and air pressure of 3.63 mmH2O.

Image: A visual representation of the fan's Ring Blade Design (RBD), showing how interconnected fan blades minimize vibrations for stable and fluid airflow compared to a design without RBD.

Image: The dynamic PWM fan, illustrating its adjustable speed range from 0 to 2400 RPM, allowing users to balance noise levels and airflow according to their needs.

Image: The included tube clips, which are provided to help improve cable management and reinforce the cooler setup by keeping the tubes neatly organized.
Operating Instructions
Once installed, the Cooler Master MasterLiquid Atmos Stealth 360 operates automatically based on your motherboard's fan and pump control settings. For optimal performance and noise levels, it is recommended to configure fan curves in your motherboard's BIOS/UEFI or through compatible software.
- BIOS/UEFI Settings: Access your motherboard's BIOS/UEFI upon startup (usually by pressing DEL or F2). Navigate to the fan control section to adjust the CPU fan and AIO pump headers.
- Software Control: Some motherboards offer desktop software for fan control. Refer to your motherboard manufacturer's website for compatible utilities.
- Monitoring: Use system monitoring software (e.g., HWMonitor, CPU-Z) to observe CPU temperatures and fan/pump speeds to ensure proper operation.
Maintenance
Regular maintenance ensures the longevity and optimal performance of your AIO liquid cooler.
- Dust Removal: Periodically clean dust from the radiator fins and fans using compressed air. Ensure fans are not spinning during cleaning to prevent damage.
- Tube Inspection: Check the tubes for any signs of kinks, leaks, or damage. While the system is closed-loop and does not require coolant refills, visual inspection is recommended.
- Fan Blades: Gently wipe fan blades with a soft, dry cloth if dust accumulation is visible.
Troubleshooting
| Problem | Possible Cause | Solution |
|---|---|---|
| High CPU Temperatures |
|
|
| Pump Noise |
|
|
| Fan Noise |
|
|
Specifications
| Feature | Detail |
|---|---|
| Product Dimensions | 15.5 x 4.7 x 1.1 inches (394 x 119.6 x 27.2 mm) |
| Item Model Number | MLX-D36M-A24PK-R1 |
| Weight | 3.71 Pounds |
| Manufacturer | Cooler Master |
| Cooling Method | Fan, Water |
| Compatible Devices | CPU, Desktop |
| Noise Level | 25 dB (Pump), 30 dB (Fan Max) |
| Material | Aluminum, Copper, Plastic, Rubber |
| Maximum Rotational Speed (Fan) | 2400 RPM |
| UPC | 884102127465 |
| Socket Compatibility | AMD Ryzen AM5/AM4, Intel LGA 1851/1700/1200/115X |
Warranty and Support
Cooler Master products come with a limited warranty. For detailed warranty information, please refer to the official Cooler Master website or contact their customer support.
For technical support, troubleshooting assistance, or to inquire about replacement parts, please visit the Cooler Master support portal or contact their customer service department.
Cooler Master Official Website: www.coolermaster.com
Support Contact: Refer to the website for regional contact information.