1. Introduction
Thank you for choosing the I-Hawk Defender Dual Dash Cam. This manual provides essential information for the proper installation, operation, and maintenance of your device. Please read this manual thoroughly before use to ensure optimal performance and to prevent damage.
The I-Hawk Defender is designed to record high-definition video from both the front and rear of your vehicle, offering enhanced security and evidence in case of incidents. It features a 1080p Full HD resolution, a 130° wide-angle lens, G-Sensor for impact detection, loop recording, night vision, and a parking monitor function.
2. Package Contents
Please verify that all items are present in your package:
- I-Hawk Defender Front Dash Cam
- Rear Camera
- Suction Mount
- Car Charger with 3.4M Power Cable
- Rear Camera Cable
- 32GB SD Card
- User Manual

Image: The I-Hawk Defender Dual Dash Cam, showing the front camera unit with its suction mount attached.
3. Setup and Installation
3.1 Inserting the SD Card
- Ensure the dash cam is powered off.
- Locate the SD card slot on the side of the front dash cam.
- Insert the provided 32GB SD card with the metal contacts facing the front of the camera until it clicks into place.
- To remove, gently push the card in until it clicks, then release. The card will eject slightly.
3.2 Installing the Front Camera
- Clean the windshield area where you intend to mount the dash cam.
- Attach the suction mount to the front dash cam.
- Press the suction cup firmly against the windshield, ideally behind the rearview mirror, and flip the lever to secure it.
- Adjust the camera angle to ensure a clear view of the road ahead.

Image: The I-Hawk Defender Dash Cam mounted on a car's windshield, showing its position relative to the rearview mirror.
3.3 Connecting Power
- Connect the car charger cable to the dash cam's power input port.
- Plug the other end of the car charger into your vehicle's 12V-24V power outlet (cigarette lighter socket).
- Route the power cable neatly along the windshield and dashboard edges to avoid obstructing your view. The 3.4-meter cable allows for concealed installation.
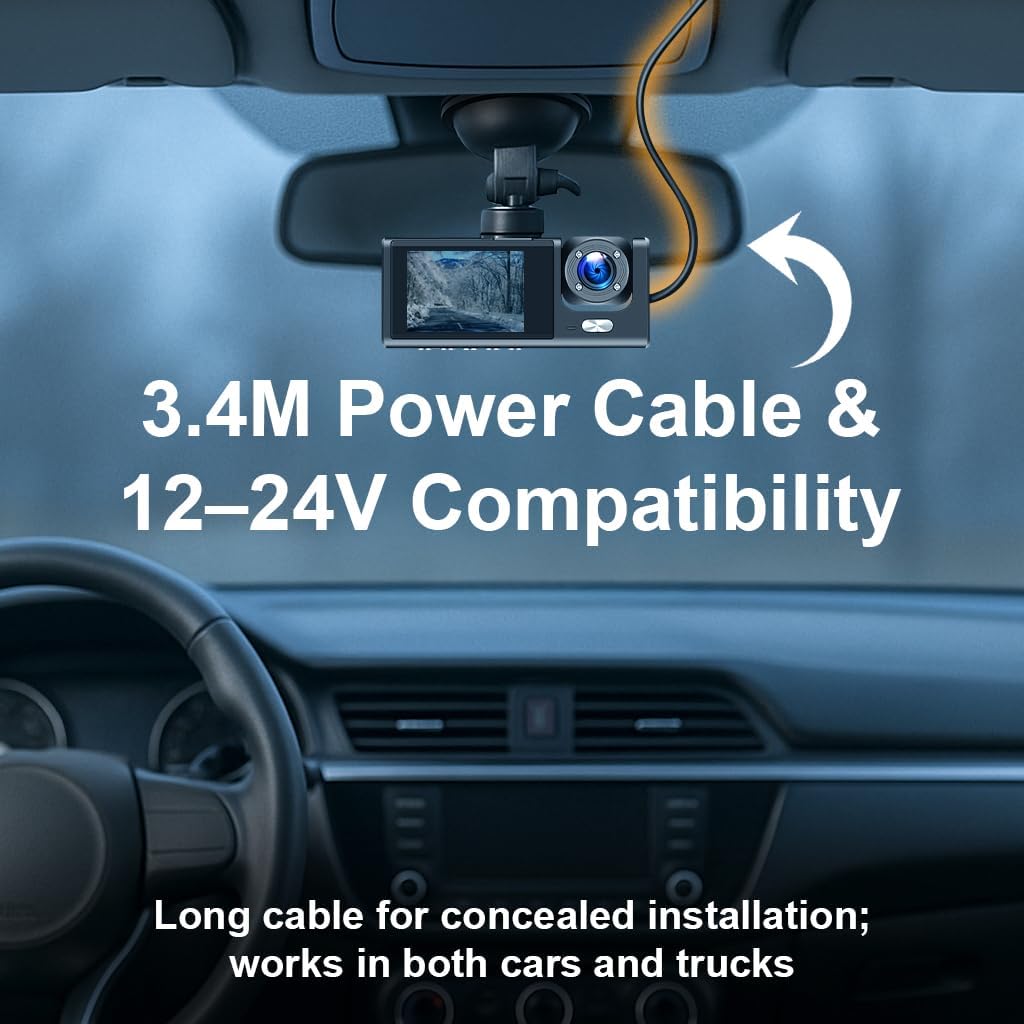
Image: The I-Hawk Defender Dash Cam connected to power via its 3.4-meter cable, illustrating how it can be routed for a tidy installation.
3.4 Installing the Rear Camera
- Mount the rear camera on the rear windshield, ensuring a clear view.
- Route the rear camera cable from the rear of the vehicle to the front dash cam.
- Connect the rear camera cable to the designated port on the front dash cam.
4. Operating Instructions
4.1 Power On/Off
The dash cam is designed to automatically power on and begin recording when your vehicle's ignition is turned on. It will automatically power off shortly after the ignition is turned off.
4.2 Basic Recording (Loop Recording)
Once powered on, the dash cam will automatically start recording. It records in Full HD 1080p resolution for both front and rear cameras. The loop recording feature continuously overwrites the oldest unlocked files when the SD card is full, ensuring uninterrupted recording.
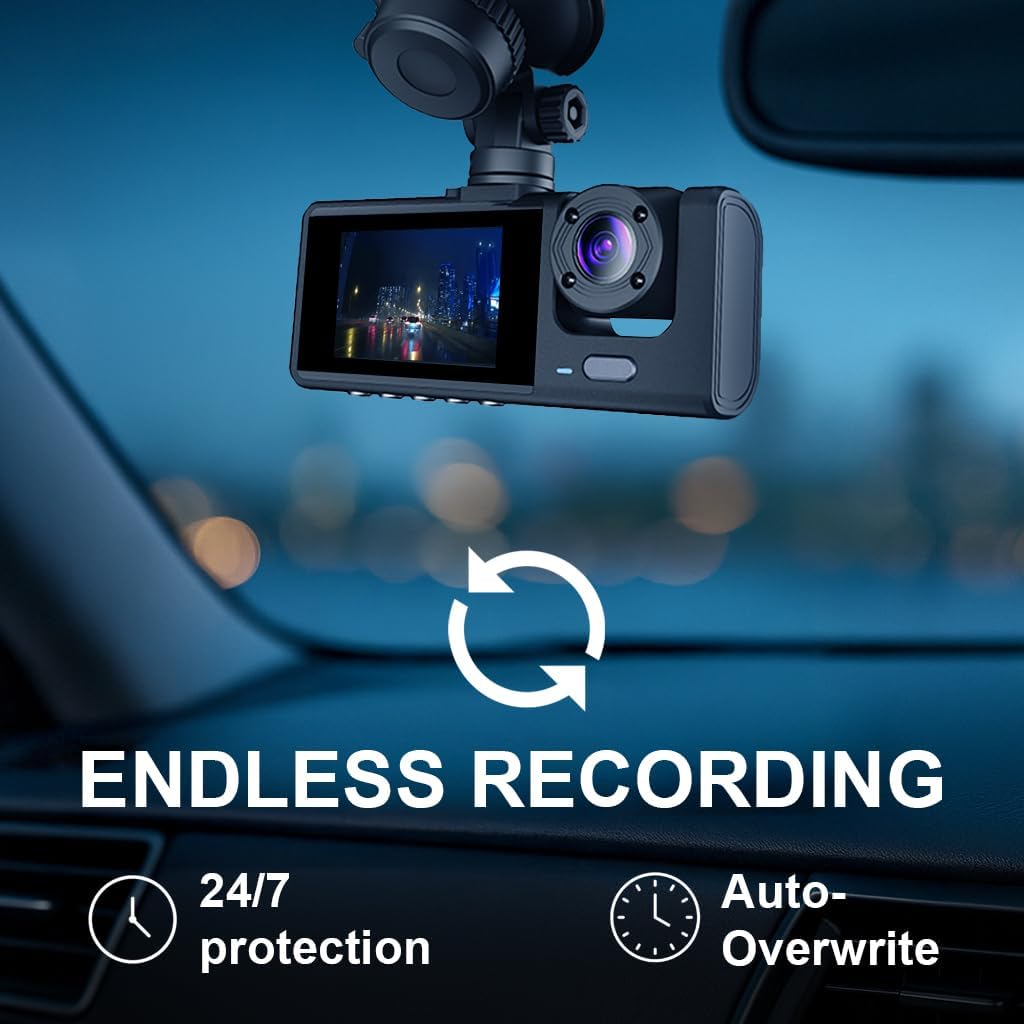
Image: The I-Hawk Defender Dash Cam screen displaying a recording, with an icon indicating continuous loop recording and auto-overwrite functionality.
4.3 G-Sensor Functionality
The built-in G-Sensor detects sudden impacts or collisions. When an event is detected, the current video segment is automatically locked and saved to a protected folder, preventing it from being overwritten by loop recording. This ensures critical footage is preserved.
4.4 Parking Monitor
When the vehicle is parked and the ignition is off, the parking monitor function activates. If the dash cam detects motion or an impact, it will automatically power on and record a short video segment, providing surveillance for your parked vehicle.

Image: An illustration showing a car being impacted, with the I-Hawk Defender Dash Cam displaying 'Parking Guard Activated' and 'G-Sensor Activated', indicating automatic recording of incidents while parked.
4.5 Night Vision
The I-Hawk Defender is equipped with enhanced low-light performance, allowing it to capture clear video footage even in challenging night driving conditions.
4.6 Wide Angle Lens
The 130° wide-angle lens provides extensive coverage, reducing blind spots and capturing a broad view of the road, including multiple lanes of traffic.

Image: The I-Hawk Defender Dash Cam mounted on a dashboard, with an overlay illustrating the 130-degree wide-angle field of view covering a broad section of the road.
4.7 Menu Navigation and Settings
The 2.0-inch LCD screen and intuitive controls allow you to access and adjust various settings. Refer to the on-screen menu for options such as video resolution, G-Sensor sensitivity, parking monitor settings, and date/time synchronization.
5. Maintenance
5.1 Cleaning the Device
- Use a soft, dry cloth to clean the dash cam's body and screen.
- For lenses, use a specialized lens cleaning cloth to avoid scratches. Do not use abrasive cleaners.
5.2 SD Card Management
- It is recommended to format the SD card regularly (e.g., once a month) to maintain optimal recording performance and prevent data corruption. This can usually be done through the dash cam's menu settings.
- Replace the SD card if you notice decreased performance or frequent errors.
6. Troubleshooting
| Problem | Possible Cause | Solution |
|---|---|---|
| Dash cam does not power on. | No power supply; faulty cable; loose connection. | Check car charger connection; ensure vehicle's 12V outlet is working; try a different power source if available. |
| Recording stops or freezes. | SD card error; full SD card; incompatible SD card. | Format the SD card; replace with a new, high-speed SD card if issues persist. |
| Video footage is blurry. | Protective film on lens; dirty lens; incorrect focus. | Remove any protective film; clean the lens carefully; ensure the camera is securely mounted. |
| G-Sensor is too sensitive/not sensitive enough. | G-Sensor sensitivity setting. | Adjust G-Sensor sensitivity in the dash cam's menu settings. |
7. Specifications
| Feature | Specification |
|---|---|
| Model | Defender |
| Video Capture Resolution | 1080p Full HD (Front & Rear) |
| Lens Angle | 130° Wide Angle |
| Screen Size | 2.0 inches LCD |
| Storage | Supports Micro SD Card (32GB included) |
| Special Features | Built-In Display, G-Sensor, Loop Recording, Night Vision, Parking Monitor, Motion Detection |
| Power Input | 12-24V Car Charger |
| Item Weight | 240 g |
| Item Model Number | 10005154 |
8. Warranty Information
The I-Hawk Defender Dual Dash Cam comes with a 1-year warranty from the date of purchase. This warranty covers manufacturing defects and malfunctions under normal use. Please retain your proof of purchase for warranty claims. The warranty does not cover damage caused by misuse, accidents, unauthorized modifications, or improper installation.
9. Support
For further assistance, technical support, or warranty inquiries, please refer to the contact information provided with your purchase or visit the official I-Hawk website.


