1. Introduction
The Daitsu Aral ADD-12XB Dehumidifier is designed to efficiently remove excess moisture from indoor environments, helping to prevent mold, mildew, and musty odors. This manual provides essential information for the safe and effective operation, maintenance, and troubleshooting of your dehumidifier. Please read it thoroughly before first use and retain it for future reference.
2. Safety Instructions
To ensure safe operation, always adhere to the following precautions:
- Ensure the power supply matches the voltage specified on the unit's rating label.
- Do not operate the dehumidifier with a damaged power cord or plug.
- Keep the unit upright during transport and operation.
- Maintain at least 20 cm (8 inches) of clearance around the unit for proper airflow.
- Do not insert objects into the air inlet or outlet.
- Unplug the unit before cleaning or performing any maintenance.
- Do not use the dehumidifier in areas where flammable gases or liquids are stored.
- This appliance is not intended for use by persons (including children) with reduced physical, sensory or mental capabilities, or lack of experience and knowledge, unless they have been given supervision or instruction concerning use of the appliance by a person responsible for their safety.
3. Product Overview
Familiarize yourself with the main components of your Daitsu Aral ADD-12XB Dehumidifier.
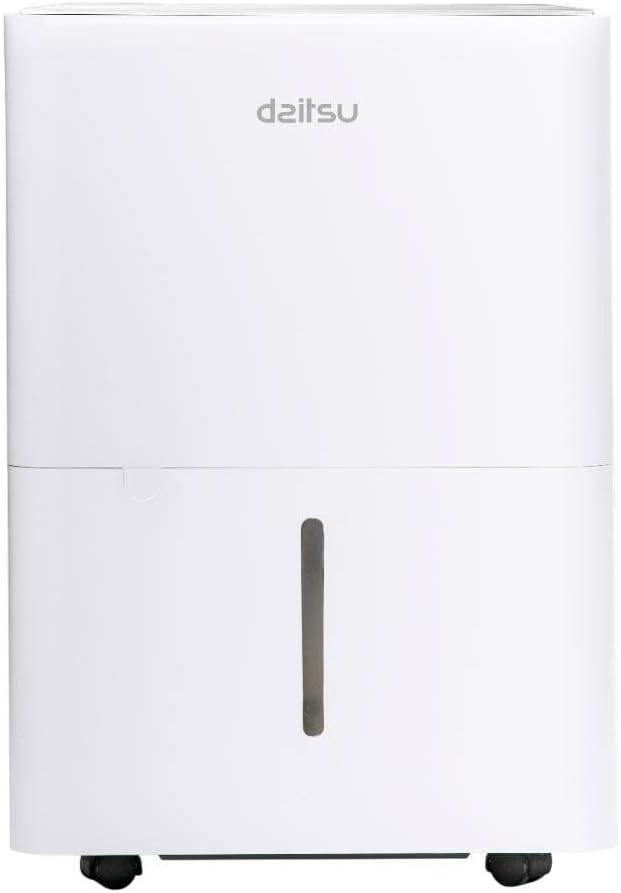
Figure 1: Front view of the Daitsu Aral ADD-12XB Dehumidifier. This image displays the front of the Daitsu Aral ADD-12XB Dehumidifier, featuring its clean white design and the visible water level indicator on the collection tank.

Figure 2: Rear view of the Daitsu Aral ADD-12XB Dehumidifier. The rear view of the dehumidifier shows the removable air filter cover for maintenance and the continuous drainage outlet, typically used for connecting a hose for extended operation.

Figure 3: Control panel of the Daitsu Aral ADD-12XB Dehumidifier. This close-up image shows the top control panel of the dehumidifier, featuring intuitive buttons for power, mode selection (Continuous, Dry, Turbo, Comfort), and timer settings, along with indicator lights.
4. Setup
4.1 Unpacking
- Carefully remove the dehumidifier from its packaging.
- Remove all packing materials, including any tape or protective films.
- Inspect the unit for any signs of damage. If damaged, do not operate and contact customer support.
4.2 Placement
- Place the dehumidifier on a firm, level surface to minimize vibration and noise.
- Ensure there is at least 20 cm (8 inches) of clear space around the air inlet and outlet to allow for efficient airflow.
- Avoid placing the unit near heat sources or in direct sunlight.
- For optimal performance, place the unit in the center of the room where dehumidification is needed most.
4.3 Power Connection
Plug the power cord into a grounded electrical outlet. Ensure the outlet meets the electrical requirements specified on the unit's rating label.
5. Operating Instructions
5.1 Control Panel Functions
Refer to Figure 3 for the layout of the control panel.
- Power Button: Press to turn the unit ON or OFF.
- Mode Button: Press to cycle through available operating modes:
- Cont. (Continuous): The unit operates continuously regardless of the ambient humidity level.
- Dry: Designed for drying clothes or in very humid conditions.
- Turbo: Operates at maximum fan speed for rapid dehumidification.
- Comfort: Maintains a comfortable humidity level automatically.
- Timer Button: Press to set the auto-on or auto-off timer (e.g., 24-hour timer).
- Tank Full Indicator: Illuminates when the water tank is full and needs to be emptied. The unit will automatically stop operating.
5.2 Emptying the Water Tank
When the 'Tank Full' indicator lights up, the unit will stop operating. To empty the tank:
- Gently pull out the water tank from the front of the unit.
- Carefully carry the tank to a sink or drain.
- Pour out the collected water.
- Slide the empty tank back into the unit until it clicks into place. The unit will resume operation.
5.3 Continuous Drainage (Optional)
For extended operation without needing to empty the water tank, you can set up continuous drainage:
- Locate the continuous drainage outlet at the back of the unit (refer to Figure 2).
- Remove the rubber stopper from the outlet.
- Connect a suitable drain hose (not included) to the outlet. Ensure the connection is secure to prevent leaks.
- Direct the other end of the hose to a floor drain or a large container, ensuring the hose is sloped downwards for gravity drainage.
- The unit will now drain water continuously, bypassing the internal water tank.
6. Maintenance
Regular maintenance ensures optimal performance and extends the lifespan of your dehumidifier.
6.1 Cleaning the Air Filter
The air filter should be cleaned every two weeks or more frequently depending on usage and air quality.
- Turn off the dehumidifier and unplug it from the power outlet.
- Locate the air filter cover on the back of the unit (refer to Figure 2).
- Remove the filter cover and carefully pull out the air filter.
- Clean the filter using a vacuum cleaner to remove dust and debris. For heavy dirt, wash the filter with lukewarm water and a mild detergent.
- Rinse the filter thoroughly and allow it to air dry completely before reinserting.
- Place the dry filter back into the unit and close the cover.
6.2 Cleaning the Water Tank
Clean the water tank regularly to prevent mold and bacteria growth.
- Remove and empty the water tank.
- Wash the tank with warm water and a mild detergent.
- Rinse thoroughly and dry before placing it back into the unit.
6.3 Exterior Cleaning
Wipe the exterior of the unit with a soft, damp cloth. Do not use harsh chemicals, abrasives, or solvents, as these can damage the surface.
6.4 Storage
If the unit will not be used for an extended period:
- Empty and clean the water tank and air filter.
- Unplug the unit and coil the power cord neatly.
- Cover the unit with a plastic bag or cloth to protect it from dust.
- Store the dehumidifier in an upright position in a cool, dry place.
7. Troubleshooting
Before contacting customer support, please refer to the following common issues and solutions:
| Problem | Possible Cause | Solution |
|---|---|---|
| Unit does not turn on | No power supply Power cord not properly connected Water tank full | Check power outlet Ensure power cord is securely plugged in Empty the water tank |
| No water collected | Room humidity too low Air filter clogged Temperature too low Unit in continuous drainage mode | Dehumidification may not be needed Clean the air filter Unit may not operate efficiently below 5°C (41°F) Check if continuous drainage hose is connected and draining |
| Unit is noisy | Unit not on a level surface Air filter clogged | Place unit on a flat, stable surface Clean the air filter |
| Poor dehumidification | Doors/windows open Air filter clogged Room size too large | Close all doors and windows Clean the air filter Ensure unit capacity matches room size |
8. Specifications
Technical specifications for the Daitsu Aral ADD-12XB Dehumidifier:
| Feature | Specification |
|---|---|
| Model Name | ADD-12XB |
| Brand | Daitsu |
| Dehumidification Capacity | 12 Liters/day (at specified conditions) |
| Water Tank Volume | 1.5 Liters |
| Dimensions (H x W x D) | 38.6 x 28 x 19.5 cm (approx. 15.2 x 11 x 7.7 inches) |
| Product Weight | 23.5 kg (approx. 51.8 lbs) |
| Voltage | 230 Volts |
| Power | 2.5 kW (This value seems unusually high for a dehumidifier, typically it would be in Watts, e.g., 250W. Please verify with product label if possible.) |
| Noise Level | 54 Decibels |
| Special Features | Automatic Shut-off, Continuous Drainage, Timer |
| Color | White |
Note: Specifications are subject to change without notice. Please refer to the product label for the most accurate information.
9. Warranty and Support
9.1 Warranty Information
This Daitsu product is covered by a manufacturer's warranty. The warranty period and terms may vary by region. Please retain your proof of purchase for warranty claims. For specific warranty details, refer to the warranty card included with your product or contact Daitsu customer service.
9.2 Customer Support
If you encounter any issues not covered in the troubleshooting section or require further assistance, please contact Daitsu customer support. Contact information can typically be found on the official Daitsu website or on the product packaging.


