1. Introduction
This manual provides essential instructions for the safe and efficient operation of your Fockety Portable Inkjet Printer. Please read this manual thoroughly before using the device and retain it for future reference. This portable inkjet printer is designed for versatile coding applications on various surfaces, featuring a touchscreen interface and USB-C connectivity.
2. Safety Information
- Keep the device away from water and high humidity.
- Do not attempt to disassemble or repair the device yourself. Contact qualified service personnel.
- Use only the specified power adapter and USB cable for charging.
- Handle ink cartridges with care. Avoid contact with skin and eyes. In case of contact, rinse immediately with water.
- Store the printer and ink cartridges in a cool, dry place, away from direct sunlight.
3. Package Contents
Verify that all items listed below are included in your package:
- 1 x Portable Inkjet Printer Unit
- 1 x USB Cable (Type-C)
- 1 x Stylus
- 1 x Handle
- 1 x Accessories (including 6 rubber rings and 1 needle)

Figure 3.1: This image presents the complete package contents: the main printer unit with its touchscreen, a USB cable for charging and data transfer, a stylus for touchscreen interaction, the ergonomic handle, and various small accessories including rubber rings and a needle.
4. Product Overview
The Fockety Portable Inkjet Printer consists of a main printing unit with an integrated touchscreen and a detachable ergonomic handle for comfortable use.
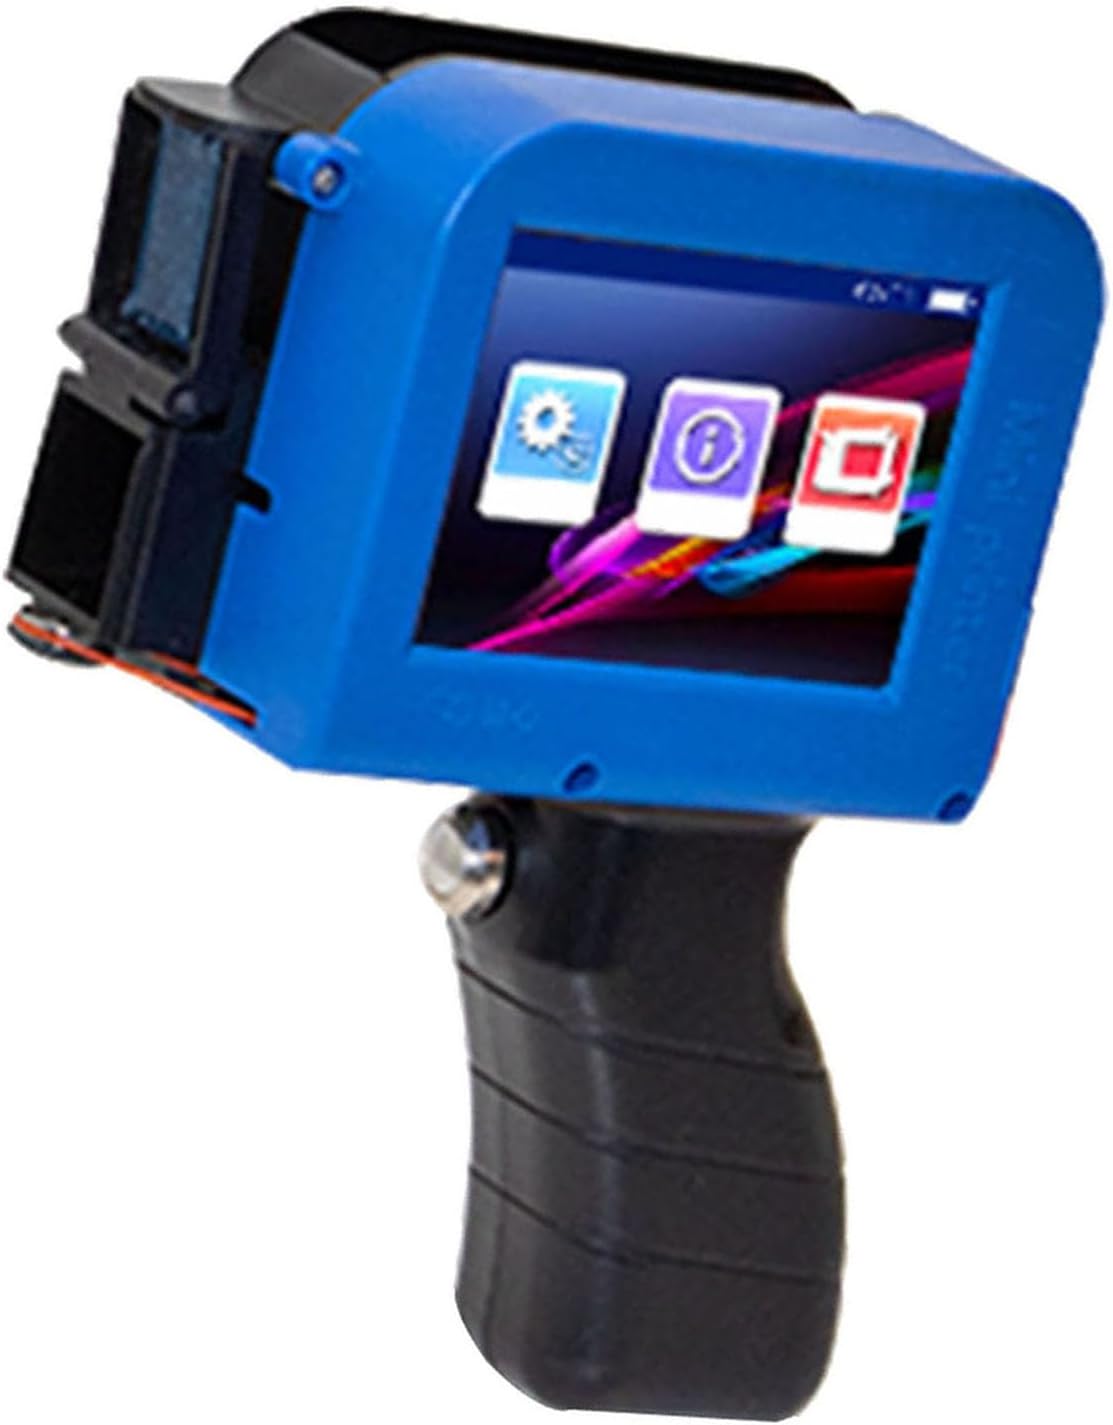
Figure 4.1: This image displays the Fockety Portable Inkjet Printer, featuring a blue main unit with an integrated touchscreen and a black ergonomic handle attached. The print head is visible on the left side.
5. Setup
5.1. Charging the Battery
Connect the printer to a power source using the provided USB Type-C cable. The battery indicator on the screen will show the charging status. A full charge ensures stable and continuous system performance.
5.2. Attaching the Handle
- Align the handle with the designated slot on the main printer unit.
- Gently push the handle into place until it clicks securely.
5.3. Installing the Ink Cartridge
Note: The ink cartridge is not included and must be purchased separately.
- Open the ink cartridge compartment cover on the printer unit.
- Carefully insert the ink cartridge into the slot, ensuring it is oriented correctly.
- Close the compartment cover securely.

Figure 5.1: This image illustrates the assembly process of the portable inkjet printer. Step 1 shows the handle. Step 2 shows the main printer unit and the handle separated. Step 3 demonstrates attaching the handle to the printer unit. Step 4 shows the printer in use, printing on a cardboard surface.
6. Operating Instructions
6.1. Powering On/Off
- To power on, press and hold the power button until the screen illuminates.
- To power off, press and hold the power button until the shutdown prompt appears, then confirm.
6.2. Touchscreen Interface
The printer features an HD LED touchscreen with an intuitive user interface. Navigate through menus and settings by tapping icons and using the stylus or your finger.
6.3. Data Import and Editing
The USB Type-C interface allows direct data import from a computer. You can edit and save special images or QR codes in 24BMP format. Connect the device via the data cable to transfer files for printing.
6.4. Printing Applications
The printer supports various coding tasks, including:
- Text and Numbers
- Symbols and Serial Numbers
- QR Codes and Barcodes
- Images and Logos (DIY)
- Time, Dates, and Expiration Dates
6.5. Adjusting Print Height
The print height is adjustable up to 12.7 mm (0.5 inches). Refer to the on-screen settings to modify the print height according to your requirements.
6.6. Printing on Various Surfaces
This printer is compatible with a wide range of porous, semi-porous, and non-porous materials, including:
- Cardboard, Wood, Fabric, Clothing
- Cement, Plastic, Metal, Aluminum
- Glass, Leather, Ceramic, Carton Boxes
- Polyethylene, Stone, Medium Density Fiberboard
- Steel, Tubes, various Fabrics
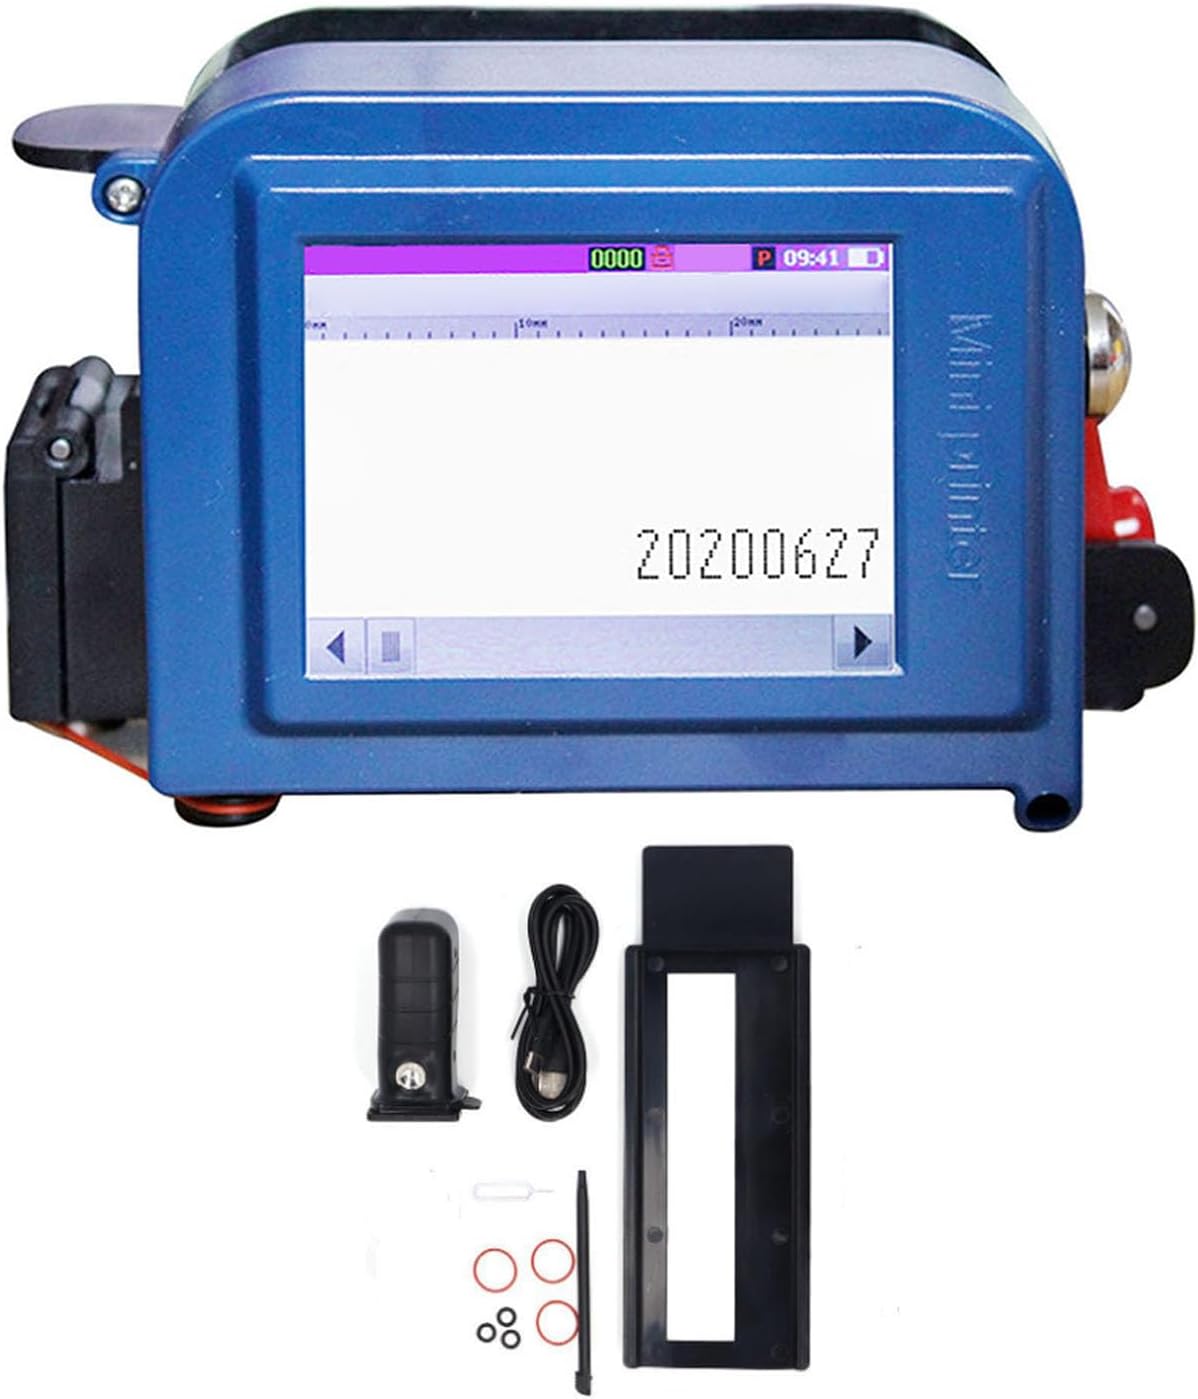
Figure 6.1: The image shows the Fockety Portable Inkjet Printer actively printing on a brown cardboard surface. A clear print of a date and time (e.g., '2022/10/05 14:23:06') is visible, demonstrating the printer's output quality.
7. Maintenance
7.1. Cleaning the Print Head
Regularly clean the print head to ensure optimal print quality. Use a lint-free cloth lightly dampened with a recommended cleaning solution (if specified by the ink cartridge manufacturer) or distilled water. Avoid harsh chemicals.
7.2. Ink Cartridge Replacement
When the ink level is low or the cartridge is empty, replace it with a new, compatible ink cartridge. Follow the installation steps outlined in Section 5.3.
7.3. Storage
When not in use for extended periods, ensure the ink cartridge is properly sealed (if applicable) and store the printer in its original packaging or a protective case in a cool, dry environment.
8. Troubleshooting
8.1. Poor Print Quality
- Check Ink Level: Ensure the ink cartridge has sufficient ink.
- Clean Print Head: Refer to Section 7.1 for cleaning instructions.
- Surface Compatibility: Verify that the printing surface is suitable for inkjet printing.
8.2. Printer Not Powering On
- Charge Battery: Ensure the battery is charged. Connect to power and wait a few minutes before attempting to power on again.
- Check USB Cable: Ensure the USB cable is securely connected.
8.3. Data Transfer Issues
- Cable Connection: Ensure the USB Type-C cable is properly connected to both the printer and the computer.
- File Format: Verify that images and QR codes are in 24BMP format.
9. Specifications
| Feature | Specification |
|---|---|
| Model | Fockety7orypvc8tg |
| Material | ABS |
| Ink Cartridge | Not included (purchased separately) |
| Power Supply | USB Charging |
| Battery | 1 x Li battery (1200 mAh) |
| Rated Power | 20 W |
| Print Height | Adjustable up to 12.7 mm (0.5 inches) |
| Operating System | Intelligent |
| Supported Languages | Simplified Chinese, Traditional Chinese, English, Japanese, Korean, Spanish, Portuguese, French, Italian, Vietnamese, Arabic, Russian, Turkish, German, Dutch, Thai, Ukrainian, Mongolian, Uzbek, Malay, Indonesian, Slovak, Croatian, Persian, Lithuanian, and others. |
| Dimensions (L x W x H) | 27 x 21 x 7 cm (approximate) |
10. Warranty and Support
For warranty information and technical support, please refer to the documentation provided at the time of purchase or visit the official Fockety website. Keep your purchase receipt as proof of purchase.