1. Introduction
This manual provides essential instructions for the installation, operation, and maintenance of your Rimoody Android 2 DIN Car Radio. Please read this manual thoroughly before using the product to ensure proper function and safety. Keep this manual for future reference.
2. Safety Information
- Professional Installation Recommended: Due to the complexity of car electrical systems, professional installation is highly recommended to prevent damage to the unit or your vehicle.
- Power Supply: Ensure the unit is connected to a 12V DC power supply with a negative ground.
- Driving Safety: Do not operate the unit in a way that distracts you from driving. Always prioritize road safety.
- Temperature: Avoid exposing the unit to extreme temperatures or direct sunlight for prolonged periods.
- Moisture: Keep the unit away from water and excessive moisture.
3. Package Contents
Verify that all items are present in the package:
- Rimoody Android Car Radio (9-inch IPS Display)
- Power Cable
- RCA Cable
- Rear Camera Input Cable
- GPS Antenna
- Mounting Bracket
- User Manual (this document)
- Microphone (MIC)
- USB Cable
- Rear Camera

Image 3.1: Included accessories and unit dimensions.
4. Setup and Installation
4.1. Installation Overview
The Rimoody Android Car Radio is designed for a 2 DIN slot. Ensure your vehicle has a compatible dashboard opening. Professional installation is strongly recommended.

Image 4.1: Before and after installation comparison.
4.2. Wiring Connections
Connect the provided power cable, RCA cables, and other input/output cables according to your vehicle's wiring diagram and the radio's port labels. Pay close attention to the following:
- Power: Connect the yellow wire to constant 12V (+), the red wire to accessory 12V (+), and the black wire to ground (-).
- Speakers: Connect speaker wires to the corresponding vehicle speaker wires, ensuring correct polarity.
- Rear Camera: Connect the rear camera input cable to the camera and the reverse trigger wire to the vehicle's reverse light circuit.
- GPS Antenna: Mount the GPS antenna in a location with a clear view of the sky, typically on the dashboard.
- USB: Connect the USB cable for external devices or data transfer.
4.3. Initial Power On
After all connections are secure, turn on your vehicle's ignition. The car radio should power on and display the initial setup screen. Follow the on-screen prompts to configure basic settings such as language and time.
5. Operating Instructions
5.1. Basic Navigation and Touchscreen
The unit features a 9-inch IPS touchscreen. Navigate through menus and applications by tapping, swiping, and pinching. The main screen displays various app icons for quick access to functions like Phone, Music, Maps, and Settings.
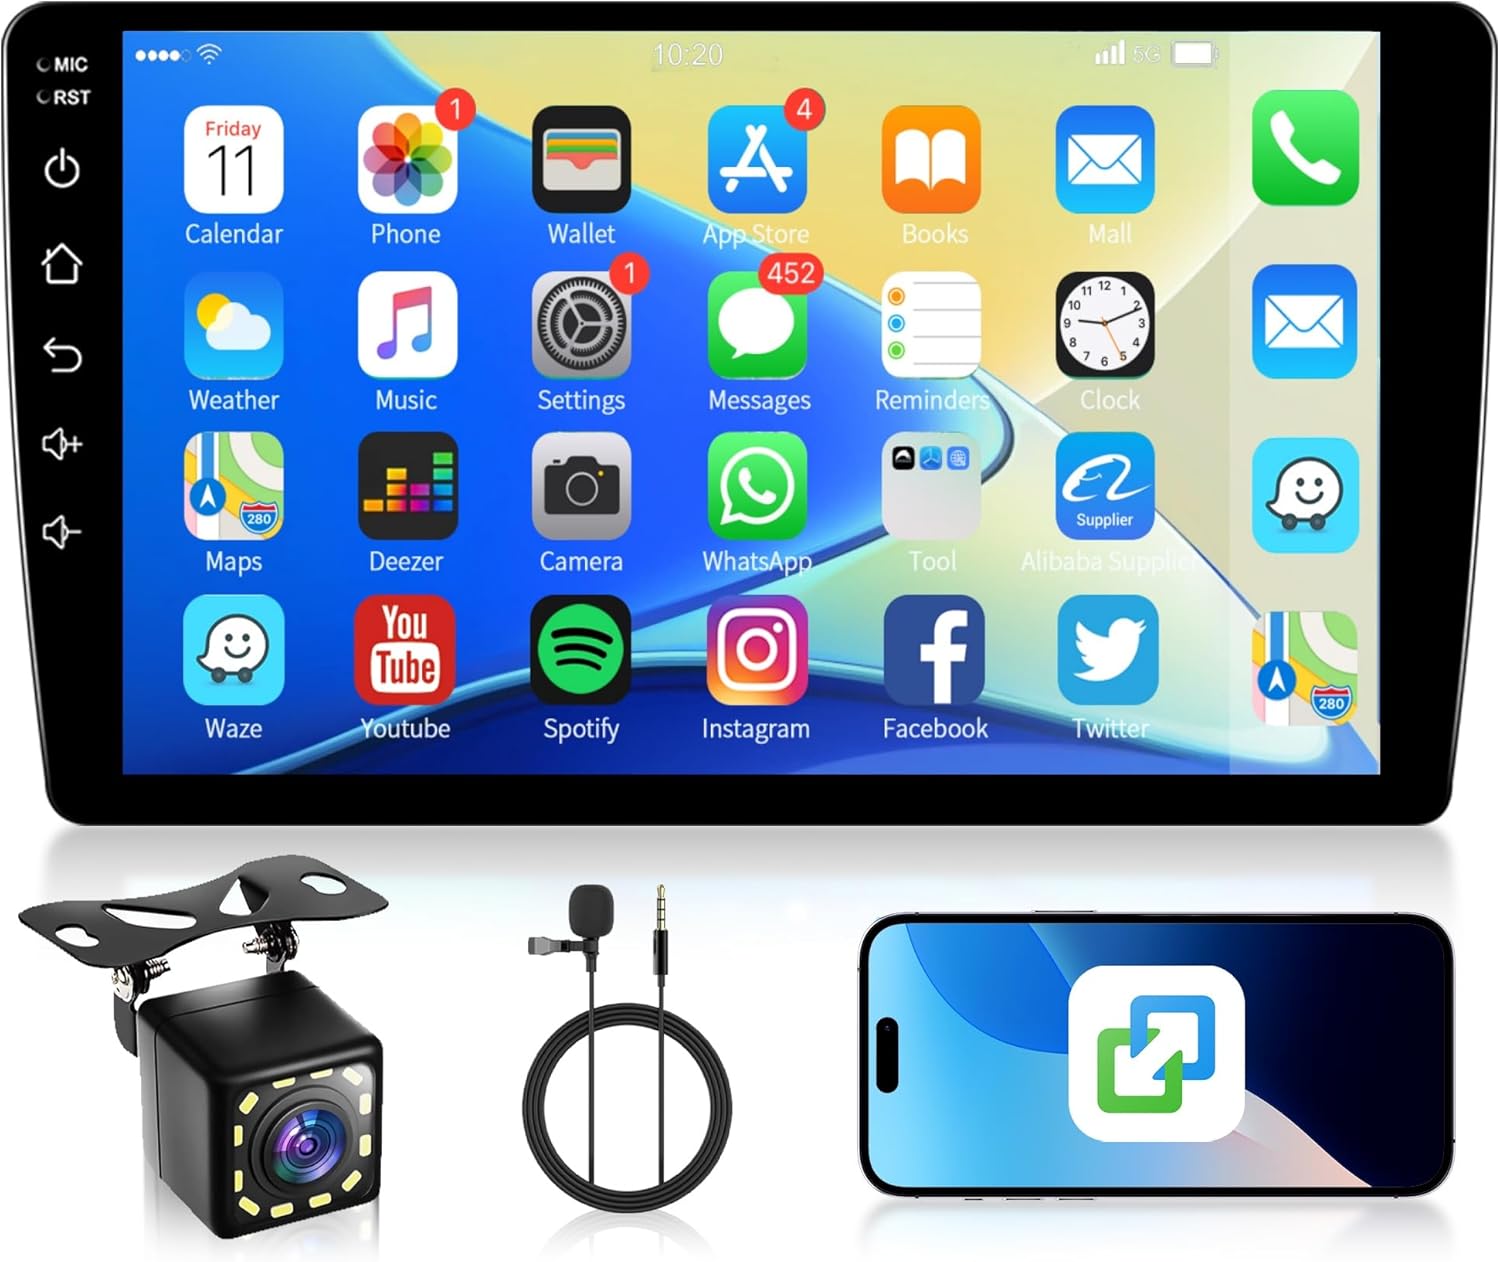
Image 5.1: Main interface with app icons.
5.2. iOS/Android Mirror Link
The Mirror Link function allows you to project your smartphone's screen onto the car radio display. This feature supports both iOS and Android devices.
- Ensure your phone's Wi-Fi or USB debugging is enabled (for Android).
- Select the 'Mirror Link' application on the car radio.
- Follow the on-screen instructions to connect your phone via USB or Wi-Fi.
- Once connected, your phone's display will be mirrored on the car radio screen.

Image 5.2: Wireless Mirror Link in action.
5.3. Bluetooth Connectivity
Connect your smartphone via Bluetooth for hands-free calling and audio streaming.
- Go to the 'Bluetooth' application on the car radio.
- Enable Bluetooth on your smartphone and search for available devices.
- Select the car radio (device name typically 'Topway' or similar) from your phone's Bluetooth list.
- Confirm the pairing code on both devices.
- Once paired, you can make/receive calls and play music wirelessly.

Image 5.3: Bluetooth interface for calls and music.
5.4. GPS Navigation & WiFi
The unit has integrated GPS and WiFi for navigation and online services.
- GPS: Use pre-installed navigation apps or download others from the App Store. The unit supports both online and offline maps.
- WiFi: Connect to a Wi-Fi hotspot (e.g., from your phone) to access online maps, stream media, or download apps. Go to 'Settings' > 'Network & Internet' > 'Wi-Fi' to connect.

Image 5.4: GPS navigation and WiFi connection.
5.5. FM/RDS Radio
Access the 'Radio' application to tune into FM stations. The RDS (Radio Data System) feature displays station information where available.
- Auto Scan: Press the 'Scan' button to automatically search and save available stations.
- Manual Tuning: Use the arrow buttons to manually adjust the frequency.
- Presets: Save your favorite stations to preset buttons for quick access.
5.6. Steering Wheel Control
If your vehicle supports it, you can connect the car radio to your steering wheel controls for convenient operation.
- Access the 'Steering Wheel Control' settings in the unit's menu.
- Follow the on-screen instructions to map your vehicle's steering wheel buttons to the desired functions (e.g., volume up/down, track skip, mode).

Image 5.5: Reverse camera view and steering wheel control setup.
5.7. Rear Camera Function
When the vehicle is shifted into reverse gear, the car radio will automatically display the rear camera feed, providing parking assistance with guidelines.
- Ensure the rear camera is correctly installed and connected to the 'REVERSE IN' port and the reverse trigger wire.
- The display will automatically switch to the camera view when reversing.
5.8. Split Screen Functionality
The split screen feature allows you to run two applications simultaneously on the 9-inch display.
- Open the first application you wish to use.
- Long-press the 'Recent Apps' button or swipe up from the bottom (depending on UI) to enter split-screen mode.
- Select the second application from the list to display it alongside the first.
Image 5.6: Split screen mode.
6. Maintenance
6.1. Cleaning
Use a soft, dry cloth to clean the screen and exterior of the unit. Avoid using abrasive cleaners or solvents, as they may damage the surface.
6.2. Software Updates
Periodically check for software updates to ensure optimal performance and access to new features. Updates can usually be found on the manufacturer's website or through the unit's system settings if connected to Wi-Fi.
7. Troubleshooting
- No Power: Check all power connections (constant 12V, accessory 12V, ground). Verify vehicle fuses.
- No Sound: Check speaker wiring. Ensure volume is not muted or set to zero. Verify audio output settings.
- Bluetooth Not Connecting: Ensure Bluetooth is enabled on both devices. Delete previous pairings and try again.
- GPS Signal Lost: Ensure the GPS antenna is properly connected and has a clear view of the sky.
- Rear Camera Not Displaying: Check camera connections and ensure the reverse trigger wire is correctly connected to the vehicle's reverse light circuit.
- Touchscreen Unresponsive: Try restarting the unit. If the issue persists, a factory reset might be necessary (note: this will erase all user data).
8. Specifications
| Feature | Specification |
|---|---|
| Brand | Rimoody |
| Model | 33a6281d-7b69-4291-900d-983b137239ff |
| Display Size | 9 Inches |
| Display Type | IPS Touchscreen |
| Resolution | 1024*600 |
| RAM | 1 GB |
| ROM | 32 GB |
| Operating System | Android |
| Connectivity | USB, FM/RDS, Bluetooth, WiFi |
| Special Features | iOS/Android Mirror Link, GPS Navigation, Bluetooth, FM/RDS, Rear Camera Support, Steering Wheel Control, Split Screen, OBD2/DAB+/DVR (optional support) |
| Audio Output Mode | Stereo, Surround |
| Speaker Surround Sound Channel Configuration | 4.1 |
| Output Power | 180 Watts |
| Compatible Devices | Smartphone |
| Product Weight | 1.23 kg |
| Package Dimensions | 32.5 x 26.4 x 8.6 cm |
9. Warranty and Support
Rimoody offers comprehensive support for your product:
- 24 Months Free Replacement: In case of product defects within 24 months of purchase.
- 30 Day No Reason Refund: Return the product within 30 days for a full refund.
- Lifetime Technical Support: Access to technical assistance for the lifespan of your product.
- 24 Hours Quick Response: Expect a prompt response to your inquiries within 24 hours.
For technical support or warranty claims, please contact Rimoody customer service through the platform where you purchased the product.


