Introduction
Thank you for choosing a Beko appliance. This user manual provides important information regarding the installation, operation, and maintenance of your BM3T48249W Heat Pump Dryer. To ensure safe and efficient use, please read this manual thoroughly before operating the appliance and keep it for future reference.
This appliance is designed for domestic use only. Any other use is considered improper and potentially dangerous.
Safety Information
General Safety:
- Read all instructions before using the appliance.
- Do not allow children to play with the appliance.
- Ensure the appliance is properly earthed.
- Do not install the appliance outdoors or in damp conditions.
- Unplug the appliance before cleaning or maintenance.
Electrical Safety:
- Do not use extension cords or multiple socket adapters.
- Do not operate the appliance with a damaged power cord or plug.
- If the power cord is damaged, it must be replaced by the manufacturer, its service agent, or similarly qualified persons to avoid a hazard.
Fire Hazard:
- Do not dry unwashed items in the tumble dryer.
- Items that have been soiled with substances such as cooking oil, acetone, alcohol, petrol, kerosene, spot removers, turpentine, waxes, and wax removers should be washed in hot water with an extra amount of detergent before being dried in the tumble dryer.
- Remove all objects from pockets such as lighters and matches.
Setup and Installation
Unpacking:
- Remove all packaging materials, including polystyrene blocks and plastic bags.
- Inspect the appliance for any transport damage. Report any damage to your dealer immediately.
- Remove the transport safety bolts from the rear of the appliance. Keep them for future transport.
Positioning:
- Place the dryer on a firm, level floor.
- Ensure adequate ventilation around the appliance. Do not block the ventilation openings.
- Do not install the dryer behind a lockable door, a sliding door, or a door with a hinge on the opposite side to that of the tumble dryer, in such a way that a full opening of the tumble dryer door is restricted.
Electrical Connection:
- Connect the appliance to a properly earthed socket.
- The voltage and frequency specified on the rating plate must correspond to your mains supply.
Drainage Connection (if applicable):
Your heat pump dryer collects condensed water in a water tank. For continuous drainage, you can connect a drain hose directly to a wastewater outlet.
- Locate the drain hose at the back of the appliance.
- Remove the hose from its connection point.
- Attach the supplied drain hose to the outlet and lead it to a suitable drain. Ensure the hose is not kinked or blocked.
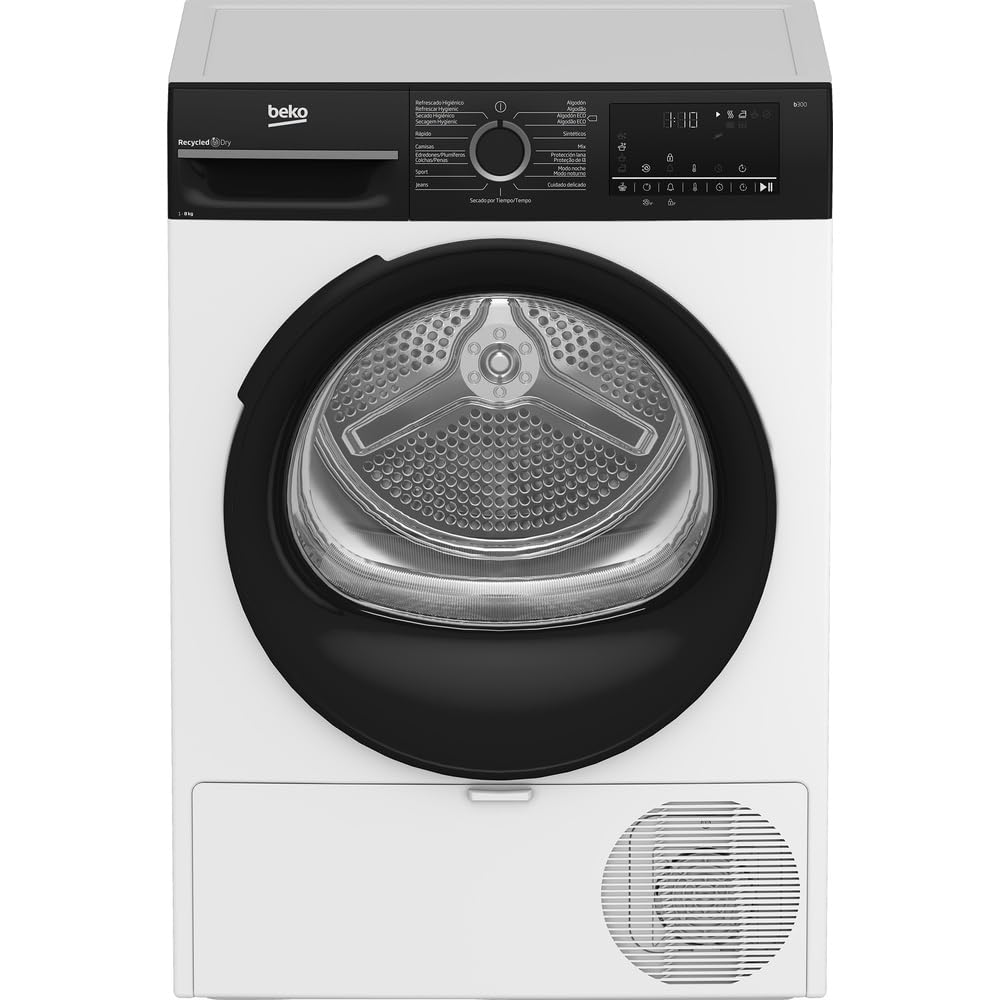
Image: Front view of the Beko BM3T48249W Heat Pump Dryer. This image shows the main control panel, the loading door, and the overall design of the appliance.
Operating Instructions
Before First Use:
- Wipe the inside of the drum with a damp cloth to remove any dust from manufacturing.
- Run a short cycle with a few damp cloths to ensure proper operation.
Loading the Dryer:
- Sort laundry by fabric type and desired dryness level.
- Do not overload the dryer. The maximum capacity for this model is 8 kg.
- Close the door firmly.
Selecting a Program:
Turn the program selection knob to choose the desired drying program. The display will show the estimated drying time.
| Program | Description | Typical Load |
|---|---|---|
| Cotton Extra Dry | For thick cotton items requiring maximum dryness. | Towels, bathrobes |
| Synthetics Cupboard Dry | For synthetic items to be stored in a cupboard. | Shirts, blouses |
| Delicates | Gentle drying for delicate fabrics. | Lingerie, silk |
| Refresh | A short cycle to air and refresh clothes without heat. | Items needing airing |
Starting a Cycle:
- Load laundry and close the door.
- Select the desired program.
- Press the "Start/Pause" button to begin the cycle.
After the Cycle:
- Remove laundry promptly to minimize creasing.
- Clean the lint filter after every cycle.
- Empty the water tank after every cycle (if not connected to a drain).
Maintenance and Cleaning
Regular maintenance ensures optimal performance and extends the lifespan of your dryer.
Cleaning the Lint Filter:
- Open the dryer door.
- Pull the lint filter upwards to remove it.
- Open the filter and remove all accumulated lint by hand or with a soft brush.
- Rinse the filter under running water if necessary, and ensure it is completely dry before reinserting.
- Push the filter back into its housing until it clicks into place.
Emptying the Water Tank:
- Pull out the water tank from its housing.
- Pour the collected water into a sink.
- Push the water tank back into its housing until it is fully seated.
Cleaning the Condenser:
The condenser should be cleaned periodically (e.g., every few months) to maintain drying efficiency.
- Open the condenser cover at the bottom front of the dryer.
- Unlock the condenser retaining clips and pull out the condenser unit.
- Rinse the condenser thoroughly under running water to remove any lint or debris. Do not use sharp objects.
- Allow the condenser to dry completely before reinserting it.
- Push the condenser back into place and secure the retaining clips. Close the cover.
Troubleshooting
Before contacting service, please check the following common issues and solutions:
| Problem | Possible Cause | Solution |
|---|---|---|
| Dryer does not start. | No power supply; Door not closed properly; Program not selected. | Check power plug and fuse; Close the door firmly; Select a program and press Start. |
| Clothes are not drying properly. | Lint filter blocked; Condenser dirty; Overloaded dryer; Incorrect program selected. | Clean lint filter; Clean condenser; Reduce load size; Select a more intensive program. |
| Water tank full indicator is on. | Water tank is full. | Empty the water tank. |
| Unusual noise during operation. | Foreign objects in the drum; Appliance not level. | Check drum for objects; Adjust leveling feet. |
Technical Specifications
- Model: Beko BM3T48249W
- Type: Heat Pump Dryer
- Drying Capacity: 8 kg
- Energy Efficiency Class: A+++
- Power Supply: 220-240 V~, 50 Hz
- Rated Power: Refer to appliance rating label
- Dimensions (H x W x D): Refer to appliance rating label
- Weight: Refer to appliance rating label
Note: Specifications are subject to change without prior notice. Refer to the rating label on the appliance for the most accurate information.
Warranty and Support
Your Beko appliance is covered by a manufacturer's warranty. Please refer to the warranty card provided with your appliance for detailed terms and conditions, including the warranty period and coverage.
For technical assistance, spare parts, or to arrange a service visit, please contact Beko customer support. You can find contact details on the Beko official website or on your warranty documentation.
When contacting support, please have your appliance's model number (BM3T48249W) and serial number ready. The serial number is typically located on a label inside the door opening or at the back of the appliance.


