
Memorex MX-CR40
Memorex MX-CR40 Digital FM Clock Radio User Manual
Model: MX-CR40
Introduction
The Memorex MX-CR40 Digital FM Clock Radio is designed to provide reliable timekeeping, dual alarm functionality, and FM radio entertainment. Featuring a large 1.8-inch red LED display, this clock radio offers clear visibility and essential functions for your daily routine, including snooze, sleep timer, and battery backup for power outages.
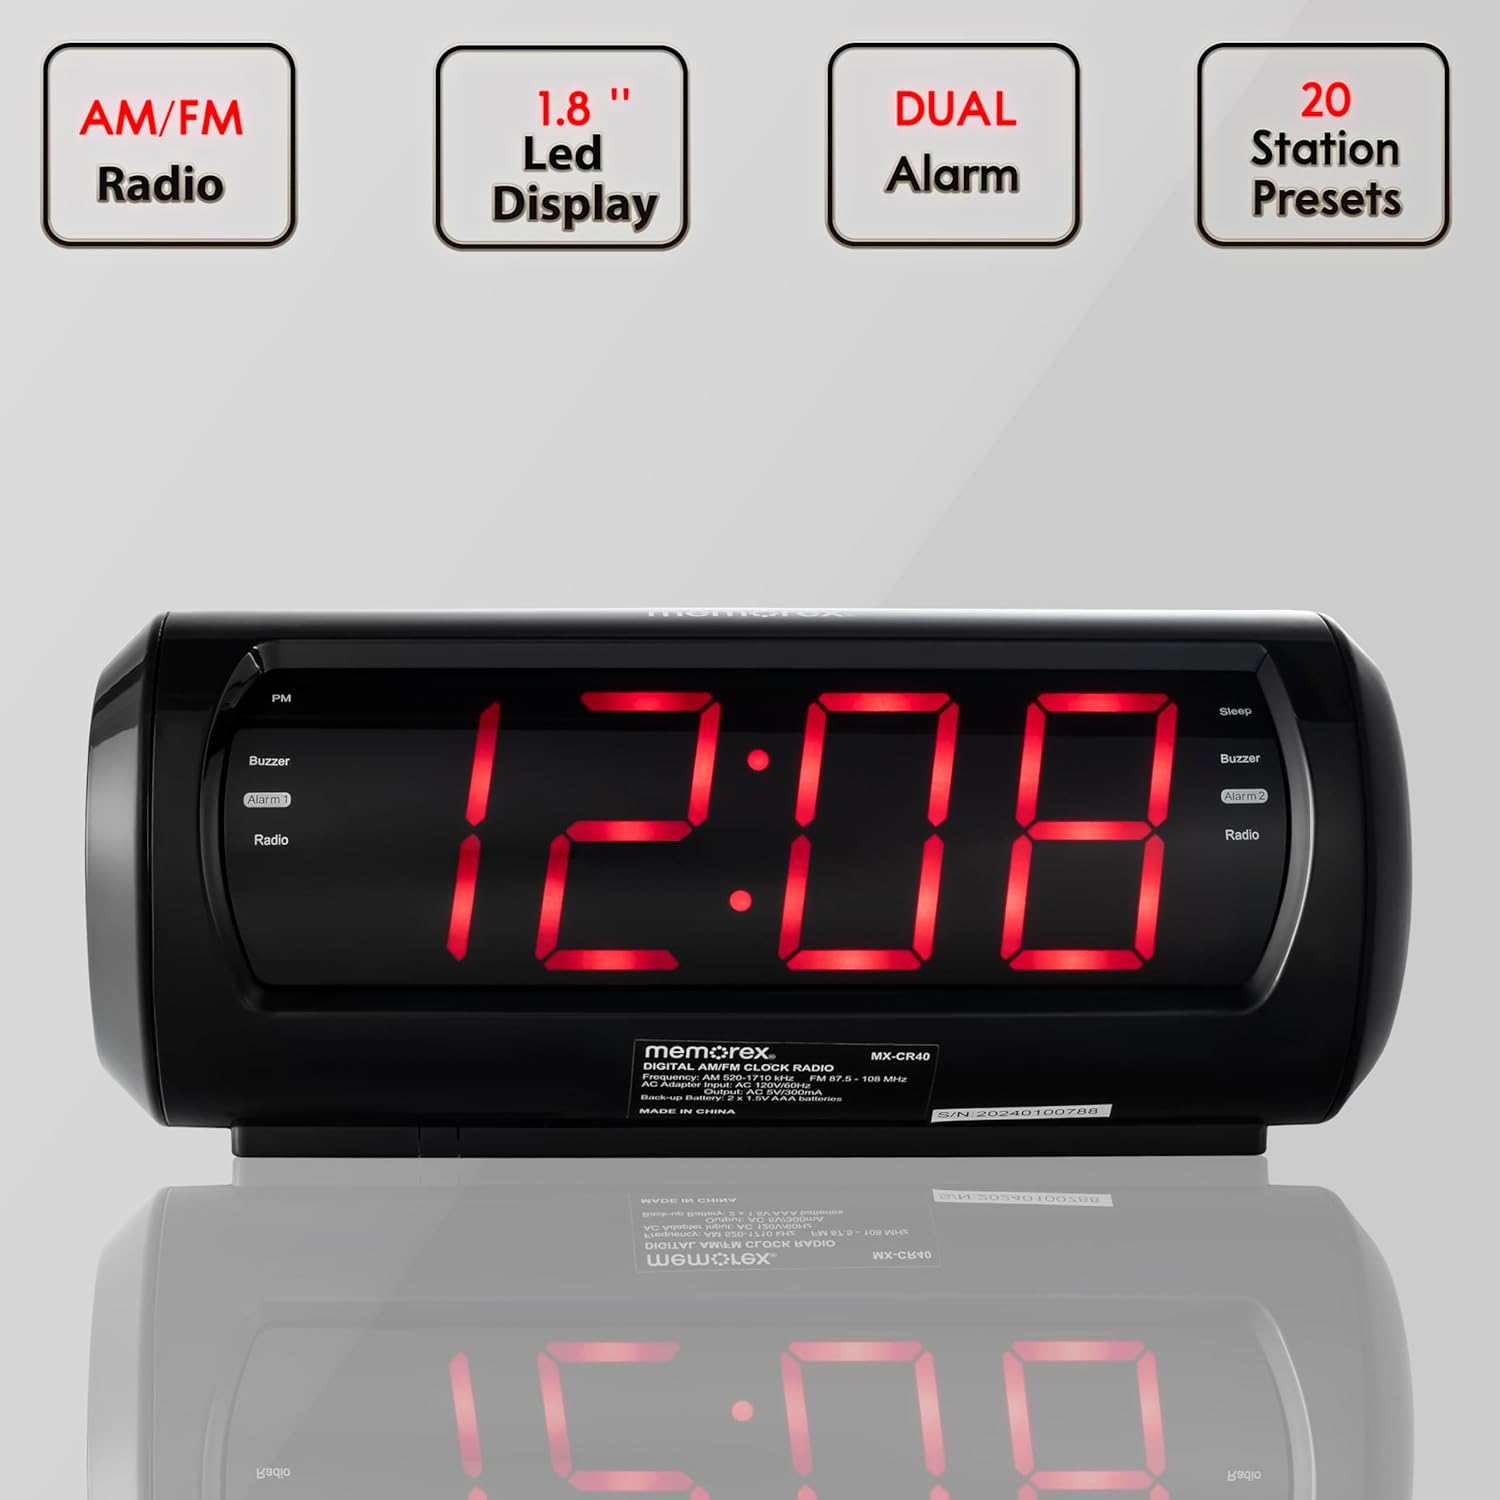
Key features of the Memorex MX-CR40 Digital FM Clock Radio, including AM/FM radio, 1.8-inch LED display, dual alarm capability, and 20 station presets.
Safety Information
- Do not expose this unit to rain or moisture to prevent fire or shock hazards.
- Ensure the power adapter is easily accessible and unplugged during lightning storms or when unused for long periods.
- Do not block ventilation openings. Install in accordance with the manufacturer's instructions.
- Use only attachments/accessories specified by the manufacturer.
- Dispose of used batteries properly according to local regulations. Do not expose batteries to excessive heat.
Package Contents
Verify that all items are included in the package:
- Memorex MX-CR40 Digital FM Clock Radio
- AC Power Adapter
- User Manual (this document)
Product Overview
Familiarize yourself with the components and controls of your Memorex MX-CR40.

Front view of the Memorex MX-CR40 Digital FM Clock Radio, showcasing its large red LED display.
Top Controls

Detailed top view of the Memorex MX-CR40, illustrating the various control buttons for operation.
- SNOOZE/SLEEP/DIMMER Button: Activates snooze, sets sleep timer, or adjusts display brightness.
- VOLUME + / - Buttons: Adjusts audio volume.
- PRESET/CLOCK Button: Used to set the clock and save/recall FM radio presets.
- TUNING + / - Buttons: Tunes FM radio frequency.
- HOUR / MINUTE Buttons: Used to set hour and minute for clock and alarms.
- AL1 / AL2 Buttons: Activates/deactivates and sets Alarm 1 and Alarm 2.
- FM Button: Switches to FM radio mode.
Rear Panel

Rear view of the Memorex MX-CR40, showing the AC power input and the battery backup compartment.
- AC IN Jack: Connects the included AC power adapter.
- Battery Compartment: Holds 2 x AA batteries for backup power (not included).
- FM Antenna: Wire antenna for FM radio reception.
Setup
1. Power Connection
- Plug the included AC power adapter into the AC IN jack on the back of the unit.
- Plug the other end of the adapter into a standard wall outlet (AC 120V ~ 60Hz).
- The display will light up, indicating the unit is powered.
2. Battery Backup Installation
The battery backup feature ensures your time and alarm settings are retained during a power outage.
- Open the battery compartment cover on the bottom of the unit.
- Insert 2 x AA batteries (not included) into the compartment, observing the correct polarity (+ and -) as marked.
- Close the battery compartment cover securely.
Operating Instructions
Setting the Clock Time
- Press and hold the PRESET/CLOCK button until the display flashes.
- Press the HOUR button repeatedly to set the hour. Observe the PM indicator for afternoon hours.
- Press the MINUTE button repeatedly to set the minute.
- Press the PRESET/CLOCK button again to confirm and save the time. The display will stop flashing.
Setting Alarms (Alarm 1 & Alarm 2)
The unit features two independent alarms.
- Press the AL1 or AL2 button once to display the current alarm time.
- Press and hold the AL1 or AL2 button until the alarm time flashes.
- Press the HOUR button repeatedly to set the alarm hour.
- Press the MINUTE button repeatedly to set the alarm minute.
- Press the AL1 or AL2 button again to select the alarm source: Buzzer or Radio. The corresponding indicator (Buzzer or Radio) will light up.
- Press the AL1 or AL2 button one more time to confirm and save the alarm setting. The display will stop flashing.
- To deactivate an alarm, press the corresponding AL1 or AL2 button until the Buzzer/Radio indicator turns off.
Using the FM Radio
- Press the FM button to switch to FM radio mode. The current frequency will be displayed.
- Press the TUNING + or - buttons to manually tune to your desired FM station. Press and hold for automatic scanning.
- Adjust the volume using the VOLUME + or - buttons.
Saving and Recalling FM Presets
The unit can store up to 10 FM preset stations.
- Tune to the desired FM station.
- Press the PRESET/CLOCK button once. The preset number will flash on the display.
- Use the TUNING + or - buttons to select the desired preset number (P01-P10).
- Press the PRESET/CLOCK button again to save the station to the selected preset number.
- To recall a preset station, simply press the PRESET/CLOCK button repeatedly to cycle through the saved stations.
Snooze Function
When an alarm sounds, press the SNOOZE/SLEEP/DIMMER button to temporarily silence the alarm for approximately 9 minutes. The alarm will sound again after the snooze period.
Sleep Timer
The sleep timer allows you to fall asleep to the radio, which will automatically turn off after a set period (up to 90 minutes).
- While the radio is playing, press the SNOOZE/SLEEP/DIMMER button repeatedly to cycle through the sleep timer options (e.g., 90, 60, 30, 15 minutes, OFF).
- The radio will play for the selected duration and then automatically turn off.
Adjusting Display Brightness
Press the SNOOZE/SLEEP/DIMMER button (when the alarm is not sounding and sleep timer is not active) to cycle through the display brightness levels (e.g., High, Low, Off).
Maintenance
- Cleaning: Use a soft, dry cloth to clean the exterior of the unit. Do not use abrasive cleaners or solvents.
- Battery Replacement: Replace backup batteries annually or when the unit experiences frequent power outages to ensure reliable backup.
- Storage: If storing the unit for an extended period, remove the backup batteries to prevent leakage.
Troubleshooting
| Problem | Possible Cause | Solution |
|---|---|---|
| Unit does not power on. | AC adapter not properly connected. | Ensure AC adapter is securely plugged into the unit and a working wall outlet. |
| Alarm does not sound. | Alarm not set or deactivated. Incorrect alarm time. | Verify alarm is set and activated (Buzzer or Radio indicator lit). Check alarm time. |
| Poor FM radio reception. | FM antenna not extended or positioned correctly. Interference from other electronics. | Fully extend and reposition the FM wire antenna. Move unit away from other electronic devices. |
| Time/Alarm settings lost after power outage. | Backup batteries are dead or not installed. | Install 2 new AA batteries or replace existing ones. |
Specifications
| Feature | Detail |
|---|---|
| Model Number | MX-CR40 |
| Display Type | 1.8" Red LED Digital Display |
| Radio Frequency | FM (PLL Digital Tuner) |
| Presets | 10 FM Presets |
| Alarm Functions | Dual Alarm (Buzzer or Radio) |
| Snooze Duration | Approx. 9 minutes |
| Sleep Timer | Up to 90 minutes |
| Power Source | AC 120V ~ 60Hz (via included adapter) |
| Battery Backup | 2 x AA batteries (not included) |
| Product Dimensions | 11.2"W x 3.73"H |
| Item Weight | 1.12 pounds |
| Color | Black |
| Material | Plastic |
Warranty and Support
Memorex products are designed for reliability and performance. For specific warranty information, please refer to the warranty card included with your purchase or visit the official Memorex website. For technical support or customer service inquiries, please contact Memorex customer support through the contact information provided on their official website or product packaging.
Related documentsMX-CR40


Ask a question about this manual
Ask about setup, troubleshooting, compatibility, parts, safety, or missing instructions. Manuals+ will review the question and use this page’s manual context to help answer it.